


QML新手学习之聚光灯效果
开发环境Qt6.3 MinGW编译
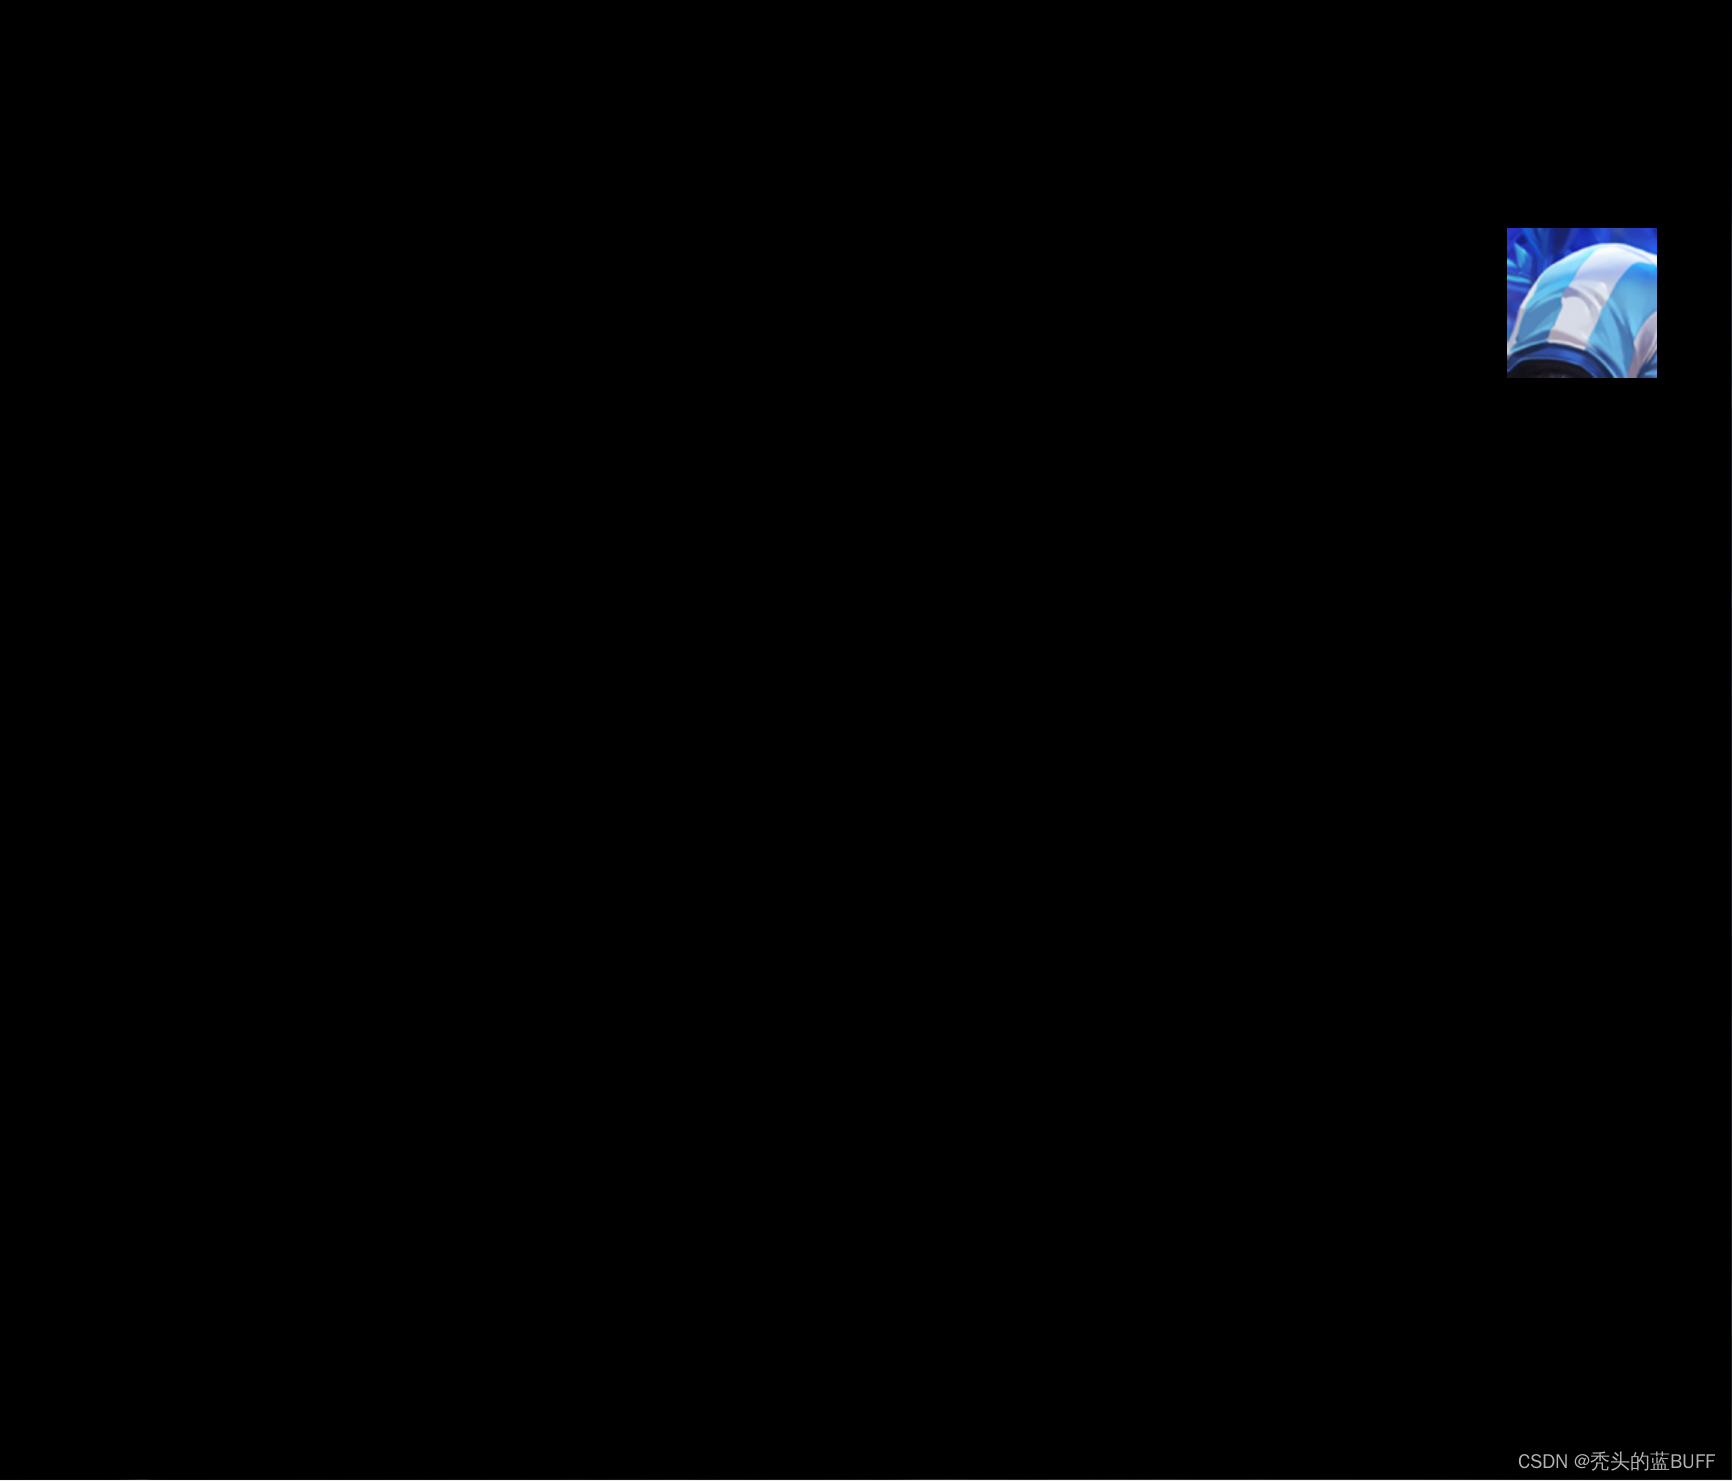
代码思想:运用两块幕布,一个幕布显示用于遮挡原图像,另一个幕布用于显示聚光灯的效果。如下图只显示了梅西的一部分图像。初学QML有什么错误的地方欢迎指出
代码如下:`在这里插入代码片
import QtQuick 2.15
import QtQuick.Controls 2.12


ApplicationWindow {
    id:window
    visible: true
    width: 800
    height: 600
    title: "window 1"
    property int x1: 50
    property int y1: 50

    // 用于显示原始图像
    Image {
        id: image
        source: "/new/prefix1/R-C.jpg" // 替换为你的图片路径
        anchors.fill: parent
    }

    // 用于截取图像的Canvas
    Canvas {
        id: screenshotCanvas
        width: 100 // 设置截图的宽度
        height: 100 // 设置截图的高度
        visible: true // 设置截图Canvas为不可见

        // 用于显示截图的Image元素
        Image {
            id: screenshotImage
            visible: false // 初始设置为不可见
            sourceSize.width: 100
            sourceSize.height: 100
            cache: true
            anchors.fill: parent // 截图显示在窗口中心
        }
        onPaint: {
            var context2D = getContext('2d');
            context2D.clearRect(0,0,screenshotCanvas.width,screenshotCanvas.height);
            context2D.beginPath();
            context2D.drawImage(image,x1, y1, 100, 100,0,0,100,100);
            screenshotImage.source = toDataURL(); // 将截图数据设置为截图Image的源
            // context2D.drawImage(screenshotImage,x1,y1,100,100);
            screenshotImage.scale=1;
            screenshotImage.visible = true; // 显示截图Image
            //            screenshotImage.scale=1;
            screenshotCanvas.x=x1;
            screenshotCanvas.y=y1;

            screenshotCanvas.z=99999;
        }
    }
    Canvas {
        id: canvas
        anchors.fill: parent
        width: parent.width
        height: parent.height
        onPaint: {
            var ctx = getContext("2d");
            // ctx.fillStyle = "transparent";
            ctx.strokeStyle="transparent";
            ctx.fillRect(0,0,window.width,window.height)
            // ctx.strokeRect(0,0,window.width,window.height)
            ctx.fill()
            ctx.stroke()
        }
    }
    //   监听鼠标移动事件
    MouseArea {
        anchors.fill: parent
        hoverEnabled: true //启动移动属性
        onPositionChanged: {
            console.log(mouseX,mouseY)
            x1 = mouseX;
            y1 = mouseY;
            screenshotCanvas.requestPaint();
            myimage.move(x1,y1);
        }
        onWheel:
        {
            if(wheel.angleDelta.y > 0)
            {

                screenshotImage.scale += 0.1
            }
            else
            {
                screenshotImage.scale =  Math.max(1,screenshotImage.scale-0.1)
            }

        }
    }
}
`


 7706
7706


 被折叠的 条评论
为什么被折叠?
被折叠的 条评论
为什么被折叠?
 到【灌水乐园】发言


