


官网:用于 Vue React | wangEditor开源 Web 富文本编辑器,开箱即用,配置简单![]() https://www.wangeditor.com/v5/for-frame.html#demo直接复制即可用
https://www.wangeditor.com/v5/for-frame.html#demo直接复制即可用
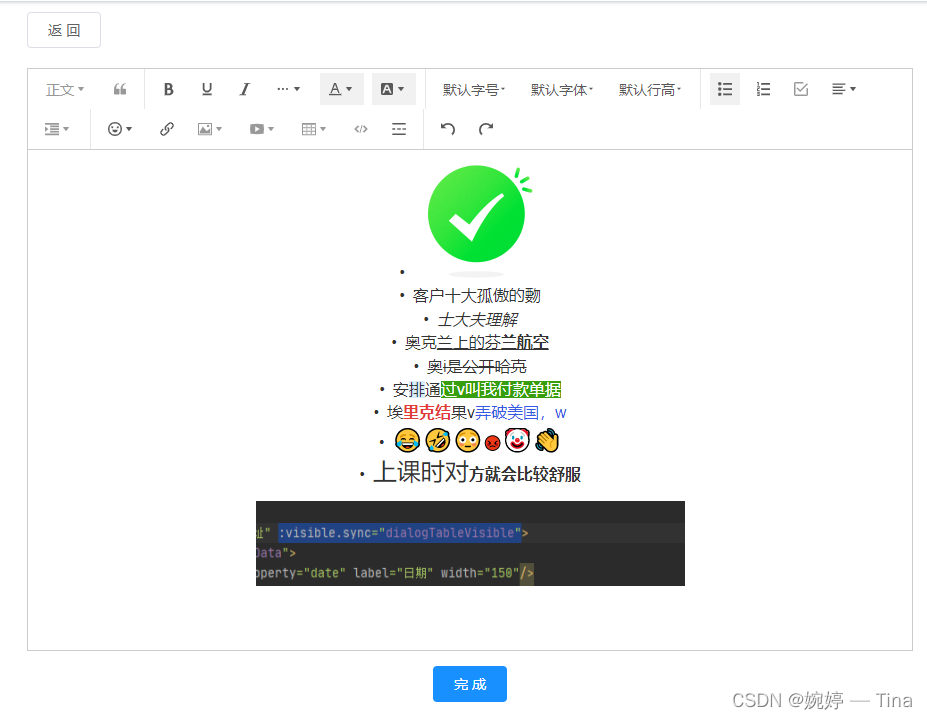
示例图:
步骤一:如果第二个下载失败就用这个:
-
npm install @wangeditor/editor-for-vue --save --legacy-peer-deps
npm install @wangeditor/editor --save

npm install @wangeditor/editor-for-vue --save
步骤二:这个是做成公共组件用的所以我放在了(src/components/richText/index)
<template>
  <div>
    <div style="border: 1px solid #ccc">
      <Toolbar
        style="border-bottom: 1px solid #ccc"
        :editor="editor"
        :defaultConfig="toolbarConfig"
        :mode="mode"
      />
      <Editor
        style="height: 500px; overflow-y: hidden"
        v-model="html"
        :defaultConfig="editorConfig"
        :mode="mode"
        @onCreated="onCreated"
      />
    </div>
    <div class="tc mt15"> <el-button type="primary"  @click="submit">完 成</el-button> </div>
  </div>
</template>

<script>
import { Editor, Toolbar } from '@wangeditor/editor-for-vue'
import { getToken } from '@/utils/auth'
export default {
  components: { Editor, Toolbar },
  props: {
    content: {//回显接口的数据
      type: String,
      default: ''
    }
  },
  data() {
    return {
      editor: null,
      html: '<p><br/></p>',
      toolbarConfig: {
        excludeKeys: ['fullScreen']
      },
      editorConfig: {
        placeholder: '请输入内容...',
        MENU_CONF: {
          uploadImage: {
            // server:放自己公司后端提供的图片上传接口
            server: process.env.VUE_APP_BASE_API + '/backstage/worker/file/v2/upload',
            // fieldName:自己公司和后端共同约定好的接收图片接口参数名
            fieldName: 'uploadFile',
            // 请求头
            headers: { Authorization: 'Bearer ' + getToken() },
            customInsert: (res, insertFn) => {
              insertFn(res.data.url)
            }
          }
        }
      },
      mode: 'default'
    }
  },
  methods: {
    submit() {
      this.$emit('submit', this.html)//提交富文本内容给后端定义的接口
      this.html = '<p><br/></p>'
    },
    onCreated(editor) {
      this.editor = Object.seal(editor) // 一定要用 Object.seal() ,否则会报错
    }
  },
  mounted() {
    // 模拟 ajax 请求,异步渲染编辑器
    setTimeout(() => {
      this.content ? this.html = this.content : ''
    }, 500)
  },
  beforeDestroy() {
    const editor = this.editor
    if (editor == null) return
    editor.destroy() // 组件销毁时,及时销毁编辑器
  }
}
</script>

<style src="@wangeditor/editor/dist/css/style.css"></style>
步骤三:引入组件
<template>
  <div class="components-container">
  <div class="goListBtn">
    <el-button type="" @click="gobackBtn">返 回</el-button>
  </div>
  <WangEditor :content="content" @submit="workVadeUpdate"/>
</div>
</template>

<script>
import WangEditor from '@/components/richText'//引入步骤二自己写好的公共组件
import { workVadeUpdate, vadeInfo } from '@/api/common/WorkInstructions'//放接口的文件
export default {
  name: 'richText',
  components: {
    WangEditor
  },
  data() {
    return {
      id: this.$route.query.id,
      content: ''
    }
  },
  mounted() {
    this.vadeInfo()
  },
  methods: {

    // 把富文本编辑的内容提交给后端(记得换成自己公司的接口)
    async workVadeUpdate(content) {
      const { data, code, msg } = await workVadeUpdate({
        id: this.id,
        content
      })
      if (code === 200) {
        this.$message({
          type: 'success',
          message: '设置成功!'
        })
      } else {
        this.$message({
          type: 'error',
          message: msg
        })
      }
    },

// 富文本数据回显接口
    async vadeInfo() {
      const { data, code, msg } = await vadeInfo({
        id: this.id
      })
      if (code === 200) {
        this.content = data.content
      } else {
        this.$message({
          type: 'error',
          message: msg
        })
      }
    },

// 返回按钮
    gobackBtn() {
      const { name } = this.$route
      if (name) {
        this.$store.dispatch('tagsView/delView', this.$route)
      }
      history.back(-1)
    }
  }
}
</script>

<style scoped>
.components-container {
  margin: 10px 30px;
  position: relative;
}
.goListBtn {
  /*text-align: end;*/
  margin-bottom: 20px;
}
</style>
88


 1万+
1万+


 被折叠的 条评论
为什么被折叠?
被折叠的 条评论
为什么被折叠?
 到【灌水乐园】发言


