


private void handleBindApplication(AppBindData data) {
…
final InstrumentationInfo ii;
…
// 创建 mInstrumentation 实例
if (ii != null) {
final ApplicationInfo instrApp = new ApplicationInfo();
ii.copyTo(instrApp);
instrApp.initForUser(UserHandle.myUserId());
final LoadedApk pi = getPackageInfo(instrApp, data.compatInfo,
appContext.getClassLoader(), false, true, false);
final ContextImpl instrContext = ContextImpl.createAppContext(this, pi);
try {
final ClassLoader cl = instrContext.getClassLoader();
mInstrumentation = (Instrumentation)
cl.loadClass(data.instrumentationName.getClassName()).newInstance();
} catch (Exception e) {
…
}
…
} else {
mInstrumentation = new Instrumentation();
}
…
Application app;
…
// 创建 Application 实例
try {
…
app = data.info.makeApplication(data.restrictedBackupMode, null);
mInitialApplication = app;
…
try {
mInstrumentation.callApplicationOnCreate(app);
} catch (Exception e) {
…
}
} finally {
…
}
…
}
// http://androidxref.com/8.1.0_r33/xref/frameworks/base/core/java/android/app/LoadedApk.java#959
public Application makeApplication(boolean forceDefaultAppClass,
Instrumentation instrumentation) {
…
try {
…
//注释1
ContextImpl appContext = ContextImpl.createAppContext(mActivityThread, this);
app = mActivityThread.mInstrumentation.newApplication(
cl, appClass, appContext);
appContext.setOuterContext(app);
} catch (Exception e) {
…
}
…
return app;
}
static ContextImpl createAppContext(ActivityThread mainThread, LoadedApk packageInfo) {
if (packageInfo == null) throw new IllegalArgumentException(“packageInfo”);
return new ContextImpl(null, mainThread,
packageInfo, null, null, 0, null, null, Display.INVALID_DISPLAY);
}
这个方法我们只留下了最核心的内容,我们看下注释1, ContextImpl appContext = ContextImpl.createAppContext(mActivityThread, this);这个方法会直接new一个新的ContextImpl
private ContextImpl(ContextImpl container, ActivityThread mainThread,
LoadedApk packageInfo, IBinder activityToken, UserHandle user, int flags,
Display display, Configuration overrideConfiguration, int createDisplayWithId) {
…
//LoadApk赋值
mPackageInfo = packageInfo;
mResourcesManager = ResourcesManager.getInstance();
…
//通过LoadApk.getResources获取Resources对象
Resources resources = packageInfo.getResources(mainThread);
if (resources != null) {
if (displayId != Display.DEFAULT_DISPLAY
|| overrideConfiguration != null
|| (compatInfo != null && compatInfo.applicationScale
!= resources.getCompatibilityInfo().applicationScale)) {
if (container != null) {
// This is a nested Context, so it can’t be a base Activity context.
// Just create a regular Resources object associated with the Activity.
resources = mResourcesManager.getResources(
activityToken,
packageInfo.getResDir(),
packageInfo.getSplitResDirs(),
packageInfo.getOverlayDirs(),
packageInfo.getApplicationInfo().sharedLibraryFiles,
displayId,
overrideConfiguration,
compatInfo,
packageInfo.getClassLoader());
} else {
// This is not a nested Context, so it must be the root Activity context.
// All other nested Contexts will inherit the configuration set here.
resources = mResourcesManager.createBaseActivityResources(
activityToken,
packageInfo.getResDir(),
packageInfo.getSplitResDirs(),
packageInfo.getOverlayDirs(),
packageInfo.getApplicationInfo().sharedLibraryFiles,
displayId,
overrideConfiguration,
compatInfo,
packageInfo.getClassLoader());
}
}
}
//为mResources变量赋值
mResources = resources;
…
}
packageInfo.getResources,packageInfo是LoadApk类型的,我们看下这个方法
LoadApk#getResources
public Resources getResources(ActivityThread mainThread) {
if (mResources == null) {
mResources = mainThread.getTopLevelResources(mResDir, mSplitResDirs, mOverlayDirs,
mApplicationInfo.sharedLibraryFiles, Display.DEFAULT_DISPLAY, this);
}
return mResources;
}
其中调用了ActivityThread的getTopLevelResources方法,我们继续看一下
ActivityThread#getTopLevelResources
Resources getTopLevelResources(String resDir, String[] splitResDirs, String[] overlayDirs,
String[] libDirs, int displayId, LoadedApk pkgInfo) {
return mResourcesManager.getResources(null, resDir, splitResDirs, overlayDirs, libDirs,
displayId, null, pkgInfo.getCompatibilityInfo(), pkgInfo.getClassLoader());
}
继续调用了mResourcesManager的getResources方法,我么继续跟下去
ResourcesManager#getResources
public @NonNull Resources getResources(@Nullable IBinder activityToken,
@Nullable String resDir,
@Nullable String[] splitResDirs,
@Nullable String[] overlayDirs,
@Nullable String[] libDirs,
int displayId,
@Nullable Configuration overrideConfig,
@NonNull CompatibilityInfo compatInfo,
@Nullable ClassLoader classLoader) {
try {
Trace.traceBegin(Trace.TRACE_TAG_RESOURCES, “ResourcesManager#getResources”);
final ResourcesKey key = new ResourcesKey(
resDir,
splitResDirs,
overlayDirs,
libDirs,
displayId,
overrideConfig != null ? new Configuration(overrideConfig) : null, // Copy
compatInfo);
classLoader = classLoader != null ? classLoader : ClassLoader.getSystemClassLoader();
return getOrCreateResources(activityToken, key, classLoader);
} finally {
Trace.traceEnd(Trace.TRACE_TAG_RESOURCES);
}
}
private @NonNull Resources getOrCreateResources(@Nullable IBinder activityToken,
@NonNull ResourcesKey key, @NonNull ClassLoader classLoader) {
自我介绍一下,小编13年上海交大毕业,曾经在小公司待过,也去过华为、OPPO等大厂,18年进入阿里一直到现在。
深知大多数初中级安卓工程师,想要提升技能,往往是自己摸索成长,但自己不成体系的自学效果低效又漫长,而且极易碰到天花板技术停滞不前!
因此收集整理了一份《2024年最新Android移动开发全套学习资料》送给大家,初衷也很简单,就是希望能够帮助到想自学提升又不知道该从何学起的朋友,同时减轻大家的负担。
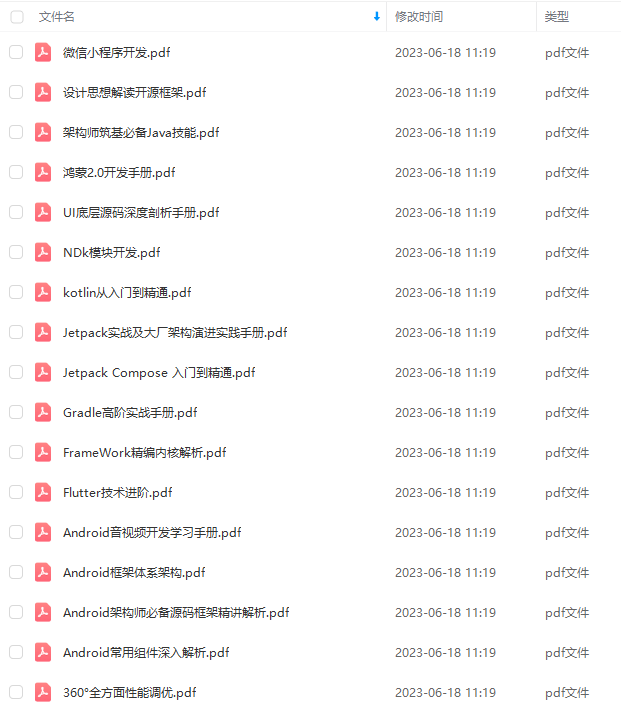
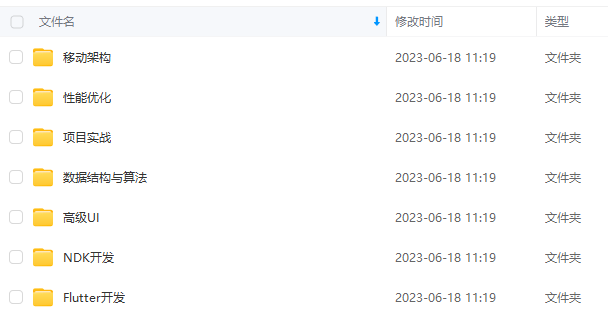
由于文件比较大,这里只是将部分目录截图出来,每个节点里面都包含大厂面经、学习笔记、源码讲义、实战项目、讲解视频
如果你觉得这些内容对你有帮助,可以添加下面V无偿领取!(备注Android)

最后
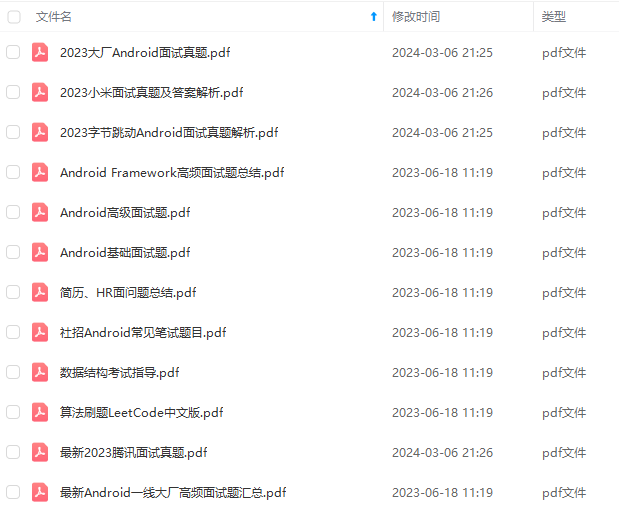
文章所有资料全部已经打包整理好,免费分享给有需要的人,另外小编手头上整理了大量Android架构师全套学习资料,Android核心高级技术PDF文档+全套高级学习资料+视频+2021 BAT 大厂面试真题解析,都是免费分享给大家的,全部都已整理在GitHub上,有需要的朋友可以点击前往领取更多。
资料展示:


面V无偿领取!(备注Android)**
[外链图片转存中…(img-nW5ButrU-1710758026848)]
最后
文章所有资料全部已经打包整理好,免费分享给有需要的人,另外小编手头上整理了大量Android架构师全套学习资料,Android核心高级技术PDF文档+全套高级学习资料+视频+2021 BAT 大厂面试真题解析,都是免费分享给大家的,全部都已整理在GitHub上,有需要的朋友可以点击前往领取更多。
资料展示:
[外链图片转存中…(img-B9UbUPWn-1710758026849)]
[外链图片转存中…(img-wKEy1ity-1710758026849)]
[外链图片转存中…(img-D2xatC4W-1710758026849)]


 被折叠的 条评论
为什么被折叠?
被折叠的 条评论
为什么被折叠?
 到【灌水乐园】发言


