


部署环境:
1.腾讯云服务器(Ubuntu-20.04)
2.Python 3.8.10
3.nginx/1.18.0 (Ubuntu)
一、本文简介
本文部署了两个HTML+CSS项目,分别为card和picture项目,其中都包含有静态文件static,需要在Nginx的配置文件中配置好静态文件的路径。同时,本文部署了多个项目,具有一般性。
环境搭建:https://blog.csdn.net/m0_56172605/article/details/128680836
二、项目准备
1.card项目
(1) 项目概览

(2) 详细代码
A.card.py文件
import flask

# static_url_path别名可以任意起,static_folder中静态文件夹名称可以任意起
app = flask.Flask(__name__, static_url_path='/card_static', static_folder='./static')

@app.route("/card")
def index():
    return flask.render_template("Running_horse.html")

if __name__ == "__main__":
    app.run(host='0.0.0.0')
B.Running_horse.html文件
<!DOCTYPE html>
<html lang="en">
<head>
    <meta charset="UTF-8">
    <title>Document</title>
    <!-- url_for中参数必须是'static',与静态文件夹名称无关 -->
    <link rel="stylesheet" href="{{ url_for('static',filename='Running_horse.css') }}">
</head>
<body>
    <div class="container">
        <div class="content">
            <b>马克丰</b><small>mark-feng2754</small>
        </div>
    </div>
</body>
</html>
C.Running_horse.css文件
* {
    margin: 0;
    padding: 0;
    box-sizing: border-box;
}
:root {
    --clr:#112434;
    --b-clr1:rgb(183,140,247);
    --b-clr2:rgb(255,124,148);
}
body{
    width: 100vw;
    min-height: 100vh;
    background: var(--clr);
    display: flex;
    justify-content: center;
    align-items: center;
}
.container {
    position: relative;
    width: 350px;
    height: 400px;
    background: #000;
    border-radius: 24px;
    display: flex;
    justify-content: center;
    align-items: center;
    overflow: hidden;
}
.container::before {
    content: '';
    width: 350px;
    height: 400px;
    background: linear-gradient(transparent,transparent,var(--b-clr1));
    position: absolute;
    animation:myAnimate 4s linear infinite;
    top: -50%;
    left: 50%;
    transform-origin: bottom left;
}
.container::after {
    content: '';
    width: 350px;
    height: 400px;
    background: linear-gradient(var(--b-clr2),transparent,transparent);
    position: absolute;
    animation:myAnimate 4s linear infinite;
    top: 50%;
    left: -50%;
    transform-origin: top right;
}
@keyframes myAnimate{
    0% {
        transform: rotate(0deg);
    }
    100% {
        transform: rotate(360deg);
    }
}
.content {
    color: #fff;
    width: 342px;
    height: 392px;
    background: var(--clr);
    border-radius: 20px;
    display: flex;
    justify-content: center;
    align-items: center;
    flex-direction: column;
    font-size: 2rem;
    z-index: 2;
}
.content b{
    color: var(--b-clr1);
}
.content small{
    color: var(--b-clr2);
}
D.uwsgi.ini文件
[uwsgi]
# 用于启动程序名
module = card:app
# 子进程数量
master = true
processes = 4
# 程序目录
chdir = /Projects/card
# 配置uWSGI与Nginx通信
socket = /Projects/card/uwsgi.sock
# 赋予.sock文件权限
chmod-socket = 660
# 停止uWSGI后是否删除.pid和.sock文件
vacuum = true
# http地址和端口
http = 0.0.0.0:8001
# 允许数据包大小
buffer-size = 65536
# 配置pidfile文件,用于停止uwsgi
pidfile = /Projects/card/uwsgi.pid
2.picture项目
(1) 项目概览
(2) 详细代码
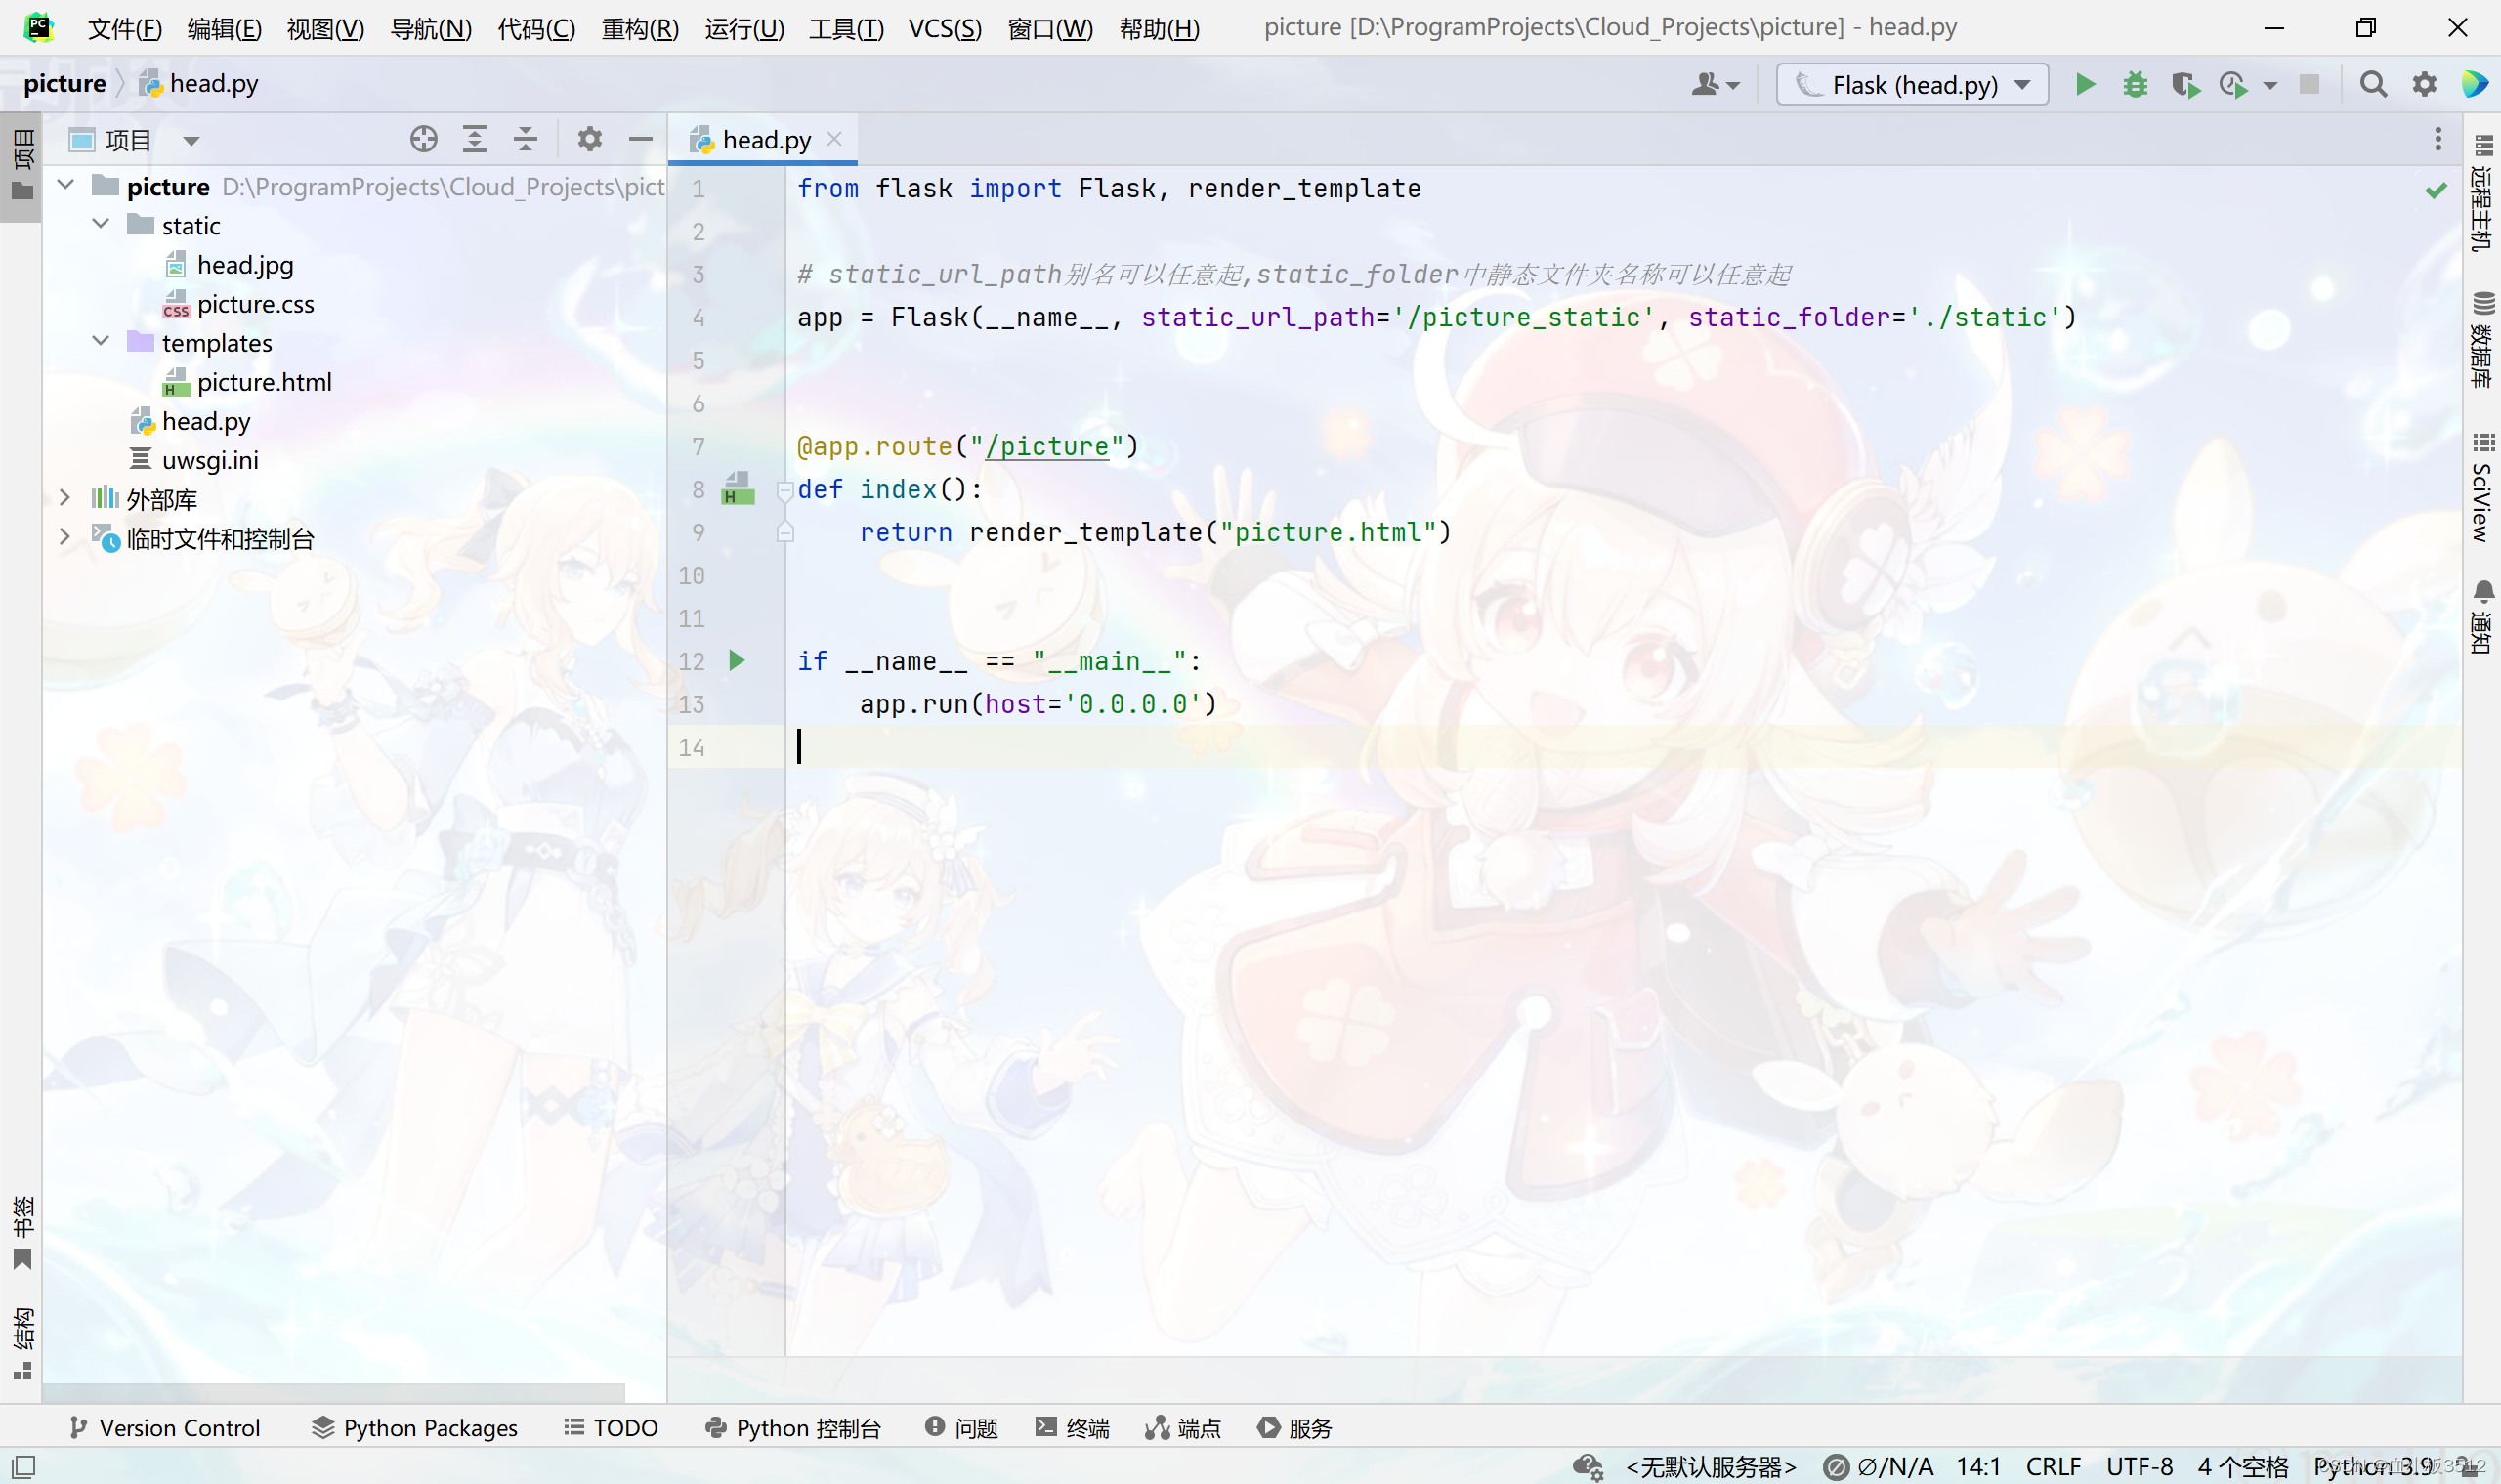
A.head.py文件
from flask import Flask, render_template

# static_url_path别名可以任意起,static_folder中静态文件夹名称可以任意起
app = Flask(__name__, static_url_path='/picture_static', static_folder='./static')

@app.route("/picture")
def index():
    return render_template("picture.html")

if __name__ == "__main__":
    app.run(host='0.0.0.0')
B.picture.html文件
<!DOCTYPE html>
<html lang="en">
<head>
    <meta charset="UTF-8">
    <title>Document</title>
    <!-- url_for中参数必须是'static',其他测试无效 -->
    <link rel="stylesheet" href="{{ url_for('static',filename='picture.css') }}">
</head>
<body>
    <div class="header">
    <img src="{{ url_for('static',filename='head.jpg') }}" alt="加载失败" title="鸣人">
    </div>
</body>
</html>
C.picture.css文件
.header {
    text-align: center;
}
D.head.jpg文件

E.uwsgi.ini文件
[uwsgi]
# 用于启动程序名
module = head:app
# 子进程数量
master = true
processes = 4
# 程序目录
chdir = /Projects/picture
# 配置Nginx
socket = /Projects/picture/uwsgi.sock
# 赋予.sock文件
chmod-socket = 660
# 停止uWSGI后是否删除.pid和.sock文件
vacuum = true
# http地址和端口
http = 0.0.0.0:8002
# 允许数据包大小
buffer-size = 65536
# 书写pidfile文件
pidfile = /Projects/picture/uwsgi.pid
3.上传项目
分别上传card和picture项目到服务器的/Projects/card和/Projects/picture路径,并授予777权限。
ubuntu@host:/Projects$ sudo chmod -R 777 card
ubuntu@host:/Projects$ sudo chmod -R 777 picture
三、启动uWSGI
1.启动uWSGI服务
ubuntu@host:/Projects$ uwsgi --ini card/uwsgi.ini
ubuntu@host:/Projects$ uwsgi --ini picture/uwsgi.ini
2.其他命令
ubuntu@host:~$ netstat -lntp # 查看各个端口占用情况
3.查看结果
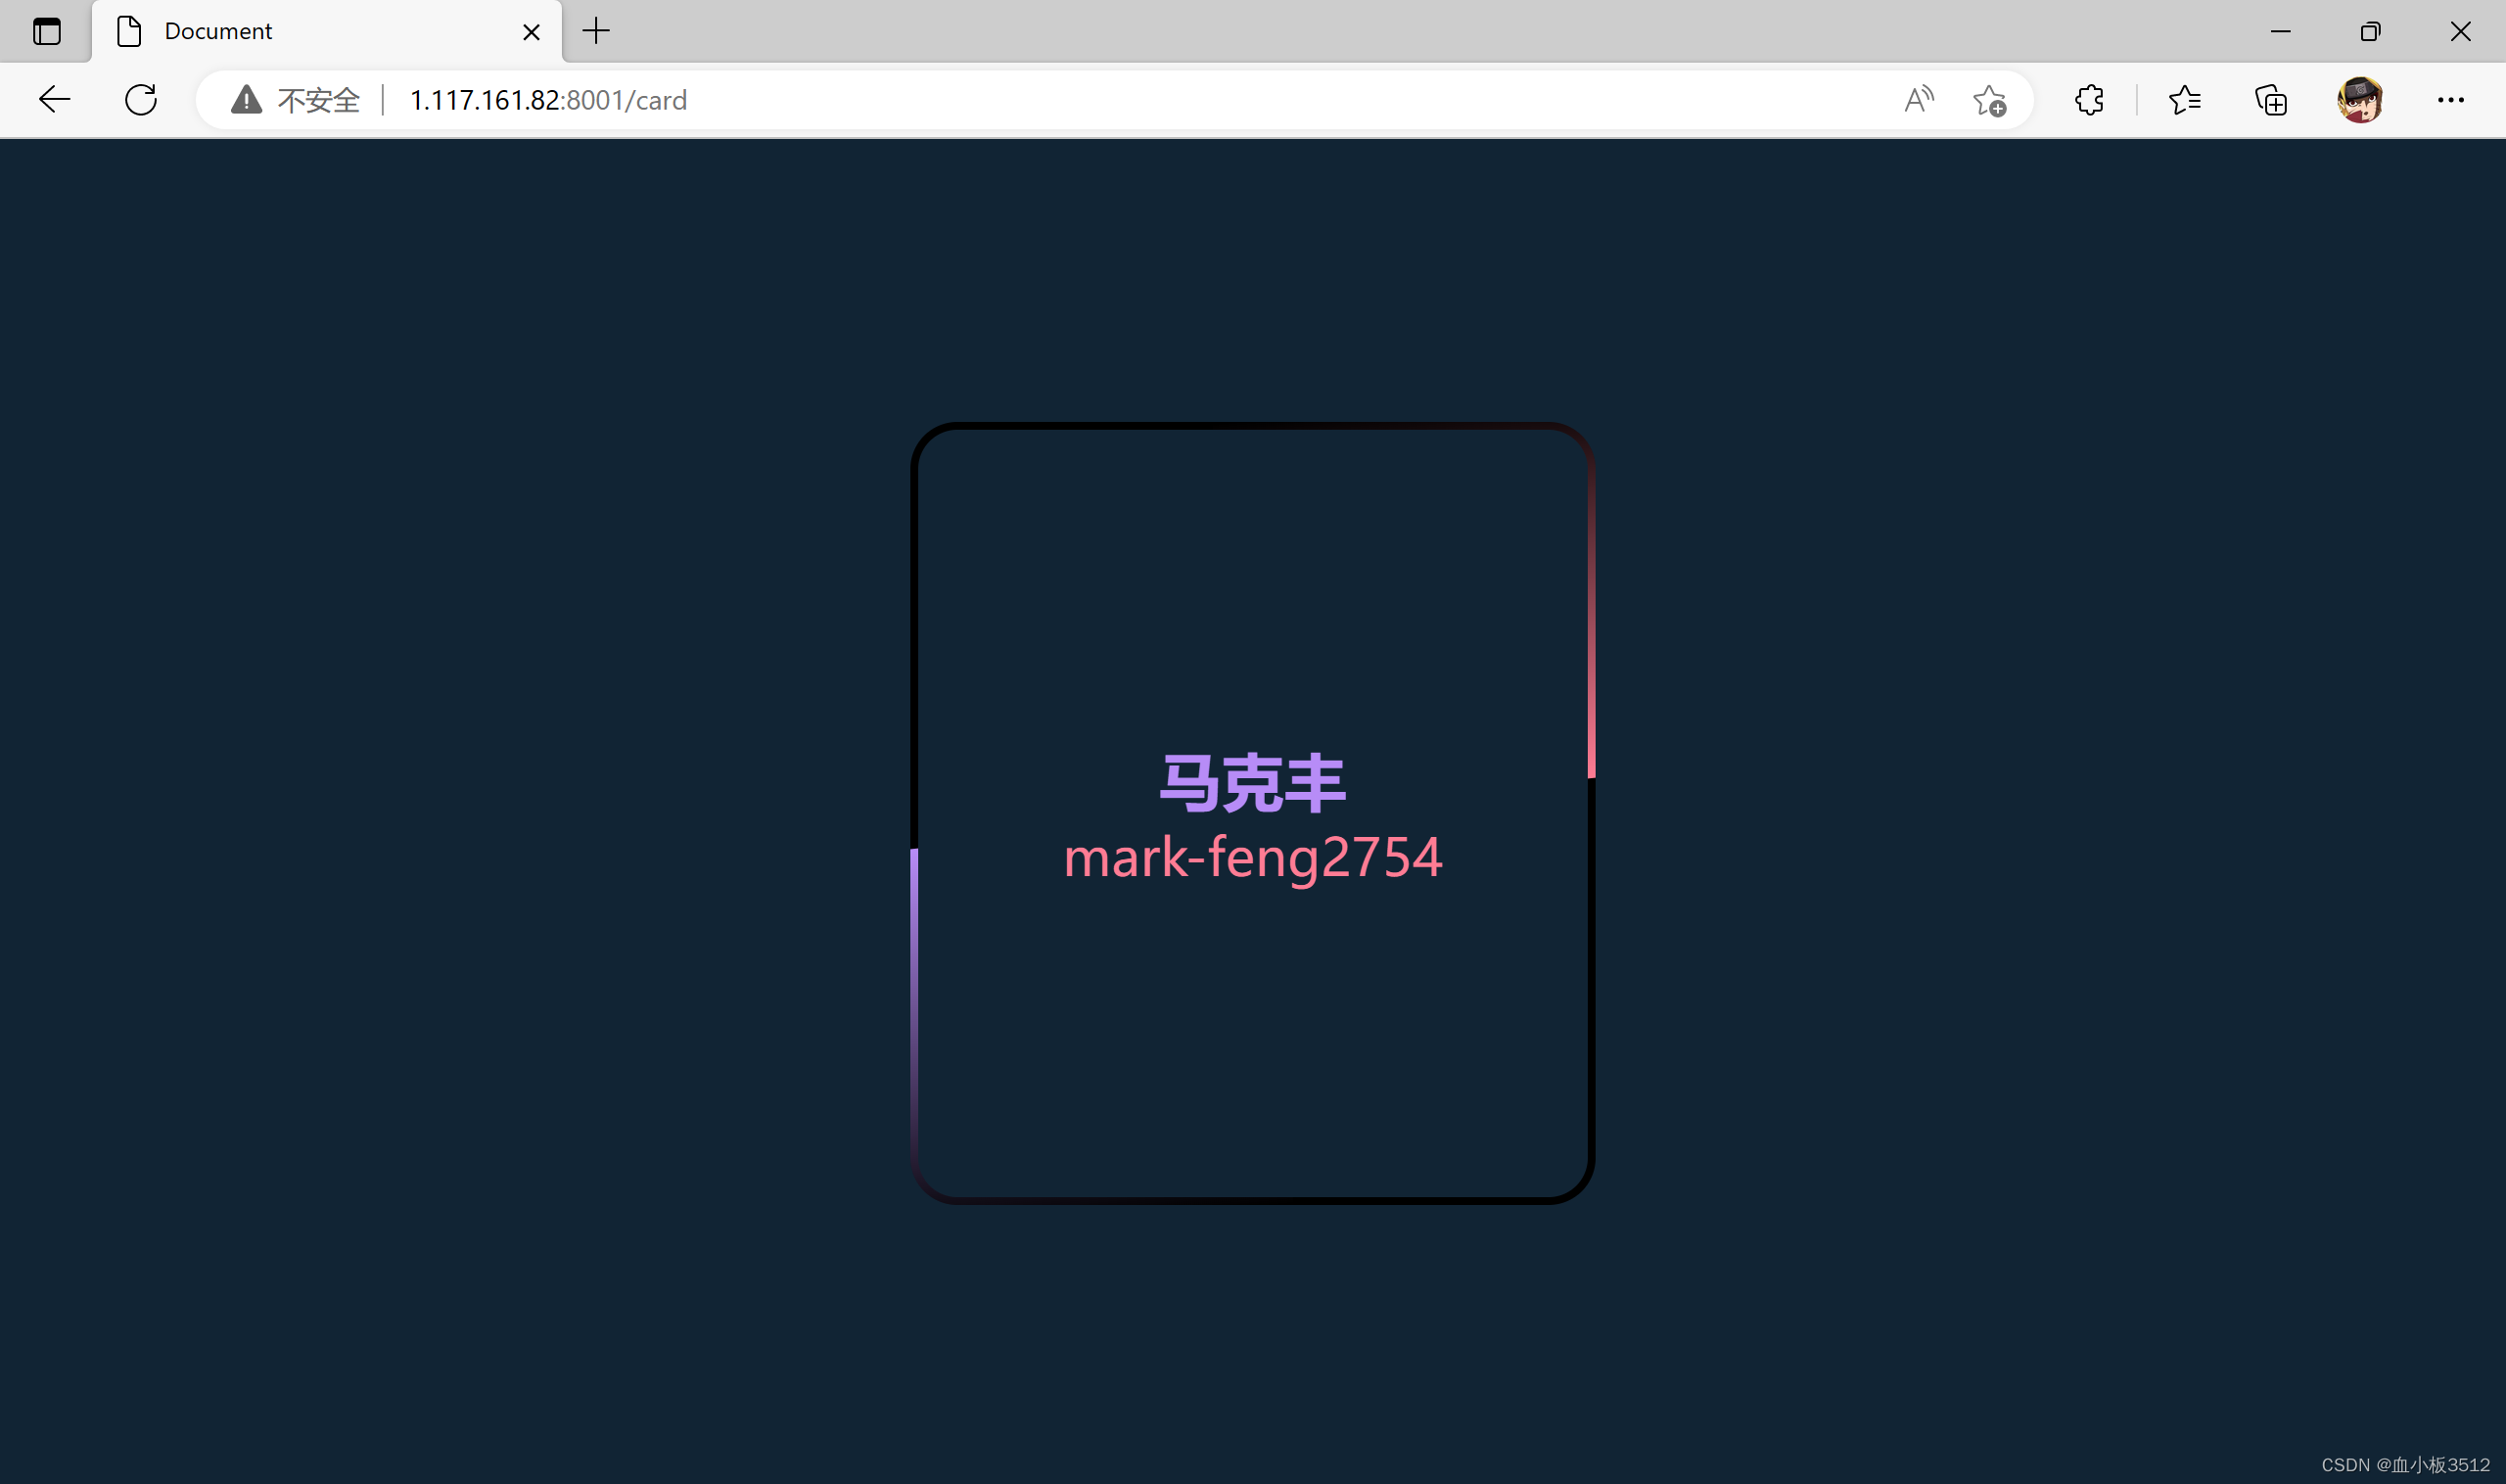
(1) card项目
(2) picture项目

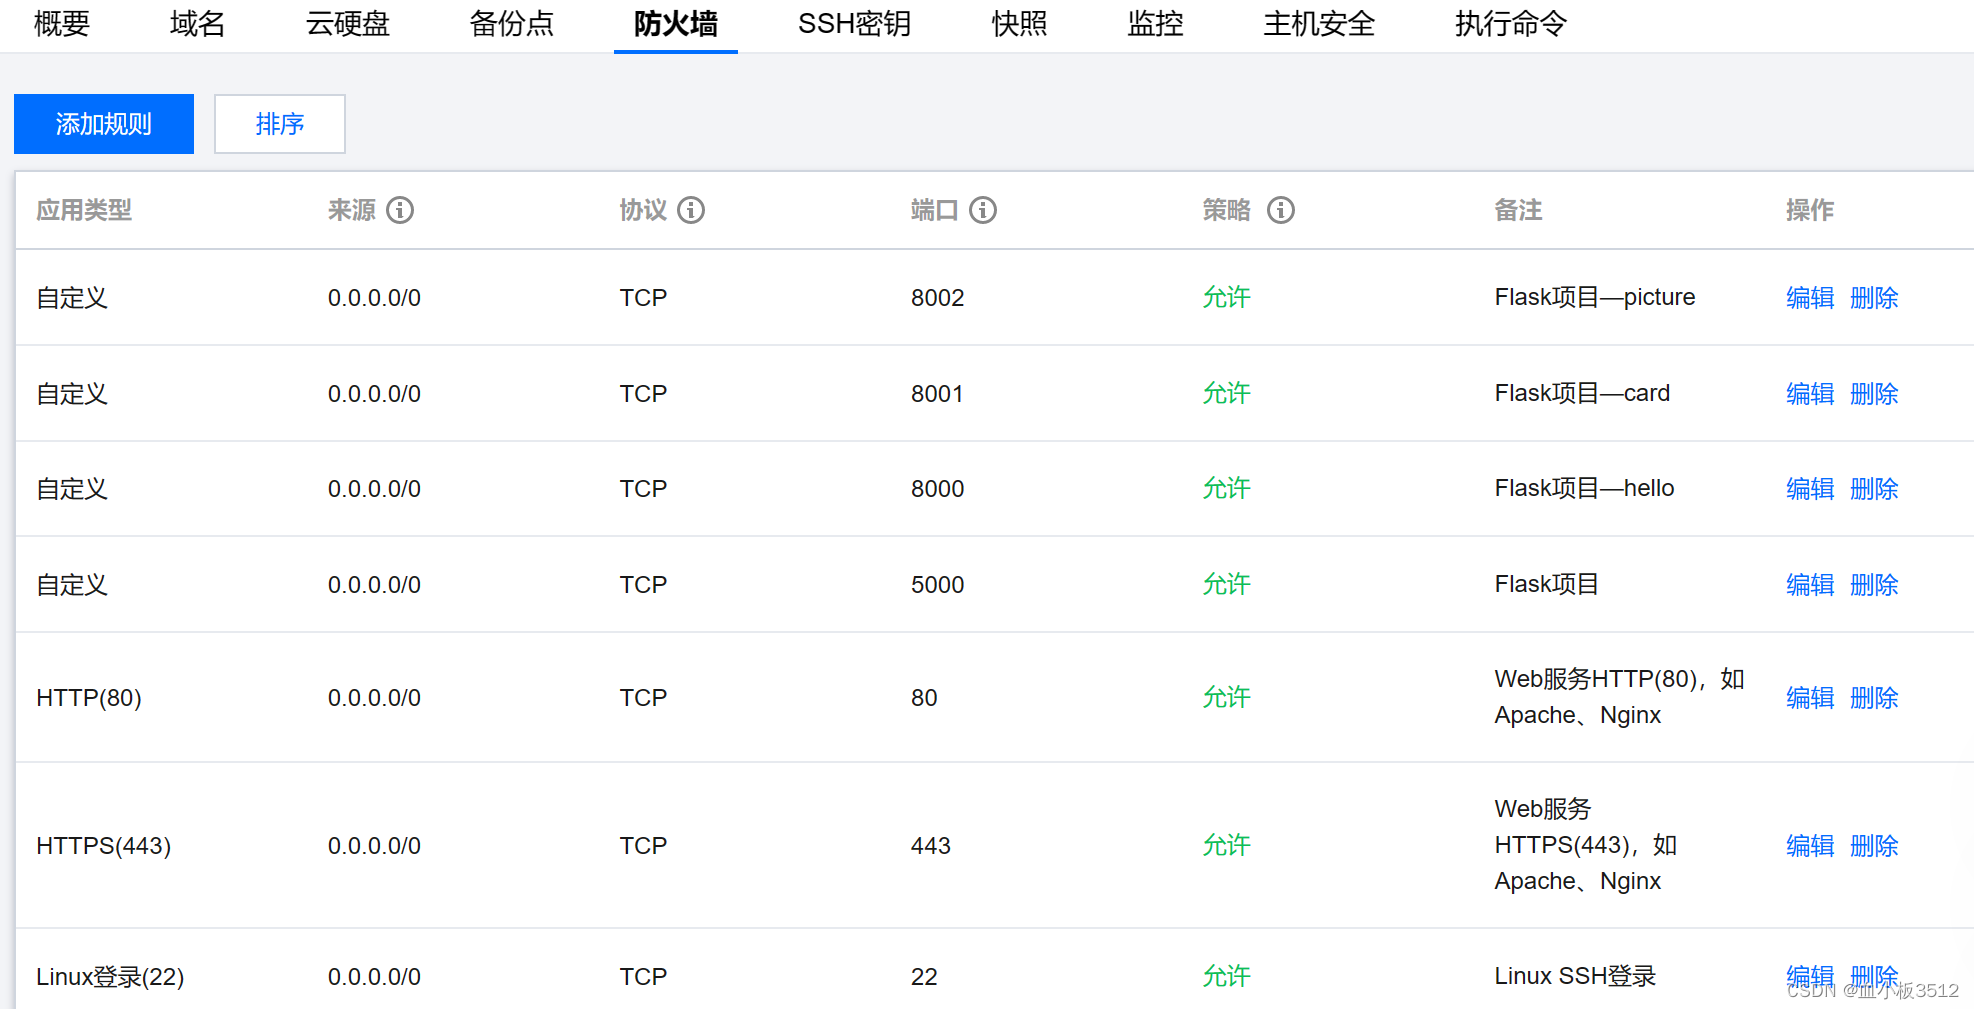
注:如果拒绝访问,可在腾讯云控制台的防火墙查看是否打开了8001和8002端口。
四、配置Nginx
1.备份配置文件
由于配置Nginx会多次修改配置文件,所以一定要备份好初始的配置文件。
sudo cp /etc/nginx/sites-enabled/default ~/nginx.backup
2.编辑配置文件
删除default文件,创建新的配置文件config。具体内容如下:
ubuntu@host:/etc/nginx/sites-enabled$ sudo rm -r default
ubuntu@host:/etc/nginx/sites-enabled$ sudo vim config
ubuntu@host:/etc/nginx/sites-enabled$ cat config
server {
        listen 80;
        server_name _;

        location /hello {
                include uwsgi_params;
                uwsgi_connect_timeout 30;
                uwsgi_pass unix:/Projects/hello/uwsgi.sock;
        }

        location /card {
                include uwsgi_params;
                uwsgi_connect_timeout 30;
                uwsgi_pass unix:/Projects/card/uwsgi.sock;
        }

        location /card_static {
                alias /Projects/card/static;
        }

        location /picture {
                include uwsgi_params;
                uwsgi_connect_timeout 30;
                uwsgi_pass unix:/Projects/picture/uwsgi.sock;
        }

        location /picture_static {
                alias /Projects/picture/static;
        }
}
ubuntu@host:/etc/nginx/sites-enabled$ ls
config
注释掉/etc/nginx/nginx.conf的第一行——user www-data;并换成user root;
#user www-data;      # 注释掉此行
user root;           # 换成此行
worker_processes auto;
pid /run/nginx.pid;
include /etc/nginx/modules-enabled/*.conf;
3.重新启动Nginx
因为我们修改了配置文件,所以必须要重新启动Nginx服务。
sudo nginx -t                 # 检查语法是否有错
sudo service nginx restart    # 重新启动Nginx
4.查看结果
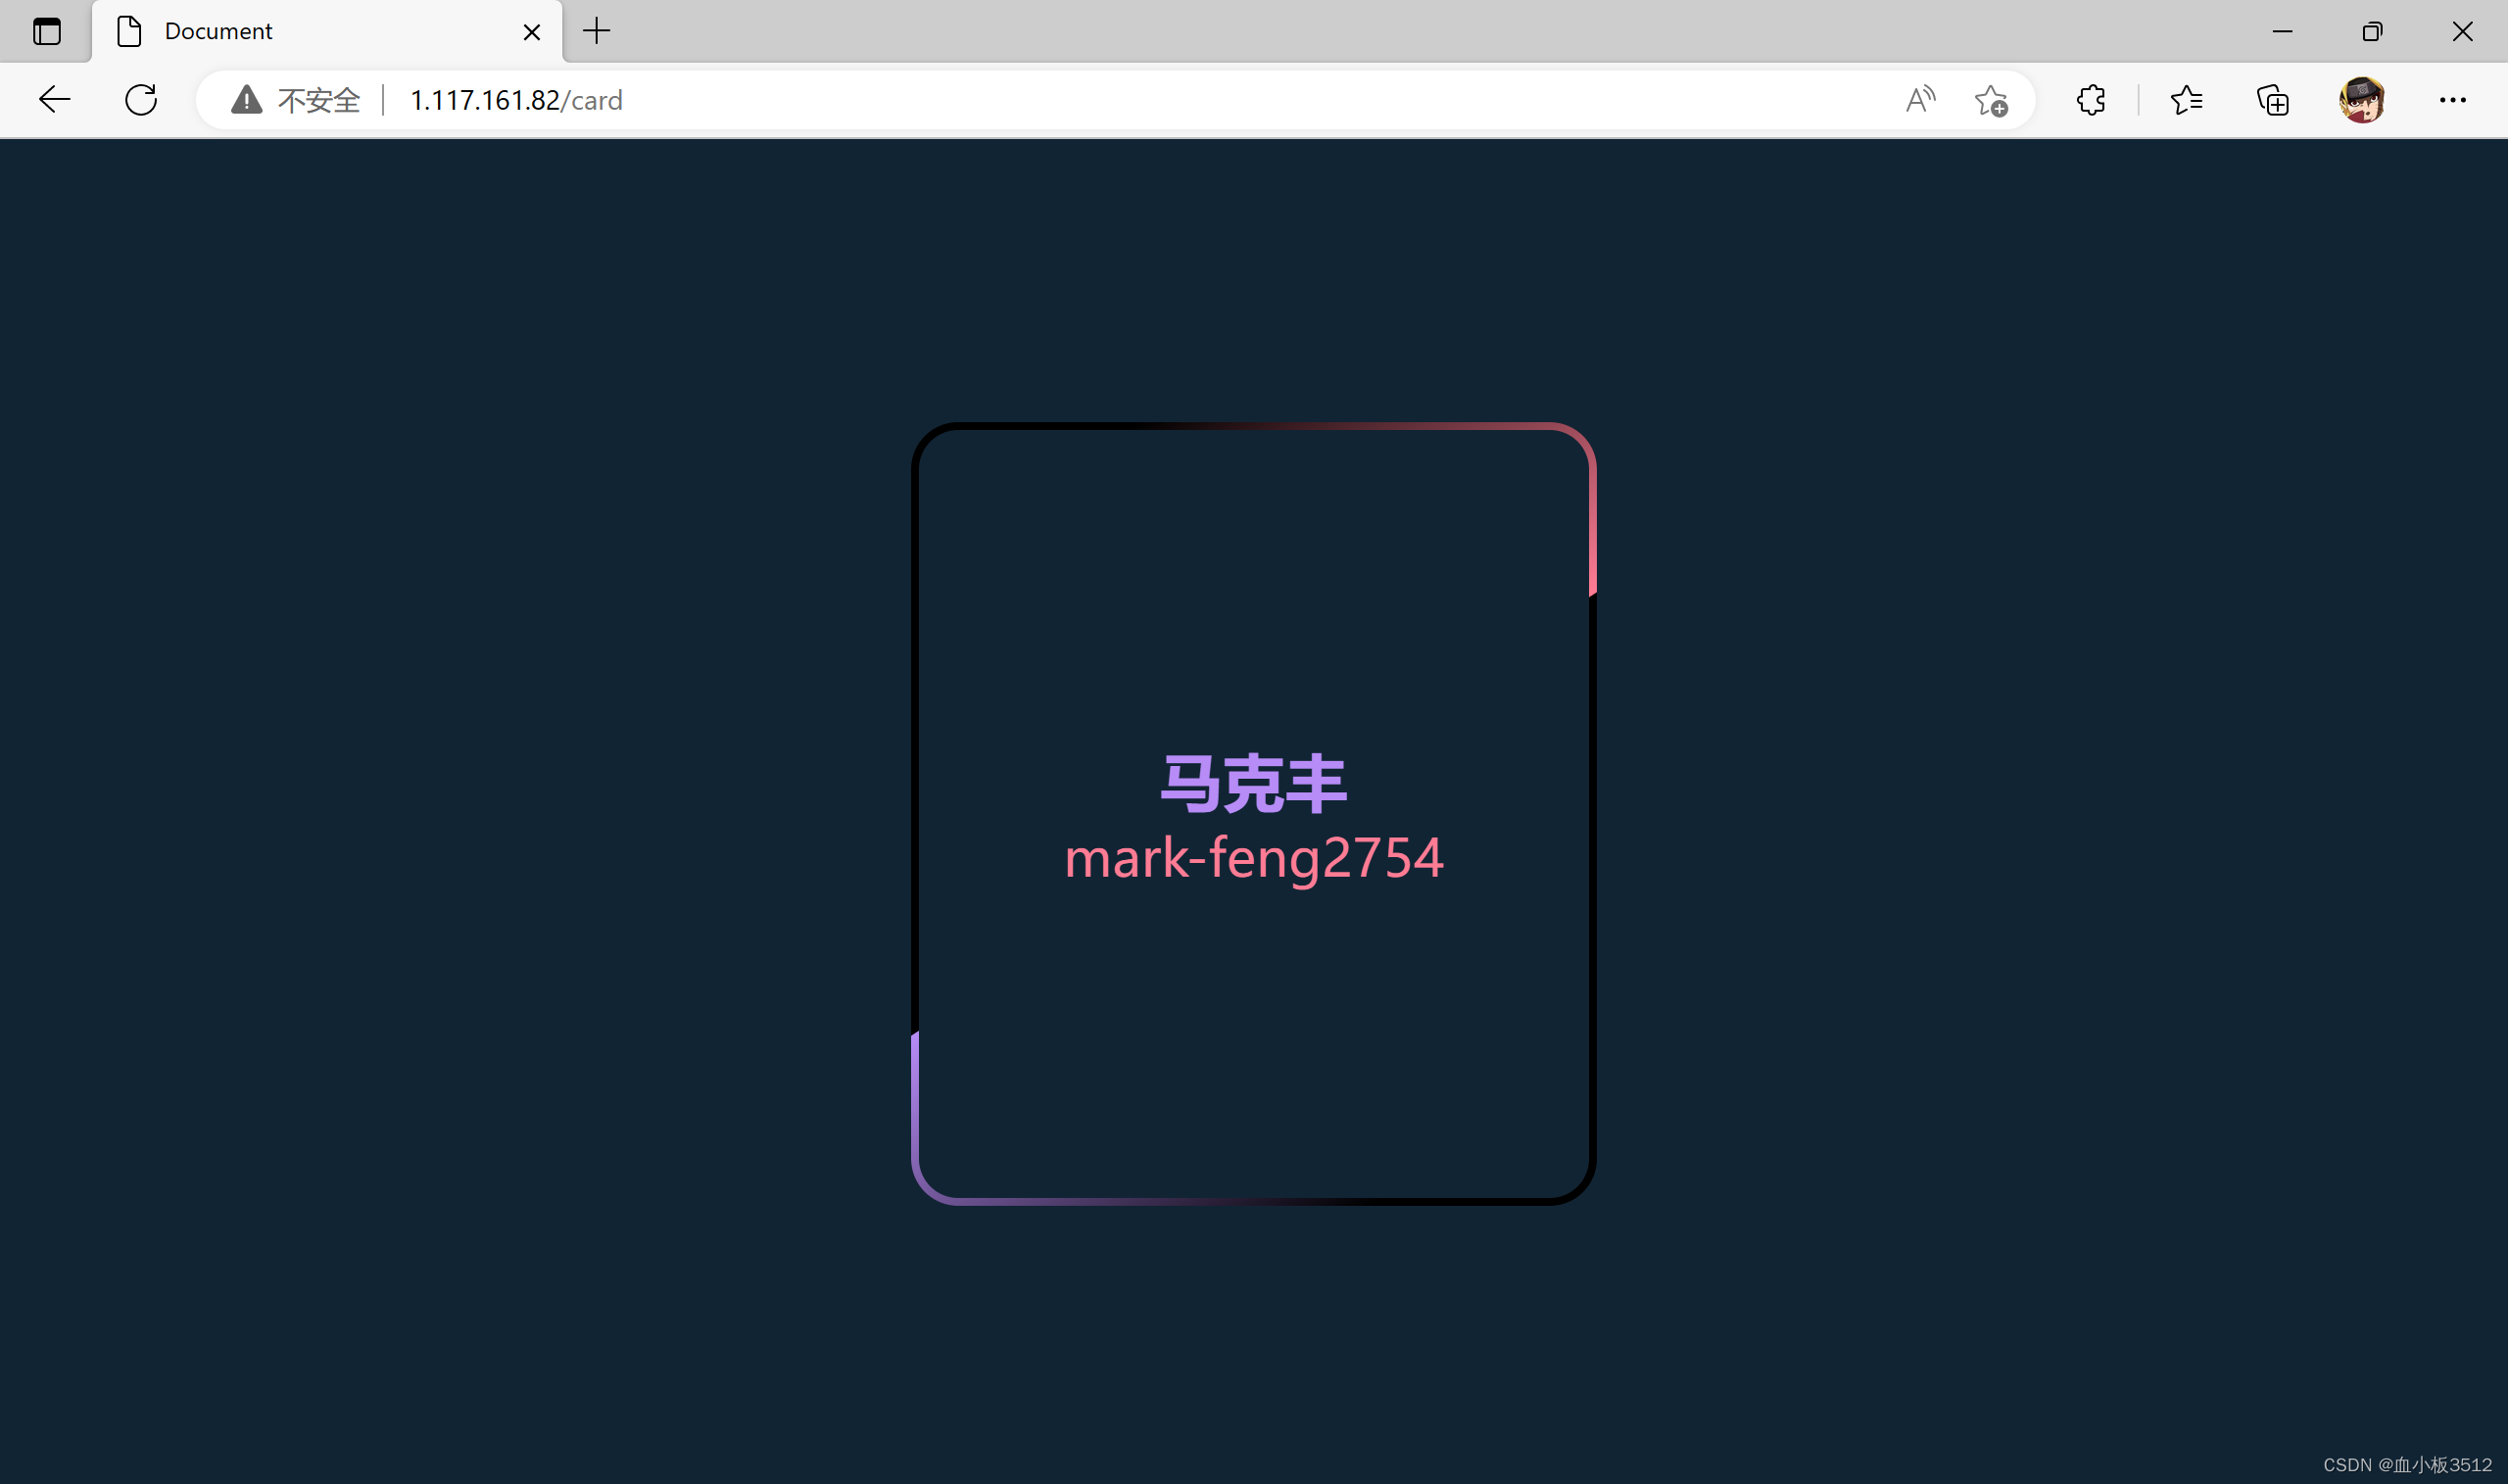
(1) card项目
(2) picture项目

五、参考文献
1.Python Flask 模块
2.4分钟实现一个跑马灯动效
3.如何在Nginx上用静态文件部署多个Flask应用?


 2221
2221


 被折叠的 条评论
为什么被折叠?
被折叠的 条评论
为什么被折叠?
 到【灌水乐园】发言


