


10.实现强制要求登陆
当用户访问 博客列表页和 博客详情页时, 如果用户当前尚未登陆, 就自动跳转到登陆页面
1.添加拦截器
public class LoginInterceptor implements HandlerInterceptor {
    @Override
    public boolean preHandle(HttpServletRequest request, HttpServletResponse response, Object handler) throws Exception {
        // 获取登录信息
        HttpSession session = request.getSession(false);
        if (session == null || session.getAttribute(Constant.USER_NAME_SESSION) == null) {
            response.setStatus(401);
            return false;
        }
        return true;
    }
}
2.将登陆拦截器添加到系统配置当中去
@Configuration
public class AppConFig implements WebMvcConfigurer {

    @Autowired
    private LoginInterceptor loginInterceptor;
    @Override
    public void addInterceptors(InterceptorRegistry registry) {
        // 将登陆拦截器添加到系统配置中
        registry.addInterceptor(loginInterceptor)
                // 表示拦截所有路径
                .addPathPatterns("/**")
                // 放过登陆页面
                .excludePathPatterns("/user/login");

    }
}
3.修改客户端代码
在blog_list和blog_detail页面添加下面的代码
statusCode: {
                401: function () {
                    alert("请先登录");
                    location.assign("blog_login.html");
                }
            }
测试成功

11.实现显示⽤户信息(博客列表页面)
目前左边部分显示的用户信息是写死的,我们需要从后端来获取数据动态的显示
1.约定前后端交互接口
在博客列表页
【请求】
- user/getUserInfo
【响应】
- [200]
- [200]返回数据成功,显示当前登录用户信息
- [-1] 表示未登录
- [401]没有权限访问
- [error]访问出现错误,打印异常信息
2.修改登录功能,登陆成功后添加session

3.实现服务端代码
- 服务端需要根据session返回当前登录用户的信息
- 前端根据拿到的数据渲染在页面上
    @RequestMapping("/getUserInfo")
    public Result  getUserInfo(HttpServletRequest request, HttpServletResponse response) {
        // 判断登录有拦截器去做
        HttpSession session = request.getSession(false);
        if (session == null || session.getAttribute(Constant.USER_NAME_SESSION) == null) {
            response.setStatus(401);
            return Result.fail(-1,"用户未登录");
        }
        User user = (User) session.getAttribute(Constant.USER_NAME_SESSION);
        return Result.success(user);
    }
4.实现客户端代码
⽬前⻚⾯的⽤户信息部分是写死的. 形如:

我们期望这个信息可以随着⽤户登陆⽽发⽣改变.
- 如果当前⻚⾯是博客列表⻚, 则显示当前登陆⽤户的信息.
- 如果当前⻚⾯是博客详情⻚, 则显示该博客的作者⽤户信息
getUserInfo()
function getUserInfo() {
            $.ajax({
                type: "get",
                url: "/user/getUserInfo",
                success: function (result) {
                    if (result.code == 200 && result.data != null) {
                        $(".left .card h3").text(result.data.userName);
                        $(".left .card a").attr("href", result.data.githubUrl);
                    }
                },
                error: function () {
                    console.log("后端返回失败");
                }
            });
        }
5.显示成功

12.显示用户信息(博客详情页)
1.约定前后端交互接口
在博客详情页
【请求】
- user/getAuthorInfo"+location.search
【响应】
- [200]
- [200]返回数据成功,显示当前博客作者信息
- [-1] 表示博客id不合法
- [-2] 表示当前博客作者已经注销
- [401]没有权限访问(这里不需要重复判断)
- [error]访问出现错误,打印异常信息
2.在userService添加方法
    /**
     * 根据blogId获取作者信息
     * @param blogId
     * @return
     */
    public User getUserInfoByBlogId(Integer blogId) {
        Blog blog = blogMapper.selectByBlogId(blogId);
        User user = userMapper.selectById(blog.getUserId());
        user.setPassWord("");
        return user;
    }
3.实现服务端代码
    @Autowired
    private UserService userService;
    private BlogService blogService;

    @RequestMapping("/getAuthorInfo")
    public Result getAuthorInfo(Integer blogId) {
        if (blogId == null || blogId <= 0) {
            return Result.fail(-1,"博客id不合法");
        }
        User user = userService.getUserInfoByBlogId(blogId);
        if (user == null) {
            return Result.fail(-2, "用户已注销");
        }
        return Result.success(user);
    }
4.实现前端代码
        //显示当前登录⽤户的信息
        function getAuthorInfo() {
            $.ajax({
                type: "get",
                url: "/user/getAuthorInfo"+location.search,
                success: function (result) {
                    if (result.code == 200 && result.data != null) {
                        $(".left .card h3").text(result.data.userName);
                        $(".left .card a").attr("href", result.data.githubUrl);
                    }
                },
                error: function (err) {
                }
            });
        }
        getAuthorInfo();
5.显示成功

13.实现发布博客
1.约定前后端交互接口
在博客详情页
【请求】
1.blog/add
?title=" “&content=” "…
【响应】
- [200]
- [200]返回数据成功,表示添加成功,跳转至博客列表界面
- [-1] 表示标题或正文不可为空
- [-2] 表示用户未登录
- [-3] 表示添加失败,稍后重试
- [401]没有权限访问
- [error]访问出现错误,打印异常信息
2.实现服务端代码
    /**
     * 添加博客
     * @param title
     * @param content
     * @return
     */
     @RequestMapping("/add")
    public Result add(HttpServletRequest request, String title, String content) {
        // 判空
        if (!StringUtils.hasLength(title) || !StringUtils.hasLength(content)) {
            return Result.fail(-1,"标题或正文不能为空");
        }
        // 获取当前登录用户信息
        // 因为添加了拦截器,走到这里一定登陆了
        User user = (User) request.getSession(false).getAttribute(Constant.USER_NAME_SESSION);
        // 还是判空以下
        if (user == null) {
            return Result.fail(-2,"用户未登录");
        }
        Blog blog = new Blog();
        blog.setUserId(user.getId());
        blog.setContent(content);
        blog.setUserId(user.getId());
        blog.setTitle(title);
        Integer row = blogService.insertBlog(blog);
        if (row == 1) {
            return Result.success("添加成功");
        }
        return Result.fail(-3,"添加失败,稍后重试");
    }
3.实现前端代码
    <script type="text/javascript">

        $(function () {
            var editor = editormd("editor", {
                width: "100%",
                height: "550px",
                path: "blog-editormd/lib/"
            });
        });
        function submit() {
            $.ajax({
                type: "post",
                url: "/blog/add",
                data: {
                    "title": $("#title").val(),
                    "content": $("#content").val()
                },
                success: function (result) {
                    if (result != null && result.code == 200) {
                        alert("发布成功,即将跳转博客列表界面");
                        location.href = "blog_list.html";
                    } else{
                        alert(result.msg);
                        return;
                    }
                },
                error: function () {
                    console.log("后端返回失败");
                },
                statusCode: {
                    401: function () {
                        alert("请先登录");
                        location.assign("blog_login.html");
                    }
                }

            });
        }

    </script>
4.显示成功


我们发现博客列表是正序显示的,我们把它改成倒叙,
sql语句查询的时候按照时间降序排列
5.修改博客列表显示
    /**
     * 查询所有未删除的博客.按照时间降序排列
     * @return
     */
    @Select("select id, title, content, user_id, create_time from blog where delete_flag = 0 order by create_time desc;")
    List<Blog> selectAllBlog();
6.博客列表倒序显示正常

14.实现删除/编辑博客
在博客详情页,判断本篇博客是否是当前登录用户所写
如果是,显示编辑和删除按钮
1.动态显示按钮
给Blog类添加一个属性,loginUser为1,说明本篇博客是否是当前登录用户所写,返回博客信息的同时返回这个属性,根据属性的值来判断是否添加按钮
1.修改服务端代码
1.给Blog类新型加一个字段
@Data
public class Blog {
    private Integer id;
    private String title;
    private String content;
    private Integer userId;
    private Integer deleteFlag;
    // 本篇博客是否是当前登录用户所写
    private Integer loginUser;
    private Date createTime;

    public String getCreateTime() {
        return DateUtil.format(createTime);
    }
}
2.修改BlogController
    @RequestMapping("/getBlogDetails")
    public Result getDetails(HttpServletRequest request, Integer blogId) {
        // 判合法
        if (blogId == null || blogId <= 0) {
            return Result.fail(-1,"博客不存在");
        }
        Blog blog = blogService.selectByBlogId(blogId);
        if (blog == null) {
            return Result.fail(-1,"博客不存在");
        }
        // 获取当前登录用户
        User user = (User) request.getSession(false).getAttribute(Constant.USER_NAME_SESSION);
        if (user.getId().equals(blog.getUserId())) {
            blog.setLoginUser(1);
        }
        return Result.success(blog);
    }
3.实现前端代码
        $.ajax({
            type: "get",
            url: "/blog/getBlogDetails" + location.search,
            success: function (result) {
                console.log(result);
                if (result.code == 200 && result.data != null) {
                    $(".title").text(result.data.title);
                    $(".date").text(result.data.createTime);
                    editormd.markdownToHTML("content", {
                        markdown: result.data.content,
                    });
                    //显示更新, 删除按钮
                    if (result.data.loginUser == 1) {
                        var html = "";
                        html += '<div class="operating">';
                        html += '<button onclick="window.location.href=\'blog_update.html'+location.search+'\'">编辑</button>';
                        html += '<button onclick="deleteBlog()">删除</button>';
                        html += '</div>';
                        $(".content").append(html);
                    }

                } else {
                    alert(result.msg);
                }
            },
            error: function () {
                console.log('访问出错');
            },
            statusCode: {
                401: function () {
                    location.assign("blog_login.html");
                }
            }
        });
4.编辑和删除按钮显示成功

2.实现编辑博客
1.约定前后端交互接口
【请求】
1.blog/update
?title=" “&content=” “&blogId=” "…
【响应】
- [200]
- [200]返回数据成功,表示更新成功,跳转至博客列表界面
- [-1] 表示标题或正文不可为空
- [-2] 表示用户未登录
- [-3] 表示更新失败,稍后重试
- [401]没有权限访问
- [error]访问出现错误,打印异常信息
2.后端代码实现
    /**
     * 编辑博客
     * @param title
     * @param content
     * @param blogId
     * @return
     */
     @RequestMapping("/update")
    public Result update(String title, String content, Integer blogId) {
        // 判空
        if (!StringUtils.hasLength(title) || !StringUtils.hasLength(content)) {
            return Result.fail(-1,"标题或正文不能为空");
        }
        Blog blog = new Blog();
        blog.setTitle(title);
        blog.setContent(content);
        blog.setId(blogId);
        Integer row = blogService.updateBlog(blog);
        if (row == 1) {
            return Result.success("更新成功");
        }
        return Result.fail(-3,"更新失败,稍后重试");
    }
4.编辑功能实现成功

3.实现前端代码
    <script type="text/javascript">
        getBlogInfo();
        function submit() {
            $.ajax({
                type: "post",
                url: "/blog/update",
                data: {
                    "title": $("#title").val(),
                    "content": $("#content").val(),
                    "blogId": $("#blogId").val()
                },
                success: function (result) {
                    if (result != null && result.code == 200) {
                        alert("更新成功,跳转至博客列表界面")
                        location.href = "blog_list.html";
                    } else {
                        alert(result.msg);
                        return;
                    }
                },
                error: function () {
                console.log("后端返回失败");
            },
            statusCode: {
                401: function () {
                    alert("请先登录");
                    location.assign("blog_login.html");
                }
            }

            });
        }
        function getBlogInfo() {
            $.ajax({
                type: "get",
                url: "/blog/getBlogDetails" + location.search,
                success: function (result) {
                    if (result != null && result.code == 200 && result.data != null) {
                        console.log(result);
                        $("#title").val(result.data.title);
                        $("#content").html(result.data.content);
                        $("#blogId").val(result.data.id);
                    }
                }
            });
        }

        $(function () {
            var editor = editormd("editor", {
                width: "100%",
                height: "550px",
                path: "blog-editormd/lib/"
            });
        });


    </script>
3.实现删除博客
1.约定前后端交互接口
【请求】
1.blog/delete
blogId=" "…
【响应】
- [200]
- [200]返回数据成功,表示删除成功,跳转至博客列表界面
- [-1] 表示博客不存在
- [-2] 表示用户未登录
- [-3] 表示删除失败,稍后重试
- [401]没有权限访问
- [error]访问出现错误,打印异常信息
2.后端代码实现
    @RequestMapping("/delete")
    public Result deleteBlog(Integer blogId) {
        if (blogId == null || blogId <= 0) {
            return Result.fail(-1,"博客不存在");
        }
        Blog blog = new Blog();
        blog.setId(blogId);
        blog.setDeleteFlag(1);
        Integer row = blogService.updateBlog(blog);
        if (row == 1) {
            return Result.success("删除成功");
        }
        return Result.fail(-3,"删除失败,稍后重试");
    }
3.前端代码实现
function deleteBlog() {
            $.ajax({
                type: "post",
                url: "/blog/delete" + location.search,
                success: function (result) {
                    if (result != null && result.code == 200 && result.data) {
                        alert("删除成功, 即将跳转⾄博客列表⻚");
                        location.href = "blog_list.html"
                    } else {
                        alert(result.msg);
                    }
                },
                error: function () {
                    console.log('访问出错');
                },
                statusCode: {
                    401: function () {
                        location.assign("blog_login.html");
                    }
                }
            });
        }
4.删除功能实现成功

15.实现退出登录功能
1.约定前后端交互接口
【请求】
1.blog/loginout
【响应】
- [200]
- [200]返回数据成功,表示退出成功,跳转至登录界面
- [401]没有权限访问
- [error]访问出现错误,打印异常信息
2.后端代码实现
    @RequestMapping("/logout")
    public Result logout(HttpServletRequest request) {
        HttpSession session = request.getSession(false);
        if (session != null || session.getAttribute(Constant.USER_NAME_SESSION) != null) {
            session.removeAttribute(Constant.USER_NAME_SESSION);
        }
        return Result.success("退出成功");
    }
3.前端代码实现
function logout() {
    $.ajax({
        type: "get",
        url: "/user/logout",
        success: function (result) {
            location.assign("blog_login.html");
        },
        error: function () {
            console.log('访问出错');
        },
        statusCode: {
            401: function () {
                location.assign("blog_login.html");
            }
        }
    })
}
4.推出功能实现成功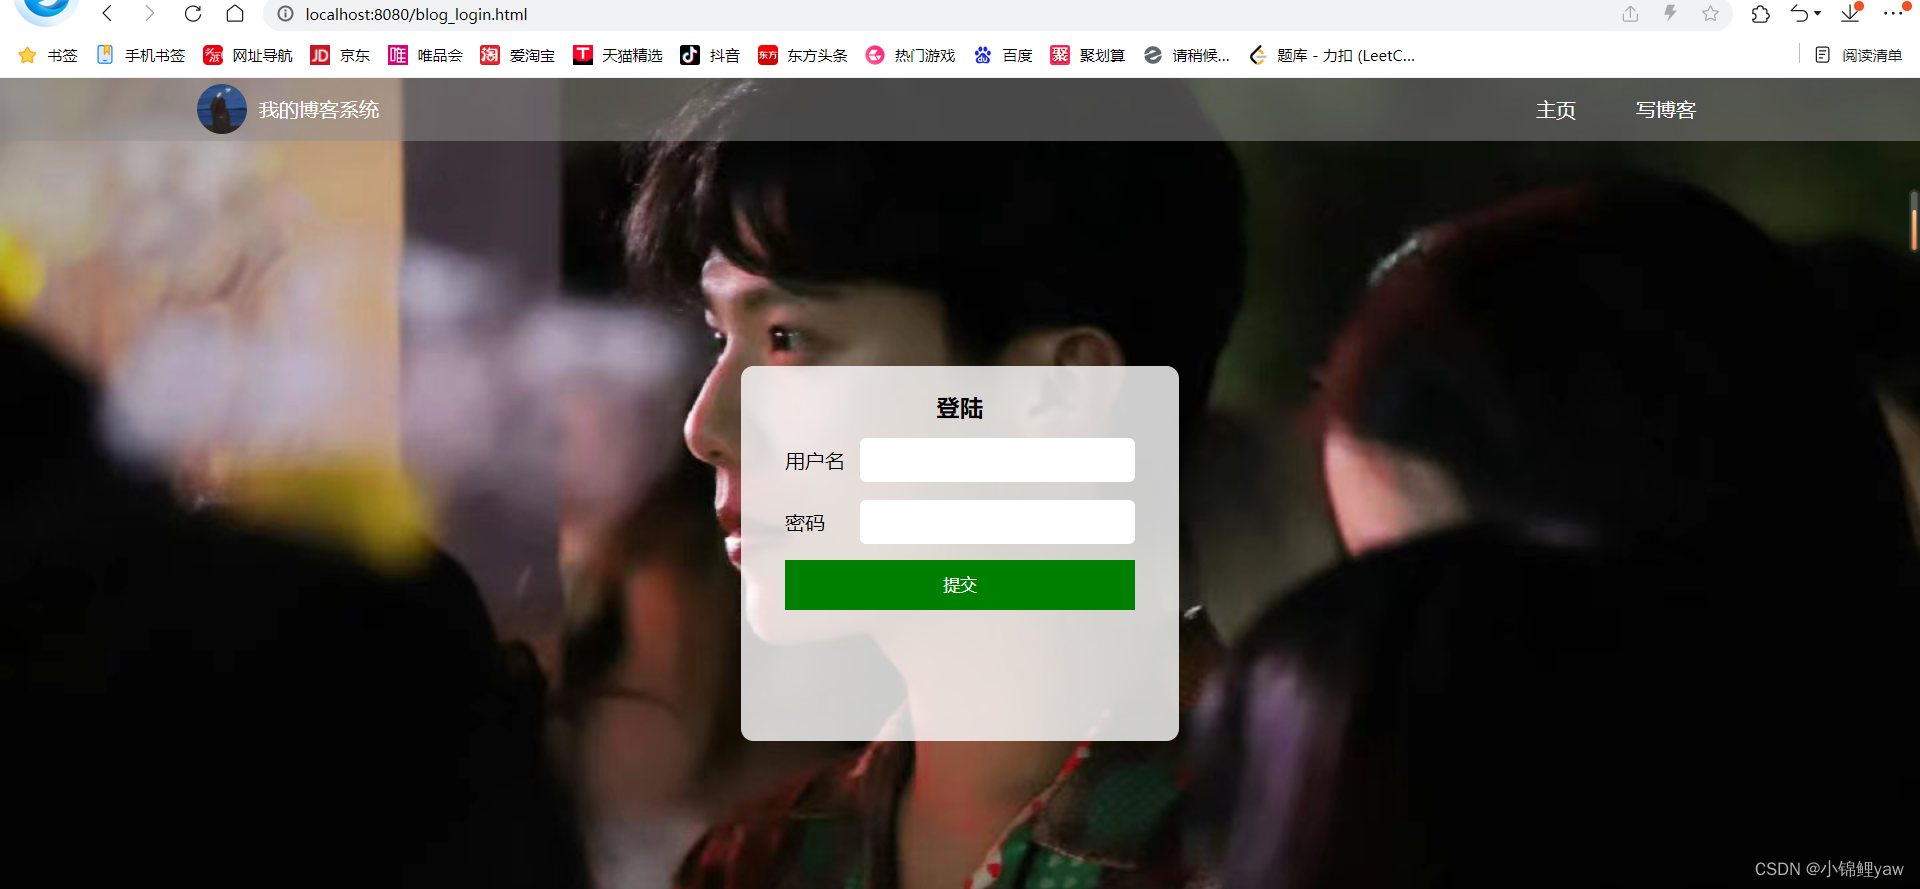
自此,博客系统就已经全部完成了,
希望能对大家有所帮助~~


 1374
1374

 被折叠的 条评论
为什么被折叠?
被折叠的 条评论
为什么被折叠?
 到【灌水乐园】发言


