


1 环境准备:
1.idea 创建spring项目,选择springweb,mybatis framework ,sql drive框架
2.添加pom.xml依赖:
  <dependency>
            <groupId>org.projectlombok</groupId>
            <artifactId>lombok</artifactId>
        </dependency>
3.添加application.properties配置
#驱动类名称
spring.datasource.driver-class-name=com.mysql.cj.jdbc.Driver
#数据库连接的url
spring.datasource.url=jdbc:mysql://localhost:3306/tlias
#连接数据库的用户名
spring.datasource.username=root
#连接数据库的密码
spring.datasource.password=1234

mybatis.configuration.log-impl=org.apache.ibatis.logging.stdout.StdOutImpl
#数据封装的转换:驼峰命名和下划线命名的转换
mybatis.configuration.map-underscore-to-camel-case=true
4.添加数据库表格
5.构建三层架构模块:

2部门信息管理:
2.1Dept的控制类加入@RestController注解;加入@Slf4j注解生成log对象实现控制台的输出:
类的实现代码:
@Slf4j
@RestController
public class DepContral {
    @Autowired
    private DeptService deptService;
    @GetMapping("/Depts")
    public Result list(){
        log.info("输出全部员工信息");
        List<Dept> li=deptService.list();
        return Result.success(li);
    }
}
其中@Autowired实现对服务层的动态注入,
@GetMapping(“/Depts”)实现前端访问的路径以及使用get方式访问。
2.2实现服务层的接口
代码如下:
@Service
public class DeptServieImp implements DeptService {
    @Autowired
    private DeptMapper deptMapper;
    @Override
    public List<Dept> list() {
      List<Dept> li  = deptMapper.list();
      return li;
    }
}
2.3实现Mapper层次的接口
@Mapper
public interface DeptMapper {
   @Select("select * from dept;")
   public List<Dept> list();
}
3实现前端对数据库根据id的删除请求的操作:
控制层:
@DeleteMapping("depts/{id}")
    public Result delectById(@PathVariable Integer id){//注解获取id的作用
        deptService.delectById(id);
        log.info("删除部门表数据{}",id);
        return Result.success();
    }
mapper层:
 @Delete("delete from dept where id=#{id}")
   void delectById(Integer id);
服务层跟查询操作类似:
4实现增加部门操作:
@RequestMapping("/depts")//简化路径书写
控制层
 @PostMapping
    public Result add(@RequestBody Dept dept){
        deptService.add(dept);
        return Result.success();
    }
    //@RequestBody把前端的json数据封装在一个实体类里
服务层:
 public void add(Dept dept) {
        dept.setCreateTime(LocalDateTime.now());
        dept.setUpdateTime(LocalDateTime.now());
        deptMapper.add(dept);
    }
mapper层:
@Insert("insert into dept (name, create_time, update_time) values (#{name},#{createTime},#{updateTime})")

   void add(Dept dept);
3员工信息管理:
3.1员工信息分页展示:
请求路径:/emps,请求参数:页面数和分页展示的数目。
控制层代码:
 @GetMapping("/emps")
    public Result Page(@RequestParam(defaultValue = "1") Integer page,
                       @RequestParam(defaultValue = "5") Integer pageSize){
        log.info("分页展示员工页面");
         pageBean pagebean =empService.list(page,pageSize);
        return Result.success(pagebean);
    }
    //@RequestParam接受参数并设置默认值
服务层代码:
  @Override
    public  pageBean list(Integer page, Integer pageSize) {
        Long empsum= empMapper.empSum();
        Integer page1=(page-1)*pageSize;
        List<Emp> empList=empMapper.list(page1,pageSize);
        return new pageBean(empsum,empList);
    }
mapper层代码:
    @Select("select count(*) from emp;")
    Long empSum();

    @Select("select * from emp limit  #{page1},#{pageSize};")
    List<Emp> list(Integer page1, Integer pageSize);
3.2使用pageHelper插件简化分页查询操作:
1:导入分页查询与springBoot整合的插件:
 <groupId>com.github.pagehelper</groupId>
            <artifactId>pagehelper-spring-boot-starter</artifactId>
            <version>1.4.6</version>
2:mapper层:
@Select("select * from emp")
    List<Emp> list(Integer page, Integer pageSize);
3:service层:
@Override
public PageBean page(Integer page, Integer pageSize) {
// 设置分页参数
PageHelper.startPage(page, pageSize);
// 执行分页查询
List<Emp> empList = empMapper.list(name,gender,begin,end);
// 获取分页结果
Page<Emp> p = (Page<Emp>) empList;
//封装PageBean
PageBean pageBean = new PageBean(p.getTotal(), p.getResult());
return pageBean;
}
3.3员工信息分页条件展示:
1.请求路径不变,传递参数:page,pageSize,name,gender,begin,end
控制层实现:
public class EmpControl {
    @Autowired
    private EmpService empService;
    @GetMapping("/emps")
    public Result Page(@RequestParam(defaultValue = "1") Integer page,
                       @RequestParam(defaultValue = "5") Integer pageSize,
                       String name, Short gender,
           @DateTimeFormat(pattern = "yyyy-MM-dd") LocalDate begin,//指定前端传入得数据格式
           @DateTimeFormat(pattern = "yyyy-MM-dd") LocalDate end
        ){

        log.info("分页展示员工页面");
         pageBean pagebean =empService.list(page,pageSize,name,gender,begin,end);
        return Result.success(pagebean);
    }
}
服务层实现:
public  pageBean list(Integer page, Integer pageSize,String name, Short gender, LocalDate begin,
                          LocalDate end) {
//        Long empsum= empMapper.empSum();
//        Integer page1=(page-1)*pageSize;
        PageHelper.startPage(page,pageSize);
        List<Emp> empList=empMapper.list(name,gender,begin,end);
        Page<Emp> p=( Page<Emp>)empList;
        pageBean pagebean = new pageBean(p.getTotal(), p.getResult());
        return pagebean;
    }
mapper层实现:
public interface EmpMapper {
    List<Emp> list(String name, Short gender, LocalDate begin,
                   LocalDate end);
}
使用xml文件实现动态访问:
在source目录下配置与Empmapper同包路径同名得XML文件:
<?xml version="1.0" encoding="UTF-8" ?>
<!DOCTYPE mapper
        PUBLIC "-//mybatis.org//DTD Mapper 3.0//EN"
        "http://mybatis.org/dtd/mybatis-3-mapper.dtd">
<mapper namespace="com.heima.mapper.EmpMapper">
    <select id="list" resultType="com.heima.poji.Emp">
        select *
        from emp
        <where>
            <if test="name != null and name!= '' ">name like concat('%', #{name}, '%')</if>
            <if test="gender != null">
                and gender = #{gender}
            </if>
            <if test="begin != null and end != null">
                and entrydate between #{begin} and #{end}
            </if>
        </where>
        order by update_time desc
    </select>
</mapper>
3.4员工信息得删除
请求方式为@DeleteMapping("/emps/{ids}")
控制层:
public Result delectById(@PathVariable List<Integer> ids){
        empService.delectById(ids);
        log.info("批量删除员工信息");
        return Result.success();
    }
主要在mapper层配置xml文件实现动态SQL:
 <delete id="delectById">
        delete from emp where id in
<foreach collection="ids" close=")" open="(" item="id" separator=",">
    #{id}
</foreach>
    </delete>
3.5新增员工信息
思路:把请求的json数据封装到实体类Emp中,然后
传递到Mapper层进行数据库的操作。
4图片上传:
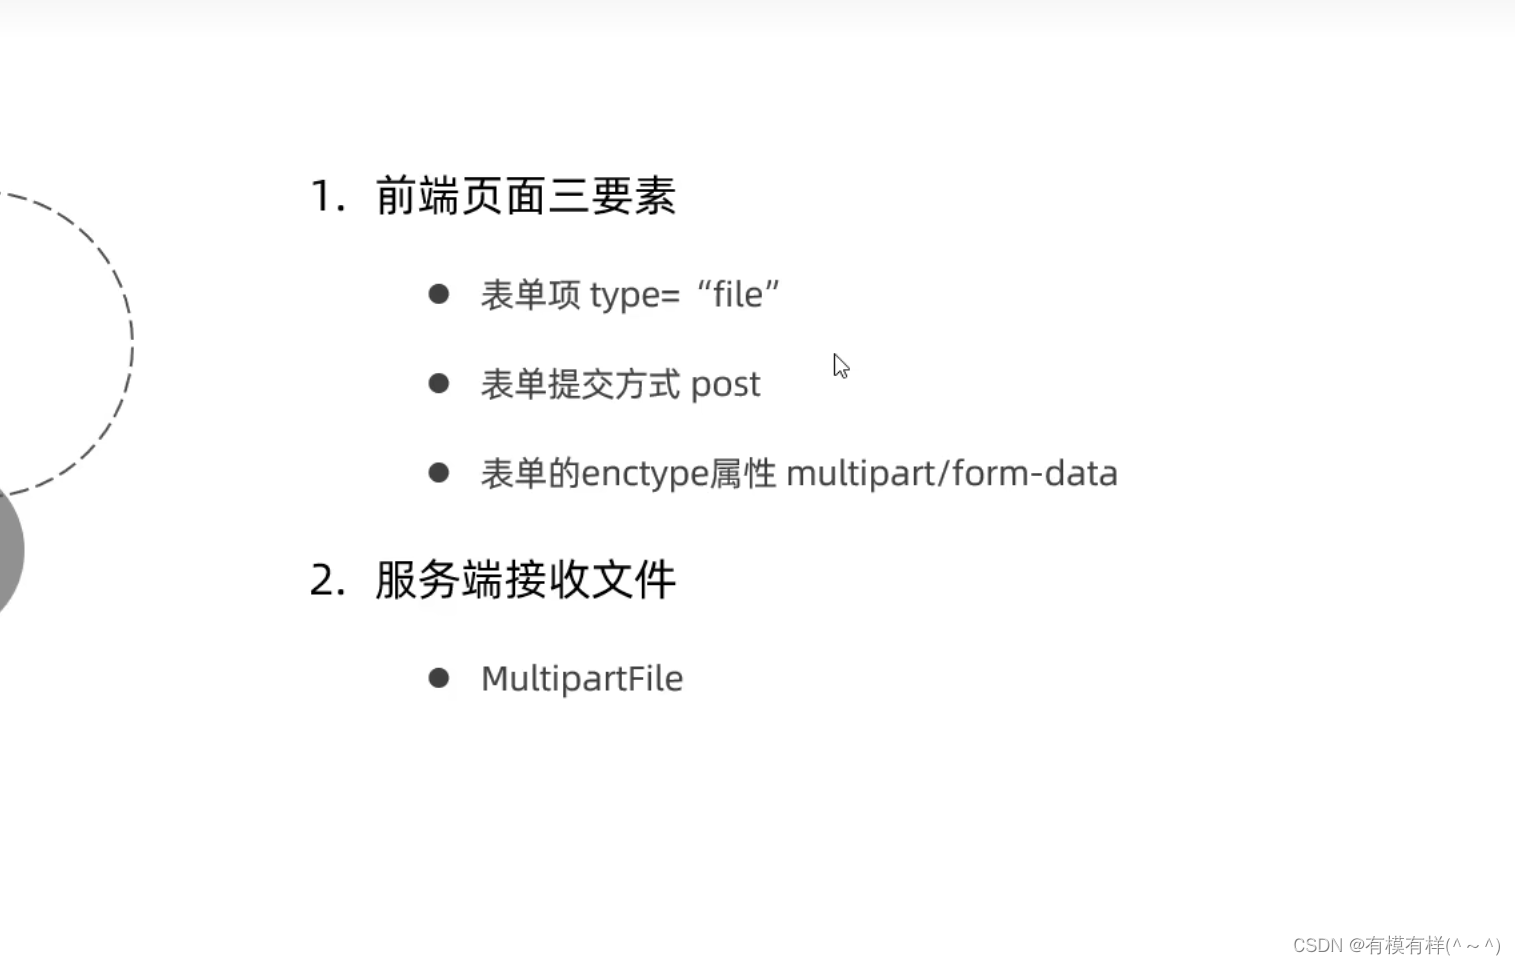
4.1实现本地上传:
4.1.1创建本地上传的Contral类:
@RestController
@Slf4j
public class UpLoadContral {
    @PostMapping("/upload")
    public Result Upload(String username, Integer age, MultipartFile image) throws  Exception {
        log.info("这是图片上传");
        //spring.servlet.multipart.max-file-size=10MB;
        //获取原始文件名
        String originalFilename = image.getOriginalFilename();
        //构建新的文件名
        String extname =
                originalFilename.substring(originalFilename.lastIndexOf("."));//文件扩展名
        String newFileName = UUID.randomUUID().toString()+extname;//随机名+文件扩展名
//将文件存储在服务器的磁盘目录
        image.transferTo(new File("C:/Users/22973/Desktop/images/"+newFileName));
       // image.transferTo(new File("C:/Users/22973/Desktop/images/"+originalFilename));
        return Result.success();
    }
}
4.1.2配置文件上传的大小限制:
在application.properties文件下配置
#配置单个文件最大上传大小
spring.servlet.multipart.max-file-size=10MB
#配置单个请求最大上传大小(一次请求可以上传多个文件)
spring.servlet.multipart.max-request-size=100MB
4.2实现aliyun上传:
4.2.1开通aliyun的buket存储空间,详情略,
4.2.2引入ailiyun的oss的文件上传工具类:
使用@Component注解,注入成为bean
package com.heima.utils;

import com.aliyun.oss.OSS;
import com.aliyun.oss.OSSClientBuilder;
import org.springframework.stereotype.Component;
import org.springframework.web.multipart.MultipartFile;
import java.io.*;
import java.util.UUID;

/**
 * 阿里云 OSS 工具类
 */
@Component
public class AliOSSUtils {

    String endpoint = "https://oss-cn-beijing.aliyuncs.com";
    // 从环境变量中获取访问凭证。运行本代码示例之前,请确保已设置环境变量OSS_ACCESS_KEY_ID和OSS_ACCESS_KEY_SECRET。
    //EnvironmentVariableCredentialsProvider credentialsProvider = CredentialsProviderFactory.newEnvironmentVariableCredentialsProvider();
    // 填写Bucket名称,例如examplebucket。

    String accessKeyId = "LTAI5tPQSXovXyuYMLQcenb7";
    String accessKeySecret = "Ociu2oAVv5FyAHpjL3LMNPiuhWqeDt";

    String bucketName = "spring-boot-web-study";
    // 填写Object完整路径,完整路径中不能包含Bucket名称,

    /**
     * 实现上传图片到OSS
     */
    public String upload(MultipartFile file) throws IOException {
        // 获取上传的文件的输入流
        InputStream inputStream = file.getInputStream();

        // 避免文件覆盖
        String originalFilename = file.getOriginalFilename();
        String fileName = UUID.randomUUID().toString() + originalFilename.substring(originalFilename.lastIndexOf("."));

        //上传文件到 OSS
        OSS ossClient = new OSSClientBuilder().build(endpoint, accessKeyId, accessKeySecret);
        ossClient.putObject(bucketName, fileName, inputStream);

        //文件访问路径
        String url = endpoint.split("//")[0] + "//" + bucketName + "." + endpoint.split("//")[1] + "/" + fileName;
        // 关闭ossClient
        ossClient.shutdown();
        return url;// 把上传到oss的路径返回
    }

}
4.2.3实现前端的上传页面请求,并且返回请求的图片的url,
使用注解@Autowired private AliOSSUtils aliOSSUtils;导入工具类的bean;
    public Result imageUpload(MultipartFile image) throws Exception {
          String url = aliOSSUtils.upload(image);
        return Result.success(url);
    }
5在application.properties中配置变量的参数:(配置aliyunDucket的位置为例)
添加配置:
aliyun.oss.endpoint=https://oss-cn-beijing.aliyuncs.com
aliyun.oss.accessKeyId=LTAI5tPQSXovXyuYMLQcenb7
aliyun.oss.accessKeySecret=Ociu2oAVv5FyAHpjL3LMNPiuhWqeDt
aliyun.oss.bucketName=spring-boot-web-study
在java类中通过`values(“#{}”)引用
    @Value("${aliyun.oss.endpoint}")
    String endpoint;
    @Value("${aliyun.oss.accessKeyId}")
    String accessKeyId;
    @Value("${aliyun.oss.accessKeySecret}")
    String accessKeySecret;
    @Value("${aliyun.oss.bucketName}")
    String bucketName;
6使用@ConfigurationProperties注解引用配置文件中的参数数据:
6.1创建一个类存储类的成员变量
@Data       //生成get,set方法
@Component  //成为一个bean
@ConfigurationProperties(prefix = "aliyun.oss")
public class AliOssObject {
    private String endpoint;
    private String accessKeyId;
    private String accessKeySecret;
    private String bucketName;
    //变量的名称与配置文件相同
}
6.2 动态注入,引用类的对象进行赋值:
在类中声明类的对象
 @Autowired
            private AliOssObject aliOssObject;
在方法中实现引用
  String endpoint = aliOssObject.getEndpoint();
        String accessKeyId =aliOssObject.getAccessKeyId();
        String accessKeySecret = aliOssObject.getAccessKeySecret();
        String bucketName = aliOssObject.getBucketName();


 426
426


 被折叠的 条评论
为什么被折叠?
被折叠的 条评论
为什么被折叠?
 到【灌水乐园】发言


