


 本文详细介绍了Python中文件操作的关键技术,包括文件读写(文本和二进制)、光标移动、with语句的使用、Excel和INI文件的处理、XML文件解析,以及压缩和解压缩功能,以及处理Windows和Linux路径的方法。
1、读相关
读所有:(常用)
f = open('user.txt',mode='r',encoding='utf-8')
data = f.read()
f.close()
f = open('user.txt',mode='rb')             #二进制模式读
data = f.read()
f.close()
读n个字符/字节 (文件传输、断点续传)
f = open('user.txt',mode='r',encoding='utf-8')
data = f.read(1)    #读1个字符
f.close()
f = open('dic/dir.txt',mode='rb')
data = f.read(1) #读1个字节
f.close()
readline 读一行
f = open('user.txt',mode='r',encoding='utf-8')
#读第一行
firstline = f.readline()
print(firstline)
#继续读下一行
secondline = f.readline()
print(secondline)
f.close()
readlines
读所有行,每行作为列表的一个元素
f = open('user.txt',mode='r',encoding='utf-8')
data_list = f.readlines()
print(data_list)
f.close()
循环,读大文件 (常用)
f = open('user.txt',mode='r',encoding='utf-8')
for line in f:
    print(line.strip())
f.close()
2、写相关
write 写
f = open('user.txt',mode='a',encoding='utf-8')
f.write('dd')
f.close()
f = open('user.txt',mode='ab') #二进制模式
f.write('dd',encode=('utf-8'))
f.close()2. flush 刷到硬盘
f = open('user.txt',mode='a',encoding='utf-8')
while True:
    f.write('ee')    #write不是立即写到了硬盘,而是先写在了缓冲区里,再将缓冲区的内容刷到硬盘
    f.flush()        #flush 立即写入硬盘
f.close()
3、光标相关
移动光标位置(字节)
f = open('q.txt',mode='r+',encoding='utf-8')
f.seek(3)         #无论mode是何种模式,这里永远是字节
f.write('qwer')   #如原位置有内容,则覆盖原来的内容写入
f.close()
a模式默认光标在文件最后,只能将内容写入到尾部,不会写入到光标位置
获取当前光标位置
f.tell()
q.txt内容如下:

f = open('q.txt',mode='r+',encoding='utf-8')
p = f.tell()
print(p)
f.close()
f = open('q.txt',mode='r+',encoding='utf-8')
p = f.tell() #当前光标位置
print(p)
f.read(3) #读3个字符
p = f.tell()
print(p) #3*3=9,光标移动到9
f.close()
r+模式默认光标在最开始(0)位置,read读3个字符,即3*3=9个字节,光标移动到了9位置
4、with上下文管理
之前对文件进行操作时,每次都要打开和关闭文件,比较繁琐且容易忘记关闭文件
使用with上下文管理,它可以自动实现关闭文件
with open('q.txt',mode='r',encoding='utf-8') as file_object:
 data = file_object.read()
 print(data)
在python2.7之后,with又支持同时对多个文件的上下文进行管理,即:
with open('q.txt',mode='r',encoding='utf-8') as file1,open('user.txt',mode='r',encoding='utf-8') as file2:
 pass
5、Excel格式文件操作
需要下载第三方模块openpyxl ,此模块集成了python操作Excel的相关功能
pip install openpyxl
sheet
读所有sheet
sheetnames 读取所有sheet名称
from  openpyxl import load_workbook

excel = load_workbook('信息系统.xlsx')
print(excel.sheetnames)
选择sheet,基于名称
选择名称为URL的sheet,输出第一行,第一列的值
sheet = excel['URL']
cell = sheet.cell(1,1)
print(cell.value)
选择sheet,基于索引位置
sheet也是向数组一样,从0开始存储 [0,1,2,3······]
sheet = excel.worksheets[0]          #0表示第一个sheet
cell = sheet.cell(1,1)
print(cell.value)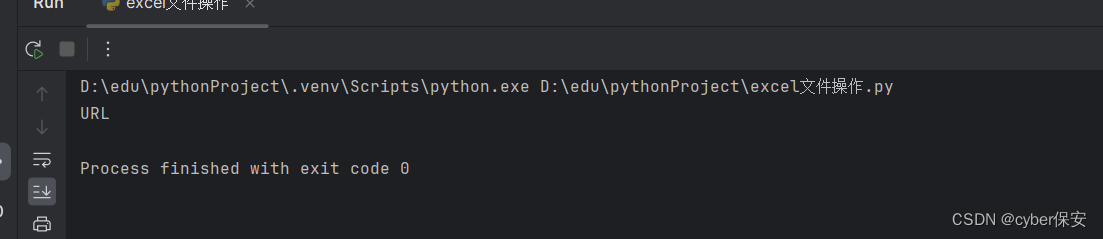
循环所有的sheet
for name in excel.sheetnames:
    sheet = excel[name]
    cell = sheet.cell(1, 1)
    print(cell.value)
输出所有sheet第一行第一列

获取单元格
获取某个指定的单元格
1.行列 (1,1) 第一行第一列
from  openpyxl import load_workbook

excel = load_workbook('信息系统.xlsx')
sheet = excel.worksheets[1]
#获取第n行第n列的单元格
cell = sheet.cell(1,1)
print(cell.value)                         #值
print(cell.style)                         #样式
print(cell.font)                          #字体
print(cell.alignment)                     #排列情况
2.指定区域,如A1,B4等
c1 = sheet["A2"]
print(c1.value)

c1 = sheet["D4"]
print(c1.value)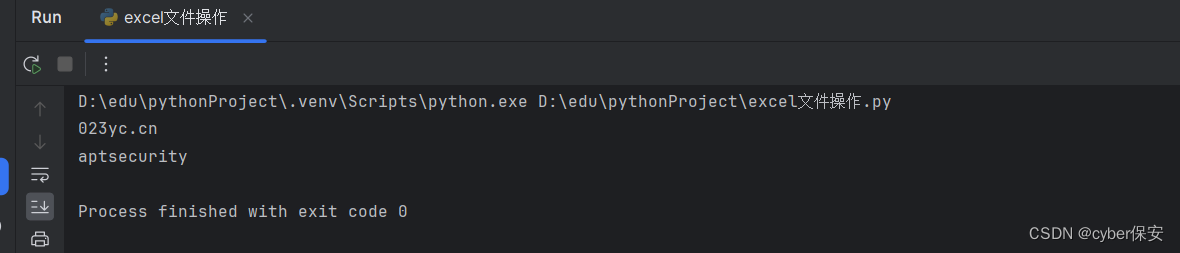
获取第n行所有的单元格
sheet[1]                                  #sheet[n]表示获取第n行所有数据

for cell in sheet[1]:
    print(cell.value)
获取第所有行的单元格
sheet.rows
for row in sheet.rows:
     for cell in row:
        print(cell.value)
print(row[0].value) 表示获取第一列数据
获取所有列的数据
sheet.columns

for col in sheet.columns:
    print(col)
print(col[0].vlaue) 表示取第一行所有的数据
获取合并单元格数据
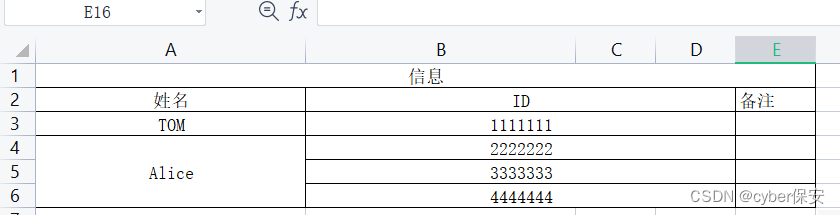
from  openpyxl import load_workbook

excel = load_workbook('信息系统.xlsx')
sheet = excel.worksheets[1]
result = sheet.cell(1,1)
print(result.value)
如果存在合并单元格,那么文本信息使用的是最前面的单元格
此例中即为A1单元格
修改单元格
在原Excel文件基础上写
from  openpyxl import load_workbook

excel = load_workbook('信息系统.xlsx')
sheet = excel.worksheets[1]
cell = sheet.cell(1,1)
cell.value = "写测试"

excel.save("信息系统.xlsx")
单元格字体、边框、类型等修改方法系统
新创建Excel文件写内容
from  openpyxl import load_workbook
from openpyxl import workbook

excel = workbook.Workbook()
sheet = excel.worksheets[0]
cell = sheet.cell(1,1)
cell.value = "写测试1"
excel.save("test.xlsx")
具体修改案例
修改sheet名称
from openpyxl import workbook

excel = workbook.Workbook()
sheet = excel.worksheets[0]
sheet.title = "5月2日"
创建sheet并设置sheet颜色
from  openpyxl import load_workbook
from openpyxl import workbook

excel = workbook.Workbook()
sheet = excel.create_sheet("嗨起来",1)                #1表示sheet位置
sheet.sheet_properties.tabColor = "1072BA"           #RGB颜色
excel.save("test.xlsx")
默认打开的sheet
from openpyxl import workbook

excel = workbook.Workbook()
excel.active = 0
excel.save("test.xlsx")
拷贝sheet
sheet = excel['资料']
new_sheet = excel.copy_worksheet(excel['资料'])
new_sheet.title = '资料1'
excel.save('test.xlsx')
删除sheet
del excel['资料']
excel.save('test.xlsx')
6、ini格式文件操作
ini是Initialization File的缩写,用于存储软件的配置文件,例如mysql数据库的配置文件:
[client]
socket = /data/mysqldata/3306/mysql.sock    #用于本地连接的socket套接字
port=3307
default-character-set = utf8mb4

[mysql]
no-beep
default-character-set = utf8mb4

[mysqld]
port=3307
basedir=D:\Software\mysql-8.0\mysql-8.0.20-winx64
datadir=D:\Software\mysql-8.0\mysql-8.0.20-winx64\data
character_set_server = utf8mb4
default_authentication_plugin=caching_sha2_password
default-storage-engine=INNODB
[] 称为节点
socket=xxx 、port=xxx 称为键值
# 开头的称为注释
这种格式可以直接open出来,考虑到处理比较麻烦,所以python提供了更方便的方式:
读取所有节点
config.sections()
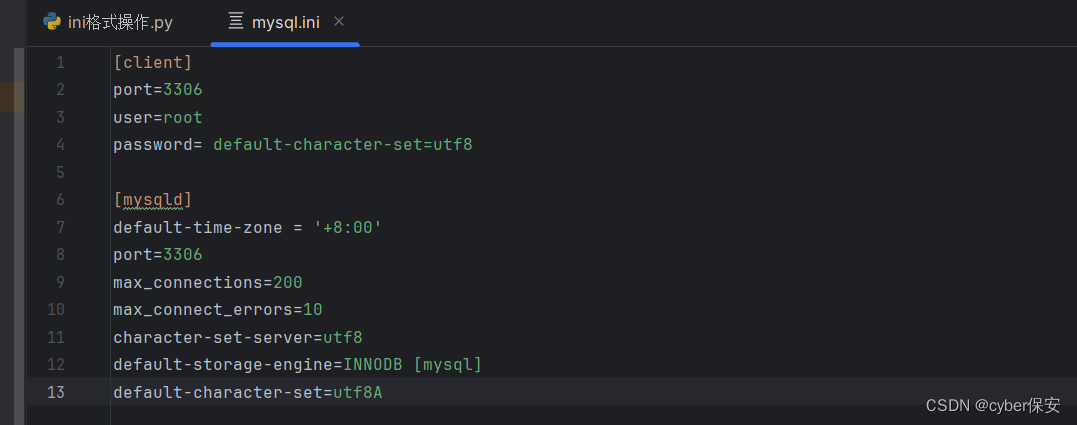
mysql.ini内容:
import configparser

config = configparser.ConfigParser()     #固定格式,config变量名可换
config.read('mysql.ini',encoding='utf-8')
result = config.sections()                       #setcions() 获取所有节点
print(result)                                    #['client', 'mysqld']
读取节点下的键值
config.items('节点')
import configparser

config = configparser.ConfigParser()
config.read('mysql.ini',encoding='utf-8')
result = config.items('mysqld')
print(result)
读取某节点下的键对应的值
config.get('节点','键')
config = configparser.ConfigParser()
config.read('mysql.ini',encoding='utf-8')
result = config.get('mysqld','port')      #节点和键
print(result)
判断指定节点是否存在
config.has_section('节点')
config = configparser.ConfigParser()
config.read('mysql.ini',encoding='utf-8')
result = config.has_section('mysqld')
print(result)
添加节点
config.add_section('要添加的节点')
config.write(文件对象)
config = configparser.ConfigParser()
config.read('mysql.ini',encoding='utf-8')
config.add_section('security')             #此时只添加到内存,并未写入文件
config.write(open('mysql.ini',mode='w',encoding='utf-8'))   #()内写文件对象
添加节点下的键值
config.set('节点','键','值')
config = configparser.ConfigParser()
config.read('mysql.ini',encoding='utf-8')
config.set('security','name','cyber')
config.write(open('mysql.ini',mode='w',encoding='utf-8'))
删除节点
config.remove_section('节点')
config = configparser.ConfigParser()
config.read('mysql.ini',encoding='utf-8')
config.remove_section('security')
config.write(open('mysql.ini',mode='w',encoding='utf-8'))
删除节点下的键值
config.remove_option('节点','键')
config = configparser.ConfigParser()
config.read('mysql.ini',encoding='utf-8')
config.remove_option('client','port')
config.write(open('mysql.ini',mode='w',encoding='utf-8'))
7. XML格式文件操作
可扩展标记语言,是一种简单的数据存储语言,XML被设计用来存储和传输数据。
存储:可用来存放配置文件,例如,java的配置文件。
传输:网络传输时以这种格式存在,例如,早期ajax传输的数据、soap协议等。
测试文档menu.xml:
<breakfast_menu>
    <food name="Belgian Waffles">
        <price>$5.95</price>
        <description>two of our famous Belgian Waffles with plenty of real maple syrup</description>
        <calories>650</calories>
    </food>
    <food name="Strawberry Belgian Waffles">
        <price>$7.95</price>
        <description>light Belgian waffles covered with strawberries and whipped cream</description>
        <calories>900</calories>
    </food>
    <food name="Berry-Berry Belgian Waffles">
        <price>$8.95</price>
        <description>light Belgian waffles covered with an assortment of fresh berries and whipped cream</description>
        <calories>900</calories>
    </food>
</breakfast_menu>
读取xml文件
获取根标签
from xml.etree import ElementTree


tree = ElementTree.parse('menu.xml')
root = tree.getroot()                 #获取根标签,即breakfast_menu
读取节点数据
for child in root:                      #获取food及对应属性
    print(child.tag,child.attrib)       #attrib 标签属性
    for node in child:                  #获取food内部各属性
        print(node.tag,node.attrib,node.text)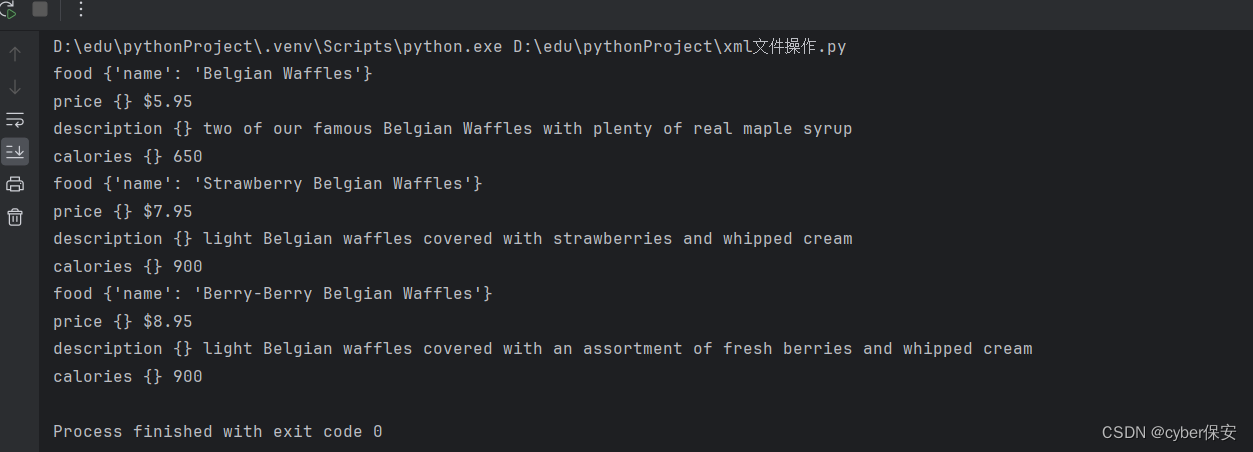
读取具体某节点的值
food_object = root.find('food')
print(food_object.tag,food_object.attrib)
description_object = food_object.find('description')
print(description_object.tag,description_object.attrib,description_object.text)
8. 压缩、解压缩
python内置模块shutil
压缩:
import shutil
#压缩
#base_name :压缩后的压缩包文件
#format :压缩的格式,如zip、tar、gzip、bztar等
#root_dir:要压缩的文件夹路径
shutil.make_archive(base_name=r'D:\0502\git',format='zip',root_dir=r'D:\git')
解压缩:
#解压缩
#filename:要解压的压缩包文件
#extract_dir:解压的路径
#format:压缩文件格式
import shutil
shutil.unpack_archive(filename=r'D:\0502\git.zip',extract_dir=r'D:\0502',format='zip')
9. 文件路径
windows路径 \ ,linux路径 /
特别地:windows系统中如果存在这样一个路径 D:\nxx\txx\x,程序会报错。
因为路径中存在换行符\n和制表符\t,python解释器无法自动区分
所以,在windows中编写路径时,一般有两种方法:
·加转义符(\\):"D:\\nxx\\txx\\x"
·路径前加r:r"D:\\nxx\\txx\\x"
判断当前脚本绝对路径
abs_path = os.path.abspath('路径相关.py')
print(abs_path)
获取当前文件的上级目录
base_path = os.path.dirname(os.path.abspath('路径相关.py'))
print(base_path)
路径拼接
path = os.path.join(base_path,'pj')
print(path)

path1 = os.path.join(base_path,'pj','file','502.py')
print(path1)
判断路径是否存在
exists = os.path.exists(path1)
print(exists)
创建文件夹
path = os.path.join(base_path,'aaa')
if not os.path.exists(path):
    os.mkdir(path)

#如果不存在,则创建文件夹aaa
是否是文件夹
path = os.path.join(base_path,'aaa')
is_dir = os.path.isdir(path)
print(is_dir)
删除文件或文件夹
import shutil

shutil.rmtree('aaa')
拷贝文件夹
import shutil
shutil.copytree('D:\edu\pythonProject\dic','D:\git\dic1')

#要指定拷贝后的文件夹名
拷贝文件
shutil.copy('D:\edu\pythonProject\路径相关.py','D:\git\')            #直接拷贝
shutil.copy('D:\edu\pythonProject\路径相关.py','D:\git\路径1.py')    #替换文件
文件或文件夹重命名
shutil.move('D:\edu\pythonProject\dic','D:\edu\pythonProject\directory')
shutil.move('D:\edu\pythonProject\信息系统.xlsx','D:\edu\pythonProject\information.xlsx')


 9122
9122

 被折叠的 条评论
为什么被折叠?
被折叠的 条评论
为什么被折叠?
 到【灌水乐园】发言


