


前期准备--创建一个scrapy爬虫
(以上海热线-热点新闻为例:https://hot.online.sh.cn/node/node_65634.htm)
1.安装scrapy,scrapyd,scrapydweb
pip install scrapy
pip install scrapyd
pip install scrapyd-client
pip install scrapydweb
2.创建工程
scrapy startproject newsspider3.创建news爬虫
scrapy genspider news news.com4.项目开发与完善
1)settings文件的配置
- 注释爬虫协议

- 注册管道

- 配置日志文件
完整代码:
# Scrapy settings for newsspider project
#
# For simplicity, this file contains only settings considered important or
# commonly used. You can find more settings consulting the documentation:
#
# https://docs.scrapy.org/en/latest/topics/settings.html
# https://docs.scrapy.org/en/latest/topics/downloader-middleware.html
# https://docs.scrapy.org/en/latest/topics/spider-middleware.html
BOT_NAME = "newsspider"
SPIDER_MODULES = ["newsspider.spiders"]
NEWSPIDER_MODULE = "newsspider.spiders"
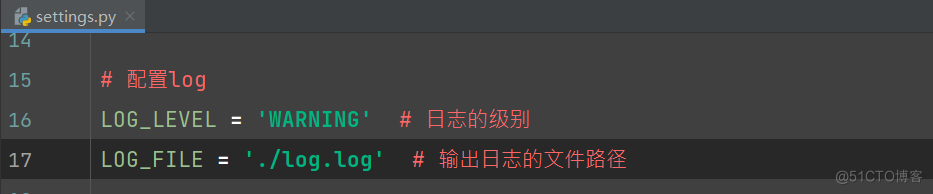
# 配置log
LOG_LEVEL = 'WARNING' # 日志的级别
LOG_FILE = './log.log' # 输出日志的文件路径
# Crawl responsibly by identifying yourself (and your website) on the user-agent
# USER_AGENT = "newsspider (+http://www.yourdomain.com)"
# Obey robots.txt rules
# ROBOTSTXT_OBEY = True
# Configure maximum concurrent requests performed by Scrapy (default: 16)
# CONCURRENT_REQUESTS = 32
# Configure a delay for requests for the same website (default: 0)
# See https://docs.scrapy.org/en/latest/topics/settings.html#download-delay
# See also autothrottle settings and docs
# DOWNLOAD_DELAY = 3
# The download delay setting will honor only one of:
# CONCURRENT_REQUESTS_PER_DOMAIN = 16
# CONCURRENT_REQUESTS_PER_IP = 16
# Disable cookies (enabled by default)
# COOKIES_ENABLED = False
# Disable Telnet Console (enabled by default)
# TELNETCONSOLE_ENABLED = False
# Override the default request headers:
# DEFAULT_REQUEST_HEADERS = {
# "Accept": "text/html,application/xhtml+xml,application/xml;q=0.9,*/*;q=0.8",
# "Accept-Language": "en",
# }
# Enable or disable spider middlewares
# See https://docs.scrapy.org/en/latest/topics/spider-middleware.html
# SPIDER_MIDDLEWARES = {
# "newsspider.middlewares.NewsspiderSpiderMiddleware": 543,
# }
# Enable or disable downloader middlewares
# See https://docs.scrapy.org/en/latest/topics/downloader-middleware.html
# DOWNLOADER_MIDDLEWARES = {
# "newsspider.middlewares.NewsspiderDownloaderMiddleware": 543,
# }
# Enable or disable extensions
# See https://docs.scrapy.org/en/latest/topics/extensions.html
# EXTENSIONS = {
# "scrapy.extensions.telnet.TelnetConsole": None,
# }
# Configure item pipelines
# See https://docs.scrapy.org/en/latest/topics/item-pipeline.html
ITEM_PIPELINES = {
"newsspider.pipelines.NewsspiderPipeline": 300,
}
# Enable and configure the AutoThrottle extension (disabled by default)
# See https://docs.scrapy.org/en/latest/topics/autothrottle.html
# AUTOTHROTTLE_ENABLED = True
# The initial download delay
# AUTOTHROTTLE_START_DELAY = 5
# The maximum download delay to be set in case of high latencies
# AUTOTHROTTLE_MAX_DELAY = 60
# The average number of requests Scrapy should be sending in parallel to
# each remote server
# AUTOTHROTTLE_TARGET_CONCURRENCY = 1.0
# Enable showing throttling stats for every response received:
# AUTOTHROTTLE_DEBUG = False
# Enable and configure HTTP caching (disabled by default)
# See https://docs.scrapy.org/en/latest/topics/downloader-middleware.html#httpcache-middleware-settings
# HTTPCACHE_ENABLED = True
# HTTPCACHE_EXPIRATION_SECS = 0
# HTTPCACHE_DIR = "httpcache"
# HTTPCACHE_IGNORE_HTTP_CODES = []
# HTTPCACHE_STORAGE = "scrapy.extensions.httpcache.FilesystemCacheStorage"
# Set settings whose default value is deprecated to a future-proof value
REQUEST_FINGERPRINTER_IMPLEMENTATION = "2.7"
TWISTED_REACTOR = "twisted.internet.asyncioreactor.AsyncioSelectorReactor"
FEED_EXPORT_ENCODING = "utf-8"2)news.py文件的编写
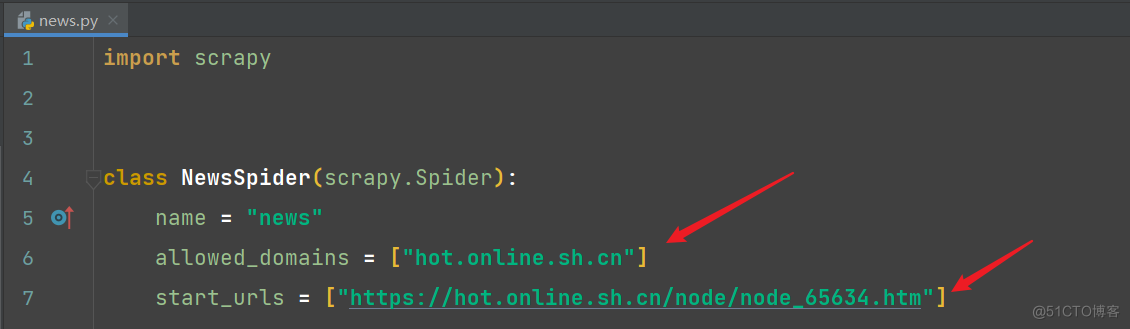
- 修改爬虫的域和修改爬虫的请求地址
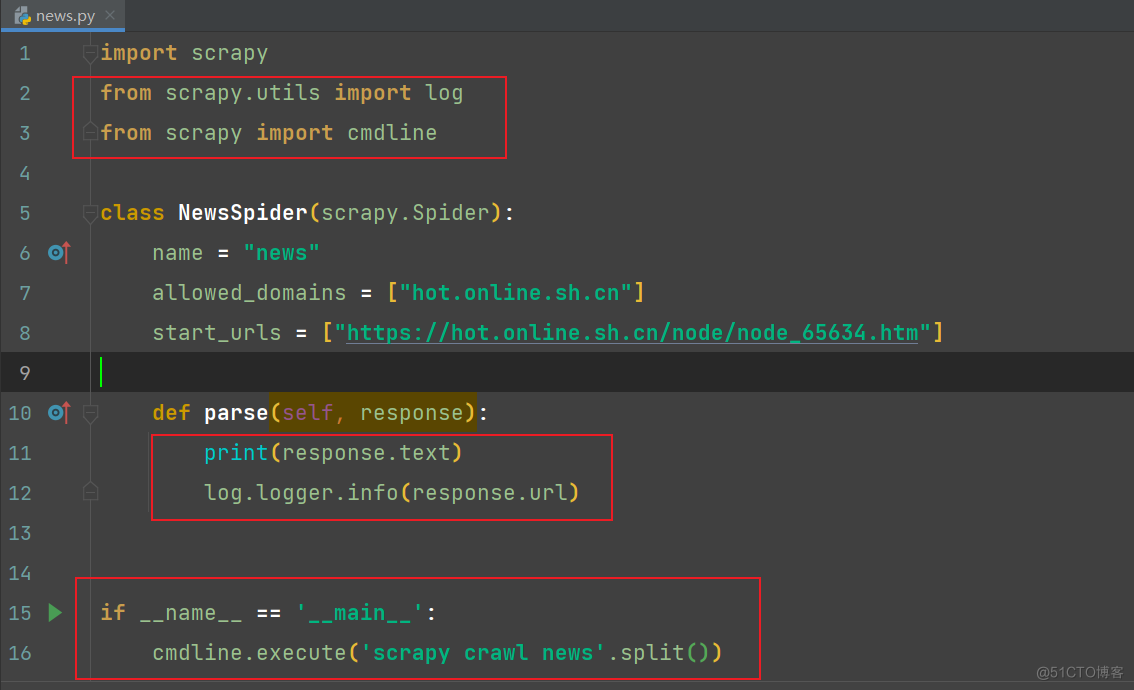
- 导入两个模块(log模块用来输出日志,cmdline模块方便用来调试)
- 解析响应
- 构造items进行数据传递

完整代码:
import scrapy
from scrapy.utils import log
from scrapy import cmdline
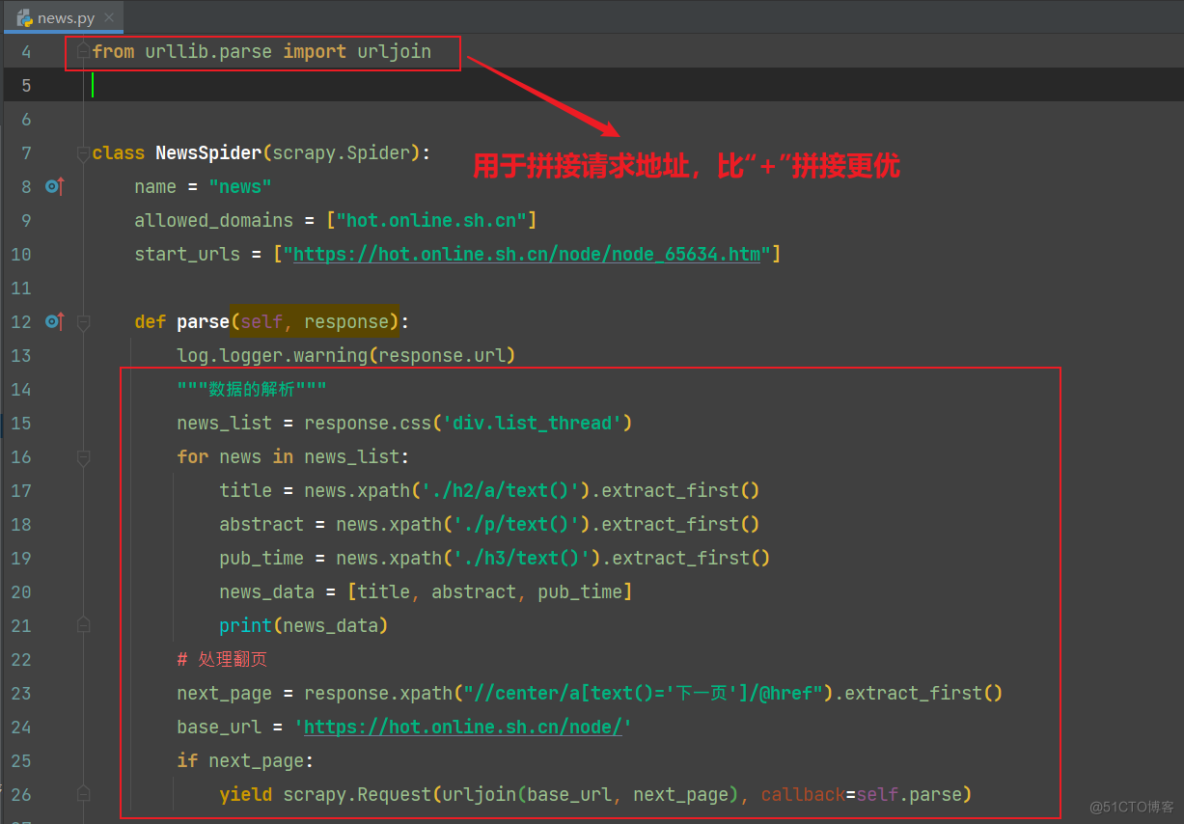
from urllib.parse import urljoin
# curl http://localhost:6800/schedule.json -d project=newsspider -d spider news
class NewsSpider(scrapy.Spider):
name = "news"
# allowed_domains = ["hot.online.sh.cn"]
start_urls = ["https://hot.online.sh.cn/node/node_65634.htm"]
def parse(self, response):
log.logger.warning(response.url)
"""数据的解析"""
news_list = response.css('div.list_thread')
for news in news_list:
title = news.xpath('./h2/a/text()').extract_first()
abstract = news.xpath('./p/text()').extract_first()
pub_time = news.xpath('./h3/text()').extract_first()
news_data = [title, abstract, pub_time]
print(news_data)
"""构造items进行数据传递"""
item = {'title': title, 'abstract': abstract, 'pub_time': pub_time}
yield item
# 处理翻页
next_page = response.xpath("//center/a[text()='下一页']/@href").extract_first()
base_url = 'https://hot.online.sh.cn/node/'
if next_page:
yield scrapy.Request(urljoin(base_url, next_page), callback=self.parse)
if __name__ == '__main__':
cmdline.execute('scrapy crawl news'.split())3)items.py文件进行数据建模
# Define here the models for your scraped items
#
# See documentation in:
# https://docs.scrapy.org/en/latest/topics/items.html
import scrapy
class NewsspiderItem(scrapy.Item):
# define the fields for your item here like:
# name = scrapy.Field()
title = scrapy.Field()
abstract = scrapy.Field()
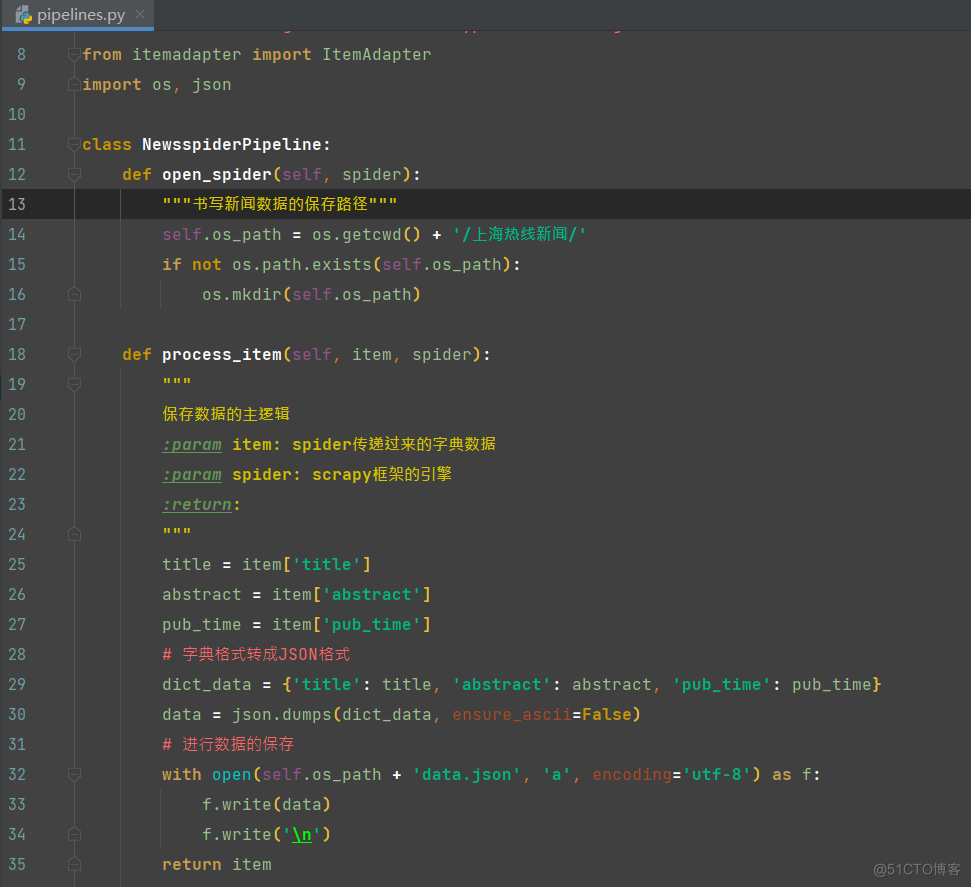
pub_time = scrapy.Field()4)pipelines.py文件的书写
# Define your item pipelines here
#
# Don't forget to add your pipeline to the ITEM_PIPELINES setting
# See: https://docs.scrapy.org/en/latest/topics/item-pipeline.html


# useful for handling different item types with a single interface
from itemadapter import ItemAdapter
import os, json


class NewsspiderPipeline:
    def open_spider(self, spider):
        """书写新闻数据的保存路径"""
        self.os_path = os.getcwd() + '/上海热线新闻/'
        if not os.path.exists(self.os_path):
            os.mkdir(self.os_path)

    def process_item(self, item, spider):
        """
        保存数据的主逻辑
        :param item: spider传递过来的字典数据
        :param spider: scrapy框架的引擎
        :return:
        """
        title = item['title']
        abstract = item['abstract']
        pub_time = item['pub_time']
        # 字典格式转成JSON格式
        dict_data = {'title': title, 'abstract': abstract, 'pub_time': pub_time}
        data = json.dumps(dict_data, ensure_ascii=False)
        # 进行数据的保存
        with open(self.os_path + 'data.json', 'a', encoding='utf-8') as f:
            f.write(data)
            f.write('\n')
        return item
至此一个简单的scrapy项目就完成啦!!!
scrapyd部署scrapy项目
参考链接:https://blog.csdn.net/qq_46092061/article/details/119958992
1)修改项目中scrapy.cfg
代码如下:
# Automatically created by: scrapy startproject
#
# For more information about the [deploy] section see:
# https://scrapyd.readthedocs.io/en/latest/deploy.html
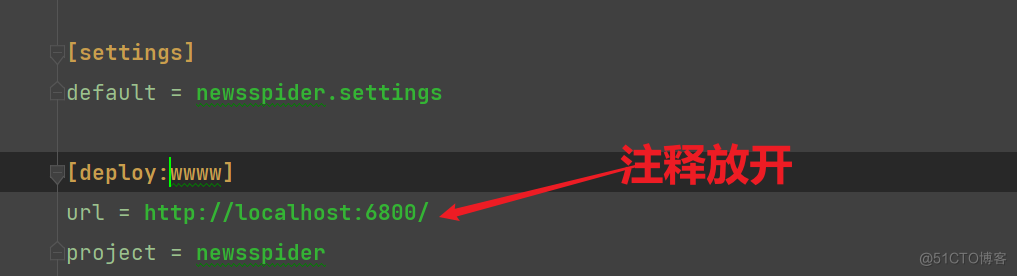
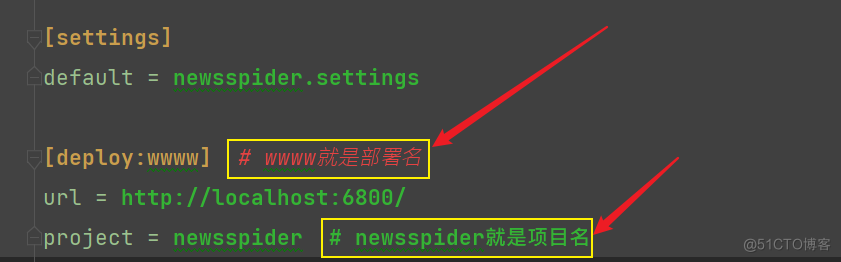
[settings]
default = newsspider.settings
[deploy:wwww] # wwww就是部署名
url = http://localhost:6800/
project = newsspider # newsspider就是项目名说明:先把原先注释掉的url那一行取消注释,这个就是我们要部署到目标服务器的地址,然后,把[deploy]这里改为[deploy:wwww],这里是命名为wwww,命名可以任意怎么都行,只要能标识出来项目就可以。下面的project就是我们的工程名,至此配置文件更改完成。
2)创建scrapyd-deploy.bat文件(应该是老版本的问题,可略)
因为scrapy-deploy文件没有后缀名,所以在windows中无法直接运行,在python环境(python安装目录或虚拟环境目录)中进入Scripts文件夹,新建scrapyd-deploy.bat文件,写入:
@echo off

"D:\python\python.exe" "D:\python\Scripts\scrapyd-deploy" %*
改完以后可以通过"scrapyd-deploy -l"命令查看到如下:

说明之前的Scrapyd及Scrapydweb安装没问题!!!
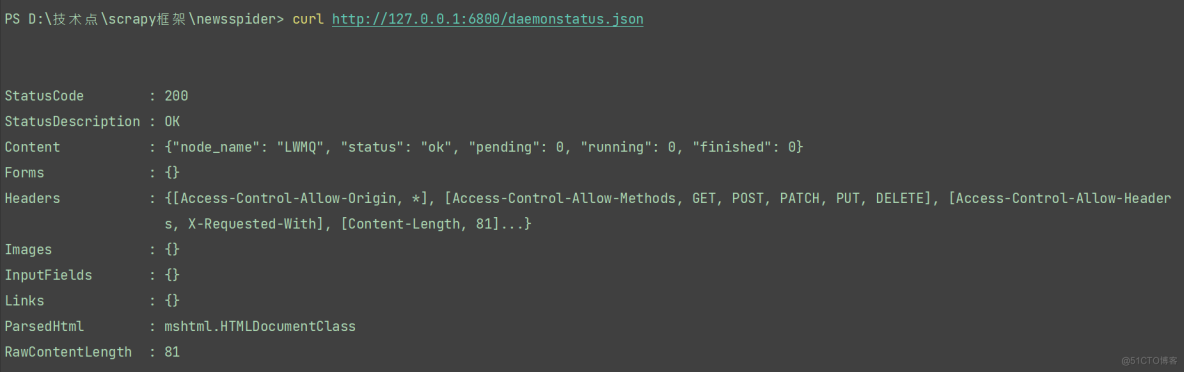
3)查询状态接口
这个接口负责查看Scrapyd当前服务和任务的状态,我们可以永curl命令来请求这个接口,命令如下:
curl http://127.0.0.1:6800/daemonstatus.json输入命令行,显示效果如下:
4)开始部署
- scrapy项目根目录下运行scrapyd-deploy 部署名 -p 项目名,将项目上传至scrapyd服务器。(说明部署名和项目名):
(演示):项目根目录下输入命令“scrapyd-deploy wwww -p newsspider”

且部署成功后的页面效果为:
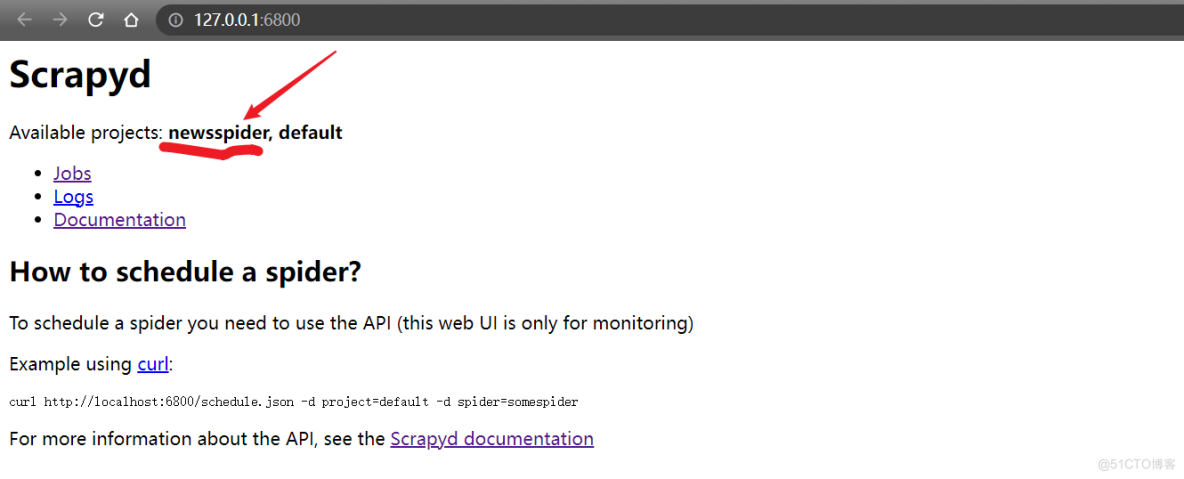
项目根目录下输入启动爬虫的命令:
curl http://localhost:6800/schedule.json -d project=newsspider -d spider=news效果如下:

取消爬虫的话,使用命令:
curl http://localhost:6800/cancel.json -d project=newsspider -d job=f0a0bb8efd4a11ed9048d8c0a6a39bc0
查看当前项目的名字,使用命令:
curl http://localhost:6800/listprojects.json
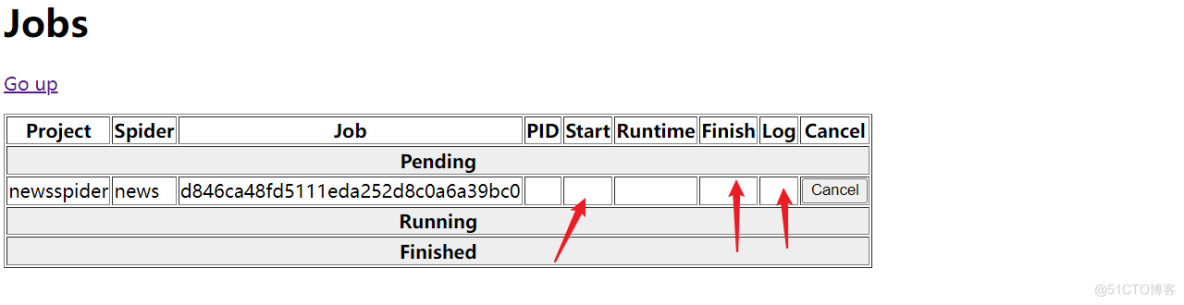
查看爬虫任务详情信息,使用命令:
curl http://localhost:6800/listjobs.json?project=newsspider
问题:不能提示出爬虫的开始时间和结束时间以及日志(待解决)
scrapydweb部署scrapy项目
1)创建文件夹:mkdir scrapydweb; cd scrapydweb
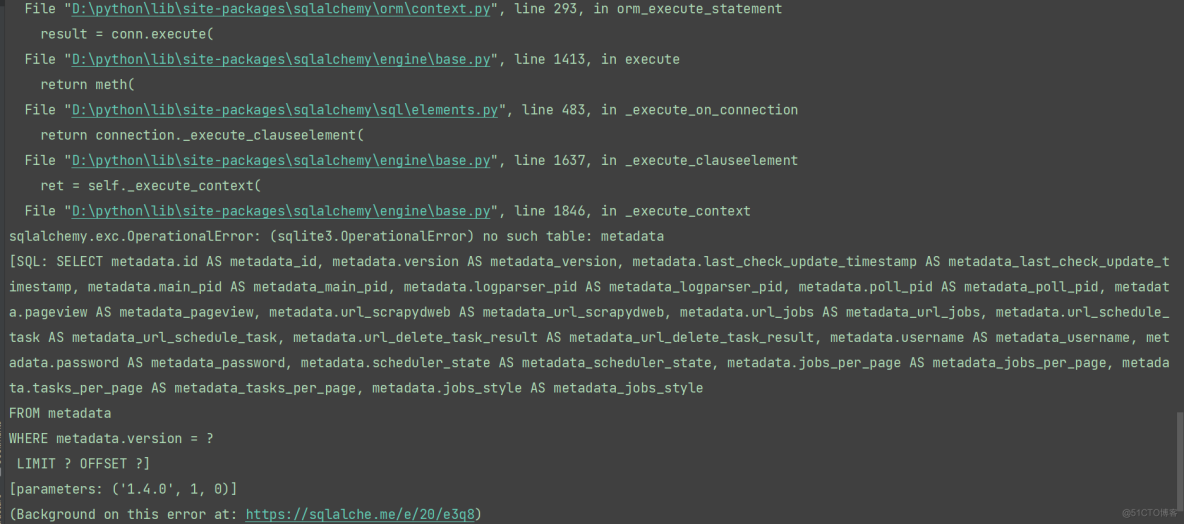
2)执行命令:scrapydweb (会在当前目录下生成配置文件 scrapydweb_settings_v10.py)
问题(待解决):


 3638
3638

 被折叠的 条评论
为什么被折叠?
被折叠的 条评论
为什么被折叠?
 到【灌水乐园】发言


