其他相关api:
ScreenUtil.pixelRatio //设备的像素密度
ScreenUtil.screenWidth //设备宽度
ScreenUtil.screenHeight //设备高度
ScreenUtil.bottomBarHeight //底部安全区距离,适用于全面屏下面有按键的
ScreenUtil.statusBarHeight //状态栏高度 刘海屏会更高 单位px
ScreenUtil.textScaleFactory //系统字体缩放比例
ScreenUtil().scaleWidth // 实际宽度的dp与设计稿px的比例
ScreenUtil().scaleHeight // 实际高度的dp与设计稿px的比例
//导入
import ‘package:flutter_screenutil/flutter_screenutil.dart’;
…
@override
Widget build(BuildContext context) {
//设置适配尺寸 (填入设计稿中设备的屏幕尺寸) 假如设计稿是按iPhone6的尺寸设计的(iPhone6 750*1334)
ScreenUtil.instance = ScreenUtil(width: 750, height: 1334)…init(context);
print(‘设备宽度:
S
c
r
e
e
n
U
t
i
l
.
s
c
r
e
e
n
W
i
d
t
h
′
)
;
/
/
D
e
v
i
c
e
w
i
d
t
h
p
r
i
n
t
(
′
设备高度
:
{ScreenUtil.screenWidth}'); //Device width print('设备高度:
ScreenUtil.screenWidth′);//Devicewidthprint(′设备高度:{ScreenUtil.screenHeight}’); //Device height
print(‘设备的像素密度:
S
c
r
e
e
n
U
t
i
l
.
p
i
x
e
l
R
a
t
i
o
′
)
;
/
/
D
e
v
i
c
e
p
i
x
e
l
d
e
n
s
i
t
y
p
r
i
n
t
(
′
底部安全区距离
:
{ScreenUtil.pixelRatio}'); //Device pixel density print( '底部安全区距离:
ScreenUtil.pixelRatio′);//Devicepixeldensityprint(′底部安全区距离:{ScreenUtil.bottomBarHeight}’); //Bottom safe zone distance,suitable for buttons with full screen
print(
‘状态栏高度:${ScreenUtil.statusBarHeight}px’); //Status bar height , Notch will be higher Unit px
print(‘实际宽度的dp与设计稿px的比例: S c r e e n U t i l ( ) . s c a l e W i d t h ′ ) ; p r i n t ( ′ 实际高度的 d p 与设计稿 p x 的比例 : {ScreenUtil().scaleWidth}'); print('实际高度的dp与设计稿px的比例: ScreenUtil().scaleWidth′);print(′实际高度的dp与设计稿px的比例:{ScreenUtil().scaleHeight}’);
print(
‘宽度和字体相对于设计稿放大的比例:
S
c
r
e
e
n
U
t
i
l
(
)
.
s
c
a
l
e
W
i
d
t
h
∗
S
c
r
e
e
n
U
t
i
l
.
p
i
x
e
l
R
a
t
i
o
′
)
;
p
r
i
n
t
(
′
高度相对于设计稿放大的比例
:
{ScreenUtil().scaleWidth * ScreenUtil.pixelRatio}'); print( '高度相对于设计稿放大的比例:
ScreenUtil().scaleWidth∗ScreenUtil.pixelRatio′);print(′高度相对于设计稿放大的比例:{ScreenUtil().scaleHeight * ScreenUtil.pixelRatio}’);
print(‘系统的字体缩放比例:${ScreenUtil.textScaleFactory}’);
return new Scaffold(
appBar: new AppBar(
title: new Text(widget.title),
),
body: new Center(
child: Column(
crossAxisAlignment: CrossAxisAlignment.center,
children: [
Row(
children: [
Container(
width: ScreenUtil().setWidth(375),
height: ScreenUtil().setHeight(200),
color: Colors.red,
child: Text(
‘我的宽度:
S
c
r
e
e
n
U
t
i
l
(
)
.
s
e
t
W
i
d
t
h
(
375
)
d
p
′
,
s
t
y
l
e
:
T
e
x
t
S
t
y
l
e
(
c
o
l
o
r
:
C
o
l
o
r
s
.
w
h
i
t
e
,
f
o
n
t
S
i
z
e
:
S
c
r
e
e
n
U
t
i
l
(
)
.
s
e
t
S
p
(
12
,
f
a
l
s
e
)
,
)
,
)
,
)
,
C
o
n
t
a
i
n
e
r
(
w
i
d
t
h
:
S
c
r
e
e
n
U
t
i
l
(
)
.
s
e
t
W
i
d
t
h
(
375
)
,
h
e
i
g
h
t
:
S
c
r
e
e
n
U
t
i
l
(
)
.
s
e
t
H
e
i
g
h
t
(
200
)
,
c
o
l
o
r
:
C
o
l
o
r
s
.
b
l
u
e
,
c
h
i
l
d
:
T
e
x
t
(
′
我的宽度
:
{ScreenUtil().setWidth(375)}dp', style: TextStyle( color: Colors.white, fontSize: ScreenUtil().setSp(12, false), ), ), ), Container( width: ScreenUtil().setWidth(375), height: ScreenUtil().setHeight(200), color: Colors.blue, child: Text('我的宽度:
ScreenUtil().setWidth(375)dp′,style:TextStyle(color:Colors.white,fontSize:ScreenUtil().setSp(12,false),),),),Container(width:ScreenUtil().setWidth(375),height:ScreenUtil().setHeight(200),color:Colors.blue,child:Text(′我的宽度:{ScreenUtil().setWidth(375)}dp’,
style: TextStyle(
color: Colors.white,
fontSize: ScreenUtil().setSp(12, false),
)),
),
],
),
Text(‘设备宽度:
S
c
r
e
e
n
U
t
i
l
.
s
c
r
e
e
n
W
i
d
t
h
p
x
′
)
,
T
e
x
t
(
′
设备高度
:
{ScreenUtil.screenWidth}px'), Text('设备高度:
ScreenUtil.screenWidthpx′),Text(′设备高度:{ScreenUtil.screenHeight}px’),
Text(‘设备的像素密度:
S
c
r
e
e
n
U
t
i
l
.
p
i
x
e
l
R
a
t
i
o
′
)
,
T
e
x
t
(
′
底部安全区距离
:
{ScreenUtil.pixelRatio}'), Text('底部安全区距离:
ScreenUtil.pixelRatio′),Text(′底部安全区距离:{ScreenUtil.bottomBarHeight}px’),
Text(‘状态栏高度:
S
c
r
e
e
n
U
t
i
l
.
s
t
a
t
u
s
B
a
r
H
e
i
g
h
t
p
x
′
)
,
T
e
x
t
(
′
实际高度的
d
p
与设计稿
p
x
的比例
:
{ScreenUtil.statusBarHeight}px'), Text( '实际高度的dp与设计稿px的比例:
ScreenUtil.statusBarHeightpx′),Text(′实际高度的dp与设计稿px的比例:{ScreenUtil().scaleHeight}’,
textAlign: TextAlign.center,
),
Text(
‘实际高度的dp与设计稿px的比例:
S
c
r
e
e
n
U
t
i
l
(
)
.
s
c
a
l
e
H
e
i
g
h
t
′
,
t
e
x
t
A
l
i
g
n
:
T
e
x
t
A
l
i
g
n
.
c
e
n
t
e
r
,
)
,
T
e
x
t
(
′
宽度和字体相对于设计稿放大的比例
:
{ScreenUtil().scaleHeight}', textAlign: TextAlign.center, ), Text( '宽度和字体相对于设计稿放大的比例:
ScreenUtil().scaleHeight′,textAlign:TextAlign.center,),Text(′宽度和字体相对于设计稿放大的比例:{ScreenUtil().scaleWidth * ScreenUtil.pixelRatio}’,
textAlign: TextAlign.center,
),
Text(
‘高度相对于设计稿放大的比例:
S
c
r
e
e
n
U
t
i
l
(
)
.
s
c
a
l
e
H
e
i
g
h
t
∗
S
c
r
e
e
n
U
t
i
l
.
p
i
x
e
l
R
a
t
i
o
′
,
t
e
x
t
A
l
i
g
n
:
T
e
x
t
A
l
i
g
n
.
c
e
n
t
e
r
,
)
,
S
i
z
e
d
B
o
x
(
h
e
i
g
h
t
:
S
c
r
e
e
n
U
t
i
l
(
)
.
s
e
t
H
e
i
g
h
t
(
100
)
,
)
,
T
e
x
t
(
′
系统的字体缩放比例
:
{ScreenUtil().scaleHeight * ScreenUtil.pixelRatio}', textAlign: TextAlign.center, ), SizedBox( height: ScreenUtil().setHeight(100), ), Text('系统的字体缩放比例:
ScreenUtil().scaleHeight∗ScreenUtil.pixelRatio′,textAlign:TextAlign.center,),SizedBox(height:ScreenUtil().setHeight(100),),Text(′系统的字体缩放比例:{ScreenUtil.textScaleFactory}’),
Column(
crossAxisAlignment: CrossAxisAlignment.start,
children: [
Text(‘我的文字大小在设计稿上是14px,不会随着系统的文字缩放比例变化’,
style: TextStyle(
color: Colors.black,
fontSize: ScreenUtil().setSp(14, false))),
Text(‘我的文字大小在设计稿上是14px,会随着系统的文字缩放比例变化’,
style: TextStyle(
color: Colors.black, fontSize: ScreenUtil().setSp(14))),
],
)
],
),
),
);
}
使用示例:
效果:
适配原理
说一下适配方案, 比如我们设计师设计的UI是根据Iphone6来做的,我们知道 iPhone6的分辨率是750*1334(px), 又或者是根据hdpi的设备来设计的UI,我们知道hdpi的 Android设备是 (240 dpi),像素密度是1.5,即hdpi设备的分辨率宽度是320px, 总之,无论设计稿的单位是px,或者是dp,我们都能够转换成px. 那么我们如果根据px来适配,ios和 android 就都可以兼容了.
假设,我们的设计稿手机是1080_1920 px. 设计稿上有一个540_960 的组件, 即宽度和宽度是手机的一半. 如果我们直接写的时候组件的尺寸这么定义,在其他尺寸的设备上未必是一半,或多,或少. 但是我们可以按比例来看,即我们要实现的宽度是实际设备的一半. 那么假设我们设备的宽度是deviceWidth和deviceHeight , 我们要写的组件大小为: 宽:(540/1080)*deviceWidth,高度: (960/1920)*deviceHeight.
自我介绍一下,小编13年上海交大毕业,曾经在小公司待过,也去过华为、OPPO等大厂,18年进入阿里一直到现在。
深知大多数初中级安卓工程师,想要提升技能,往往是自己摸索成长,但自己不成体系的自学效果低效又漫长,而且极易碰到天花板技术停滞不前!
因此收集整理了一份《2024年最新Android移动开发全套学习资料》送给大家,初衷也很简单,就是希望能够帮助到想自学提升又不知道该从何学起的朋友,同时减轻大家的负担。
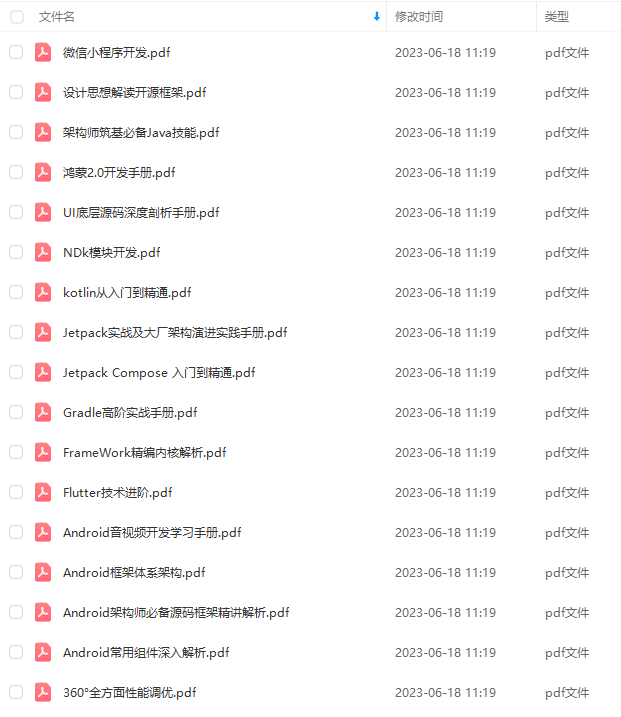
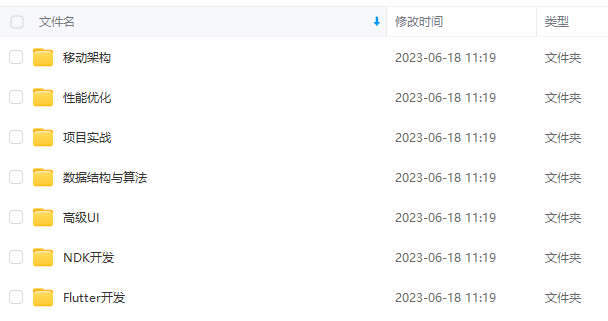
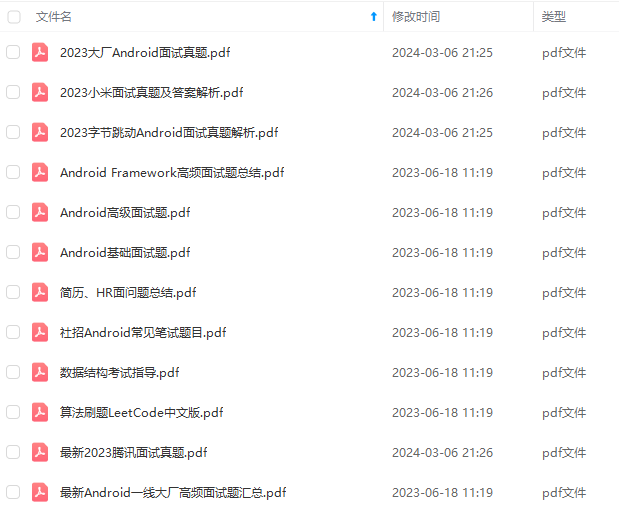
由于文件比较大,这里只是将部分目录截图出来,每个节点里面都包含大厂面经、学习笔记、源码讲义、实战项目、讲解视频
如果你觉得这些内容对你有帮助,可以添加下面V无偿领取!(备注Android)

总结
写到这里也结束了,在文章最后放上一个小小的福利,以下为小编自己在学习过程中整理出的一个关于Flutter的学习思路及方向,从事互联网开发,最主要的是要学好技术,而学习技术是一条慢长而艰苦的道路,不能靠一时激情,也不是熬几天几夜就能学好的,必须养成平时努力学习的习惯,更加需要准确的学习方向达到有效的学习效果。
由于内容较多就只放上一个大概的大纲,需要更及详细的学习思维导图的 点击我的GitHub免费获取。
还有免费的高级UI、性能优化、架构师课程、NDK、混合式开发(ReactNative+Weex)微信小程序、Flutter全方面的Android进阶实践技术资料,并且还有技术大牛一起讨论交流解决问题。
Hub](https://bbs.csdn.net/topics/618156601)免费获取。
还有免费的高级UI、性能优化、架构师课程、NDK、混合式开发(ReactNative+Weex)微信小程序、Flutter全方面的Android进阶实践技术资料,并且还有技术大牛一起讨论交流解决问题。**


 2112
2112


 被折叠的 条评论
为什么被折叠?


