


先自我介绍一下,小编浙江大学毕业,去过华为、字节跳动等大厂,目前阿里P7
深知大多数程序员,想要提升技能,往往是自己摸索成长,但自己不成体系的自学效果低效又漫长,而且极易碰到天花板技术停滞不前!
因此收集整理了一份《2024年最新Python全套学习资料》,初衷也很简单,就是希望能够帮助到想自学提升又不知道该从何学起的朋友。


既有适合小白学习的零基础资料,也有适合3年以上经验的小伙伴深入学习提升的进阶课程,涵盖了95%以上Python知识点,真正体系化!
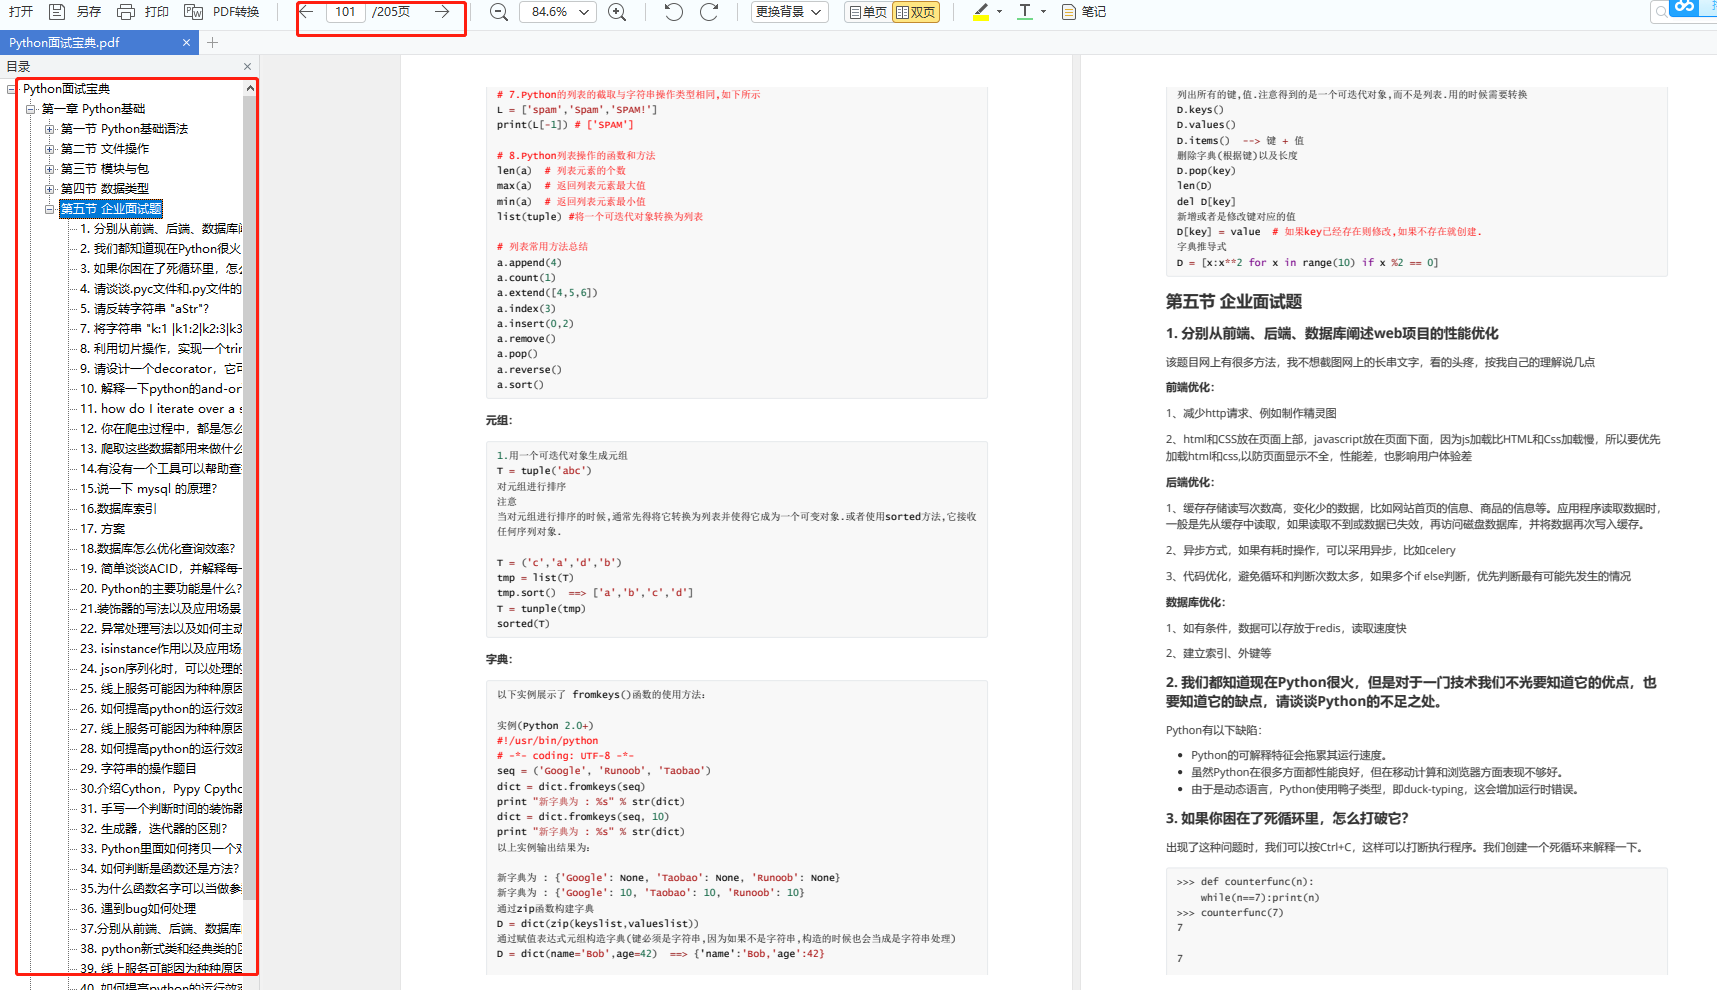
由于文件比较多,这里只是将部分目录截图出来,全套包含大厂面经、学习笔记、源码讲义、实战项目、大纲路线、讲解视频,并且后续会持续更新
如果你需要这些资料,可以添加V获取:vip1024c (备注Python)

正文
font-size: 33px;
}
.deck .card.match {
cursor: default;
background: #E5F720;
font-size: 33px;
animation-name: rubberBand;
-webkit-backface-visibility: visible;
backface-visibility: visible;
animation-duration: .75s;
}
.deck .card.unmatched {
animation-name: pulse;
-webkit-backface-visibility: visible;
backface-visibility: visible;
animation-duration: .75s;
background: #e2043b;
}
.deck .card.disabled {
pointer-events: none;
opacity: 0.9;
}
-
animation-duration属性定义动画完成一个周期需要多少秒或毫秒。这里的.75s表示 0.75 秒。 -
backface-visibility属性定义当元素背面向屏幕时是否可见。这里的visible值使得背面是可见的。
分数面板的样式
.score-panel {
text-align: left;
margin-bottom: 10px;
}
.score-panel .stars {
margin: 0;
padding: 0;
display: inline-block;
margin: 0 5px 0 0;
}
.score-panel .stars li {
list-style: none;
display: inline-block;
}
.score-panel .restart {
float: right;
cursor: pointer;
}
.fa-star {
color: #FFD700;
}
.timer {
display: inline-block;
margin: 0 1rem;
}

祝贺面板的样式
.overlay {
position: fixed;
top: 0;
bottom: 0;
left: 0;
right: 0;
background: rgba(0, 0, 0, 0.7);
transition: opacity 500ms;
visibility: hidden;
opacity: 0;
}
.overlay:target {
visibility: visible;
opacity: 1;
}
.popup {
margin: 70px auto;
padding: 20px;
background: #ffffff;
border-radius: 5px;
width: 85%;
position: relative;
transition: all 5s ease-in-out;
}
.popup h2 {
margin-top: 0;
color: #333;
font-family: Tahoma, Arial, sans-serif;
}
.popup .close {
position: absolute;
top: 20px;
right: 30px;
transition: all 200ms;
font-size: 30px;
font-weight: bold;
text-decoration: none;
color: #333;
}
.popup .close:hover {
color: #E5F720;
}
.popup .content-1,
.content-2 {
max-height: 30%;
overflow: auto;
text-align: center;
}
.show {
visibility: visible;
opacity: 100;
}
#starRating li {
display: inline-block;
}
#play-again {
background-color: #141214;
padding: 0.7rem 1rem;
font-size: 1.1rem;
display: block;
margin: 0 auto;
width: 50%;
font-family: ‘Gloria Hallelujah’, cursive;
color: #ffffff;
border-radius: 5px;
}

visibility属性指定一个元素是否是可见的。
动画
/* 卡片打开时的动画 */
@keyframes flipInY {
from {
transform: perspective(400px) rotate3d(0, 1, 0, 90deg);
animation-timing-function: ease-in;
opacity: 0;
}
40% {
transform: perspective(400px) rotate3d(0, 1, 0, -20deg);
animation-timing-function: ease-in;
}
60% {
transform: perspective(400px) rotate3d(0, 1, 0, 10deg);
opacity: 1;
}
80% {
transform: perspective(400px) rotate3d(0, 1, 0, -5deg);
}
to {
transform: perspective(400px);
}
}

animation-timing-function指定动画将如何完成一个周期,这里的ease-in是让动画以低速开始。
/* 卡片匹配时的动画 */
@keyframes rubberBand {
from {
transform: scale3d(1, 1, 1);
}
30% {
transform: scale3d(1.25, 0.75, 1);
}
40% {
transform: scale3d(0.75, 1.25, 1);
}
50% {
transform: scale3d(1.15, 0.85, 1);
}
65% {
transform: scale3d(.95, 1.05, 1);
}
75% {
transform: scale3d(1.05, .95, 1);
}
to {
transform: scale3d(1, 1, 1);
}
}
/* 卡片不匹配时的动画 */
@keyframes pulse {
from {
transform: scale3d(1, 1, 1);
}
50% {
transform: scale3d(1.2, 1.2, 1.2);
}
to {
transform: scale3d(1, 1, 1);
}
}
媒体查询
/* 适用于 320px 以下的样式*/
@media (max-width: 320px) {
.deck {
width: 85%;
}
.deck .card {
height: 4.7rem;
width: 4.7rem;
}
}
/* 适用于 768px 以上的样式*/
@media (min-width: 768px) {
.container {
font-size: 22px;
}
.deck {
width: 660px;
height: 680px;
}
.deck .card {
height: 125px;
width: 125px;
}
.popup {
width: 60%;
}
}
接下来让我们添加 Javascript
首先声明一些我们需要用到的变量:
// 卡片数组包含所有卡片
let card = document.getElementsByClassName(“card”);
let cards = […card];
// 游戏中所有卡片
const deck = document.getElementById(“card-deck”);
// 声明 moves 变量
let moves = 0;
let counter = document.querySelector(“.moves”);
// 声明星形图标的变量
const stars = document.querySelectorAll(“.fa-star”);
// 声明 matchedCard 的变量
let matchedCard = document.getElementsByClassName(“match”);
// 星级列表
let starsList = document.querySelectorAll(“.stars li”);
// 模板中的关闭图标
let closeicon = document.querySelector(“.close”);
// 声明 modal
let modal = document.getElementById(“popup1”)
// 打开卡片的数组
var openedCards = [];
洗牌功能
function shuffle(array) {
var currentIndex = array.length, temporaryValue, randomIndex;
while (currentIndex !== 0) {
randomIndex = Math.floor(Math.random() * currentIndex);
currentIndex -= 1;
temporaryValue = array[currentIndex];
array[currentIndex] = array[randomIndex];
array[randomIndex] = temporaryValue;
}
return array;
};
开始新游戏的功能
// 页面刷新/加载时洗牌
document.body.onload = startGame();
// 开始新游戏的功能
function startGame(){
// 清空 openCards 数组
openedCards = [];
// 洗牌
cards = shuffle(cards);
// 从每张卡片中删除所有现有的类
for (var i = 0; i < cards.length; i++){
deck.innerHTML = “”;
[].forEach.call(cards, function(item) {
deck.appendChild(item);
});
cards[i].classList.remove(“show”, “open”, “match”, “disabled”);
}
// 重置 moves
moves = 0;
counter.innerHTML = moves;
// 重置 rating
for (var i= 0; i < stars.length; i++){
stars[i].style.color = “#FFD700”;
stars[i].style.visibility = “visible”;
}
// 重置 timer
second = 0;
minute = 0;
hour = 0;
var timer = document.querySelector(“.timer”);
timer.innerHTML = “0 分 0 秒”;
clearInterval(interval);
}
显示卡片的功能
var displayCard = function (){
this.classList.toggle(“open”);
this.classList.toggle(“show”);
this.classList.toggle(“disabled”);
};
将打开的卡片添加到 OpenedCards 列表并检查卡片是否匹配
function cardOpen() {
openedCards.push(this);
var len = openedCards.length;
if(len === 2){
moveCounter();
if(openedCards[0].type === openedCards[1].type){
matched();
} else {
unmatched();
}
}
};
当卡片匹配时的功能
function matched(){
openedCards[0].classList.add(“match”, “disabled”);
openedCards[1].classList.add(“match”, “disabled”);
openedCards[0].classList.remove(“show”, “open”, “no-event”);
openedCards[1].classList.remove(“show”, “open”, “no-event”);
openedCards = [];
}
当卡片不匹配时的功能
function unmatched(){
openedCards[0].classList.add(“unmatched”);
openedCards[1].classList.add(“unmatched”);
disable();
setTimeout(function(){
openedCards[0].classList.remove(“show”, “open”, “no-event”,“unmatched”);
openedCards[1].classList.remove(“show”, “open”, “no-event”,“unmatched”);
enable();
openedCards = [];
},1100);
}
暂时禁用卡片的功能
function disable(){
Array.prototype.filter.call(cards, function(card){
card.classList.add(‘disabled’);
});
}
启用卡片并禁用匹配的卡片的功能
function enable(){
Array.prototype.filter.call(cards, function(card){
card.classList.remove(‘disabled’);
for(var i = 0; i < matchedCard.length; i++){
matchedCard[i].classList.add(“disabled”);
}
});
}
计算玩家的动作的功能
function moveCounter(){
moves++;
counter.innerHTML = moves;
// 第一次点击时启动计时器
if(moves == 1){
second = 0;
minute = 0;
hour = 0;
startTimer();
}
// 根据移动次数设置星级
if (moves > 8 && moves < 12){
for( i= 0; i < 3; i++){
if(i > 1){
stars[i].style.visibility = “collapse”;
}
}
文末有福利领取哦~
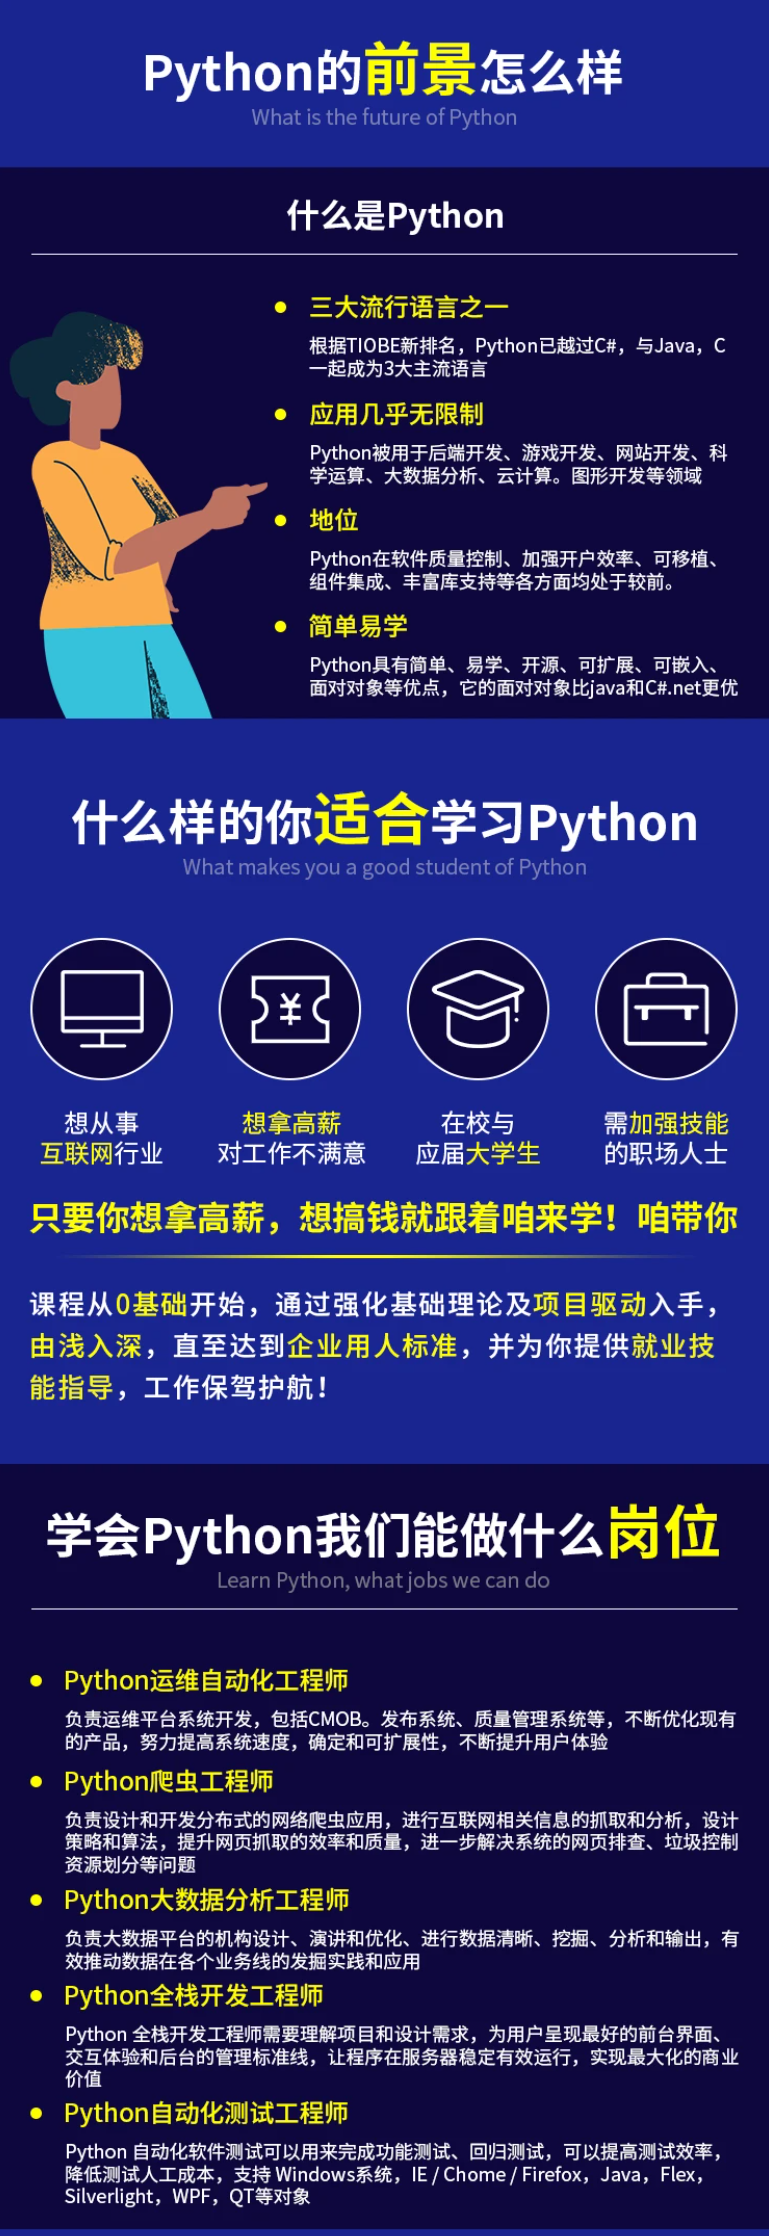
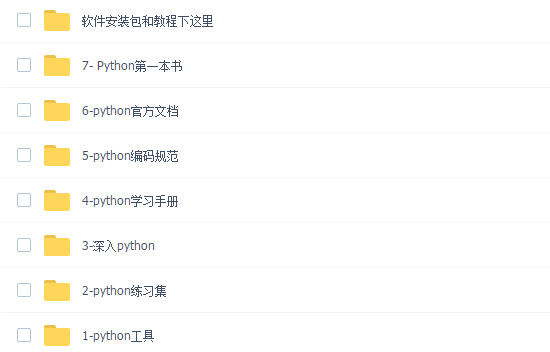
👉一、Python所有方向的学习路线
Python所有方向的技术点做的整理,形成各个领域的知识点汇总,它的用处就在于,你可以按照上面的知识点去找对应的学习资源,保证自己学得较为全面。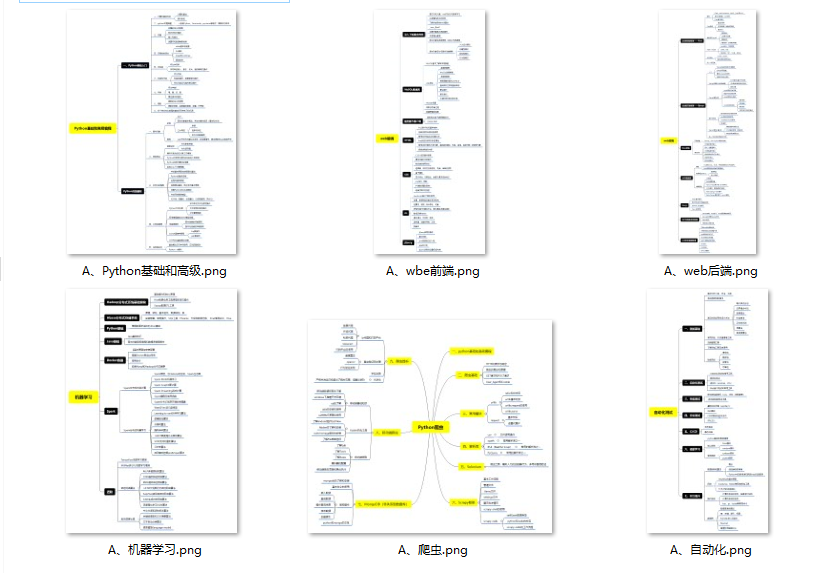
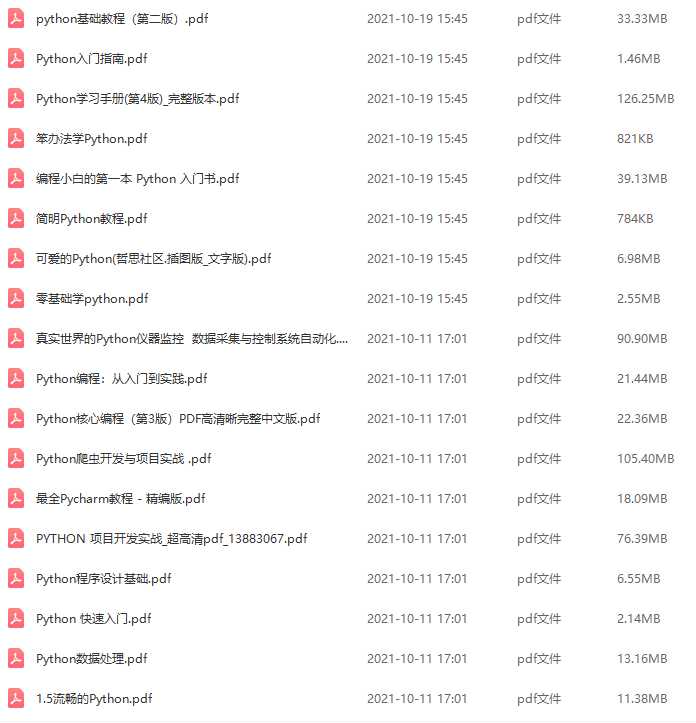
👉二、Python必备开发工具
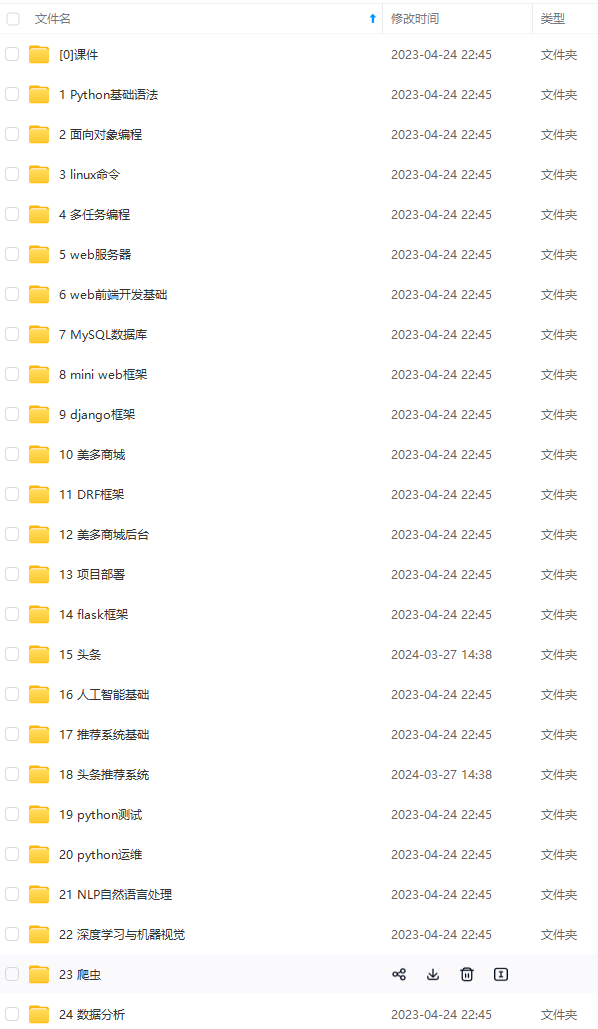
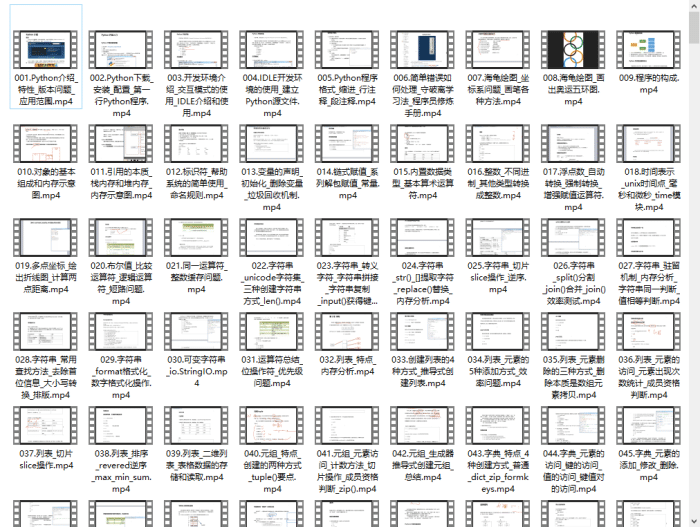
👉三、Python视频合集
观看零基础学习视频,看视频学习是最快捷也是最有效果的方式,跟着视频中老师的思路,从基础到深入,还是很容易入门的。
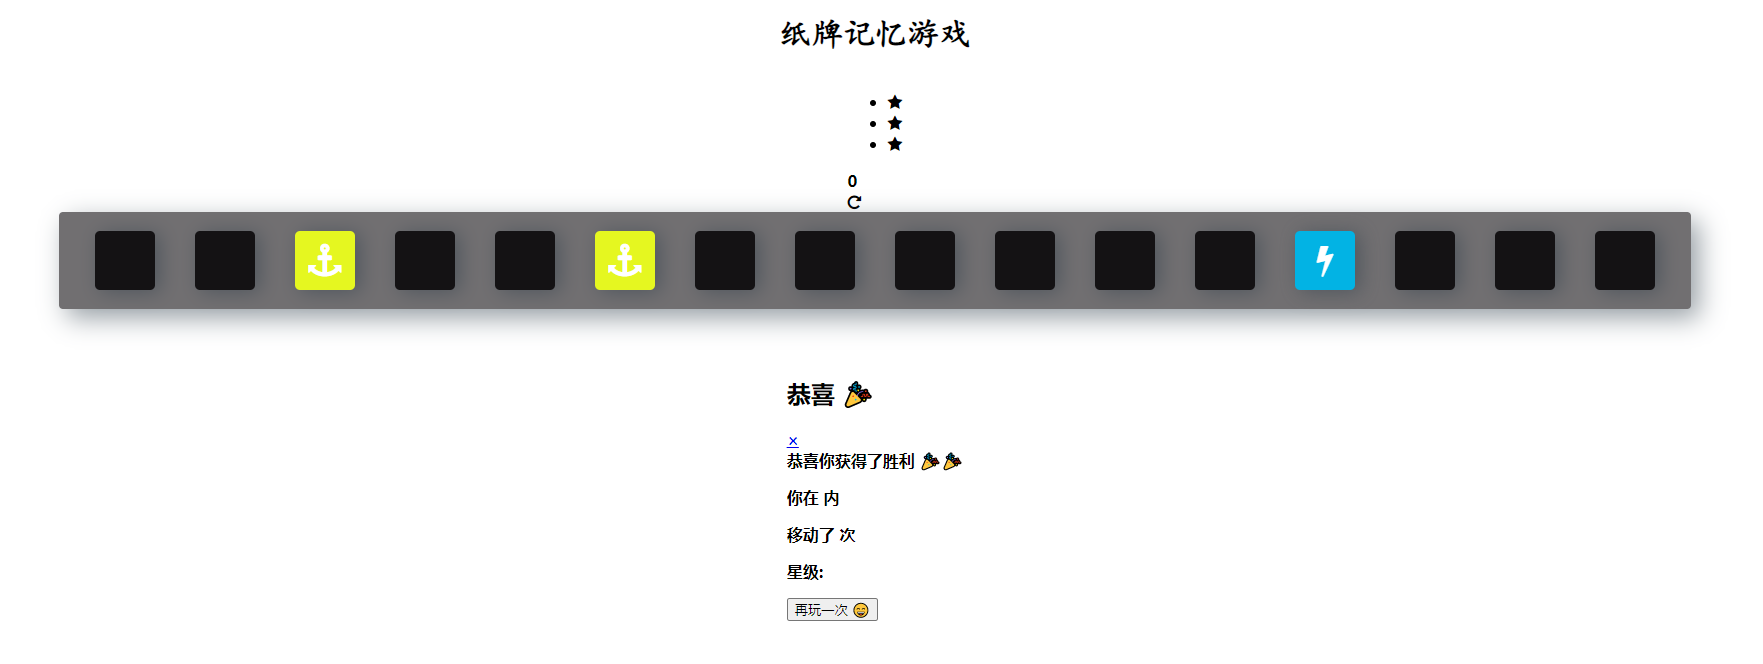
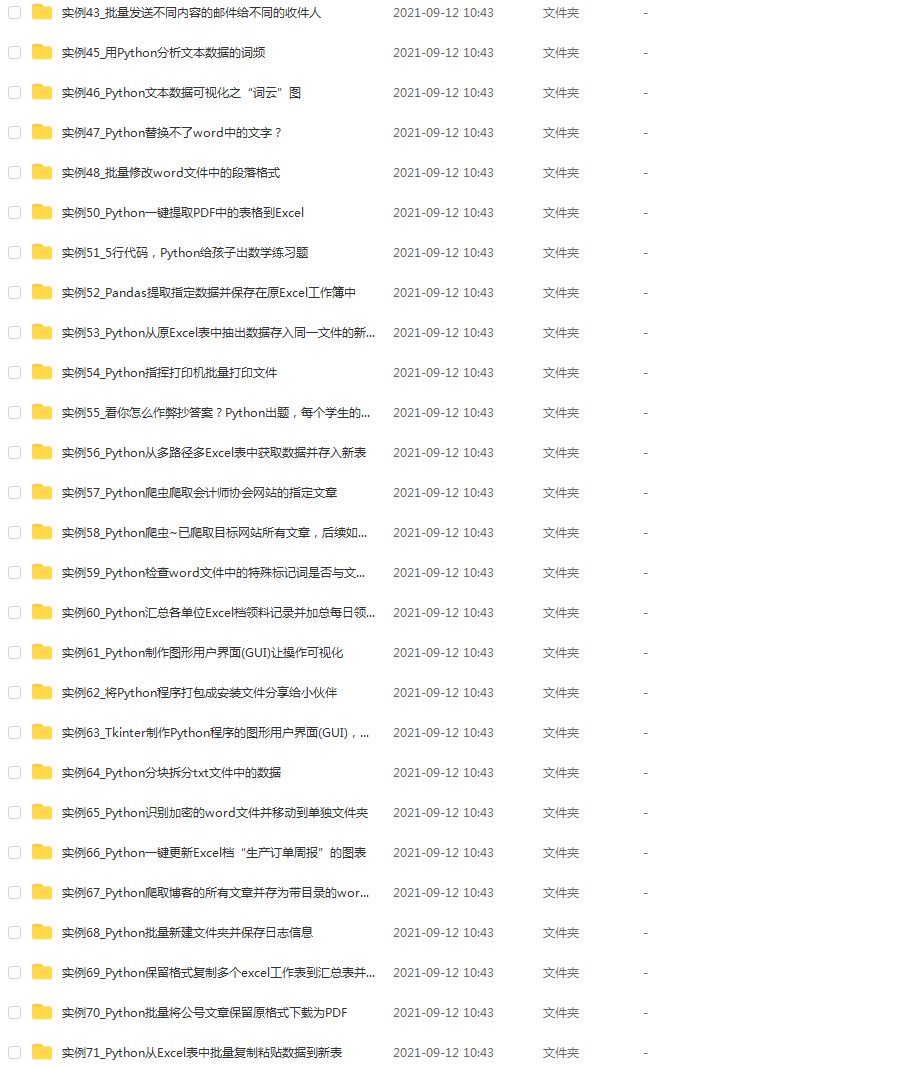
👉 四、实战案例
光学理论是没用的,要学会跟着一起敲,要动手实操,才能将自己的所学运用到实际当中去,这时候可以搞点实战案例来学习。(文末领读者福利)
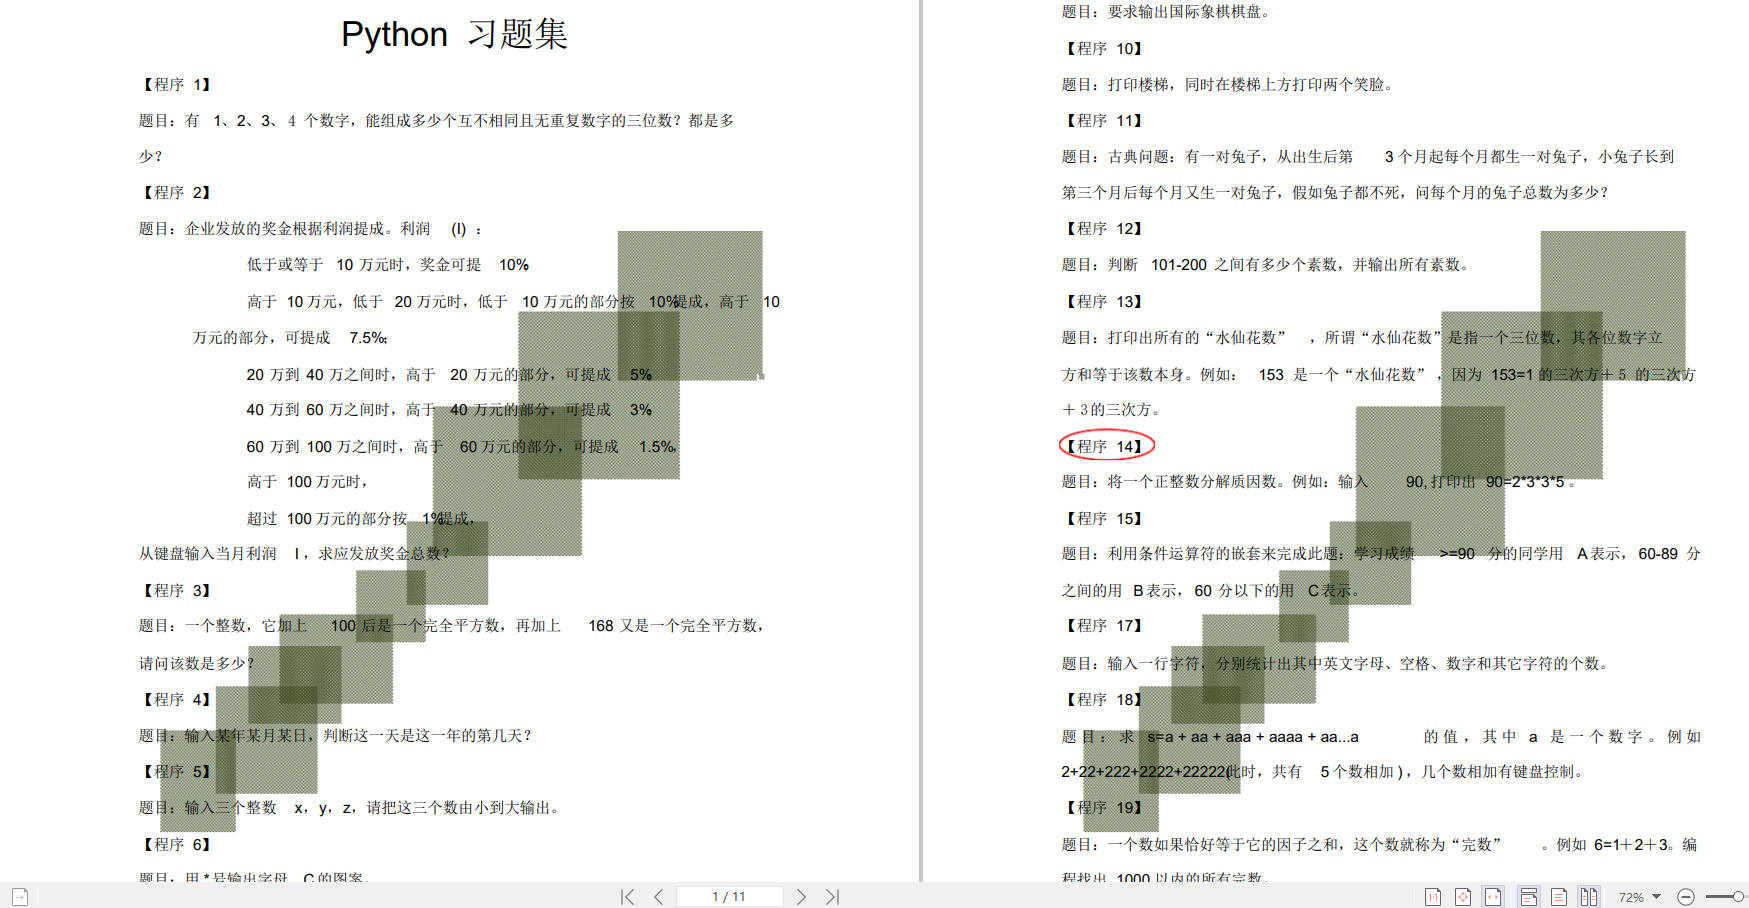
👉五、Python练习题
检查学习结果。
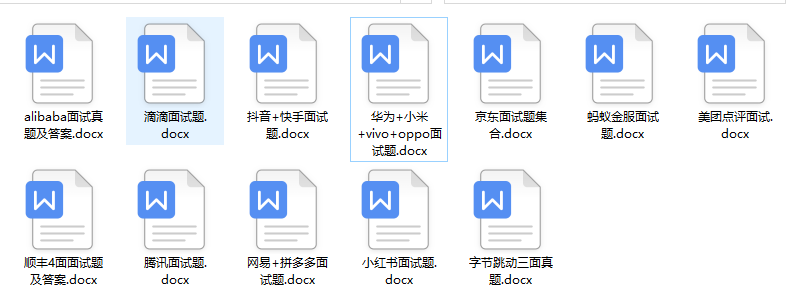
👉六、面试资料
我们学习Python必然是为了找到高薪的工作,下面这些面试题是来自阿里、腾讯、字节等一线互联网大厂最新的面试资料,并且有阿里大佬给出了权威的解答,刷完这一套面试资料相信大家都能找到满意的工作。
👉因篇幅有限,仅展示部分资料,这份完整版的Python全套学习资料已经上传
网上学习资料一大堆,但如果学到的知识不成体系,遇到问题时只是浅尝辄止,不再深入研究,那么很难做到真正的技术提升。
需要这份系统化的资料的朋友,可以添加V获取:vip1024c (备注python)

一个人可以走的很快,但一群人才能走的更远!不论你是正从事IT行业的老鸟或是对IT行业感兴趣的新人,都欢迎加入我们的的圈子(技术交流、学习资源、职场吐槽、大厂内推、面试辅导),让我们一起学习成长!
cn/757ca3f717df4825b7d90a11cad93bc7.png)
👉三、Python视频合集
观看零基础学习视频,看视频学习是最快捷也是最有效果的方式,跟着视频中老师的思路,从基础到深入,还是很容易入门的。
👉 四、实战案例
光学理论是没用的,要学会跟着一起敲,要动手实操,才能将自己的所学运用到实际当中去,这时候可以搞点实战案例来学习。(文末领读者福利)
👉五、Python练习题
检查学习结果。
👉六、面试资料
我们学习Python必然是为了找到高薪的工作,下面这些面试题是来自阿里、腾讯、字节等一线互联网大厂最新的面试资料,并且有阿里大佬给出了权威的解答,刷完这一套面试资料相信大家都能找到满意的工作。
👉因篇幅有限,仅展示部分资料,这份完整版的Python全套学习资料已经上传
网上学习资料一大堆,但如果学到的知识不成体系,遇到问题时只是浅尝辄止,不再深入研究,那么很难做到真正的技术提升。
需要这份系统化的资料的朋友,可以添加V获取:vip1024c (备注python)
[外链图片转存中…(img-GkzlgFhh-1713539858215)]
一个人可以走的很快,但一群人才能走的更远!不论你是正从事IT行业的老鸟或是对IT行业感兴趣的新人,都欢迎加入我们的的圈子(技术交流、学习资源、职场吐槽、大厂内推、面试辅导),让我们一起学习成长!


 1917
1917

 被折叠的 条评论
为什么被折叠?
被折叠的 条评论
为什么被折叠?
 到【灌水乐园】发言


