static {

    loadInitialDrivers();

    println("JDBC DriverManager initialized");

}


private static void loadInitialDrivers() {

    String drivers;

    try {

        drivers = AccessController.doPrivileged(new PrivilegedAction<String>() {

            public String run() {

                return System.getProperty("jdbc.drivers");

            }

        });

    } catch (Exception ex) {

        drivers = null;

    }

    // If the driver is packaged as a Service Provider, load it.

    // Get all the drivers through the classloader

    // exposed as a java.sql.Driver.class service.

    // ServiceLoader.load() replaces the sun.misc.Providers()


    AccessController.doPrivileged(new PrivilegedAction<Void>() {

        public Void run() {


            ServiceLoader<Driver> loadedDrivers = ServiceLoader.load(Driver.class);

            Iterator<Driver> driversIterator = loadedDrivers.iterator();


            /* Load these drivers, so that they can be instantiated.

             * It may be the case that the driver class may not be there

             * i.e. there may be a packaged driver with the service class

             * as implementation of java.sql.Driver but the actual class

             * may be missing. In that case a java.util.ServiceConfigurationError

             * will be thrown at runtime by the VM trying to locate

             * and load the service.

             *

             * Adding a try catch block to catch those runtime errors

             * if driver not available in classpath but it's

             * packaged as service and that service is there in classpath.

             */

            try{

                while(driversIterator.hasNext()) {

                    driversIterator.next();

                }

            } catch(Throwable t) {

            // Do nothing

            }

            return null;

        }

    });


    println("DriverManager.initialize: jdbc.drivers = " + drivers);


    if (drivers == null || drivers.equals("")) {

        return;

    }

    String[] driversList = drivers.split(":");

    println("number of Drivers:" + driversList.length);

    for (String aDriver : driversList) {

        try {

            println("DriverManager.Initialize: loading " + aDriver);

            Class.forName(aDriver, true,

                    ClassLoader.getSystemClassLoader());

        } catch (Exception ex) {

            println("DriverManager.Initialize: load failed: " + ex);

        }

    }

}
在加载DriverManager类的时候会执行loadInitialDrivers方法,方法内通过了两种加载驱动类的方式,分别是:使用系统变量方式和ServiceLoader加载方式;系统变量方式其实就是在变量jdbc.drivers中配置好驱动类,然后使用Class.forName进行加载;下面重点看一下ServiceLoader方式,此处调用了load方法但是并没有真正去加载驱动类,而是返回了一个LazyIterator,后面的代码就是循环变量迭代器:
private static final String PREFIX = "META-INF/services/";


private class LazyIterator

        implements Iterator<S>

    {


        Class<S> service;

        ClassLoader loader;

        Enumeration<URL> configs = null;

        Iterator<String> pending = null;

        String nextName = null;


        private LazyIterator(Class<S> service, ClassLoader loader) {

            this.service = service;

            this.loader = loader;

        }


        private boolean hasNextService() {

            if (nextName != null) {

                return true;

            }

            if (configs == null) {

                try {

                    String fullName = PREFIX + service.getName();

                    if (loader == null)

                        configs = ClassLoader.getSystemResources(fullName);

                    else

                        configs = loader.getResources(fullName);

                } catch (IOException x) {

                    fail(service, "Error locating configuration files", x);

                }

            }

            while ((pending == null) || !pending.hasNext()) {

                if (!configs.hasMoreElements()) {

                    return false;

                }

                pending = parse(service, configs.nextElement());

            }

            nextName = pending.next();

            return true;

        }


        private S nextService() {

            if (!hasNextService())

                throw new NoSuchElementException();

            String cn = nextName;

            nextName = null;

            Class<?> c = null;

            try {

                c = Class.forName(cn, false, loader);

            } catch (ClassNotFoundException x) {

                fail(service,

                     "Provider " + cn + " not found");

            }

            if (!service.isAssignableFrom(c)) {

                fail(service,

                     "Provider " + cn  + " not a subtype");

            }

            try {

                S p = service.cast(c.newInstance());

                providers.put(cn, p);

                return p;

            } catch (Throwable x) {

                fail(service,

                     "Provider " + cn + " could not be instantiated",

                     x);

            }

            throw new Error();          // This cannot happen

        }

        ......

    }
类中指定了一个静态常量PREFIX = “META-INF/services/”,然后和java.sql.Driver拼接组成了fullName,然后通过类加载器去获取所有类路径下java.sql.Driver文件,获取之后存放在configs中,里面的每个元素对应一个文件,每个文件中可能会存在多个驱动类,所以使用pending用来存放每个文件中的驱动信息,获取驱动信息之后在nextService中使用Class.forName加载类信息,并且指定不进行初始化;同时在下面使用newInstance对驱动类进行了实例化操作;每个驱动类中都提供了一个静态注册代码块,比如mysql:
static {

    try {

        java.sql.DriverManager.registerDriver(new Driver());

    } catch (SQLException E) {

        throw new RuntimeException("Can't register driver!");

    }

}
这里又实例化了一个驱动类,同时注册到DriverManager;接下来就是调用DriverManager的getConnection方法,代码如下:
private static Connection getConnection(
String url, java.util.Properties info, Class<?> caller) throws SQLException {
/*
* When callerCl is null, we should check the application's
* (which is invoking this class indirectly)
* classloader, so that the JDBC driver class outside rt.jar
* can be loaded from here.
*/
ClassLoader callerCL = caller != null ? caller.getClassLoader() : null;
synchronized(DriverManager.class) {
// synchronize loading of the correct classloader.
if (callerCL == null) {
callerCL = Thread.currentThread().getContextClassLoader();
}
}
# Kafka实战笔记
> **关于这份笔记,为了不影响大家的阅读体验,我只能在文章中展示部分的章节内容和核心截图,如果你需要完整的pdf版本,[戳这里即可免费领取](https://gitee.com/vip204888/java-p7)。**
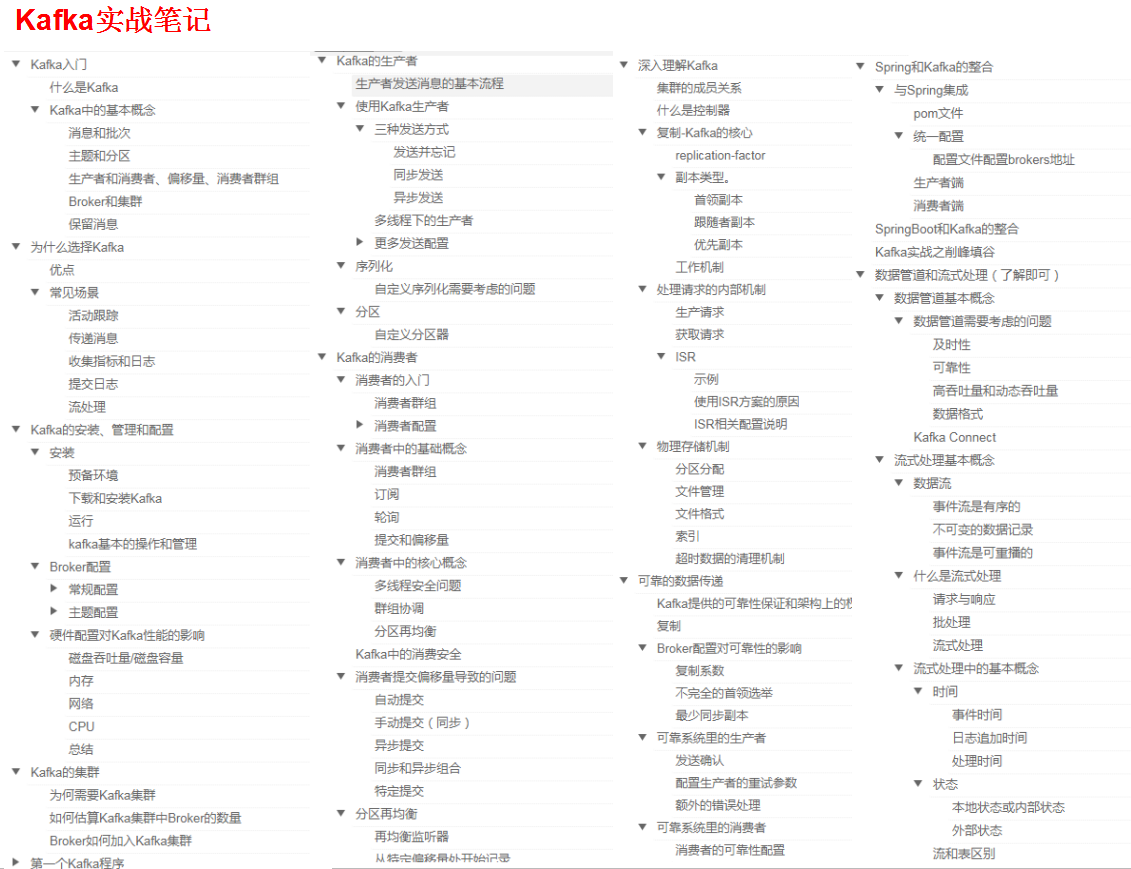
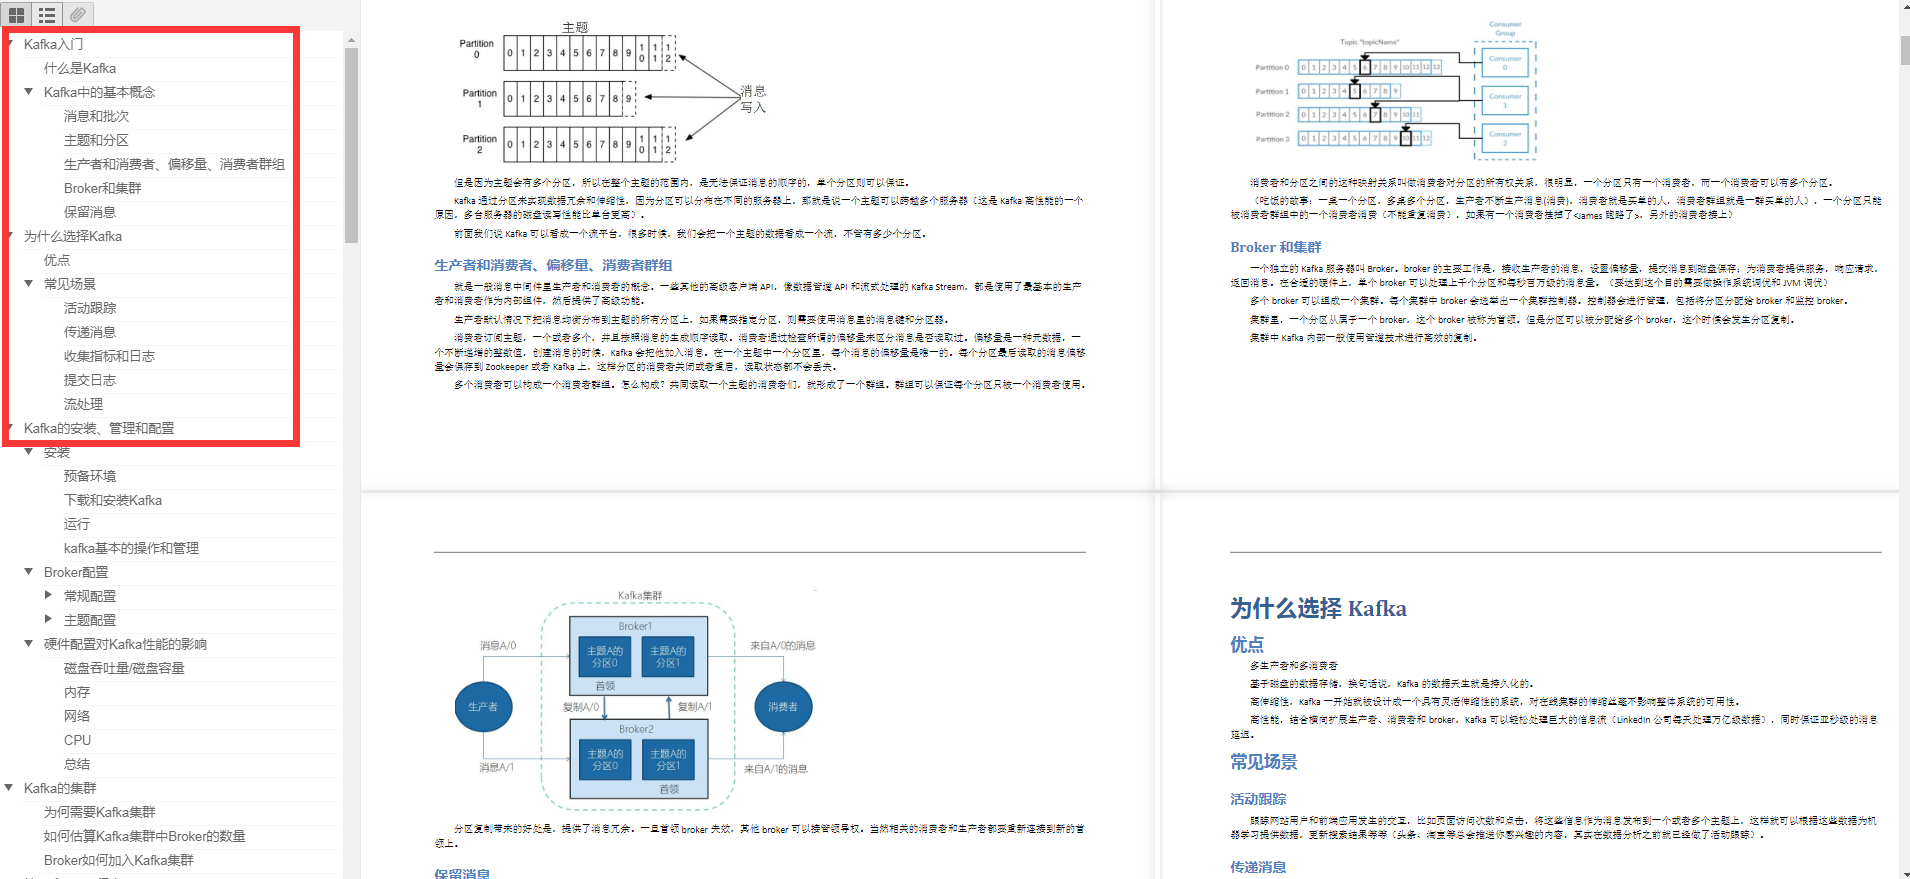
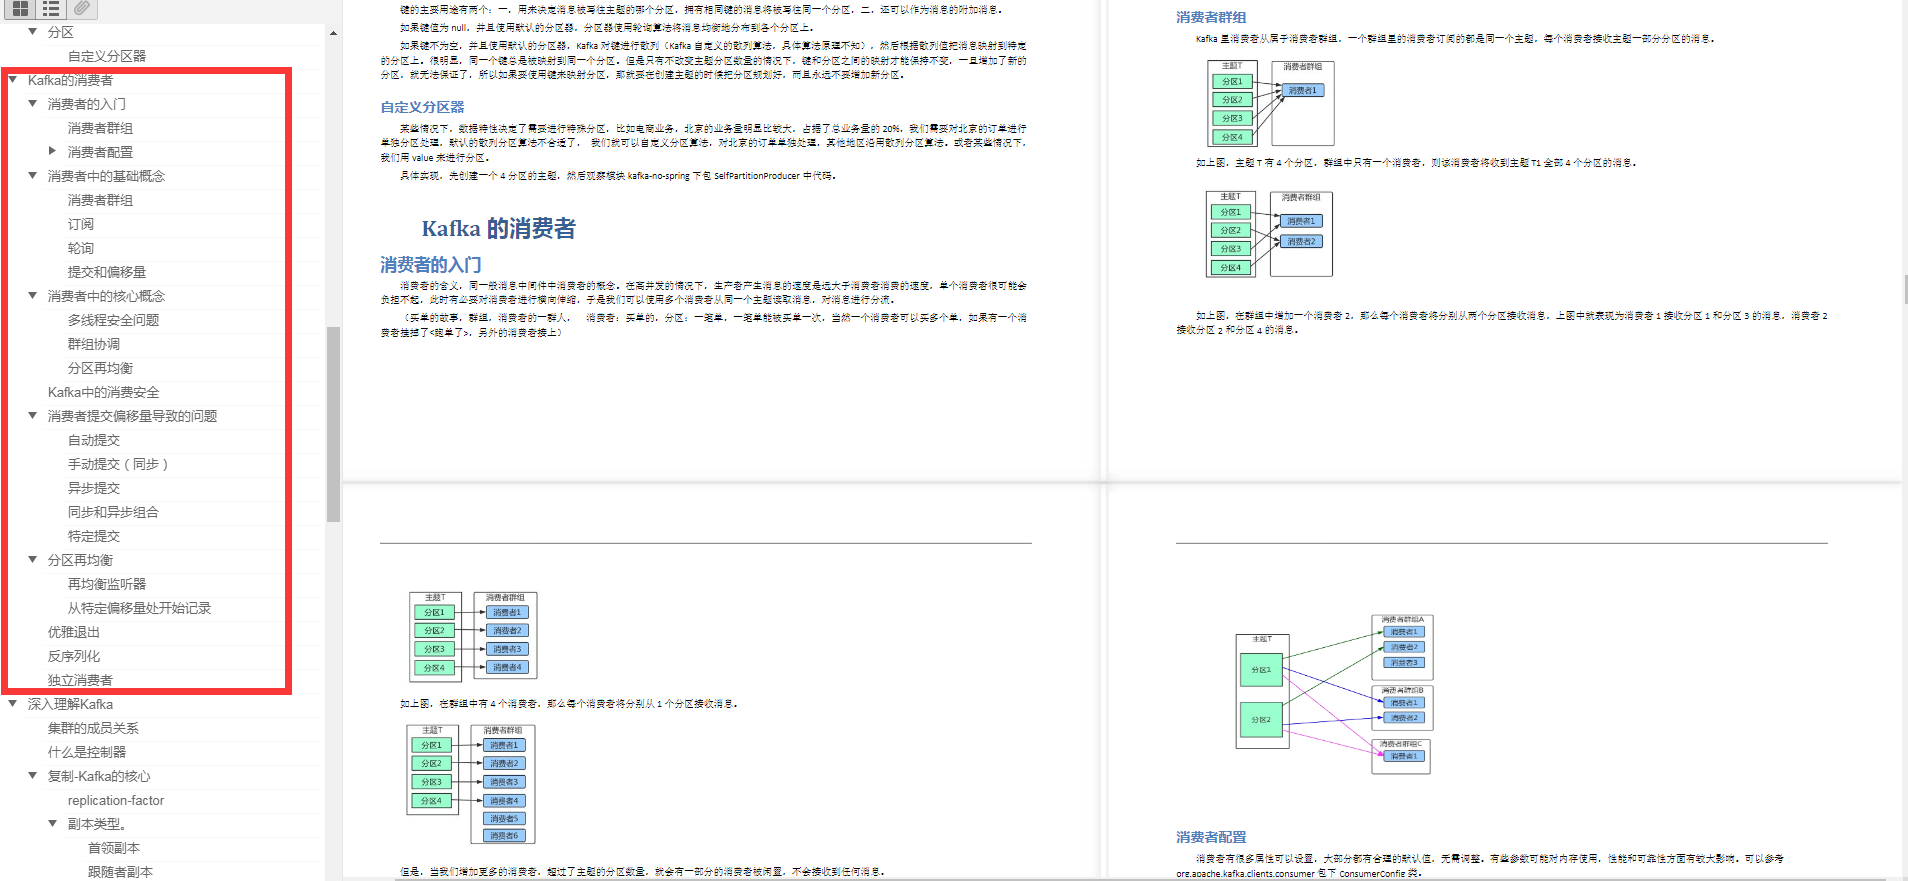
* **Kafka入门**
* **为什么选择Kafka**
* **Karka的安装、管理和配置**
* **Kafka的集群**
* **第一个Kafka程序**
* 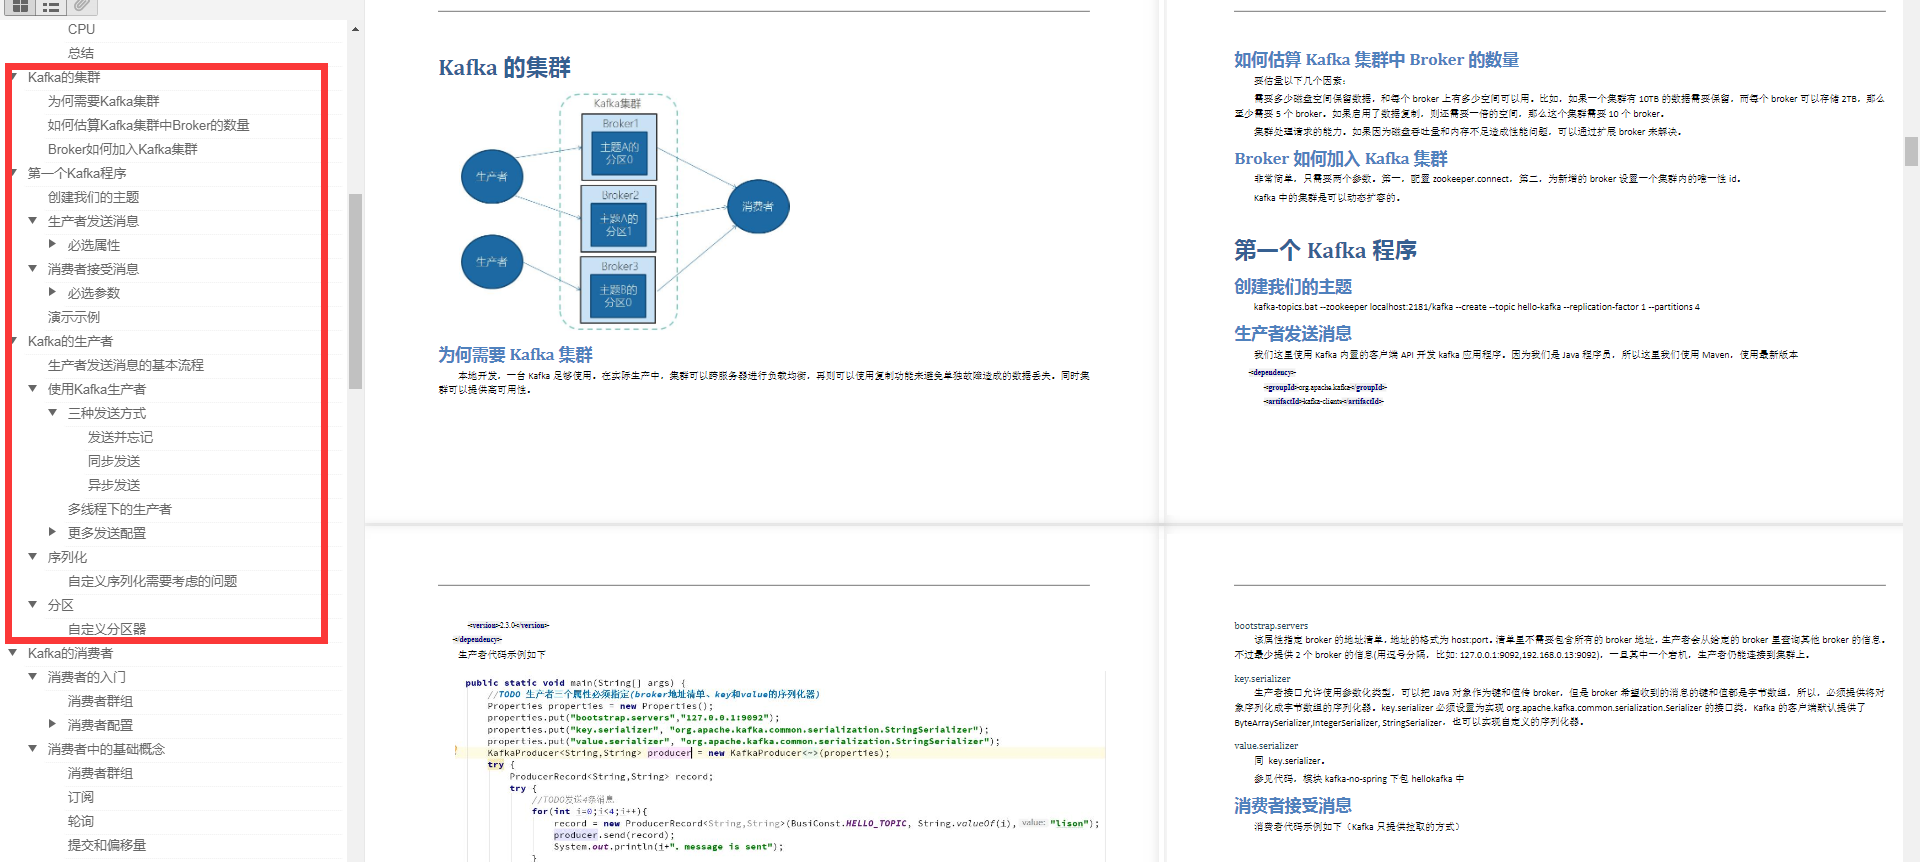
afka的生产者
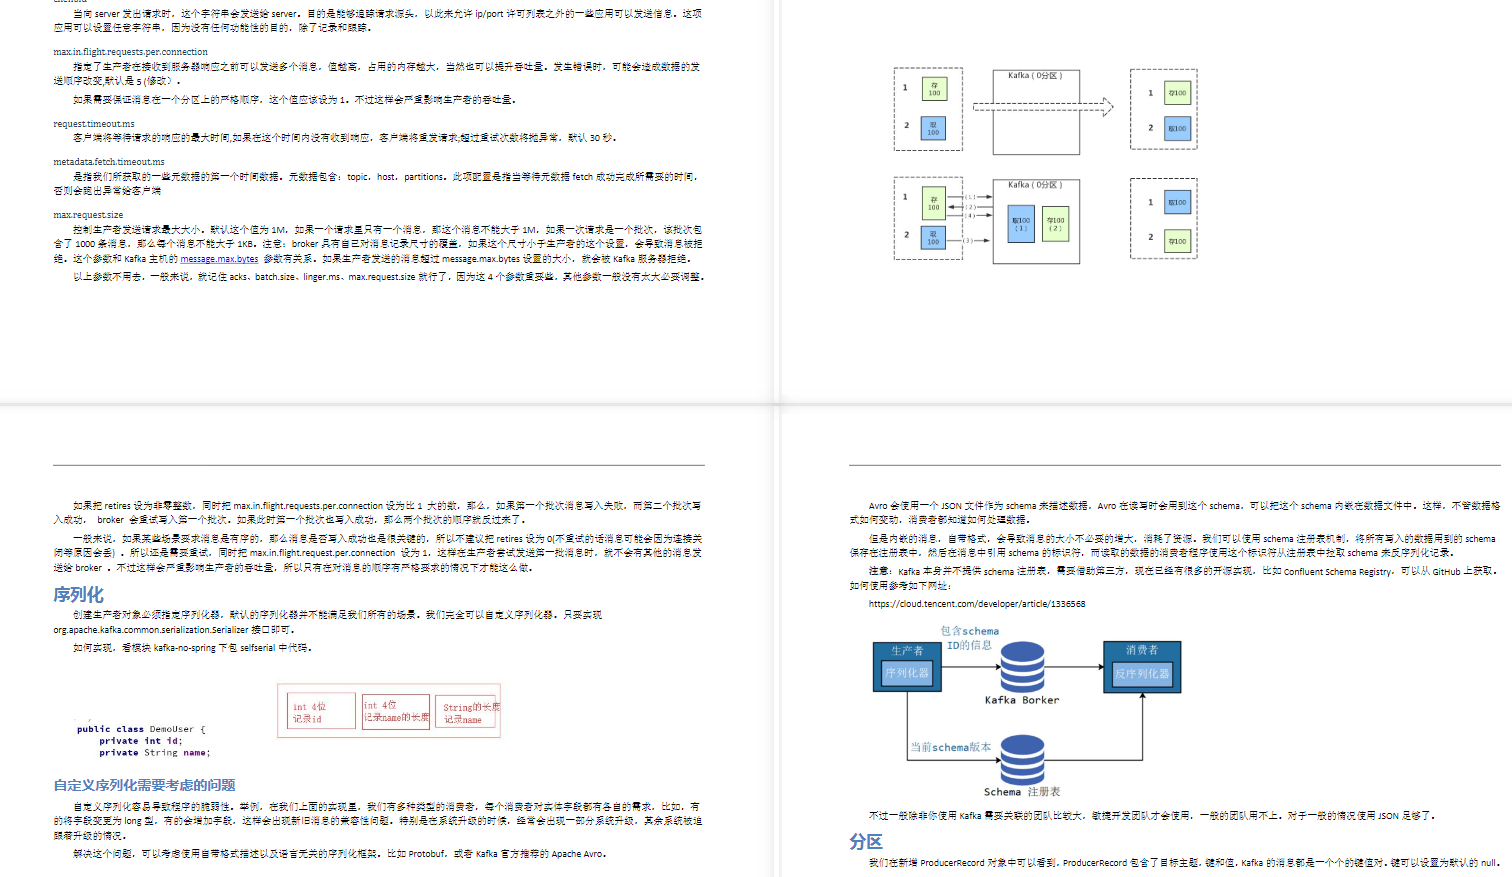
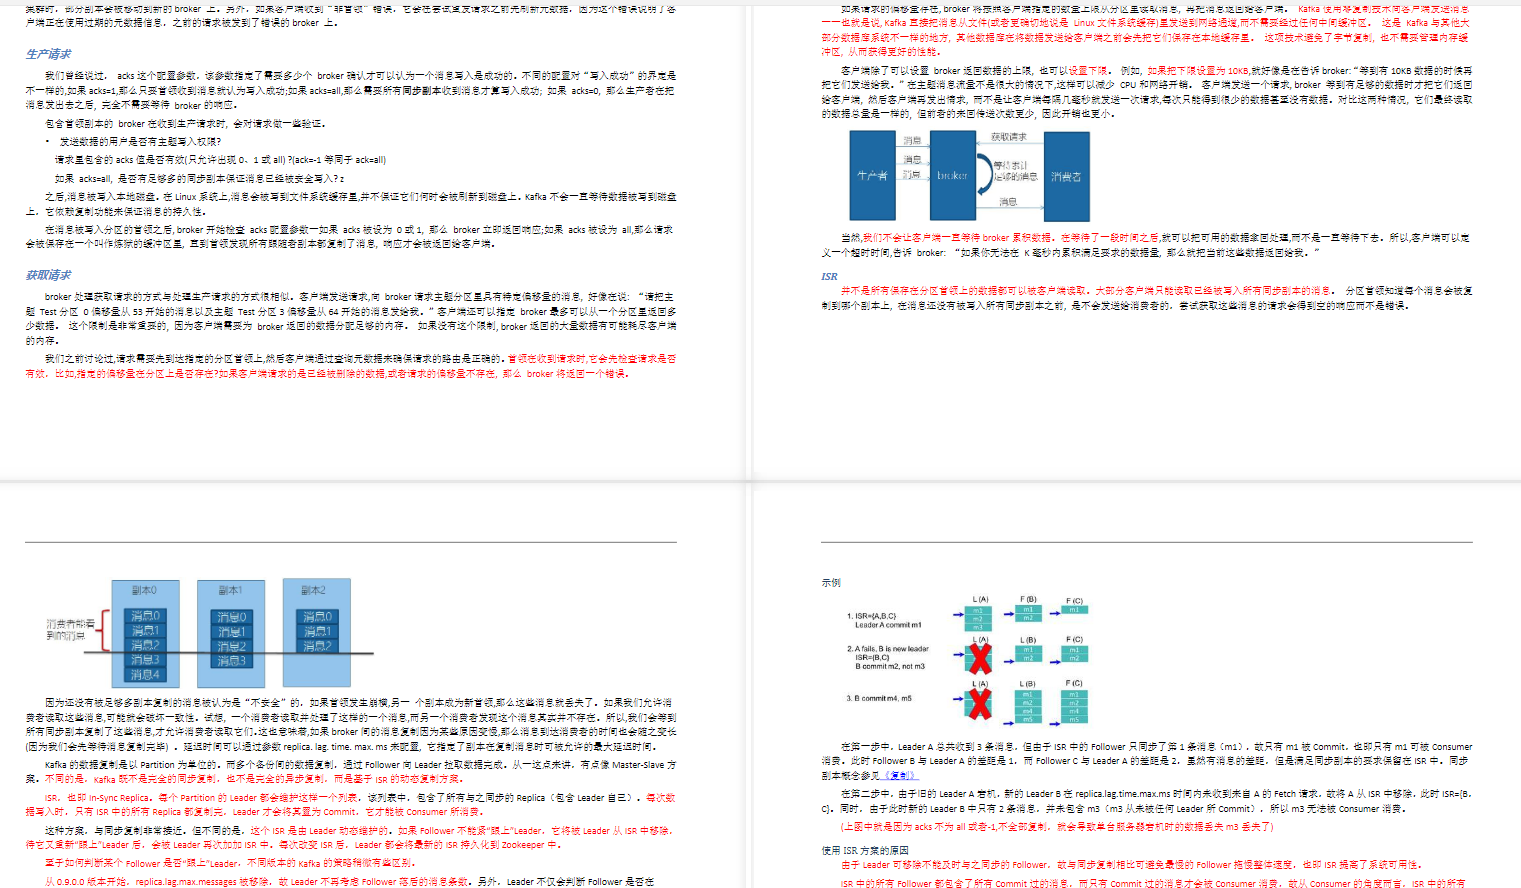
* **Kafka的消费者**
* **深入理解Kafka**
* **可靠的数据传递**
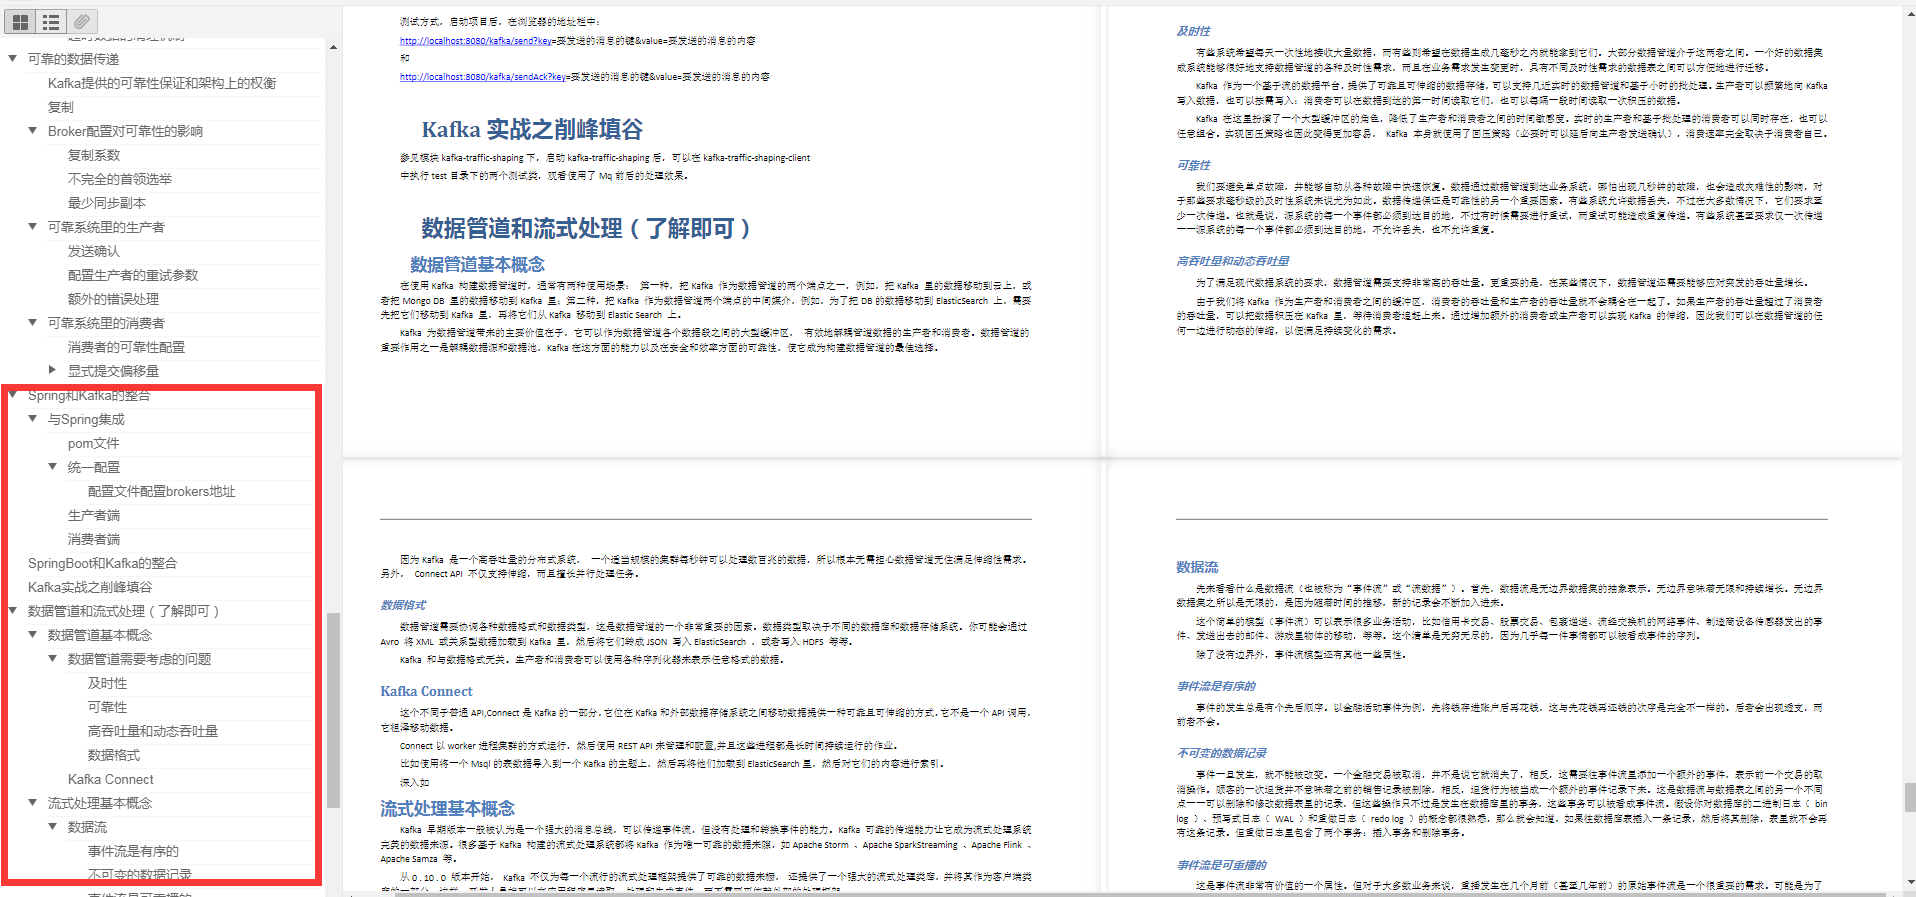
* **Spring和Kalka的整合**
* **Sprinboot和Kafka的整合**
* **Kafka实战之削峰填谷**
* **数据管道和流式处理(了解即可)**
* **Kafka实战之削峰填谷**
转存中...(img-Atr5A6zF-1628339400087)]
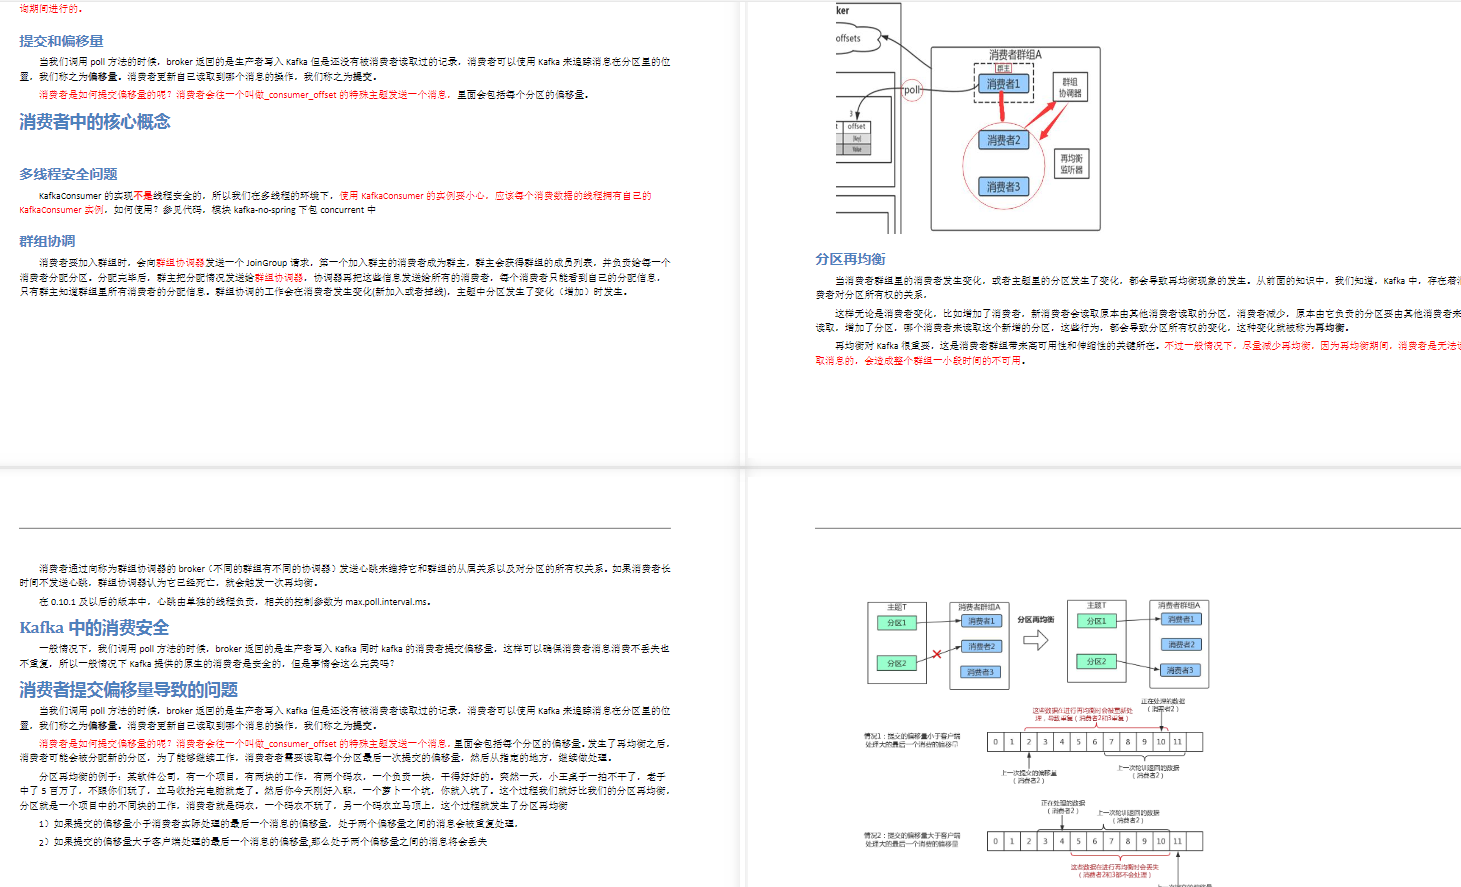
* **Kafka的消费者**
* **深入理解Kafka**
* **可靠的数据传递**
[外链图片转存中...(img-WKlX7grc-1628339400089)]
[外链图片转存中...(img-pZlQiJkO-1628339400091)]
* **Spring和Kalka的整合**
* **Sprinboot和Kafka的整合**
* **Kafka实战之削峰填谷**
* **数据管道和流式处理(了解即可)**
[外链图片转存中...(img-VqffWhVO-1628339400092)]
* **Kafka实战之削峰填谷**
[外链图片转存中...(img-TWAPJDTH-1628339400093)]


 这篇博客介绍了Java DriverManager在初始化时如何通过系统变量和ServiceLoader加载驱动类,详细讲解了ServiceLoader的懒加载机制和Class.forName加载过程。涉及技术包括JDBC驱动管理、ServiceLoader API和系统资源查找。


 577
577

 被折叠的 条评论
为什么被折叠?


