


一个使用pyqt5和php写的简单聊天程序,服务端使用LNMP环境,Ubuntu20系统。这是一个比较简单的框架,能完成基本的两人聊天和接受消息。
成品效果:
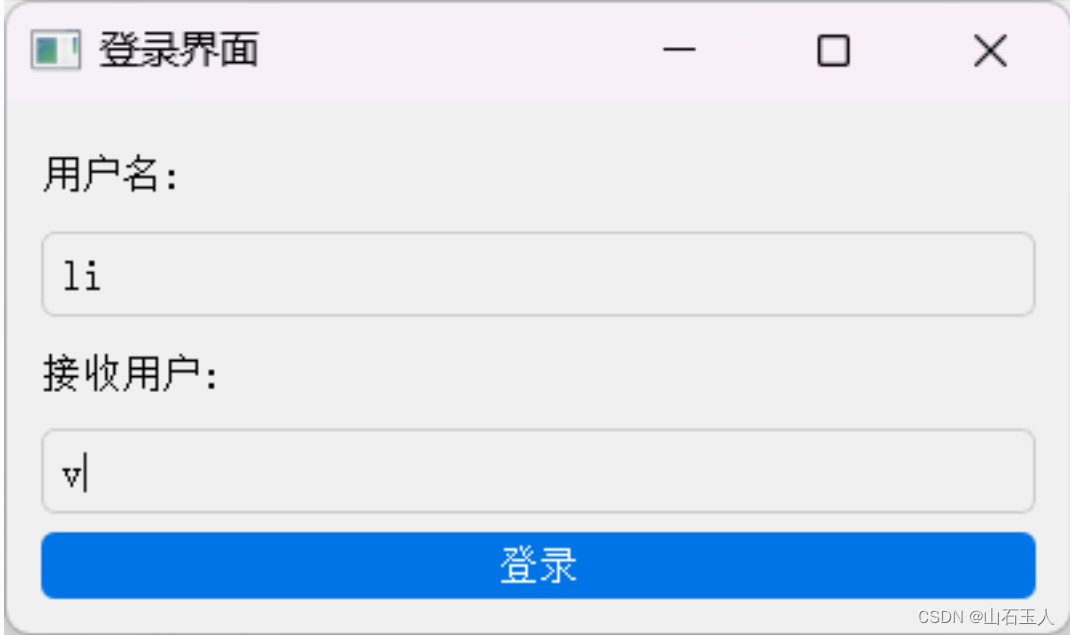
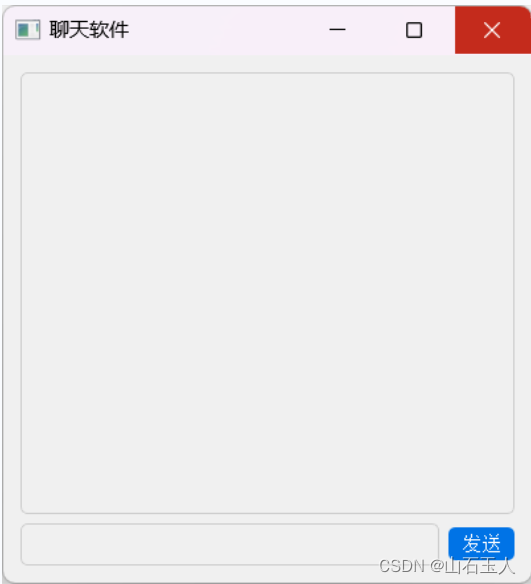
程序简单加了一些美化。
这段代码是一个简单的聊天应用程序,使用Python编写,使用PyQt5库创建图形用户界面(GUI),并使用requests库进行HTTP请求到服务器。该应用程序包含两个主要类:LoginInterface和ChatInterface。
LoginInterface 类
这个类表示登录窗口,用户可以在其中输入用户名和他们想要聊天的人的用户名。点击“登录”按钮后,将调用login方法,该方法根据输入值设置全局变量User、RX_User和Wait。Wait变量用于控制消息接收线程。如果登录成功,登录窗口将被隐藏,并显示聊天窗口(ChatInterface)。
ChatInterface 类
这个类表示主聊天窗口。它具有用于显示聊天消息的文本显示区域(QTextEdit),用于输入消息的文本输入字段(QLineEdit),以及用于发送消息的“发送”按钮(QPushButton)。当点击“发送”按钮时,将调用sendMessage方法,它通过POST请求将聊天消息和相关信息发送到服务器(由url变量定义)。messageReceiver方法在单独的线程中运行,并不断使用POST请求检查从服务器接收到的新消息,这些消息来自不同的端点(由url_return变量定义)。如果有新消息,它们将显示在聊天窗口中。
main 函数
main函数设置PyQt应用程序,创建ChatInterface和LoginInterface的实例,并启动应用程序循环。
总体流程
- 应用程序开始时显示登录窗口。
- 输入用户名和接收者的用户名并点击“登录”后,将显示聊天窗口。
- 在聊天窗口中,用户可以输入消息并发送。
- 消息接收线程不断检查来自服务器的新消息,并在聊天窗口中显示它们。
import sys
import time
import queue
from PyQt5.QtWidgets import QApplication, QWidget, QVBoxLayout, QHBoxLayout, QTextEdit, QPushButton, QLineEdit
from PyQt5.QtCore import Qt
from PyQt5.QtWidgets import QLabel
import threading
import requests
import json

requests.adapters.DEFAULT_RETRIES = 5 # 增加重连次数
requests.keep_alive = False
url = 'http://xxx.xom:1200/send.php'  # 替换成实际的PHP脚本地址
url_return = 'http://xxx.com:1200/return.php'
User = ""
RX_User = ""
Wait = 1
class LoginInterface(QWidget):
    def __init__(self, chat_window):
        super().__init__()
        self.chat_window = chat_window
        self.initUI()

    def initUI(self):
        self.setWindowTitle('登录界面')
        self.setGeometry(100, 100, 400, 200)

        self.layout = QVBoxLayout()

        self.username_label = QLabel('用户名:')
        self.username_input = QLineEdit()
        self.layout.addWidget(self.username_label)
        self.layout.addWidget(self.username_input)

        self.password_label = QLabel('接收用户:')
        self.password_input = QLineEdit()
        self.layout.addWidget(self.password_label)
        self.layout.addWidget(self.password_input)

        self.login_button = QPushButton('登录')
        self.login_button.clicked.connect(self.login)
        self.layout.addWidget(self.login_button)

        self.setLayout(self.layout)
        self.setStyleSheet('''
            QTextEdit {
                background-color: #f0f0f0;
                border: 1px solid #ccc;
                border-radius: 5px;
                padding: 5px;
            }
            QLineEdit {
                background-color: #f0f0f0;
                border: 1px solid #ccc;
                border-radius: 5px;
                padding: 5px;
            }
            QPushButton {
                background-color: #0073e6;
                color: white;
                border: none;
                border-radius: 5px;
                padding: 5px 10px;
            }
        ''')

    def login(self):
        # 在这里可以添加登录逻辑,检查用户名和密码是否有效
        # 这里只是一个示例,您需要根据实际需求进行验证
        global User
        global RX_User
        User = self.username_input.text()
        RX_User = self.password_input.text()
        global Wait
        Wait = 0
        # 假设用户名和密码有效
        #if username == 'user' and password == 'password':
        self.hide()  # 隐藏登录界面
        self.chat_window.show()  # 显示聊天界面

class ChatInterface(QWidget):
    def __init__(self):
        super().__init__()
        self.initUI()
        self.receiver_thread = threading.Thread(target=self.messageReceiver)
        self.receiver_thread.start()

    def initUI(self):
        self.setWindowTitle('聊天软件')
        self.setGeometry(100, 100, 400, 400)

        self.layout = QVBoxLayout()

        self.text_display = QTextEdit()
        self.text_display.setReadOnly(True)
        self.layout.addWidget(self.text_display)

        self.input_layout = QHBoxLayout()
        self.text_input = QLineEdit()
        self.send_button = QPushButton('发送')
        self.send_button.clicked.connect(self.sendMessage)
        self.input_layout.addWidget(self.text_input)
        self.input_layout.addWidget(self.send_button)

        self.layout.addLayout(self.input_layout)
        self.setLayout(self.layout)

        # 设置样式表
        self.setStyleSheet('''
            QTextEdit {
                background-color: #f0f0f0;
                border: 1px solid #ccc;
                border-radius: 5px;
                padding: 5px;
            }
            QLineEdit {
                background-color: #f0f0f0;
                border: 1px solid #ccc;
                border-radius: 5px;
                padding: 5px;
            }
            QPushButton {
                background-color: #0073e6;
                color: white;
                border: none;
                border-radius: 5px;
                padding: 5px 10px;
            }
        ''')

    def sendMessage(self):
        message = self.text_input.text()
        if message:
            self.text_display.append('You: ' + message)
            data = {
                'TX': User,
                'RX': RX_User,
                'Time': '2023-10-29 15:30:00',
                'Ifen': '0',
                'Ifread': '0',
                'Con': message
                }

            response = requests.post(url, data=data)
            self.text_input.clear()

    def messageReceiver(self):
        while True:
            # 在这里可以添加接收消息的代码,例如从网络服务器接收消息
            if Wait == 0:
                # 数据
                data = {
                    'TX': User,
                    }

                response = requests.post(url_return, data=data)

                if response.status_code == 200:
                    received_message = response.text
                    if response.text != "[]":
                        data = json.loads(received_message)
                        show_message = "He: "+data[0]['Con']
                        self.text_display.append(show_message)
                else:
                    print("Server returned an error:", response.status_code)
                    received_message = "POST请求失败:"+response.status_code
                    self.text_display.append(received_message)

            time.sleep(1)

def main():
    app = QApplication(sys.argv)
    chat_window = ChatInterface()
    login_window = LoginInterface(chat_window)
    login_window.show()
    sys.exit(app.exec_())

if __name__ == '__main__':
    main()
代码本人原创,仅供大家参考研究,盗卖必究,有问题欢迎在评论区提问,大家一起交流学习。
完整程序:https://download.csdn.net/download/m0_61394395/88519483(免积分)


 1059
1059

 被折叠的 条评论
为什么被折叠?
被折叠的 条评论
为什么被折叠?
 到【灌水乐园】发言


