


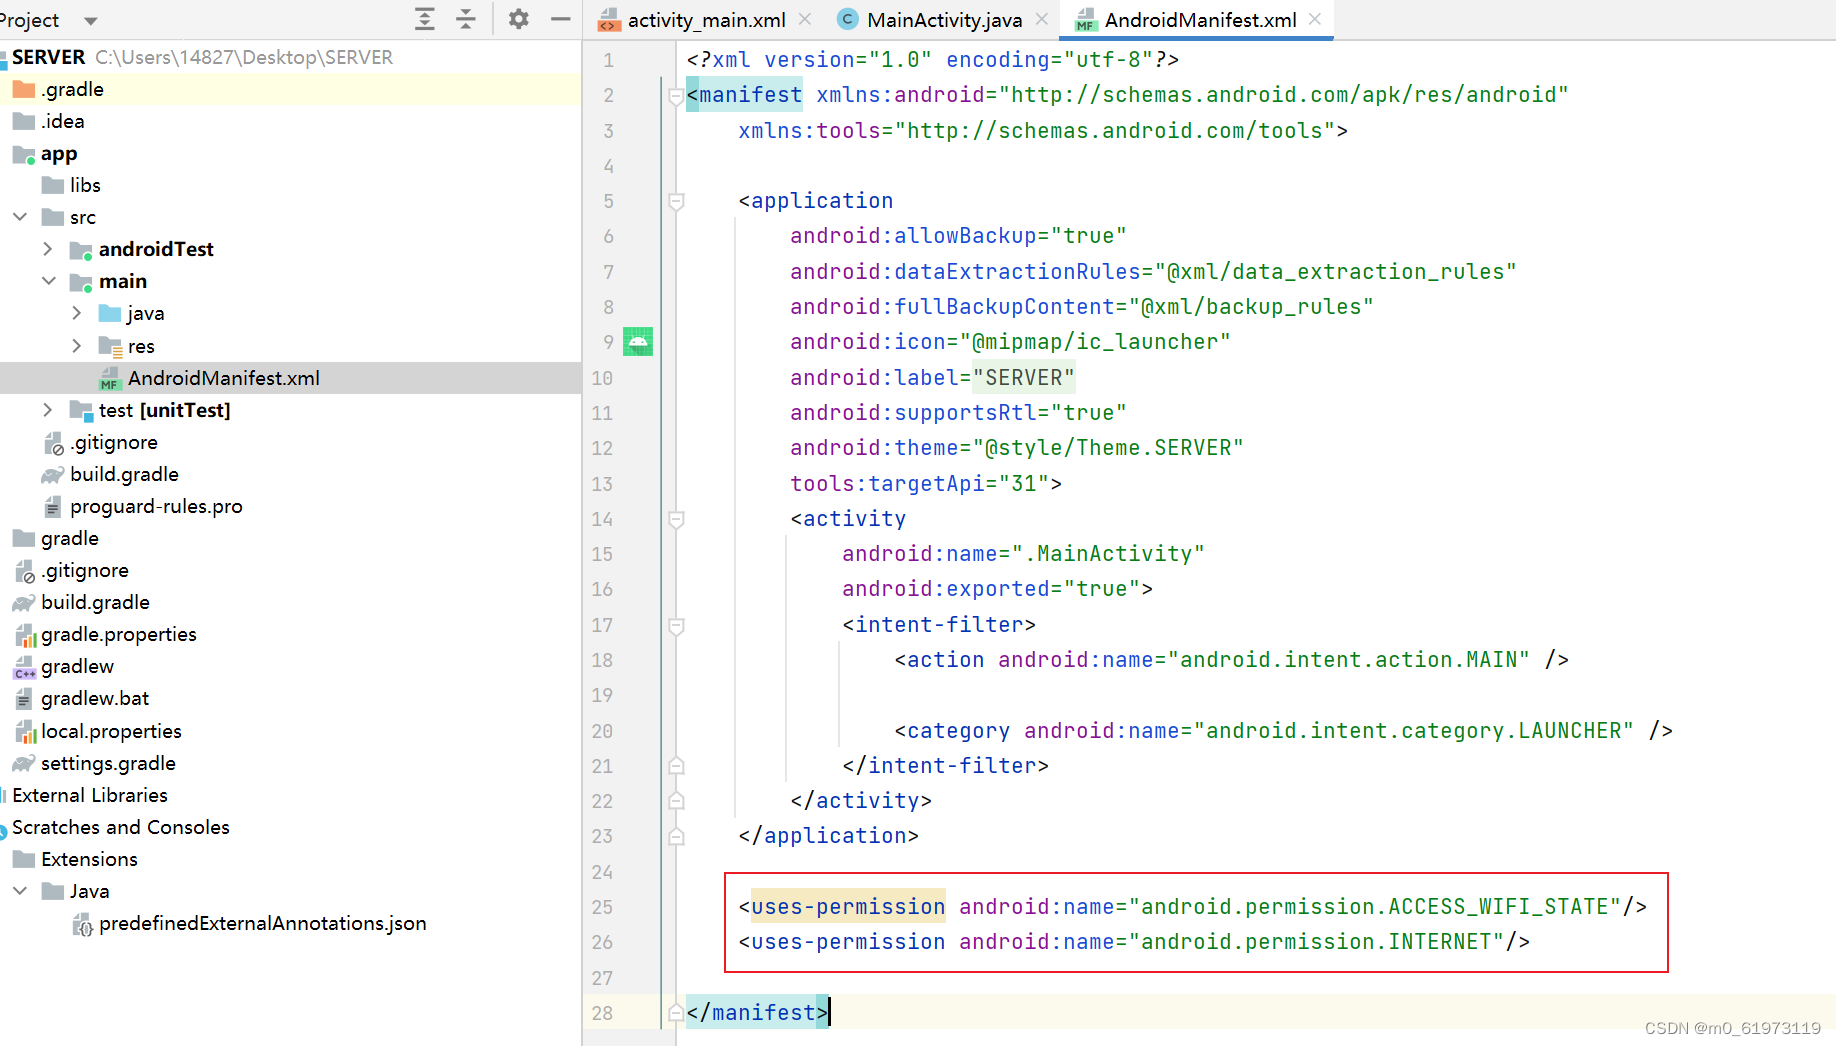
1、在.xml文件中添加权限
    <uses-permission android:name="android.permission.ACCESS_WIFI_STATE"/>
    <uses-permission android:name="android.permission.INTERNET"/>
2、修改显示界面
<?xml version="1.0" encoding="utf-8"?>
<LinearLayout xmlns:android="http://schemas.android.com/apk/res/android"
    xmlns:app="http://schemas.android.com/apk/res-auto"
    xmlns:tools="http://schemas.android.com/tools"
    android:layout_width="match_parent"
    android:layout_height="match_parent"
    android:orientation="vertical">

    <LinearLayout
        android:layout_width="wrap_content"
        android:layout_height="wrap_content"
        android:orientation="horizontal">
        <TextView
            android:layout_width="match_parent"
            android:layout_height="wrap_content"
            android:text="服务器ip地址:" />
        <EditText
            android:id="@+id/ipEditText"
            android:layout_width="200dp"
            android:layout_height="wrap_content"
            />

    </LinearLayout>

    <LinearLayout
        android:layout_width="wrap_content"
        android:layout_height="wrap_content"
        android:orientation="horizontal">
        <TextView
            android:id="@+id/port_TextView"
            android:layout_width="wrap_content"
            android:layout_height="wrap_content"
            android:text="服务器端口号:" />

        <EditText
            android:id="@+id/port_EditText"
            android:layout_width="200dp"
            android:layout_height="wrap_content"
            android:text="8080"
            android:layout_below="@id/port_TextView" />

        <Button
            android:id="@+id/start_button"
            android:layout_width="match_parent"
            android:layout_height="wrap_content"
            android:text="启动" />
    </LinearLayout>

    <LinearLayout
        android:layout_width="wrap_content"
        android:layout_height="wrap_content"
        android:orientation="horizontal">
        <EditText
            android:id="@+id/sendData_EditText"
            android:layout_width="300dp"
            android:layout_height="wrap_content"
            android:layout_below="@id/port_TextView" />
        <Button
            android:id="@+id/sendData_button"
            android:layout_width="match_parent"
            android:layout_height="wrap_content"
            android:text="发送消息" />
    </LinearLayout>

    <LinearLayout
        android:layout_width="wrap_content"
        android:layout_height="wrap_content"
        android:orientation="vertical">
        <TextView
            android:layout_width="wrap_content"
            android:layout_height="wrap_content"
            android:text="接收消息:" />
        <TextView
            android:id="@+id/receiveTextView"
            android:layout_width="wrap_content"
            android:layout_height="wrap_content" />
    </LinearLayout>


</LinearLayout>
3、获取手机的ip地址,方便客户端连接
private String getLocalIpAddress() {
        WifiManager wifiManager = (WifiManager) getSystemService(WIFI_SERVICE);
        WifiInfo wifiInfo = wifiManager.getConnectionInfo();
        // 获取32位整型IP地址
        int ipAddress = wifiInfo.getIpAddress();

        //返回整型地址转换成“*.*.*.*”地址
        return String.format("%d.%d.%d.%d",
                (ipAddress & 0xff), (ipAddress >> 8 & 0xff),
                (ipAddress >> 16 & 0xff), (ipAddress >> 24 & 0xff));
    }
4、为启动服务器设置监听事件
//开启服务器按钮
startButton.setOnClickListener(startButtonListener);


     //启动服务按钮监听事件
    private View.OnClickListener startButtonListener = new View.OnClickListener() {

        @Override
        public void onClick(View v) {
            // TODO Auto-generated method stub
            /**
             * 启动服务器监听线程
             */
        }
    };
5、创建一个服务器线程
    /**
     * 服务器监听线程
     */
    class ServerSocket_thread extends Thread
    {
        public void run()//重写Thread的run方法
        {
            try
            {
                int port =Integer.valueOf(portEditText.getText().toString());//获取portEditText中的端口号
                serverSocket = new ServerSocket(port);//监听port端口,这个程序的通信端口就是port了
            }
            catch (IOException e)
            {
                e.printStackTrace();
            }
            while (true)
            {
                try
                {
                    clicksSocket = serverSocket.accept(); //监听连接 ,如果无连接就会处于阻塞状态,一直在这等着
                    runOnUiThread(new Runnable()//不允许其他线程直接操作组件,用提供的此方法可以
                    {
                        public void run()
                        {
                            startButton.setText("断开服务器");
                        }
                    });
                }
                catch (IOException e)
                {
                    e.printStackTrace();
                }
            }
        }
    }
6、发送消息
    @Override
    public void onClick(View v) {
        //子线程中进行网络操作
        new Thread(new Runnable() {
            @Override
            public void run() {
                if(clicksSocket!=null){
                    try {
                        String str = sendDataEditText.getText().toString()+"\r\n";
                        outputStream = clicksSocket.getOutputStream();
                        outputStream.write(str.getBytes());
                    } catch (UnknownHostException e) {
                        e.printStackTrace();
                    }catch (IOException e) {
                        e.printStackTrace();
                    }}else{
                    runOnUiThread(new Runnable()//不允许其他线程直接操作组件,用提供的此方法可以
                    {
                        public void run()
                        {
                            // TODO Auto-generated method stub
                            Toast.makeText(MainActivity.this,"请等待客户端连接",Toast.LENGTH_SHORT).show();
                        }
                    });
                }
            }
        }).start();
    }
7、完整工程
注意:此工程有两个bug,一个是只支持一个客户端连接,第二个是点击启动按钮后,断开无效
链接:https://pan.baidu.com/s/1PciOp9MOzSbswQ9-R70XSg?pwd=8888
提取码:8888


 426
426


 被折叠的 条评论
为什么被折叠?
被折叠的 条评论
为什么被折叠?
 到【灌水乐园】发言


