


文章目录
0. 前言
之所以要为 ElasticSearch 设置用户名和访问密码,是为了提高服务器的安全性,如果你是使用 VMware 模拟出来的 Linux 系统,可能还没有什么关系,但如果你使用的是云服务器,开放了 9200 端口,又没有设置密码,就相当于在互联网上裸奔,最终的结果就是你的云服务器成了矿机
如何通过 docker 安装 ElasticSearch,可以查看我的另一篇博文:ElasticSearch快速入门(安装ElasticSearch、IK分词器、索引库操作、文档操作、在Java代码中操作ElasticSearch、数据聚合)_安装部署elasticsearch-CSDN博客
1. 没有设置用户名和密码的情况
访问 kibana 的 Dev Tools 控制台时会出现以下警告

Your data is not secure
Don’t lose one bit. Enable our free security features.
Don’t show again
在 kibana 的 Dev Tools 控制台向 ElasticSearch 发送 HTTP 请求时会出现以下警告
#! Elasticsearch built-in security features are not enabled. Without authentication, your cluster could be accessible to anyone. See https://www.elastic.co/guide/en/elasticsearch/reference/7.17/security-minimal-setup.html to enable security.
2. 为ElasticSearch设置用户名和密码
2.1 进入 ElasticSearch 容器内部
先查看当前有哪些容器正在运行,找到 ElasticSearch 容器
sudo docker ps --format '{{.Names}}'

接着运行以下指令进入 ElasticSearch 容器内部
sudo docker exec -it elasticsearch bash
2.2 修改 ElasticSearch 的配置文件
先进入配置文件所在的目录
cd /usr/share/elasticsearch/config
接着向 ElasticSearch 的配置文件(elasticsearch.yml)中追加以下内容(注意:不要使用 vi 或 vim 编辑器,因为构建容器的镜像都是阉割版的 Linux 系统,一般不会有 vi 或 vim 编辑器)
echo "xpack.security.enabled: true
xpack.license.self_generated.type: basic
xpack.security.transport.ssl.enabled: true" >> elasticsearch.yml
退出容器后重启容器
exit
sudo docker restart elasticsearch
2.3 设置用户名和密码
再次进入 ElasticSearch 容器内部
sudo docker exec -it elasticsearch bash
执行以下命令(elasticsearch-setup-passwords 文件是一个脚本)
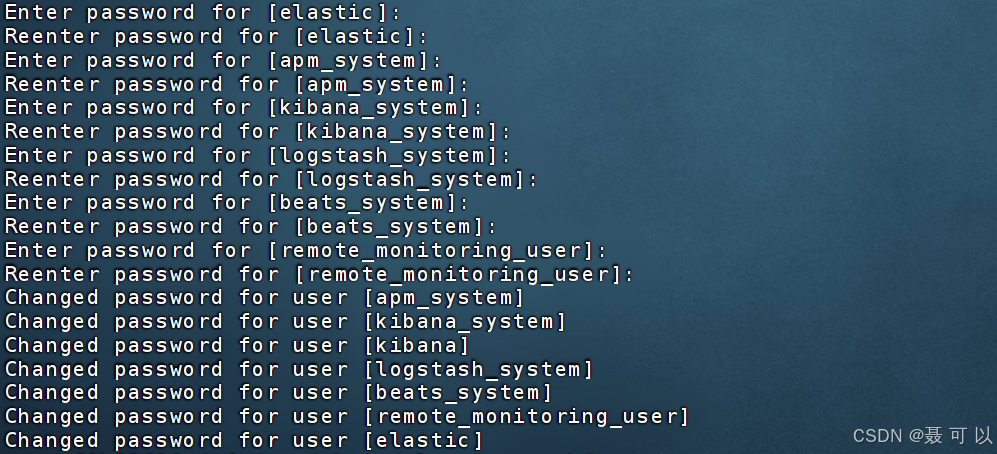
./bin/elasticsearch-setup-passwords interactive

root@f6b93f64adc4:/usr/share/elasticsearch# ./bin/elasticsearch-setup-passwords interactive
Initiating the setup of passwords for reserved users elastic,apm_system,kibana,kibana_system,logstash_system,beats_system,remote_monitoring_user.
You will be prompted to enter passwords as the process progresses.
Please confirm that you would like to continue [y/N]
上述英文的大概意思就是
如果确定开启密码的话,需要设置以下六个账户的密码(建议设置成一样的)
我们输入 y,接着分别为六个用户设置密码
完成以上的设置后,退出容器,再次重启 ElasticSearch 容器
exit
sudo docker restart elasticsearch
3. 在 kibana 容器中指定访问 ElasticSearch 的用户名和密码
先进入 kibana 容器内部
sudo docker exec -it kibana bash
接着向 kibana 的配置文件(kibana.yml)中追加以下内容(注意:不要使用 vi 或 vim 编辑器,因为构建容器的镜像都是阉割版的 Linux 系统,一般不会有 vi 或 vim 编辑器)
记得将 elasticsearch 的密码改为你的密码(\n 表示换行)
echo -e '\nelasticsearch.username: "elastic"' >> /usr/share/kibana/config/kibana.yml
echo -e 'elasticsearch.password: "tF8RGg2vd0FAzgkK"\n' >> /usr/share/kibana/config/kibana.yml
退出容器,再次重启 kibana 容器
exit
sudo docker restart kibana
4. 设置用户名和密码后的情况
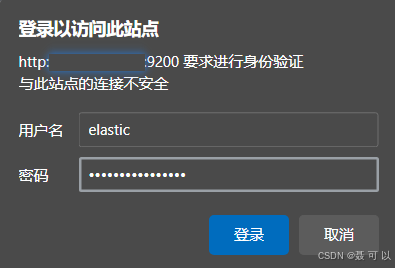
4.1 访问 ElasticSearch
我们再次访问 ElasticSearch,发现需要输入用户名和密码了
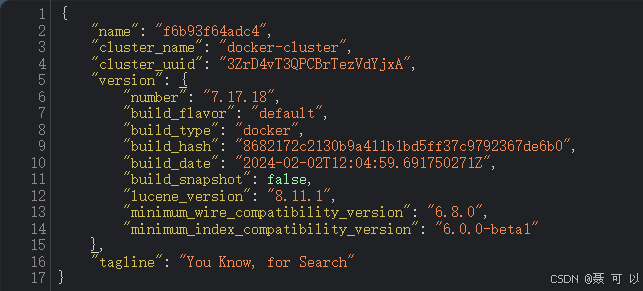
输入用户名和密码后的页面
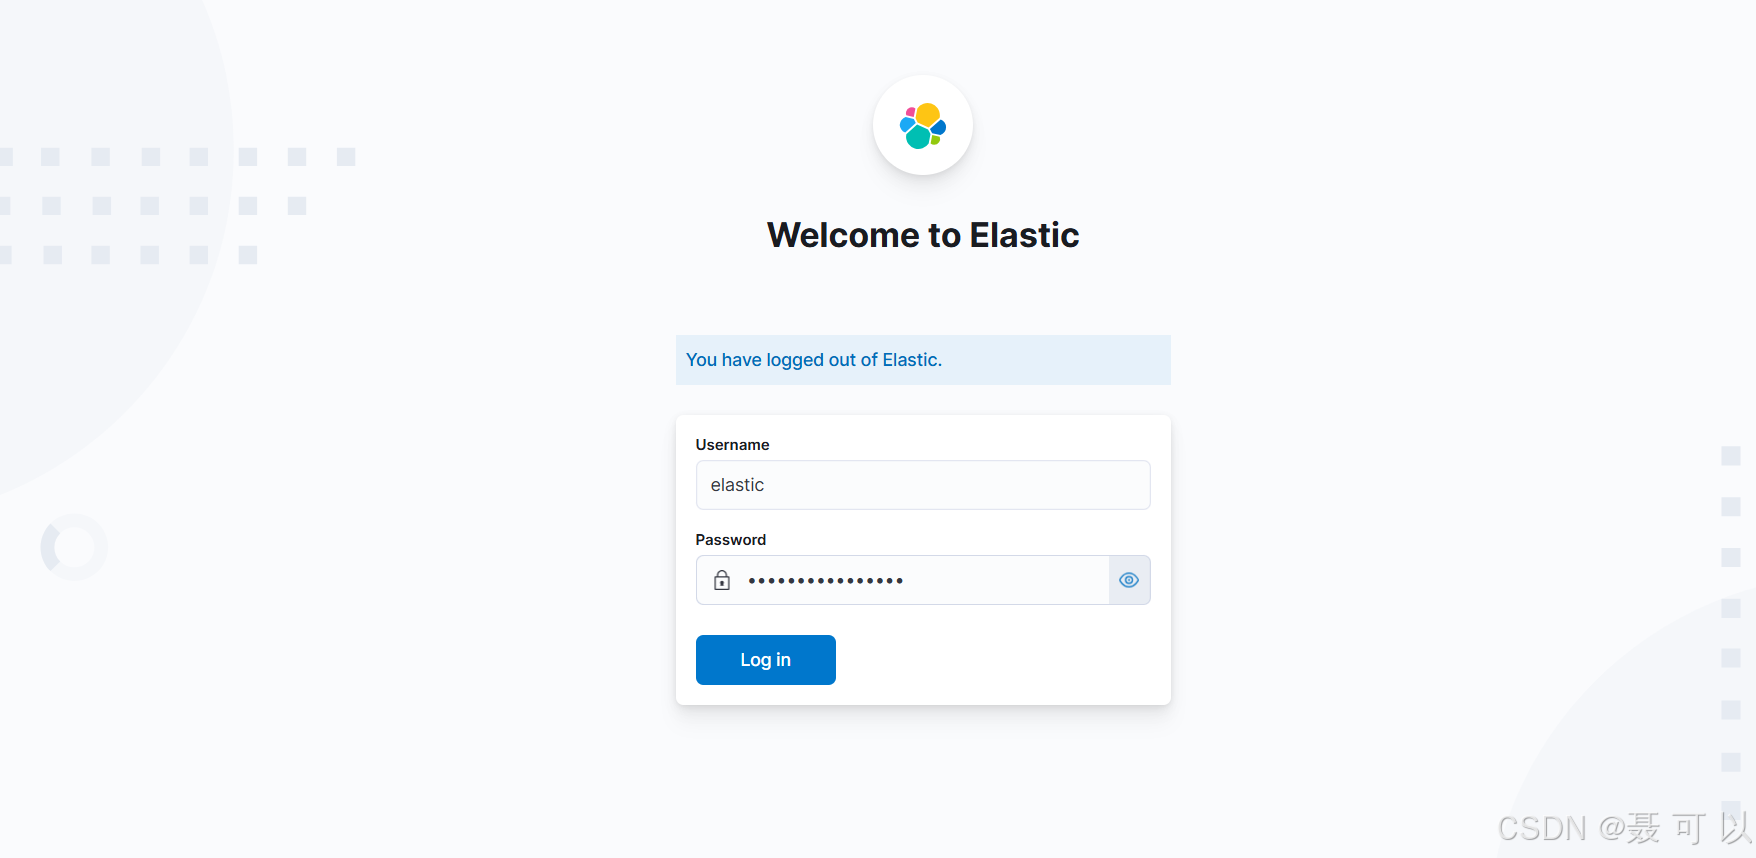
4.2 访问 kibana
我们再次访问 kibana 的 Dev Tools 控制台,发现也需要填写用户名和密码了
其它的操作基本不变
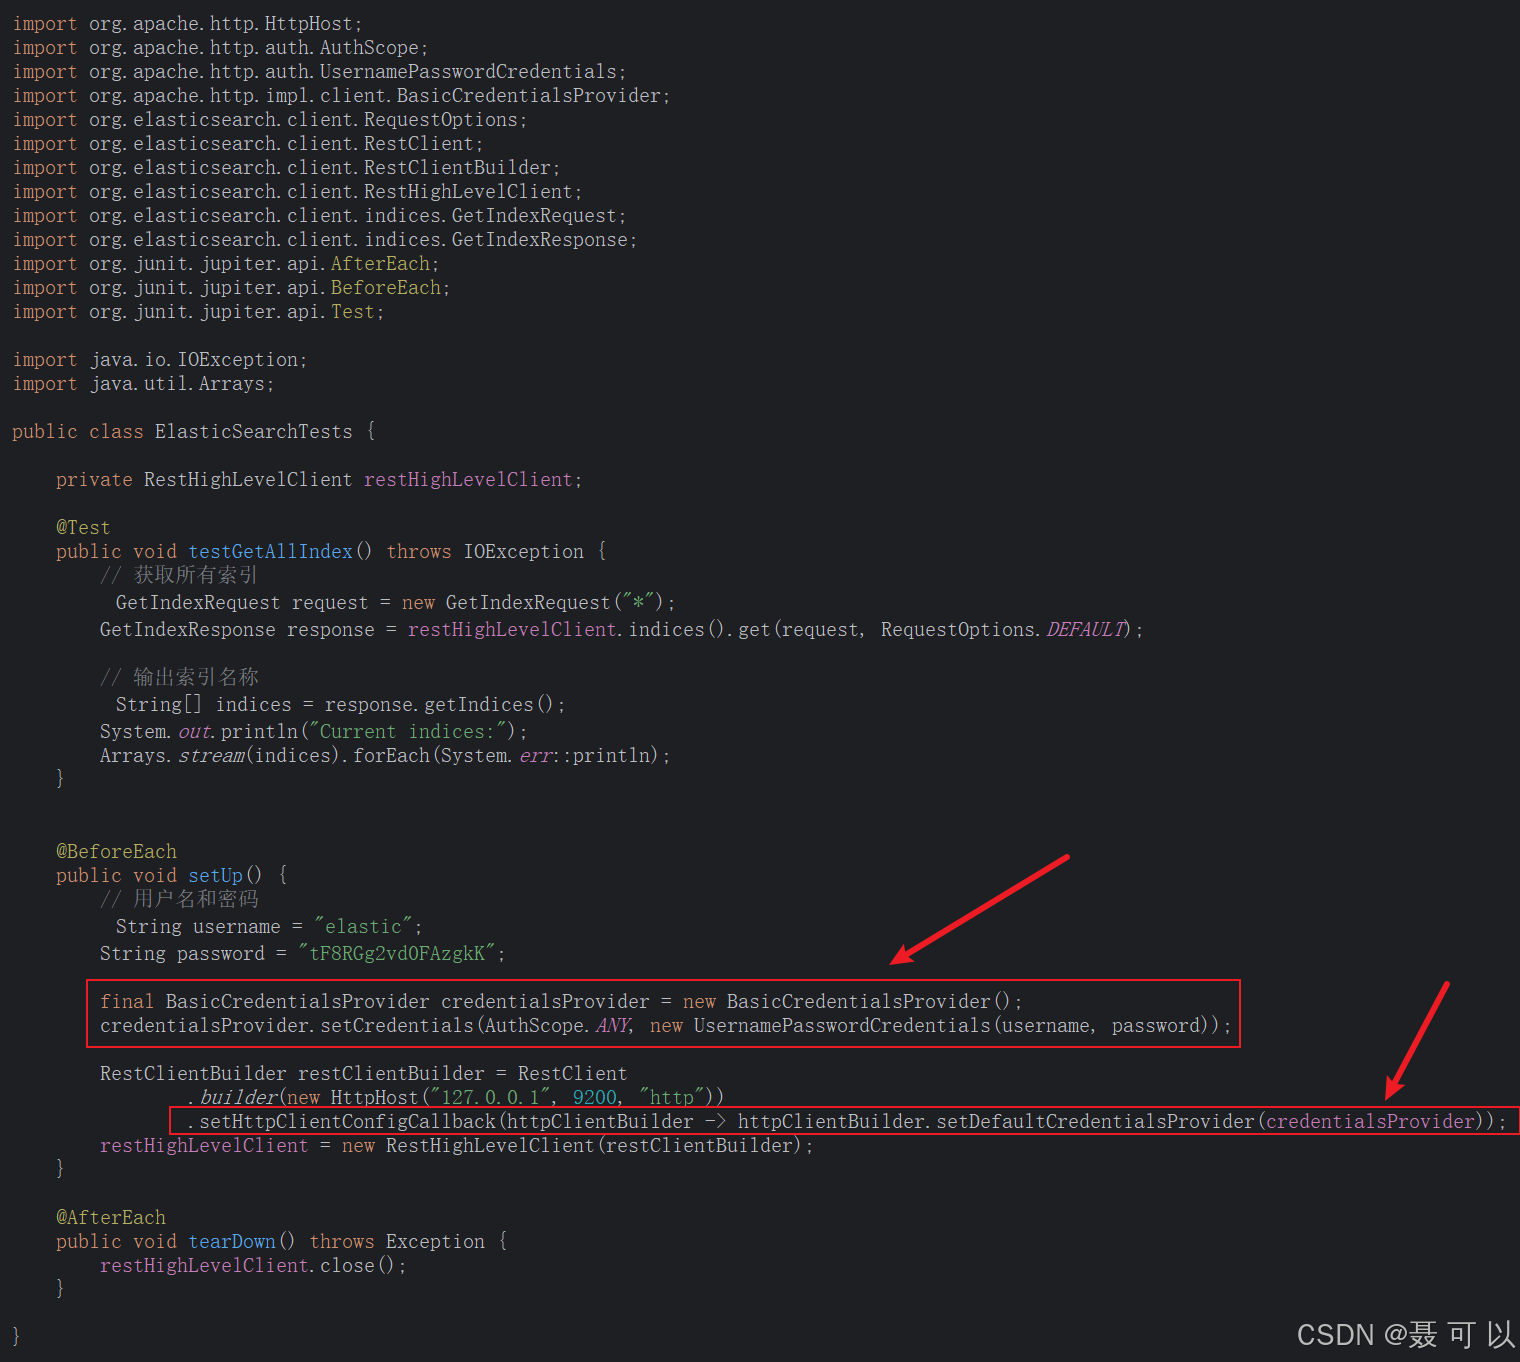
5. 通过 Java 代码操作 ElasticSearch 的变化
import org.apache.http.HttpHost;
import org.apache.http.auth.AuthScope;
import org.apache.http.auth.UsernamePasswordCredentials;
import org.apache.http.impl.client.BasicCredentialsProvider;
import org.elasticsearch.client.RequestOptions;
import org.elasticsearch.client.RestClient;
import org.elasticsearch.client.RestClientBuilder;
import org.elasticsearch.client.RestHighLevelClient;
import org.elasticsearch.client.indices.GetIndexRequest;
import org.elasticsearch.client.indices.GetIndexResponse;
import org.junit.jupiter.api.AfterEach;
import org.junit.jupiter.api.BeforeEach;
import org.junit.jupiter.api.Test;

import java.io.IOException;
import java.util.Arrays;

public class ElasticSearchTests {

    private RestHighLevelClient restHighLevelClient;

    @Test
    public void testGetAllIndex() throws IOException {
        // 获取所有索引
        GetIndexRequest request = new GetIndexRequest("*");
        GetIndexResponse response = restHighLevelClient.indices().get(request, RequestOptions.DEFAULT);

        // 输出索引名称
        String[] indices = response.getIndices();
        System.out.println("Current indices:");
        Arrays.stream(indices).forEach(System.err::println);
    }


    @BeforeEach
    public void setUp() {
        // 用户名和密码
        String username = "elastic";
        String password = "tF8RGg2vd0FAzgkK";

        final BasicCredentialsProvider credentialsProvider = new BasicCredentialsProvider();
        credentialsProvider.setCredentials(AuthScope.ANY, new UsernamePasswordCredentials(username, password));

        RestClientBuilder restClientBuilder = RestClient
                .builder(new HttpHost("127.0.0.1", 9200, "http"))
                .setHttpClientConfigCallback(httpClientBuilder -> httpClientBuilder.setDefaultCredentialsProvider(credentialsProvider));
        restHighLevelClient = new RestHighLevelClient(restClientBuilder);
    }

    @AfterEach
    public void tearDown() throws Exception {
        restHighLevelClient.close();
    }

}
6. 可能遇到的问题
如果为 ElasticSearch 设置用户和密码之后访问 kibana 的 Dev Tools 控制台出现以下错误

Kibana server is not ready yet
是因为没有在 kibana 容器中指定访问 ElasticSearch 的用户名和密码,解决方法可参考本文的 3. 在 kibana 容器中指定访问 ElasticSearch 的用户名和密码 部分


 1084
1084

 被折叠的 条评论
为什么被折叠?
被折叠的 条评论
为什么被折叠?
 到【灌水乐园】发言


