


目录
一、隐藏版本号
1、查看版本号
方法一:命令行查看
nginx 服务 1.15.9版本
[root@zwb conf]# curl -I 192.168.159.68
HTTP/1.1 200 OK
Server: nginx/1.15.9
Date: Mon, 29 Aug 2022 15:38:00 GMT
Content-Type: text/html
Content-Length: 612
Last-Modified: Mon, 29 Aug 2022 06:25:30 GMT
Connection: keep-alive
ETag: "630c5bda-264"
Accept-Ranges: bytes
方法二:浏览器开发者工具界面查看
谷歌 浏览器——》开发者工具——》选择network——》刷新页面——》选择请求——》选择headlers ——》查看版本
 2、隐藏版本号具体方法
①修改配置文件
http {
    include       mime.types;
    default_type  application/octet-stream;
    server_tokens off;                      ###修改server内参数,添加此行,off
    .......                                    表示关闭(关闭版本号)
    }
查看效果,不显示版本号
[root@zwb conf]# curl -I 192.168.159.68
HTTP/1.1 200 OK
Server: nginx
Date: Mon, 29 Aug 2022 16:05:43 GMT
Content-Type: text/html
Content-Length: 612
Last-Modified: Mon, 29 Aug 2022 06:25:30 GMT
Connection: keep-alive
ETag: "630c5bda-264"
Accept-Ranges: bytes
②修改源码(只修改两项)
1、修改源码参数
[root@zwb src]# cd /opt/nginx-1.15.9/src/core

[root@zwb core]# vim nginx.h
[root@zwb core]# vim nginx.h


/*
 * Copyright (C) Igor Sysoev
 * Copyright (C) Nginx, Inc.
 */


#ifndef _NGINX_H_INCLUDED_
#define _NGINX_H_INCLUDED_


#define nginx_version      1015009
#define NGINX_VERSION      "1.100"                   ## 随便修改一个假的版本号
#define NGINX_VER          "biechawo/" NGINX_VERSION    ## 修改服务器类型
2、重新编译安装
cd /opt/nginx-1.15.9/
./configure \
--prefix=/usr/local/nginx \
--user=nginx \
--group=nginx \
--with-http_stub_status_module

make && make install
3、重启Nginx服务。并查看
[root@zwb nginx-1.15.9]# systemctl restart nginx.service

[root@zwb nginx-1.15.9]# curl -I 192.168.159.68
HTTP/1.1 200 OK
Server: biechawo/1.100             #####此次服务器类型及版本号都修改掉了
Date: Mon, 29 Aug 2022 16:46:10 GMT
Content-Type: text/html
Content-Length: 612
Last-Modified: Mon, 29 Aug 2022 06:25:30 GMT
Connection: keep-alive
ETag: "630c5bda-264"
Accept-Ranges: bytes
注意点,当修改源码时,时需要重新编译安装的,在实验环境时可以make && make install的,但是在生产中时不可以的,make install 后会清空配置,所以只需要make就行。
二、修改用户与组(控制权限)
修改用户和组有两种方法
① 在编译安装时指定用户与组
② 修改配置文件指向用户与组
[root@zwb conf]# vim nginx.conf

.........
user nginx nginx;####修改用户名和组都为nginx


..............
③查看

三、 修改缓存时间(只图片)
缓存图片的目的,在服务器发送给客户端的时候,往往客户端的接收比较慢,这样会一直占服务端的资源,设置了这个内存空间并设置缓存时间,就是避免浪费资源,服务器直接把图片提到内存空间,让客户端自己去内存空间提取,服务器可以去做其他的事了。
并且在缓存时间内有其他客户端或者自己,再次访问就可以直接在内存空间读取,速度更快。
①修改index.html配置文件,上传图片到指定目录下
[root@zwb html]# pwd
/usr/local/nginx/html           ####进入该目录
[root@zwb html]# ls
50x.html  ceshi.jpg  index.html   #######修改index.html 文件  并把图片上传到html目录下
[root@zwb html]# vim index.html
 .........................

 14 <h1>Welcome to nginx!</h1>
 15 <img src="ceshi.jpg"/>      ########在14行下添加此行
 16 <p>If you see this page, the nginx web server is successful    ly installed and

 ..........................
② 修改nginx.conf
[root@zwb html]# vim /usr/local/nginx/conf/nginx.conf


.................

  server {
        listen       80;
        server_name  localhost;

        #charset koi8-r;

        #access_log  logs/host.access.log  main;

        location / {
            root   html;
            index  index.html index.htm;
        }
        location ~ \.(gif|jpg|jepg|png|bmp|ico)$ {     ##### 添加此location
             root html;
             expires 1d;                               ####设置为期限为1d就是1天
        }

'''''''''''''''''
③ 重启nginx服务
systemctl restart nginx.service④验证:

四、日志分割
编制脚本进行日志分割,为了更便于分析排查
1、编写日志分割脚本
vim /opt/fenge.sh

#!/bin/bash
#  Filename:fenge.sh

d=$(date -d "-1 day" "+%Y%m%d")     ### 定义前一天时间戳
logs_path="/var/log/nginx"            #####日志路径位置
pid_path="/usr/local/nginx/logs/nginx.pid"   ####  Nginx-Pid的路径
[ -d $logs_path ] || mkdir -p $logs_path   ####是否存在日志目录,无则创建
mv /usr/local/nginx/logs/access.log ${logs_path}/test.com-access.log-$d  ##备份日志
kill -s $(cat $pid_path)            ####发送信号重载服务,用于刷新生成新的日志文件
find $logs_path -mtime +30 | xargs rm -rf    ####把30天前的删掉
2、创建crontab 计划任务
chmod +x /opt/fenge.sh  #####给与执行权限

crontab -e

0 2 * * * /opt/fenge.sh  #####每天的2点执行日志分割脚本
五、设置连接超时
在企业中为了避免同一个客户长时间占用连接,造成资源浪费,可设置相应的连接超时数,实现对连接访问时间的控制。可进行对nginx.conf的参数修改
[root@zwb html]# vim /usr/local/nginx/conf/nginx.conf

    .....................

    #access_log  logs/access.log  main;

    sendfile        on;
    #tcp_nopush     on;

    #keepalive_timeout  0;
    keepalive_timeout 100;
    client_header_timeout 80;  #####等待客户端发送请求头的超时时间,超时会发送408错误
    client_body_timeout 80;    #####等待客户端发送请求体的超时时间

    #gzip  on;

    server {
        listen       80;
        server_name  localhost;

    ...........................
六、更改进程数
在高并发环境中,需要启动更多的Nginx进程以保证快速响应,用以处理用户的请求,避免造成阻塞。使用ps -aux 查看进程数的个数
[root@zwb html]# ps -aux | grep nginx | grep -v "grep"
root      37337  0.0  0.0  20556   628 ?        Ss   16:20   0:00 nginx: master process /usr/local/nginx/sbin/nginx                 #####  master process是nginx的主进程,开启了一个

nginx     37338  0.0  0.0  23092  1400 ?        S    16:20   0:00 nginx: worker process

                                            #####  worker process是nginx的子v进程,开启了一个
1、查看核心数
[root@zwb html]# cat /proc/cpuinfo | grep -c "physical"
2
2、修改Nginx.conf参数
[root@zwb html]# vim /usr/local/nginx/conf/nginx.conf


#user  nobody;
worker_processes  2;  #####  从1修改为2

#error_log  logs/error.log;
..........
查看
[root@zwb html]# ps -aux | grep nginx | grep -v "grep"
root      37836  0.0  0.0  20556   624 ?        Ss   17:10   0:00 nginx: master process /usr/local/nginx/sbin/nginx
nginx     37837  0.0  0.0  23092  1396 ?        S    17:10   0:00 nginx: worker process
nginx     37838  0.0  0.0  23092  1396 ?        S    17:10   0:00 nginx: worker process

########worker_processes改为2时会出现2个worker
七、网页压缩
Nginx 的ngx_http_gzip_module压缩模块提供了对文件内容压缩的功能,允许Nginx服务器将输出内容发送到客户端之前进行压缩,以节约网站的带宽,提升用户的访问体验。默认Nginx已经安装该模块,只需要在配置文件中加入相应的压缩功能参数对压缩性能进行优化即可。
1、修改配置文件
[root@zwb conf]# vim /usr/local/nginx/conf/nginx.conf

 .......................
    gzip  on;            #取消注释,开启gzip压缩功能
    gzip_min_length 1k;    #最小压缩文件大小
    gzip_buffers 4 16k;     #压缩缓冲区,大小为4个16k缓冲区
    gzip_http_version 1.1;  #压缩版本(默认1.1,前端如果是squid2.5请使用1.0)
    gzip_comp_level 6;      #压缩比率
    gzip_vary on;           #支持前端缓存服务器存储压缩页面
    gzip_types text/plain text/javascript application/x-javascript text/css text/xml application/xml application/xml+rss image/jpg image/jpeg image/png image/gif application/x-httpd-php application/javascript application/json;   #压缩类型,表示哪些网页文档启用压缩功能
.........................
2、修改index.html 文件,并上传图片文件

[root@zwb conf]# cd /usr/local/nginx/html/
[root@zwb html]# ls
50x.html ceshi.jpg index.html
[root@zwb html]# vim index.html

3、systemctl restart nginx 重启服务
4、验证

八、盗链与防盗链
定义盗链IP为:192.168.159.68 nginx
定义服务端:192.168.159.10 nginx
WIN10 IP : 192.168.159.55 HP win10的hosts配置路径:C:\WINDOWS\System32\drivers\etc
先配置服务端再配置盗链端
####################### 盗链 #############################################
1、配置IP与域名的映射关系
配置服务端(192.168.159.10)、盗链端(192.168.159.68)、win10 的IP与域名的映射关系(192.168.159.55)
①配置服务端(192.168.159.10)IP与域名的映射关系
[root@zwb ~]# vim /etc/hosts

127.0.0.1   localhost localhost.localdomain localhost4 localhost4.localdomain4
::1         localhost localhost.localdomain localhost6 localhost6.localdomain6

192.168.159.10 www.fuwu.com      ######添加IP和域名映射关系
②配置盗链端(192.168.159.68)IP与域名的映射关系
[root@zwb ~]# vim /etc/hosts

127.0.0.1   localhost localhost.localdomain localhost4 localhost4.localdomain4
::1         localhost localhost.localdomain localhost6 localhost6.localdomain6
192.168.159.68 www.daolian.com        ######添加IP和域名的映射关系
③ 配置win10 的IP与域名的映射关系
win10的hosts配置路径:C:\WINDOWS\System32\drivers\etc
首次修改需要修改权限
属性——》安全——》高级——》更改为所有权限

2、配置服务端配置(192.168.159.10)
①把haha.png 传到/usr/local/nginx/html 目录下
②修改/usr/local/nginx/html 目录下index.html的配置
[root@zwb ~]# cd /usr/local/nginx/html/
[root@zwb html]# rz -E                  #########上传图片
rz waiting to receive.
[root@zwb html]# ls                      ###查看图片是否成功
50x.html  daolian.png  haha.png  index.html  index.php


[root@zwb html]# vim index.html
</style>
</head>
<body>
<h1>Welcome to nginx!</h1>
<img src="haha.png"/>                               #####添加此行,表示添加照片
<p>If you see this page, the nginx web server is successfully installed and
working. Further configuration is required.</p>

<p>For online documentation and support please refer to
<a href="http://nginx.org/">nginx.org</a>.<br/>
查看并复制照片地址:

③ 配置盗链端(192.168.159.68)
修改/usr/local/nginx/html 目录下index.html的配置
[root@zwb html]# cd /usr/local/nginx/html/
[root@zwb html]# vim index.html
.........................
<title>Welcome to nginx!</title>
<style>
    body {
        width: 35em;
        margin: 0 auto;
        font-family: Tahoma, Verdana, Arial, sans-serif;
    }
</style>
</head>
<body>
<h1>Welcome to nginx!</h1>
<img src="http://www.fuwu.com/haha.png"/>  #####添加此行盗链的地址
...........................
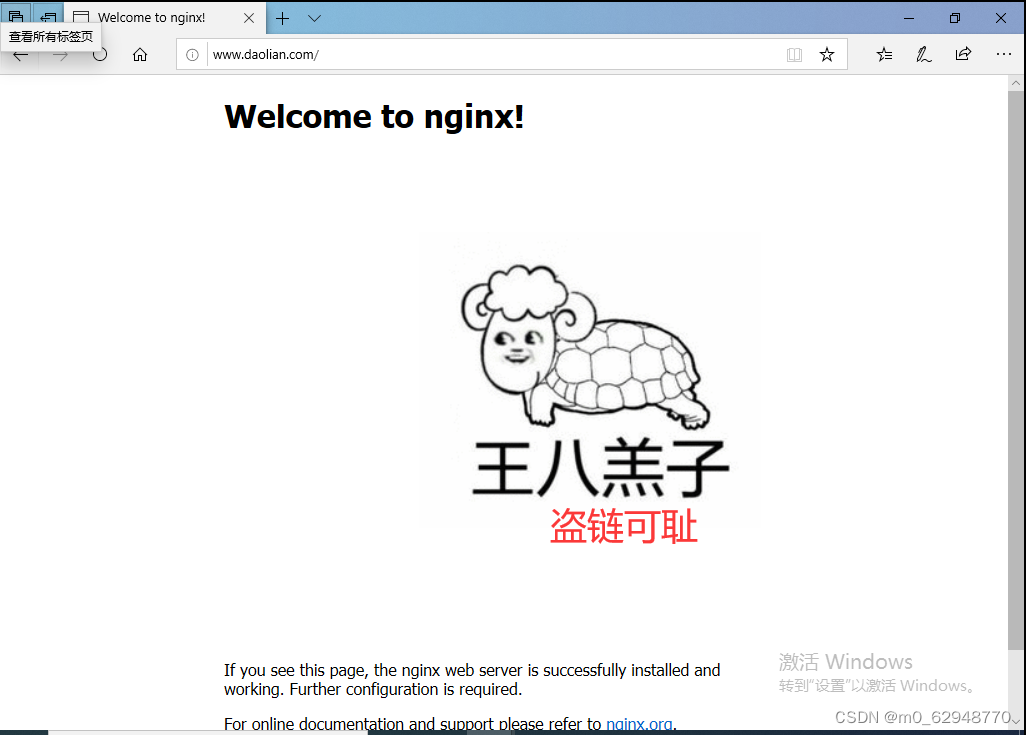
④用win10访问盗链的网页

盗链成功。
########################## 防盗链####################################
①上传到daolian.png文件 位置:/usr/local/nginx/html
[root@zwb html]# ls
50x.html  bbs  bishi.jpg  index.html  index.php
[root@zwb html]# rz -E
[root@zwb html]# ls
50x.html  bbs  bishi.jpg  daolian.png  index.html  index.php
②配置服务端(192.168.159.68)nginx.conf配置文件(www.fuwu.com的主页图片更换了)
添加一个location,来访授信的匹配到主页,不授信的重定向到主页下的某个指定页面
[root@zwb html]# vim /usr/local/nginx/conf/nginx.conf
..........................

       root   html;
            index  index.html index.htm index.php;
        }

增加  #             location ~*\.(jpg|gif|swf)$ {
  #                      valid_referers *.fuwu.com fuwu.com;
  #                      if ( $invalid_referer ) {
  #                              rewrite ^/ http://www.fuwu.com/daolian.png;
  #                              return 403;
  #          }
  #      }
③验证 :访问盗链端


 202
202


 被折叠的 条评论
为什么被折叠?
被折叠的 条评论
为什么被折叠?
 到【灌水乐园】发言


