


最近在网上看到了百度AI的这个平台,感觉很有趣,而且都不需要自己去实现深度学习的代码,只需要去调用接口。主要难点就是图形界面的构建。通过这个项目,能对大家的图形界面开发有一个很大的提升。
百度AI开放平台-全球领先的人工智能服务平台 (baidu.com)

什么是百度Aip模块
百度AI平台提供了很多的API接口供开发者快速的调用运用在项目中
本文写的是使用百度AI的在线接口SDK模块(baidu-aip)进行实现人脸识别
点击此处打开官方文档
除了人脸识别,其他api功能的调用也同理
本机环境
系统:win11
Python版本:3.8
编辑器:pycharm
具体需要怎么去调接口呢?可以参考下面这篇文章
项目展示:
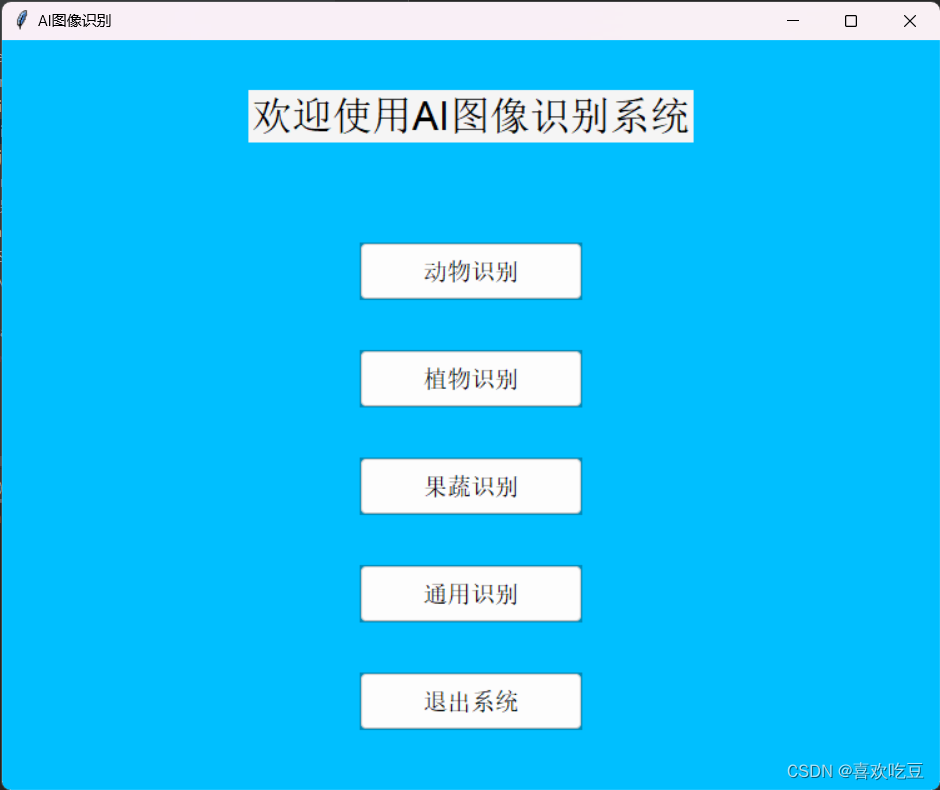
1,初始界面
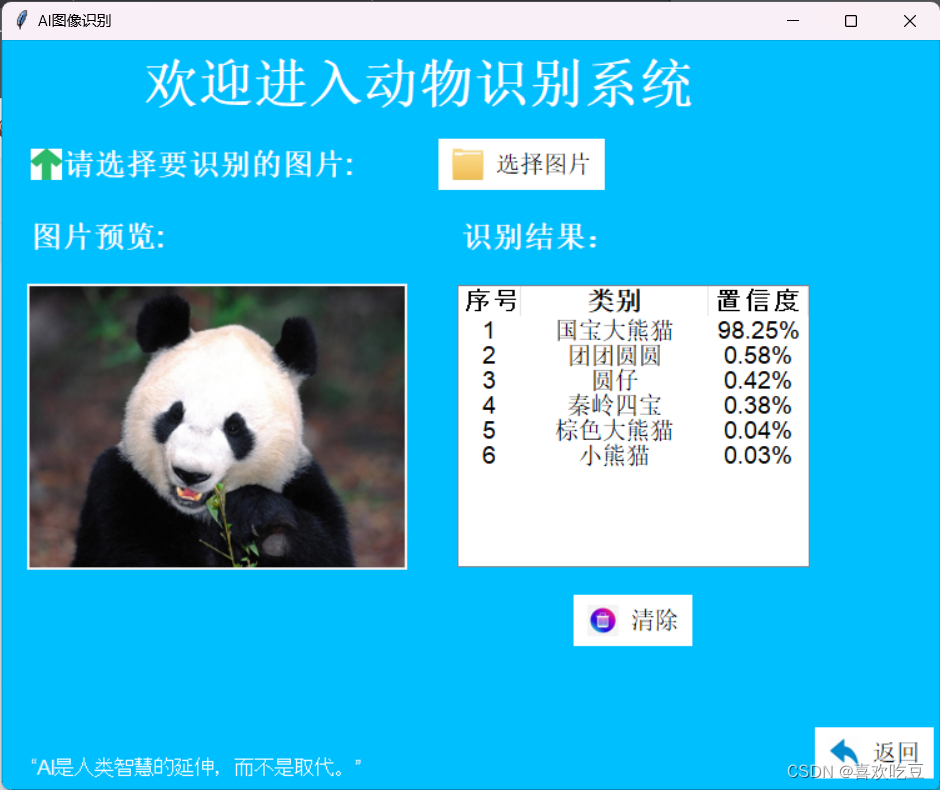
2,识别界面

3,识别结果
部分代码展示如下:
import tkinter as tk
from tkinter import ttk
import os

def object_scene_recognition(root):
    root.destroy()  # 销毁主窗口
    os.system("python object.py")  # 执行object.py脚本

def animal_recognition(root):
    root.destroy()  # 销毁主窗口
    os.system("python animal.py")  # 执行animal.py脚本

def plant_recognition(root):
    root.destroy()  # 销毁主窗口
    os.system("python plant.py")  # 执行plant.py脚本

def fruits_recognition(root):
    root.destroy()  # 销毁主窗口
    os.system("python fruits.py")  # 执行fruits.py脚本

def main():
    root = tk.Tk()  # 创建主窗口
    root.title("AI图像识别")  # 设置窗口标题
    root.geometry("750x600")  # 设置窗口大小
    root.configure(bg="#00BFFF")  # 设置窗口背景色

    title_label = tk.Label(root, text="欢迎使用AI图像识别系统", font=("Arial", 24), bg="#F5F5F5")  # 创建标题标签
    title_label.pack(pady=40)  # 将标题标签添加到主窗口,并设置上下内边距为40像素

    style = ttk.Style()
    # 设置普通按钮样式
    style.configure("AI.TButton", font=("Arial", 14), padding=8, relief="flat", background="#008CBA", foreground="#000000")
    # 设置鼠标移动到按钮上时的样式
    style.map("AI.TButton", background=[("active", "#005B7F")], foreground=[("active", "#000000")])
    # 设置按钮在鼠标悬停时的样式
    style.map("AI.TButton", background=[("active", "#007AA5")], foreground=[("active", "#000000")], border=[("active", 1)])

    # 创建动物识别按钮,并将其样式设置为“AI.TButton”
    btn_animal = ttk.Button(root, text="动物识别", width=14, style="AI.TButton",
                             command=lambda: animal_recognition(root))
    btn_animal.pack(pady=(40, 20))  # 将动物识别按钮添加到主窗口,并设置上下内边距为20像素

    # 创建植物识别按钮,并将其样式设置为“AI.TButton”
    btn_plant = ttk.Button(root, text="植物识别", width=14, style="AI.TButton",
                            command=lambda: plant_recognition(root))
    btn_plant.pack(pady=20)  # 将植物识别按钮添加到主窗口,并设置上下内边距为20像素

    # 创建果蔬识别按钮,并将其样式设置为“AI.TButton”
    btn_fruits = ttk.Button(root, text="果蔬识别", width=14, style="AI.TButton",
                            command=lambda: fruits_recognition(root))
    btn_fruits.pack(pady=20)  # 将果蔬识别按钮添加到主窗口,并设置上下内边距为20像素

    # 创建通用物体和场景识别按钮,并将其样式设置为“AI.TButton”
    btn_object_scene = ttk.Button(root, text="通用识别", width=14, style="AI.TButton",
                                  command=lambda: object_scene_recognition(root))
    btn_object_scene.pack(pady=20)  # 将通用物体和场景识别按钮添加到主窗口,并设置上下内边距为60像素

    # 创建退出按钮,并将其样式设置为“AI.TButton”
    exit_button = ttk.Button(root, text="退出系统", width=14, style="AI.TButton",
                              command=root.destroy)
    exit_button.pack(pady=20)  # 将退出按钮添加到主窗口,并设置上下内边距为40像素

    root.mainloop()

if __name__ == "__main__":
    main()
如果对本项目感兴趣,可以点赞关注加收藏哦,然后私信我哦。
祝大家学习顺利!!!


 3819
3819


 被折叠的 条评论
为什么被折叠?
被折叠的 条评论
为什么被折叠?
 到【灌水乐园】发言


