


目录
4. Jupyter服务器设置密码(避免每次输入token)
一、准备工作
1. 安装Anaconda、pycharm
win11 安装 Anaconda(2022.10)+pycharm(2022.3/2023.1.4)+配置虚拟环境_QomolangmaH的博客-CSDN博客 https://blog.csdn.net/m0_63834988/article/details/128693741?spm=1001.2014.3001.5501 Jupyter 是 Anaconda 发行版的一部分,并默认随 Anaconda 一起安装。
(也可以使用独立安装和使用,无需依赖 Anaconda)
pip install jupyter notebook本文介绍了PyCharm配置Anaconda发行版中的Jupyter,新文章将介绍了PyCharm使用conda虚拟环境中的Jupyter:
2. Jupyter官网
Project Jupyter | Homehttps://jupyter.org/
3. Jupyter常用命令
Jupyterusage: jupyter [-h] [--version] [--config-dir] [--data-dir] [--runtime-dir] [--paths] [--json] [--debug] [subcommand] Jupyter: Interactive Computing positional arguments: subcommand the subcommand to launch optional arguments: -h, --help show this help message and exit --version show the versions of core jupyter packages and exit --config-dir show Jupyter config dir --data-dir show Jupyter data dir --runtime-dir show Jupyter runtime dir --paths show all Jupyter paths. Add --json for machine-readable format. --json output paths as machine-readable json --debug output debug information about paths Available subcommands: bundlerextension console dejavu events execute kernel kernelspec lab labextension labhub migrate nbclassic nbconvert nbextension notebook qtconsole run script server serverextension troubleshoot trust Please specify a subcommand or one of the optional arguments.
二、PyCharm配置 Jupyter Notebook
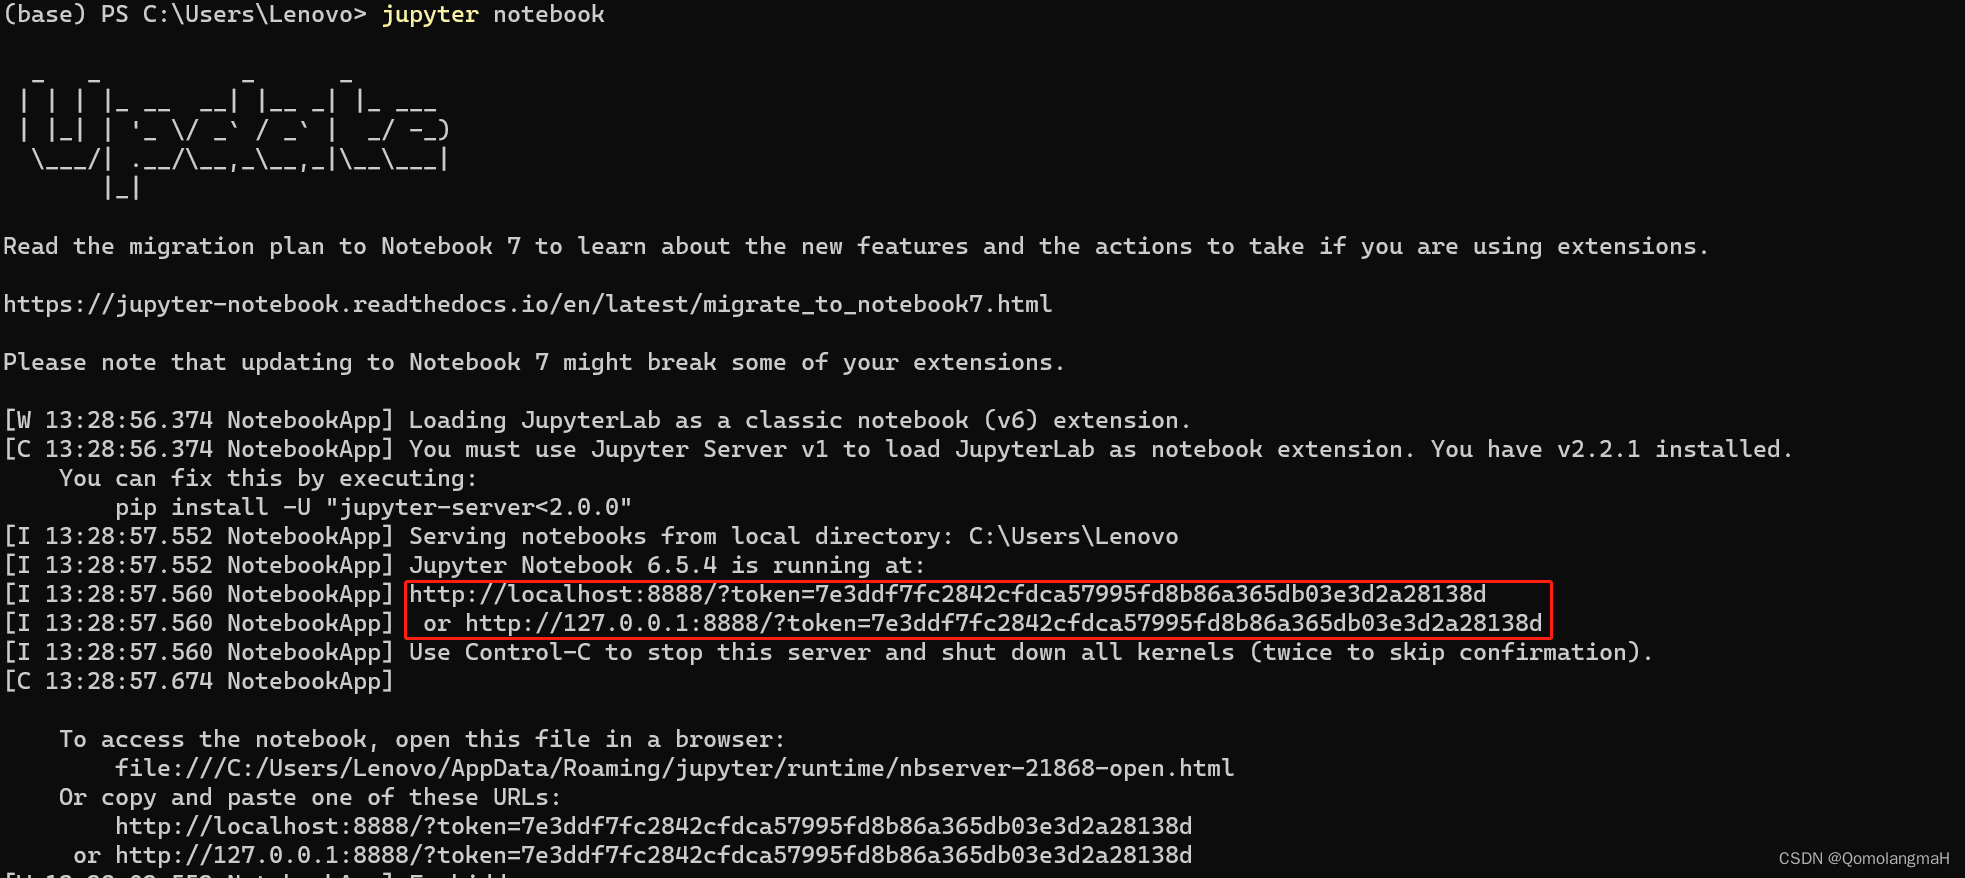
1. 启动Jupyter Notebook 服务器
终端输入:
jupyter notebook2. 复制URL 地址
如图,终端中显示 Jupyter Notebook 服务器的 URL 地址(通常是 http://localhost:8888/),复制如下任一链接(包括token部分)
3. 配置Jupyter服务器
- 打开项目:


- 或直接找:
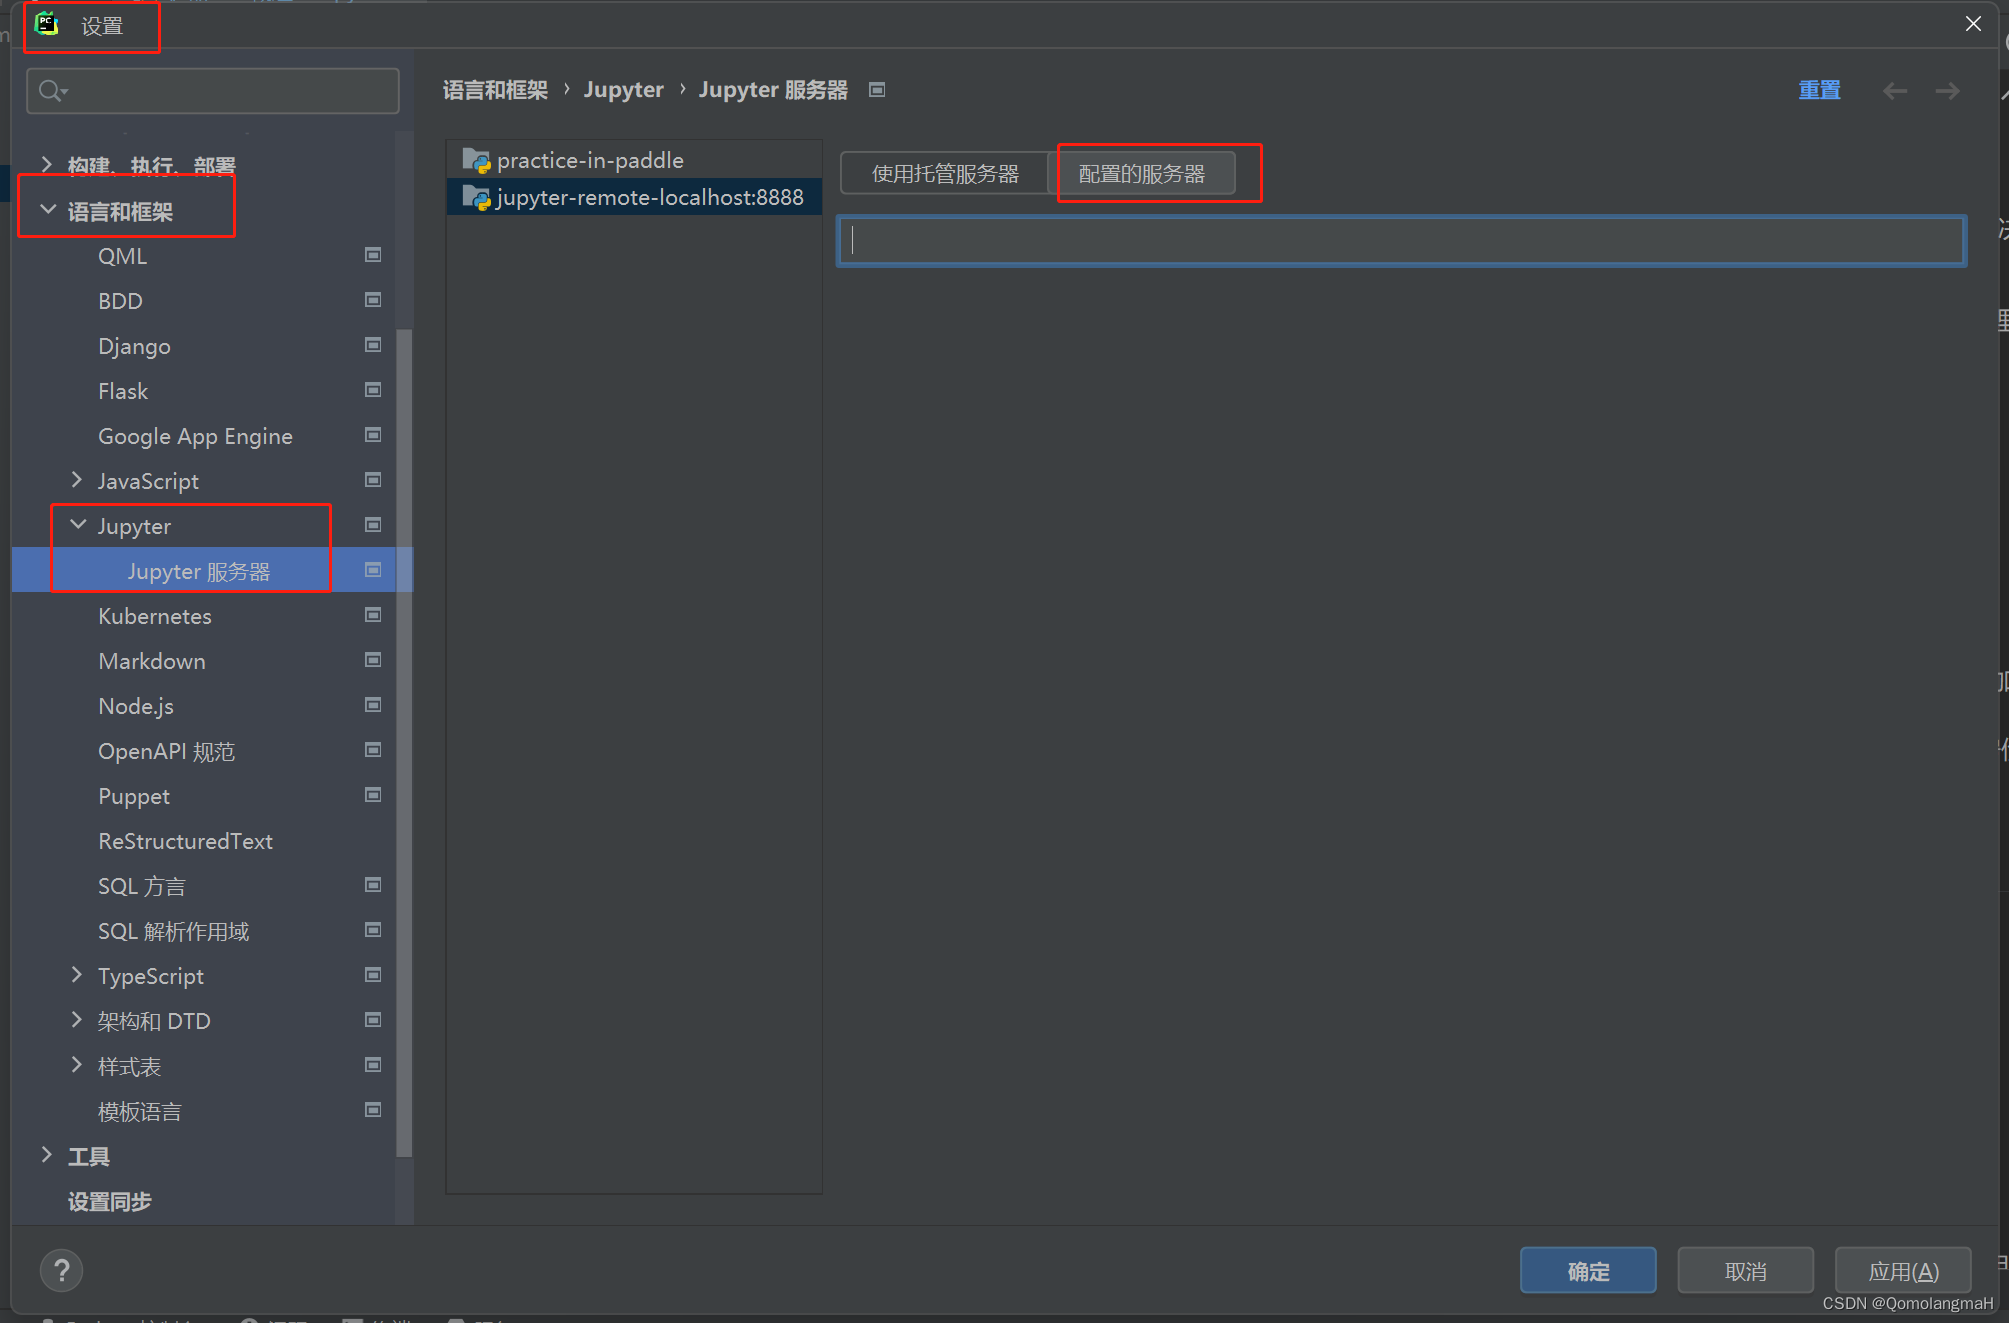
- 填入上述的链接(包括访问令牌 token)
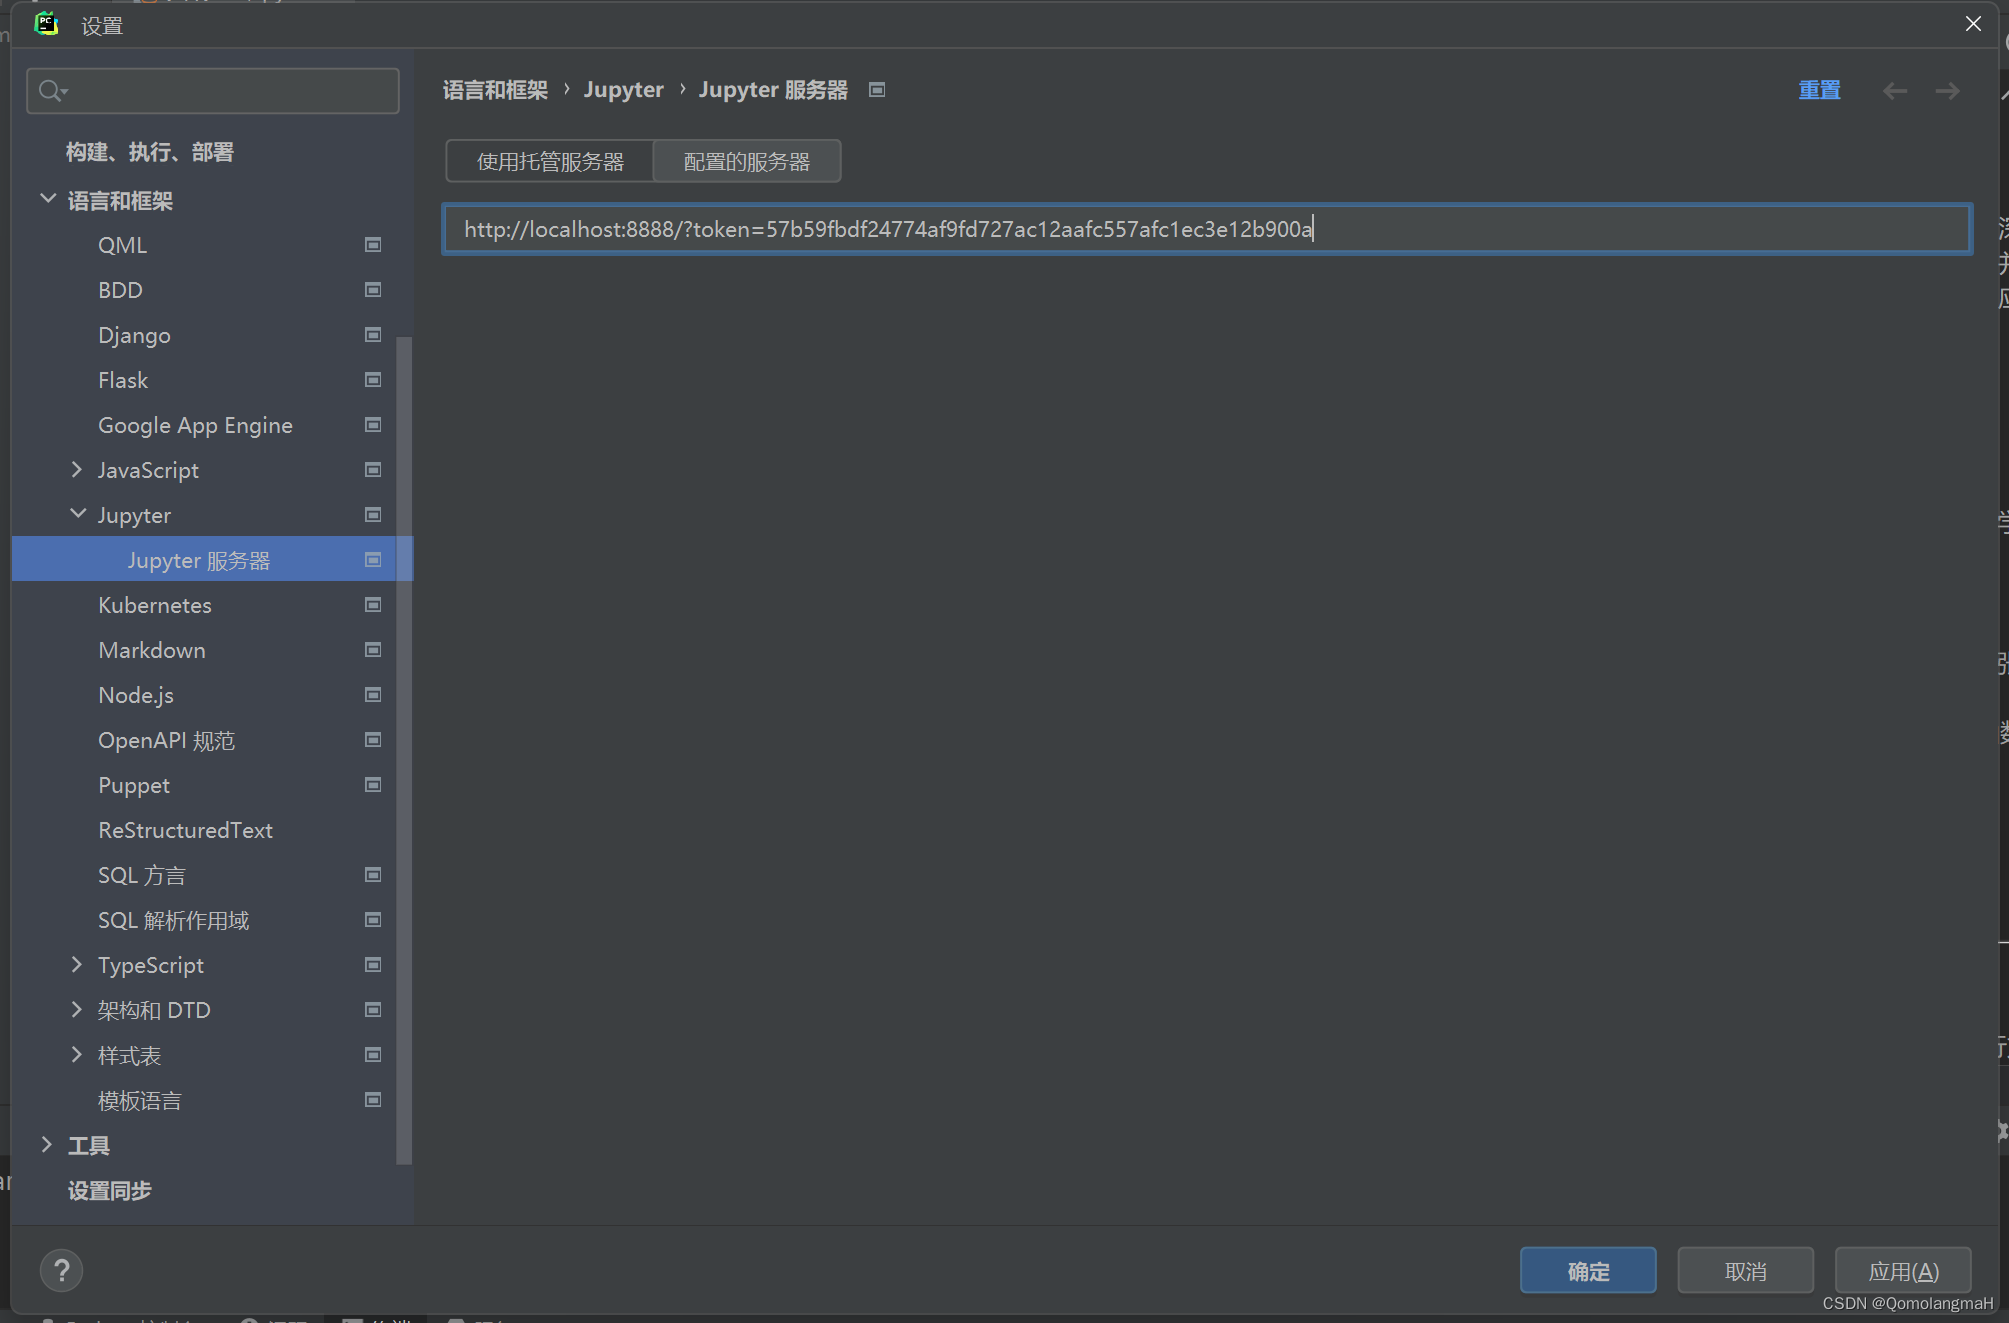
访问令牌 token注意事项
每次Jupyter提供的token不一样,若重新启动Jupyter需重新填充token
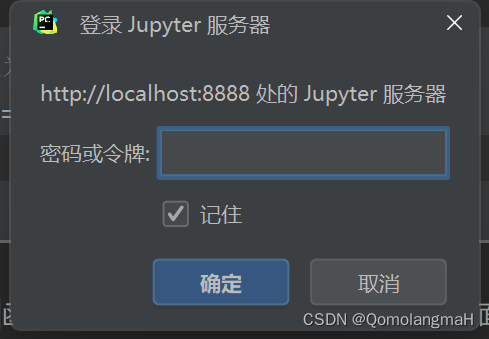
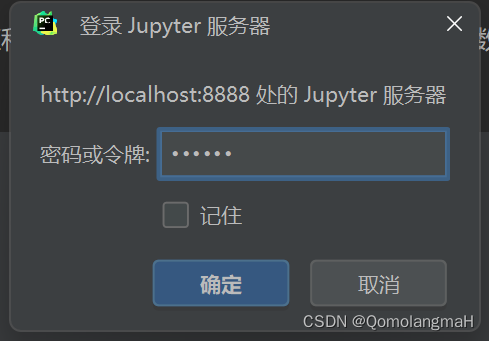
4. Jupyter服务器设置密码(避免每次输入token)
终端输入:
jupyter notebook password注意:输入密码不显示

建议设置简单密码(如123456)
输入密码登录
三、测试 Jupyter Notebook
1. 新建Jupyter Notebook文件

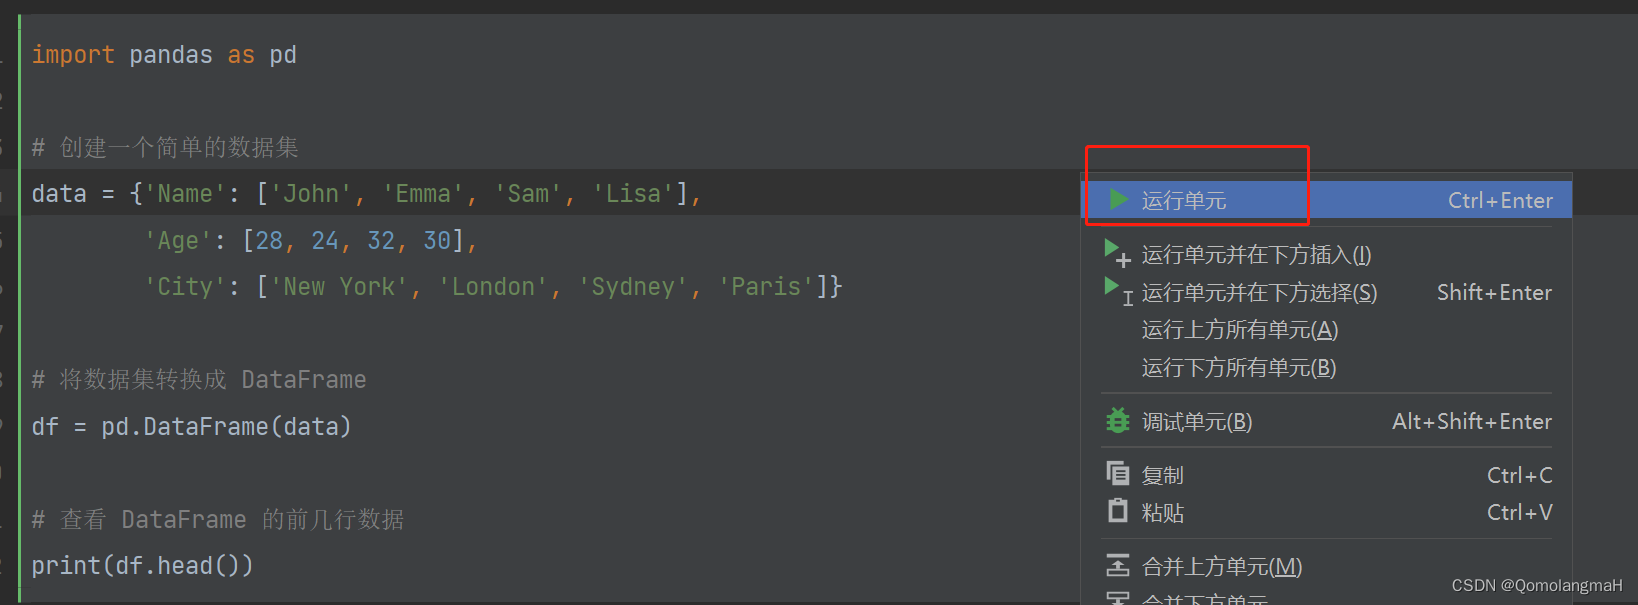
2. 运行单元
import pandas as pd

# 创建一个简单的数据集
data = {'Name': ['John', 'Emma', 'Sam', 'Lisa'],
        'Age': [28, 24, 32, 30],
        'City': ['New York', 'London', 'Sydney', 'Paris']}

# 将数据集转换成 DataFrame
df = pd.DataFrame(data)

# 查看 DataFrame 的前几行数据
print(df.head())
鼠标右键
未启动Jupyter

启动Jupyter


 3806
3806

 被折叠的 条评论
为什么被折叠?
被折叠的 条评论
为什么被折叠?
 到【灌水乐园】发言


