


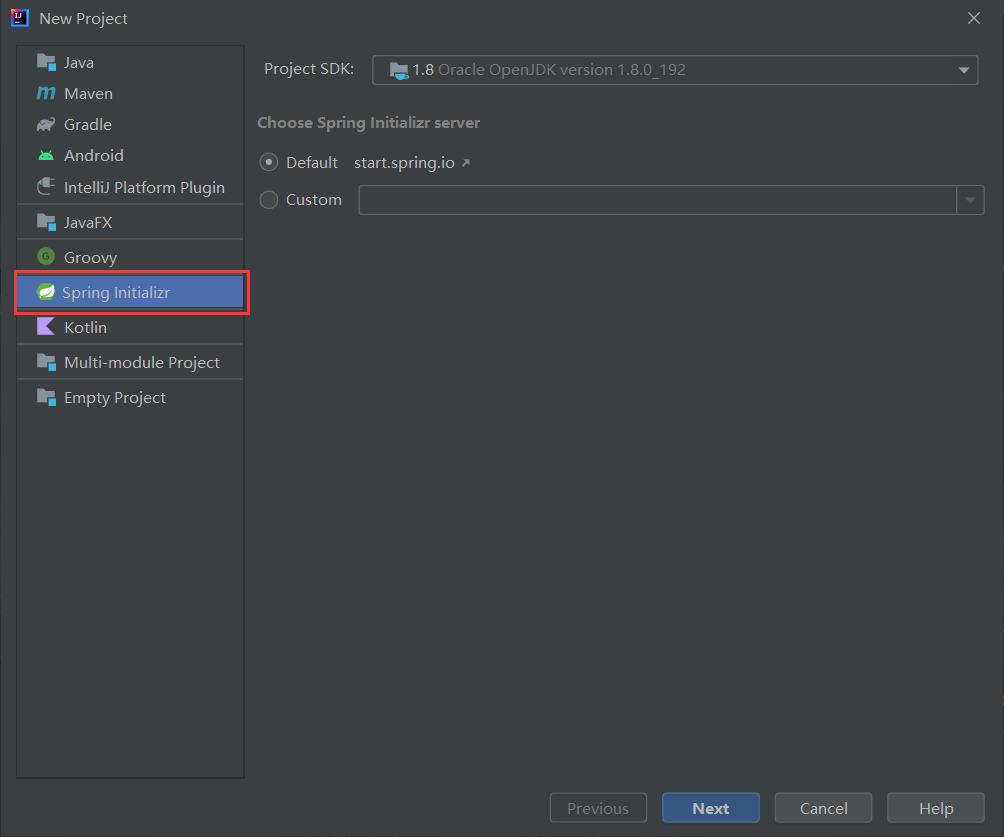
1. 创建 SpringBoot 工程
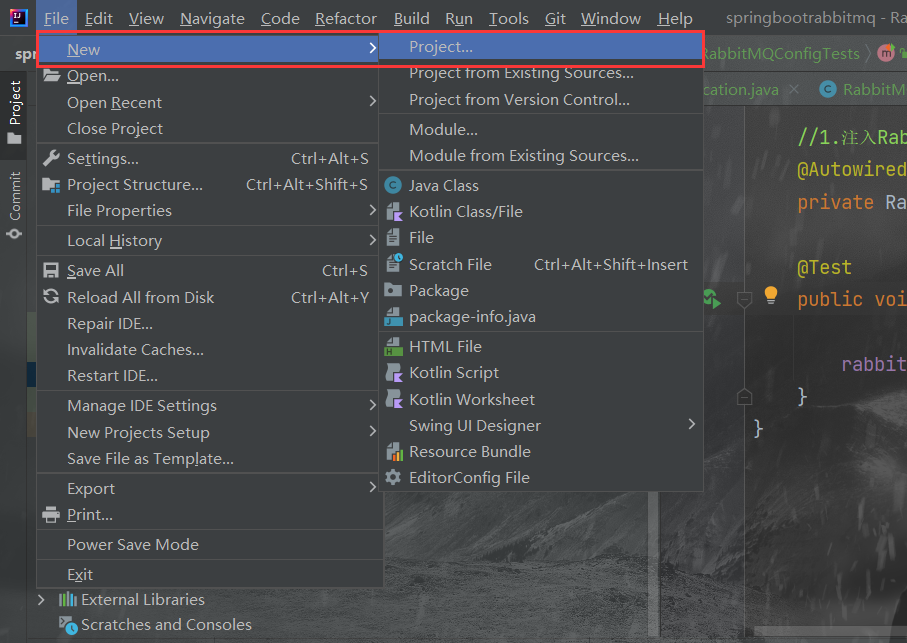

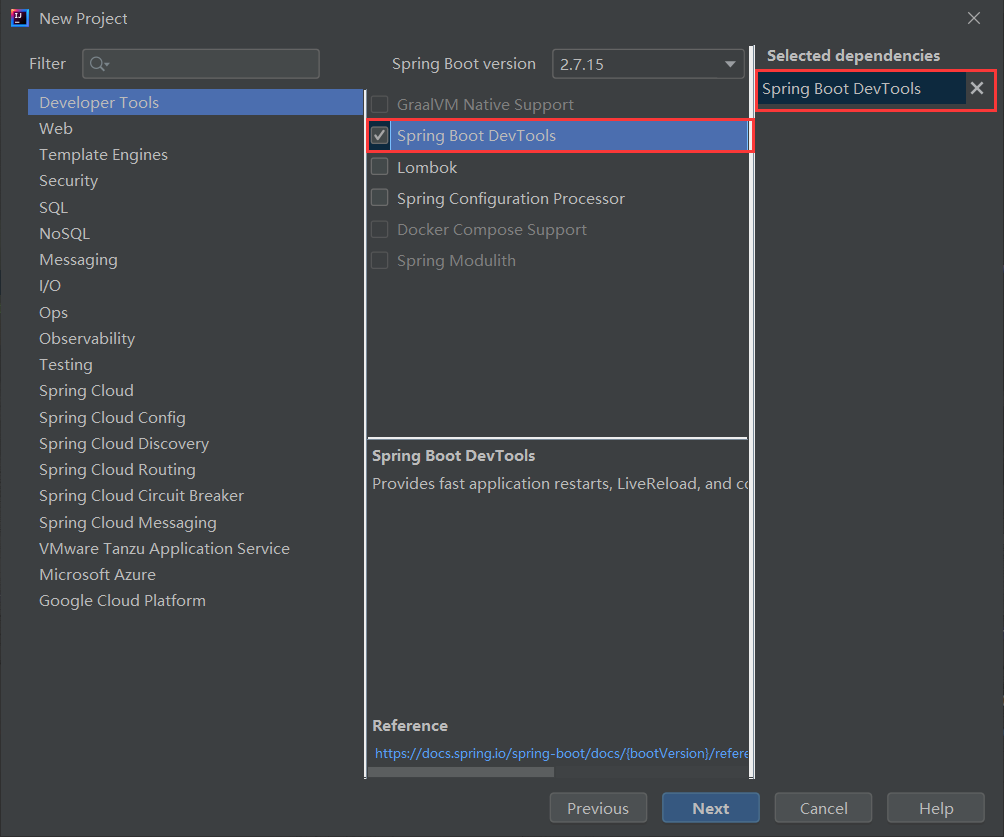
由于有的 Idea 不选择插线无法创建 Spring Boot 项目,这里我们先随便选一个插件,大家也可以根据需求选择~~

把版本改为 2.7.14
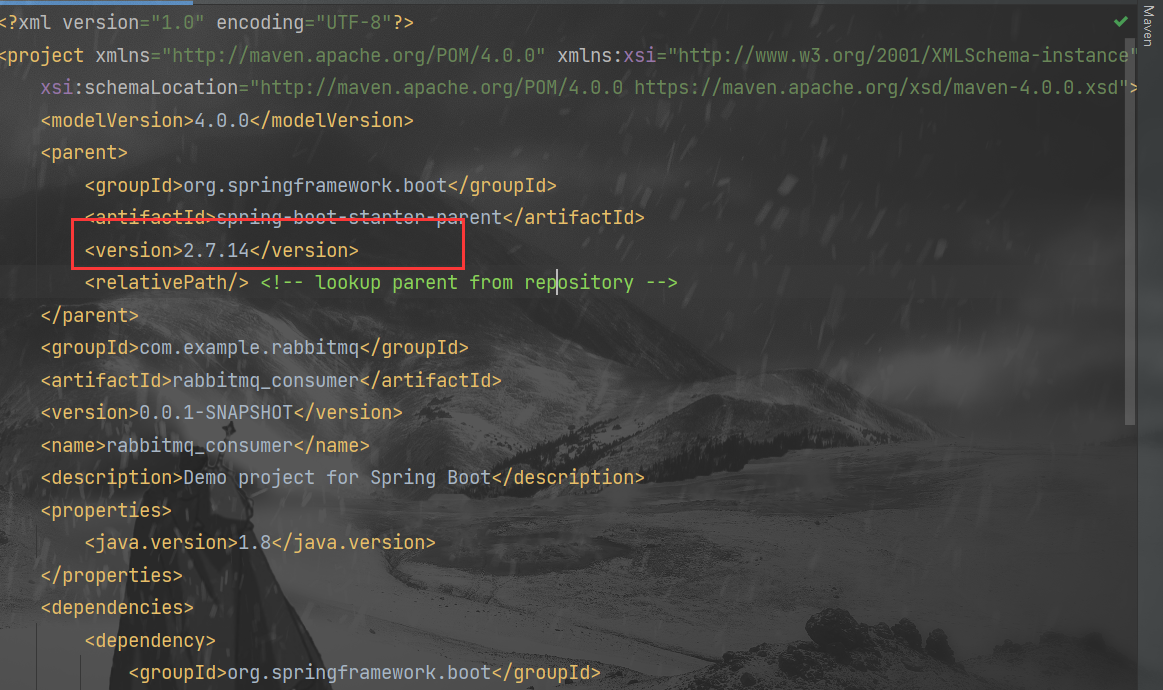
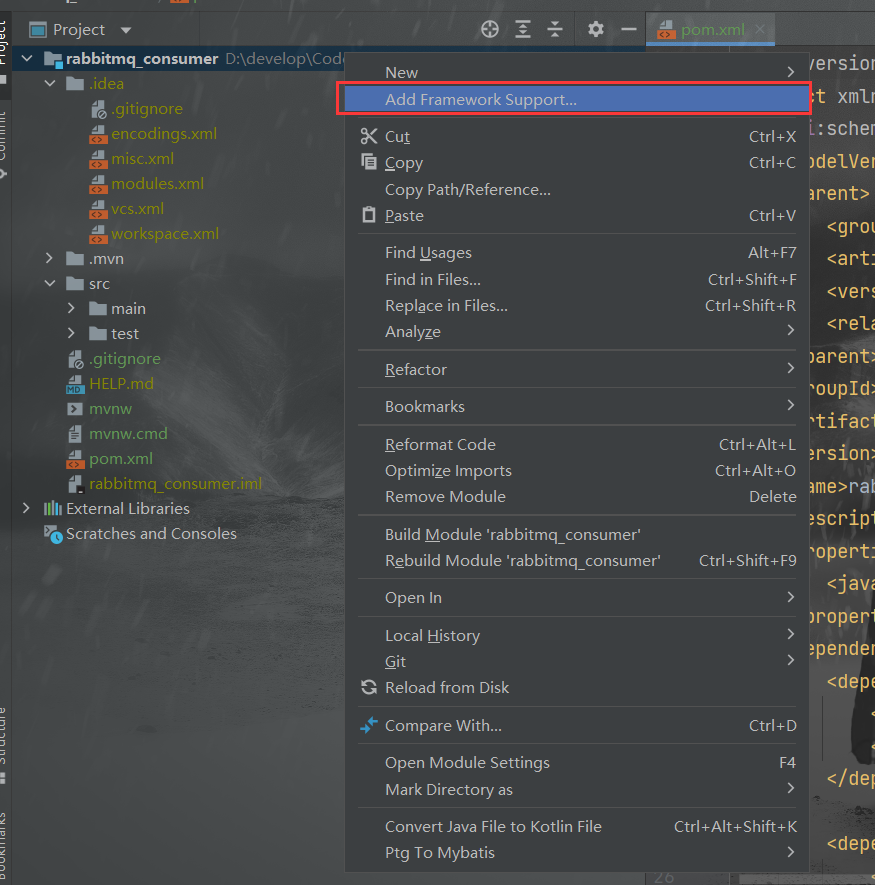
引入这两个依赖:
<dependency>
<groupId>org.springframework.boot</groupId>
<artifactId>spring-boot-starter-amqp</artifactId>
</dependency>
<dependency>
<groupId>org.springframework.boot</groupId>
<artifactId>spring-boot-starter-test</artifactId>
<scope>test</scope>
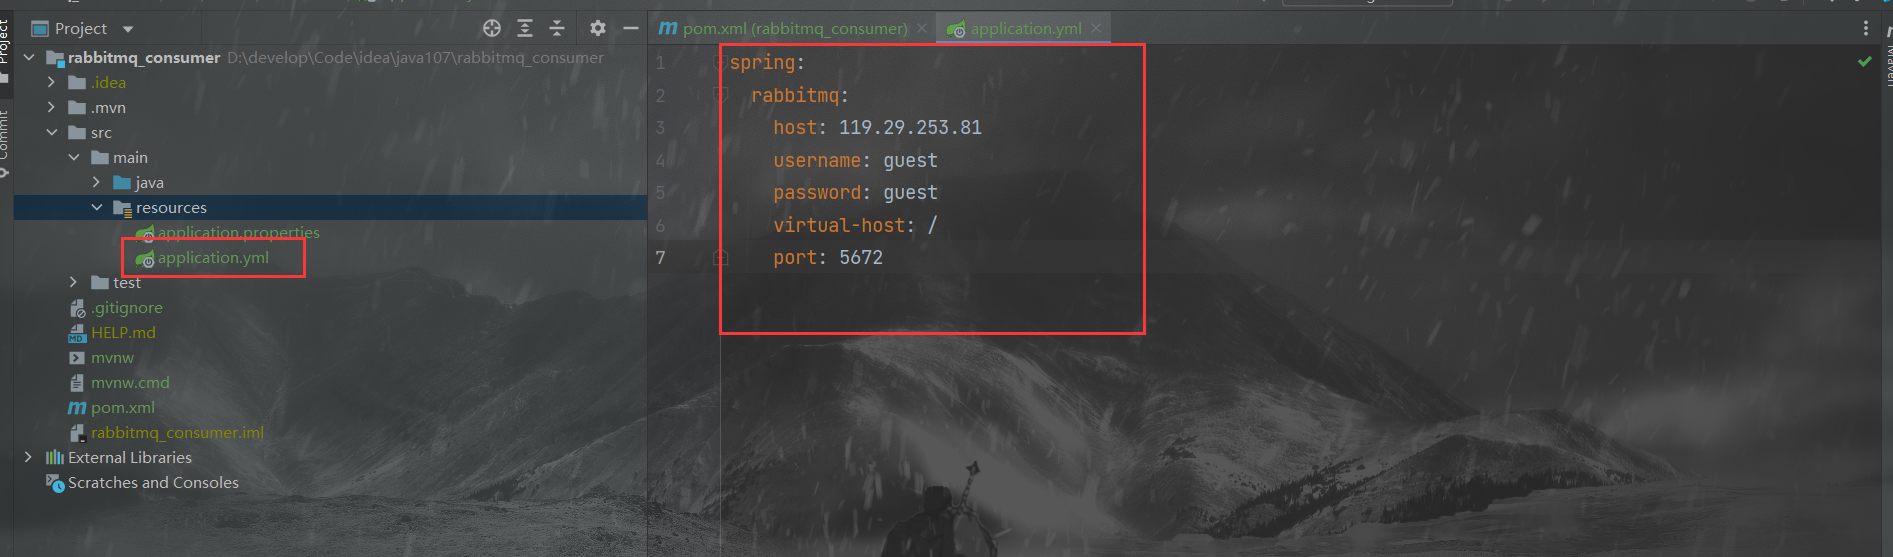
</dependency>配置 application.yml文件
2. 编写代码
生产者 :
Config 类 : RabbitMQConfig
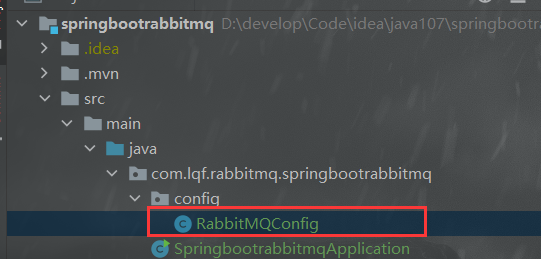
package com.lqf.rabbitmq.springbootrabbitmq.config;

import org.springframework.amqp.core.*;
import org.springframework.beans.factory.annotation.Qualifier;
import org.springframework.context.annotation.Bean;
import org.springframework.context.annotation.Configuration;

@Configuration
public class RabbitMQConfig {

    public static final String EXCHANGE_NAME = "boot_topic_exchange";
    public static final String QUEUE_NAME = "boot_queue";

    //1.交换机
    @Bean("bootExchange")
    public Exchange bootExchange(){
        return ExchangeBuilder.topicExchange(EXCHANGE_NAME).durable(true).build();
    }


    //2.Queue 队列
    @Bean("bootQueue")
    public Queue bootQueue(){
        return QueueBuilder.durable(QUEUE_NAME).build();
    }

    //3. 队列和交互机绑定关系 Binding
    /*
        1. 知道哪个队列
        2. 知道哪个交换机
        3. routing key
     */
    @Bean
    public Binding bindQueueExchange(@Qualifier("bootQueue") Queue queue, @Qualifier("bootExchange") Exchange exchange){
        return BindingBuilder.bind(queue).to(exchange).with("boot.#").noargs();
    }


}
测试类: RabbitMQConfigTests
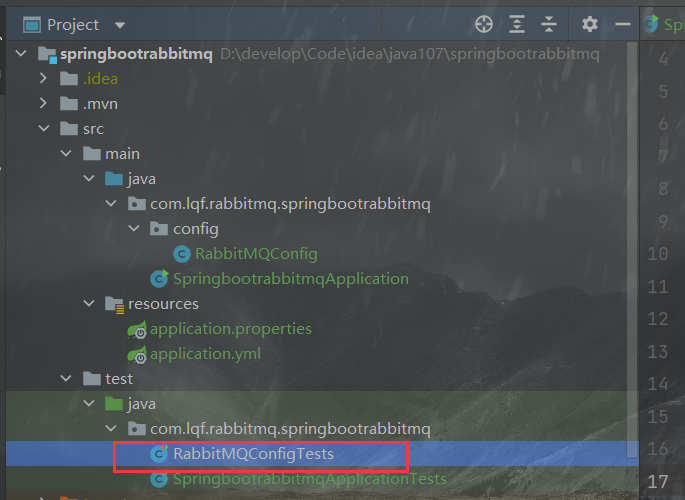
package com.lqf.rabbitmq.springbootrabbitmq;

import com.lqf.rabbitmq.springbootrabbitmq.config.RabbitMQConfig;
import org.junit.Test;
import org.junit.runner.RunWith;
import org.springframework.amqp.rabbit.core.RabbitTemplate;
import org.springframework.beans.factory.annotation.Autowired;
import org.springframework.boot.test.context.SpringBootTest;
import org.springframework.test.context.junit4.SpringRunner;

@SpringBootTest
@RunWith(SpringRunner.class)
public class RabbitMQConfigTests {

    //1.注入RabbitTemplate
    @Autowired
    private RabbitTemplate rabbitTemplate;

    @Test
    public void testSend(){

        rabbitTemplate.convertAndSend(RabbitMQConfig.EXCHANGE_NAME,"boot.haha","boot mq hello~~~");
    }
}
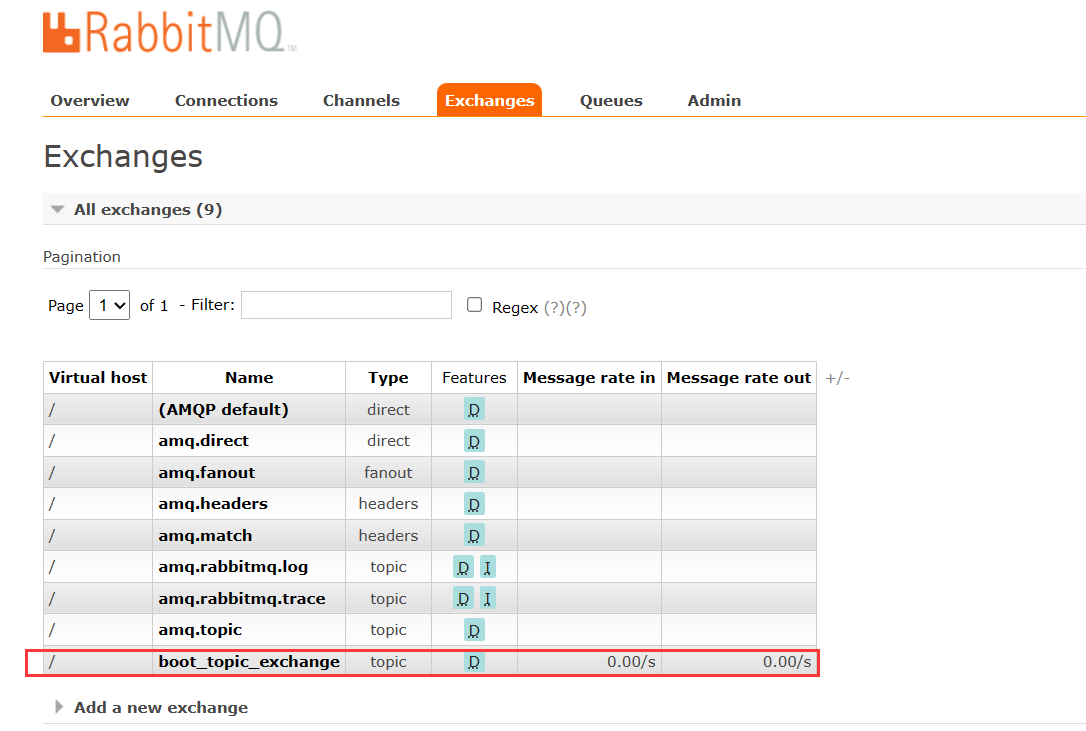
结果
当我们启动 测试类 之后就可以发现我们的 rabbitmq 界面里的 Exchange 里多了一个
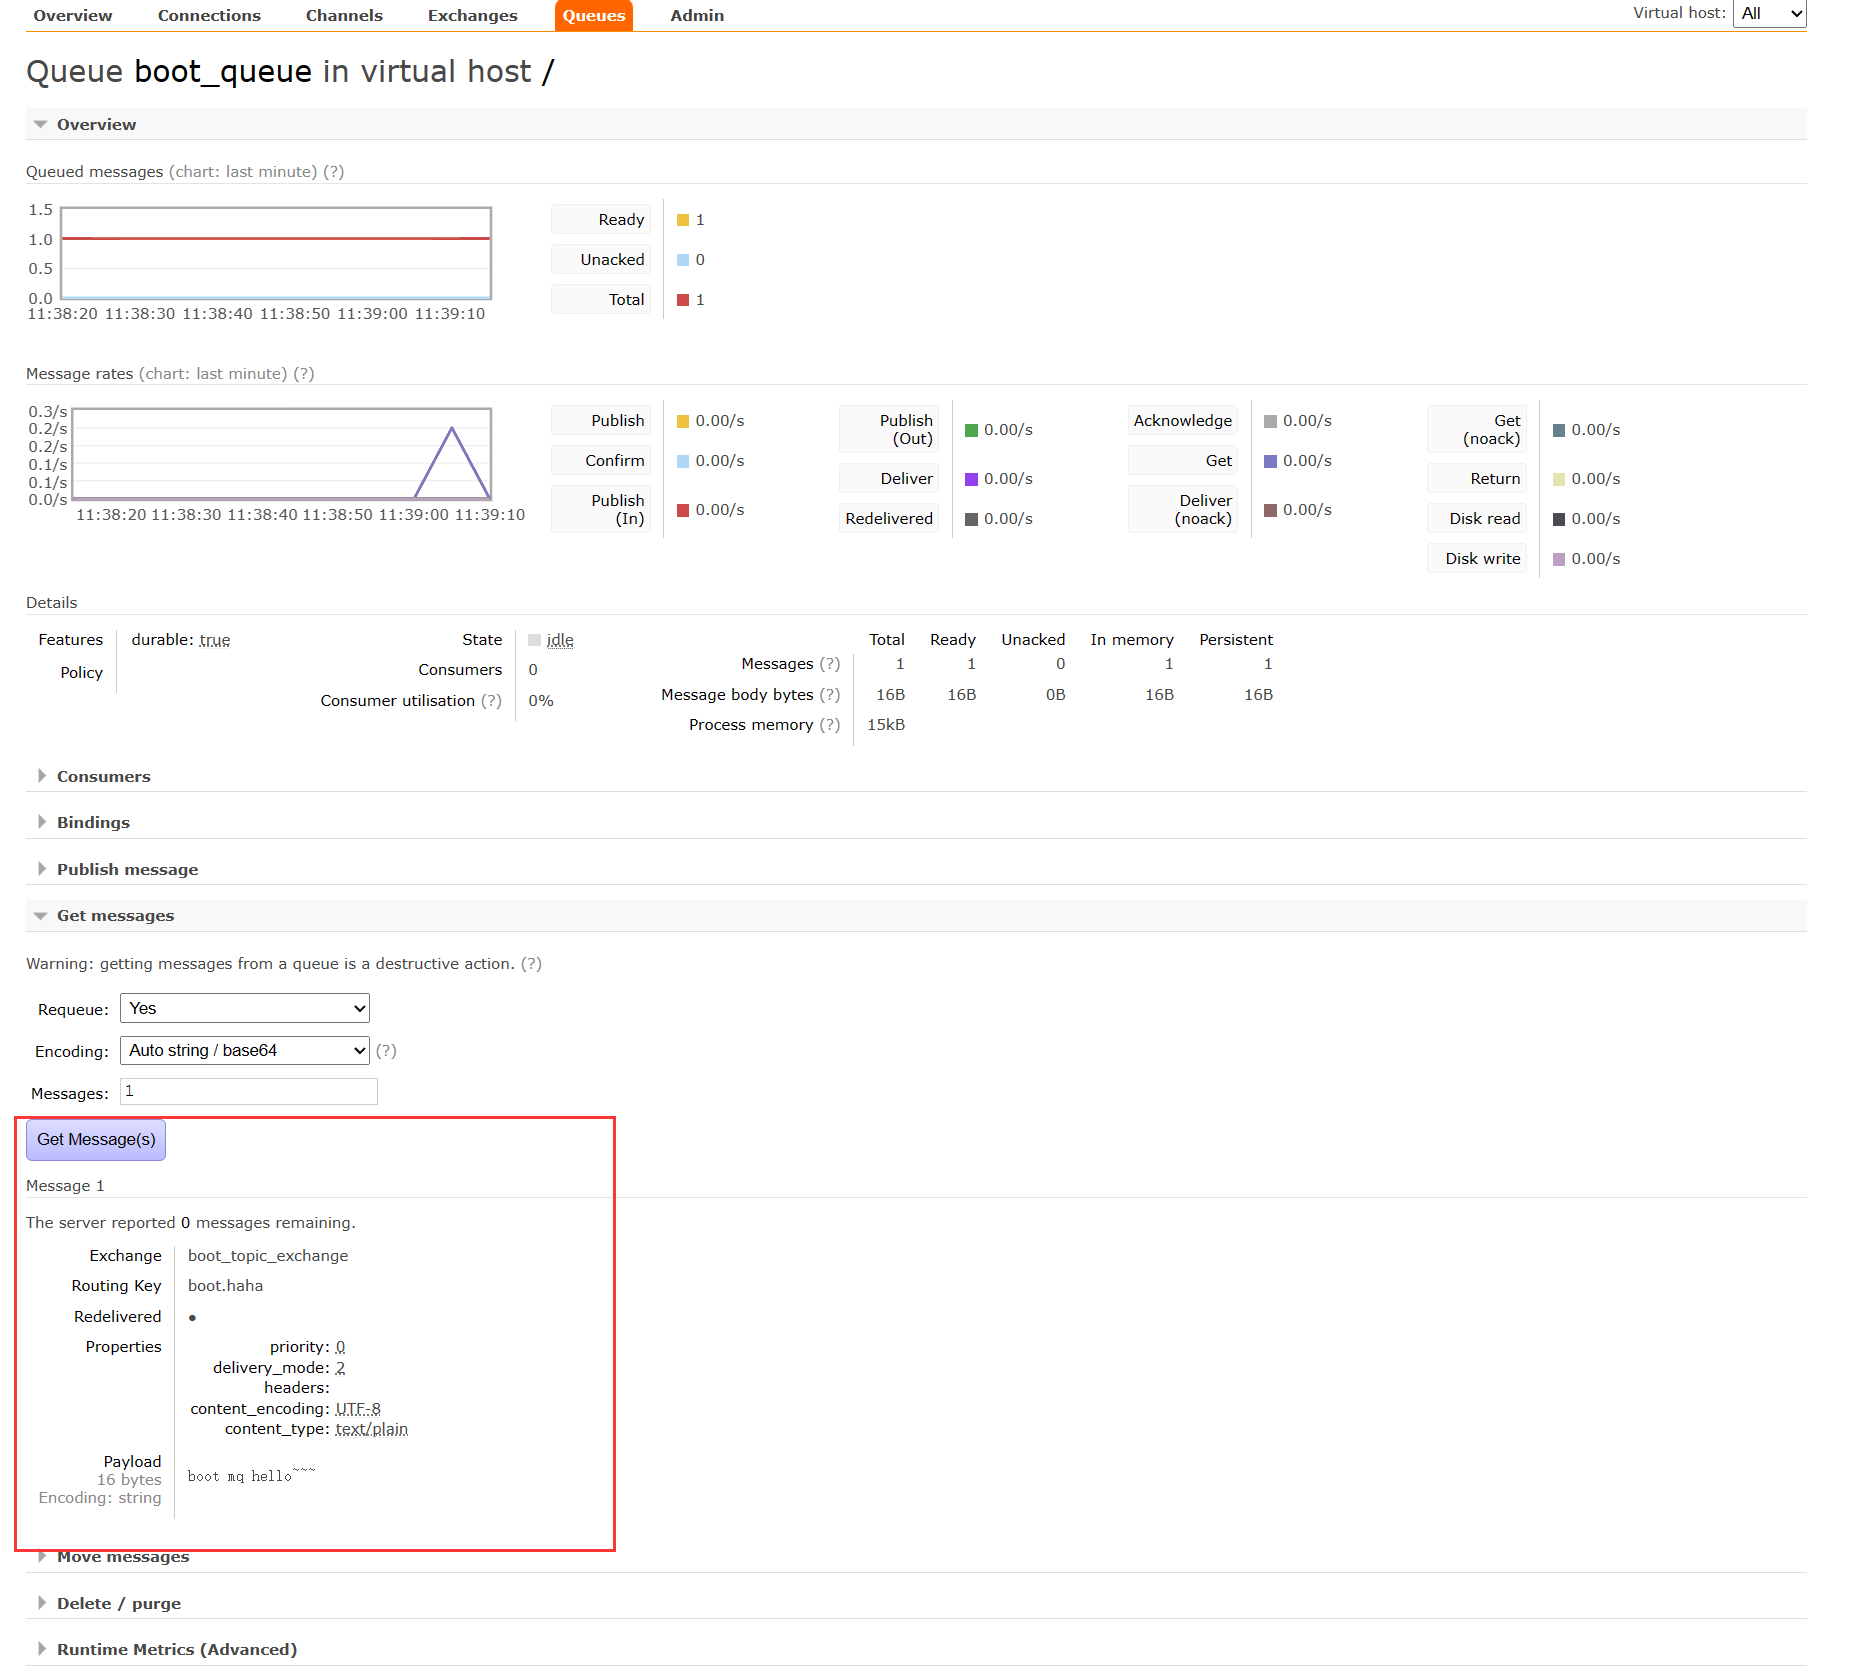
Queue 中多了一个消息:
消费者:
消费者的创建与生产者一样
Component 类 :
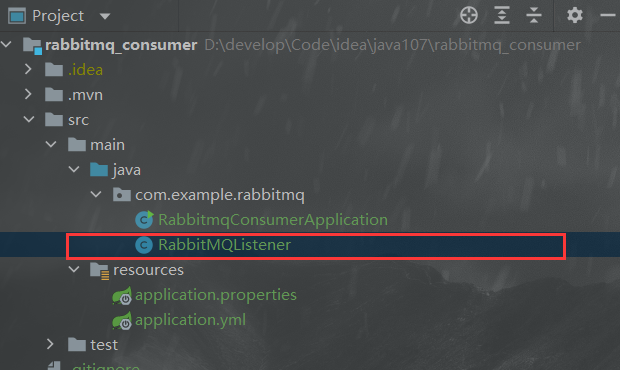
package com.example.rabbitmq;

import org.springframework.amqp.core.Message;
import org.springframework.amqp.rabbit.annotation.RabbitListener;
import org.springframework.stereotype.Component;

@Component
public class RabbitMQListener {

    @RabbitListener(queues = "boot_queue")
    public void ListenerQueue(Message message) {
        System.out.println("Message : ");
        System.out.println(message);
    }
}
结果
启动核心类:

之后我们就收到消息了


 1390
1390


 被折叠的 条评论
为什么被折叠?
被折叠的 条评论
为什么被折叠?
 到【灌水乐园】发言


