


package thread;

//创建一个类,继承自Thread
class MyThread extends Thread{
    @Override
    public void run() {
        //这个方法是线程的入口方法
        while (true) {
            System.out.println("hello thread");
        }
    }

}
//创建线程
public class Demo1 {
    public static void main(String[] args){
       Thread t = new MyThread();
       //start和run都是Thread的成员
        // run只是描述了线程的入口(线程要做什么任务)
        // start则是真正调用了系统API,在系统中创建线程,让线程再调用run

               t.start();
               while(true){
                   System.out.println("hello main");
               }
    }
}
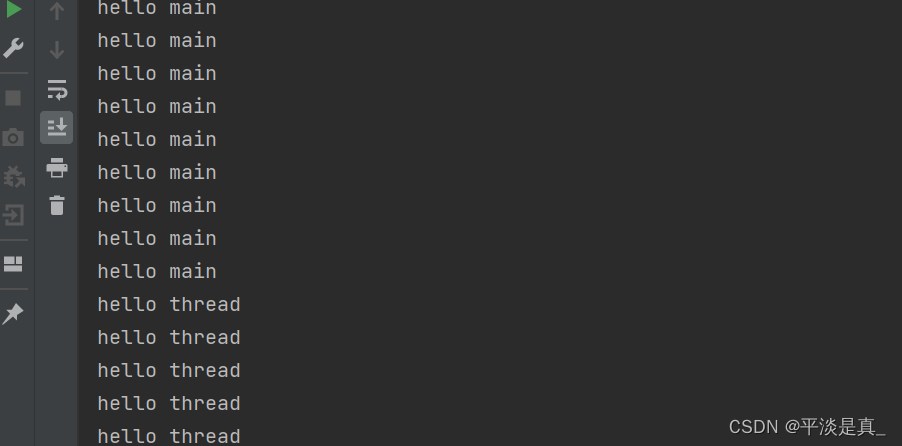
两处while(true),这两处while同时执行,看到的结果是交替打印。
每个线程,都是一个独立执行的逻辑。(独立执行流)
public class Demo1 {
public static void main(String[] args){
Thread t = new MyThread();
//start和run都是Thread的成员
// run只是描述了线程的入口(线程要做什么任务)
// start则是真正调用了系统API,在系统中创建线程,让线程再调用run
t.run();
while(true){
System.out.println("hello main");
}
}
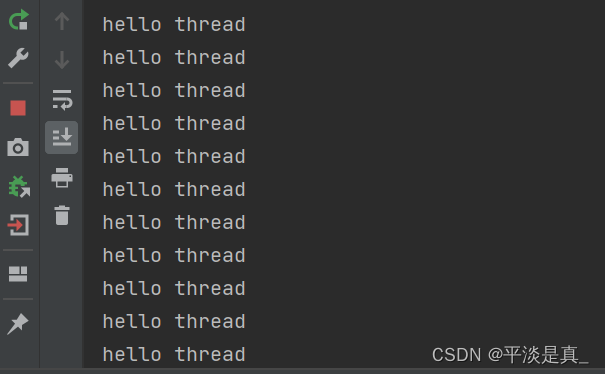
}把t.start改成t.run,此时,代码中不会创建新的线程。只有一个主线程。这个主线程里面只能一次执行循环,执行完一个在执行另一个。
jconsole.exe
1.启动之前,确保idea程序已经跑起来。
2.可能需要使用管理员方式运行。
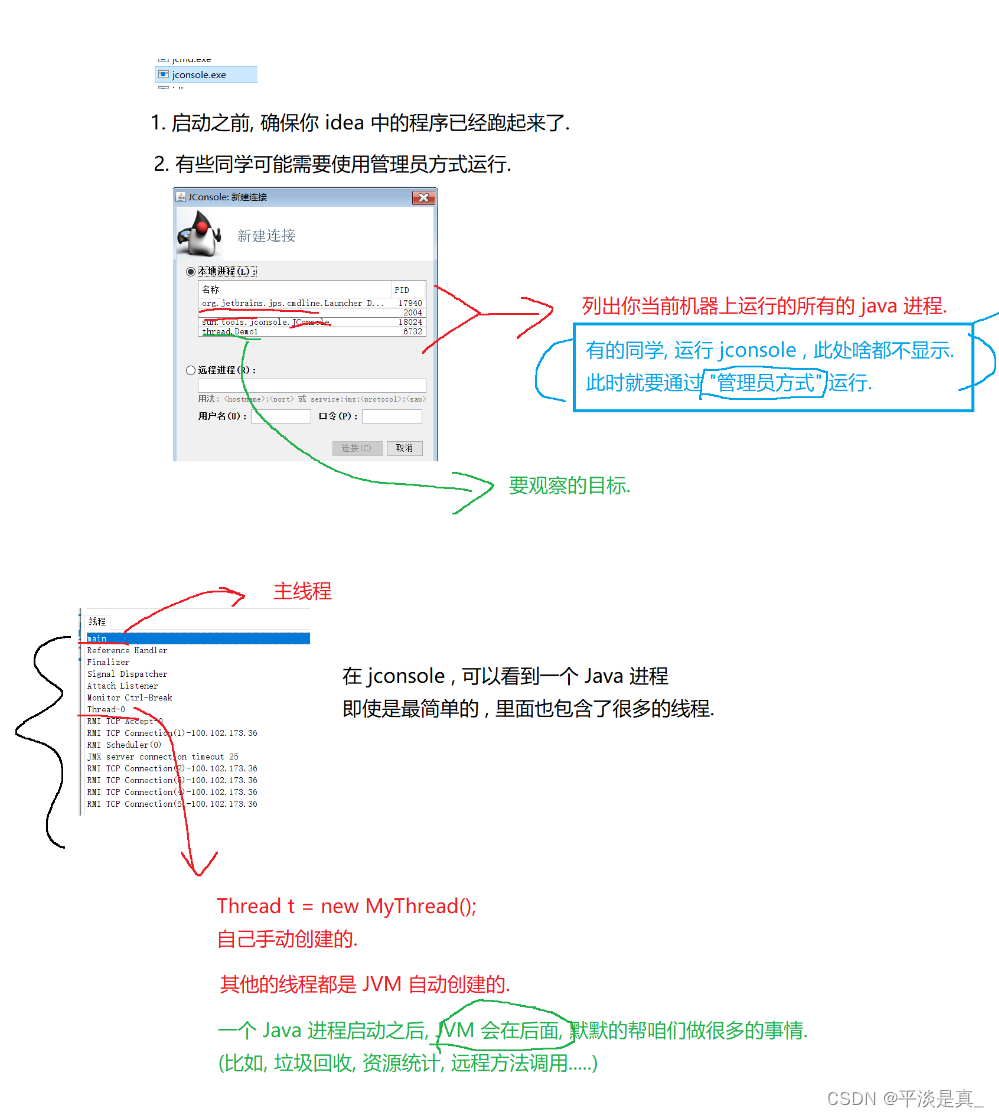
在jconsole可以看到一个java进程,即使是最简单的,也包含了很多线程。
jvm会自动创建线程。
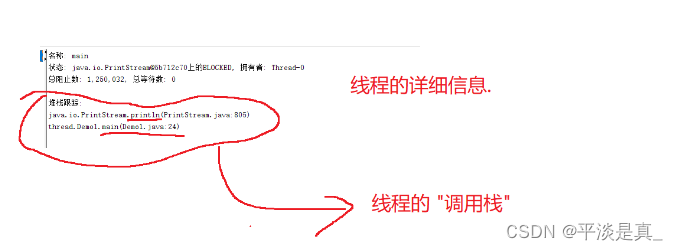
线程的详细信息
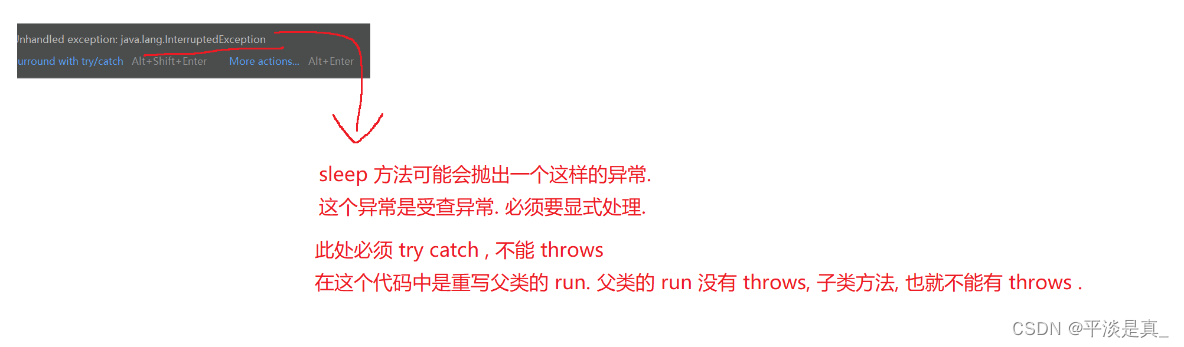
在循环体里加入sleep,是Thread的静态方法(类方法)
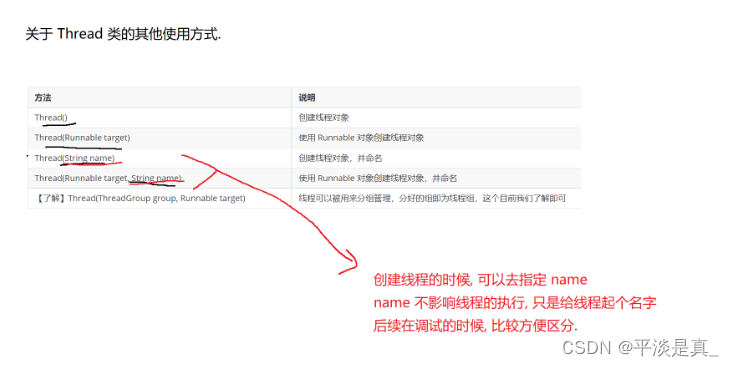
Thread类的其他用法
创建线程,其他的写法
1.继承Thread,重写run
package thread;

//创建一个类,继承自Thread
class MyThread extends Thread{
    @Override
    public void run() {
        //这个方法是线程的入口方法
        while (true) {
            System.out.println("hello thread");
            try {
                Thread.sleep(1000);
            } catch (InterruptedException e) {
                e.printStackTrace();
            }
        }
    }

}
//创建线程
public class Demo1 {
    public static void main(String[] args) throws InterruptedException {
       Thread t = new MyThread();
       //start和run都是Thread的成员
        // run只是描述了线程的入口(线程要做什么任务)
        // start则是真正调用了系统API,在系统中创建线程,让线程再调用run

               t.start();
               while(true){
                   System.out.println("hello main");
                   Thread.sleep(1000);
               }
    }
}
2.实现Runnable,重写run
package thread;

class MyRunnable implements Runnable{
    @Override
    public void run(){
        System.out.println("hello thread");
        try {
            Thread.sleep(1000);
        } catch (InterruptedException e) {
            e.printStackTrace();
        }
    }
}
public class Demo2 {
    public static void main(String[] args) throws InterruptedException {
        Runnable runnable =new MyRunnable();
        Thread t =new Thread(runnable);
        t.start();

        while(true){
            System.out.println("hello main ");
            Thread.sleep(1000);
        }
    }
}
Runnable表示一个“可以运行的任务”。使用runna的写法,和直接继承Thread之间的区别,主要是解耦合。
创建一个线程,需要进行两个关键操作:
1.明确线程要执行的任务
2.调用系统api,创建出线程。
3.继承Thread,重写run,使用匿名内部类
package thread;

public class Demo3 {
    public static void main(String[] args) throws InterruptedException {
        Thread t = new Thread(){
            @Override
            public void run(){
                while (true){
                    System.out.println("hello thread");
                    try {
                        Thread.sleep(1000);
                    } catch (InterruptedException e) {
                        e.printStackTrace();
                    }
                }
            }
        };
        t.start();
        while(true){
            System.out.println("hello main");
            Thread.sleep(1000);
        }
    }
}
package thread;

public class Demo4 {
    public static void main(String[] args) throws InterruptedException {
        Runnable runnable = new Runnable() {
            @Override
            public void run() {
                while(true){
                    System.out.println("hello thread");
                    try {
                        Thread.sleep(1000);
                    } catch (InterruptedException e) {
                        e.printStackTrace();
                    }
                }
            }
        };
        Thread t = new Thread(runnable);
        t.start();
        while (true){
            System.out.println("hello main");
            Thread.sleep(1000);
        }
    }
}
4.基于lambda表达式
package thread;

public class Demo5 {
    public static void main(String[] args) throws InterruptedException {
        Thread t= new Thread(()->{
            while (true){
                System.out.println("hello thread");
                try {
                    Thread.sleep(1000);
                } catch (InterruptedException e) {
                    e.printStackTrace();
                }
            }
        }

        );
        t.start();
        while(true){
            System.out.println("hello main");
            Thread.sleep(1000);
        }
    }
}
package thread;

public class Demo6 {
    public static void main(String[] args){

        Thread t = new Thread(()->{
            while (true){
                System.out.println("hello thread");
                try {
                    Thread.sleep(1000);
                } catch (InterruptedException e) {
                    e.printStackTrace();
                }
            }
        },"这是新线程");

        //设置t为后台线程
        t.setDaemon(true);
        t.start();
    }
}

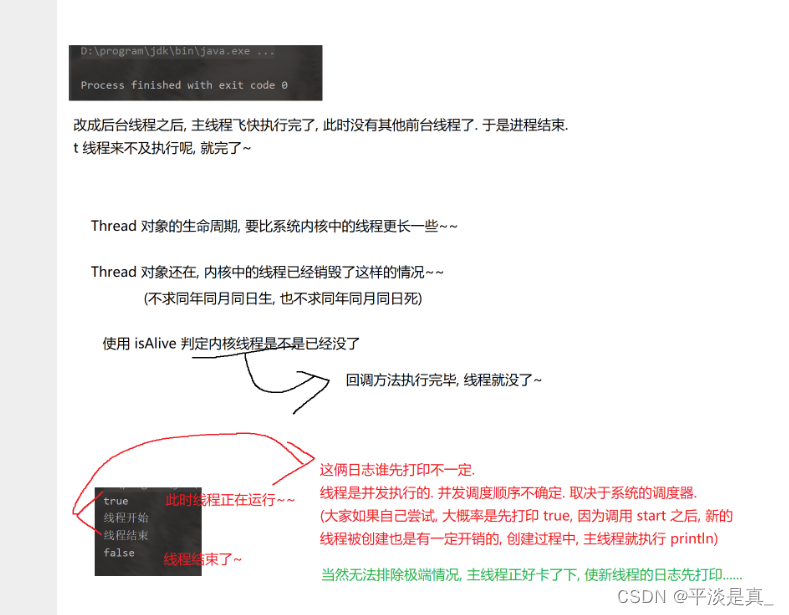
package thread;

public class Demo7 {
    public static void main(String[] args) throws InterruptedException {
        Thread t = new Thread(()->{
            System.out.println("线程开始");
            try {
                Thread.sleep(2000);
            } catch (InterruptedException e) {
                e.printStackTrace();
            }
            System.out.println("线程结束");
        }
                );
        t.start();
        System.out.println(t.isAlive());
        Thread.sleep(3000);
        System.out.println(t.isAlive());
    }
}


 3万+
3万+


 被折叠的 条评论
为什么被折叠?
被折叠的 条评论
为什么被折叠?
 到【灌水乐园】发言


