


通过调研,目前存在几种能够计算两个人脸相似度的方法:
1.使用结构相似性计算人脸之间的相似度
-
结构准确性:生成的图片是否保留了原图足够多细节。
-
(1)结构准确性衡量指标:SSIM/MMSSIM
-
SSIM(结构相似性指标)、MMSIM(多尺度结构相似性指数):一种用于比较两张图像结构相似性的方法。与像PSNR和MSE这样基于差异的方法不同,SSIM/MMSIM试图模拟人类视觉系统的特性,更准确地反映图像的视觉质量。SSIM/MMSIM的通过比较两张图像在图像的亮度、对比度和结构三个方面的的相似性来计算它们的整体相似性,可以用于侧面衡量两张图片的结构相似性。
-
SSIM的计算公式如下:SSIM(x, y) = [l(x, y)*c(x, y)*s(x, y)]^β其中,x和y是两张图像,l(x, y)、c(x, y)和s(x, y)分别衡量了它们在亮度、对比度和结构上的相似性,β是一个调节三个部分相对重要性的参数。
-
-
(2)SSIM和MMSIM的取值范围都为:0~1
-
(3)取值意义:其中1表示两张图像结构层面完全相同,0表示它们结构完全不同
-
(4)不同生图类型的合格((SSIM+MMSSIM) /2)阈值参考
-
All >=0.4 ((SSIM+MMSSIM) /2)
-
-
由于ssim和mmsim都是基于对两张图片同一同一位置的像素点进行比较来判断 亮度、对比度和结构这三个方面最终得到结果,所以我们在调用方法之前必须将两张图片转化为同一大小,具体代码如下:
def calculate_mmssim(src,img):
    msssimValue = msssim(src, img).real
    return msssimValue
def calculate_psnr(src,img):
    psnrValue = psnr(src, img)
    return  psnrValue
# 打开图片并将图片转化为同一大小
src_image = Image.open(src_file_path_name)
make_image = Image.open(make_file_path_name)
srcimg = np.array(src_image.resize((268,372)))
makeimg = np.array(make_image.resize((268,372)))
但是如果那这样两张图片来比较人脸的相似度,显然是不够的,因为这种方法是总体上比较两张图片的相似度,想要实现人脸相似度的比较,则需要将人脸单独提取出来,并转化为同一大小,之后再比较人脸的相似度:
import cv2
from deepface import DeepFace
from PIL import Image
from tqdm import tqdm
import os
output_path = "./heads"
input_path = "./Newoutputimages_2"
if not os.path.isdir(output_path):
    os.mkdir(output_path)
# 读取origin里的所有图片
imgs = os.listdir(input_path)
for img in tqdm(imgs):
    if("_head_"in img):
        continue
    if not img.endswith((".png",".jpg",".jpeg")):
        continue
    # 组装所有的文件名
    path_fileName = os.path.join(input_path,img)
    print(path_fileName)
    #cv2读取其中的图片
    img_num = cv2.imread(path_fileName)
    results = DeepFace.extract_faces(path_fileName,detector_backend="retinaface",enforce_detection=False,align=False)
    for result in results:
        face_area = result['facial_area']
        img_new = Image.open(path_fileName)
        #result_file_num = Image.fromarray(img_num[face_area['y']:face_area['y']+face_area['h'],face_area['x']:face_area['x']+face_area['w']])
        print("imgimgigmgi",os.path.splitext(img))
        # cv2.imshow("face",img_num)
        # cv2.waitKey(0)
        img_crop = img_new.crop((face_area['x'],face_area['y'],face_area['x']+face_area['w'],face_area['y']+face_area['h']))
        path_real = os.path.join(output_path, "{}_head_.png".format(os.path.splitext(img)[0]))
        img_crop.save(path_real)
        #result_file_num.save(os.path.join(output_path,"{}_head_.png".format(os.path.splitext(img)[0])))
2.使用dlib算法标识68个人脸的特征位,然后根据68个特征点的位置,使用欧式距离算法,计算两张图片同一特征点之间的距离,最终通过不同特征点位赋予不同的比重计算最终的结果(结果越小说明越相似)
欧式距离(Euclidean distance)是最常用的距离测量方式之一,用于衡量多维空间中两点之间的直线距离。它的计算原理基于勾股定理,适用于二维、三维乃至更高维的空间。欧式距离的计算公式如下: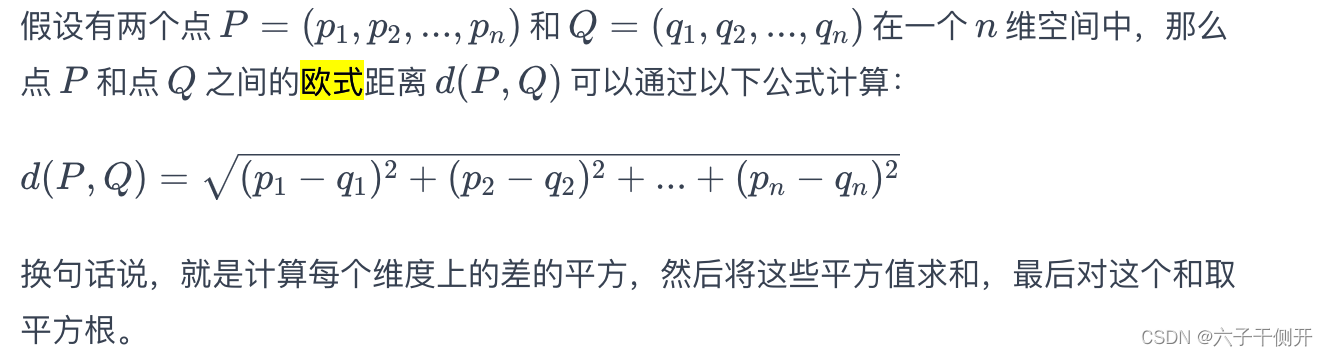
因此,欧式算法最终的结果主要与两个因素有关:1.两张图片不同特征点之间的距离2.识别的特征点在人脸中的位置(所以为了增加最终结果的准确性,必须对两张图片的人脸进行对齐)
from deepface import DeepFace
import os
import openpyxl
import time
from tqdm import tqdm
import re
import dlib
import numpy as np
import cv2
from scipy.spatial import distance
pypath = os.path.dirname(__file__)
def get_landmarks(image):
    faces = detector(image, 1)
    if len(faces) > 0:
        landmarks = predictor(image, faces[0])
        return np.array([[p.x, p.y] for p in landmarks.parts()])
    return None
def get_results(img1,img2):
    image1 = dlib.load_rgb_image(img1)
    image2 = dlib.load_rgb_image(img2)
    image1_gray = dlib.as_grayscale(image1)
    image2_gray = dlib.as_grayscale(image2)
    image1_gray_np = np.array(image1_gray).astype(np.uint8)
    image2_gray_np = np.array(image2_gray).astype(np.uint8)
    # 调整图像大小到新的尺寸
    resized_image1 = cv2.resize(image1_gray_np, (268, 372), interpolation=cv2.INTER_AREA)
    resized_image2 = cv2.resize(image2_gray_np, (268, 372), interpolation=cv2.INTER_AREA)

    # 如果你需要将调整大小后的图像转换回dlib的array2d类型
    # resized_image_dlib1 = dlib.array(resized_image1)
    # resized_image_dlib2 = dlib.array(resized_image2)
    # 提取两个图像的特征点
    landmarks1 = get_landmarks(resized_image1)
    landmarks2 = get_landmarks(resized_image2)

    # 如果两张图片中都检测到了面部,那么计算相似度
    if landmarks1 is not None and landmarks2 is not None:
        # 分别定义眼睛、鼻子、嘴巴和其他特征点的索引
        eyes_indices = list(range(36, 48))
        nose_indices = list(range(27, 36))
        mouth_indices = list(range(48, 68))
        # other_indices = list(range(0, 27)) + list(range(68, 68))
        other_indices = list(range(0, 36)) + list(range(48, 68))

        # 计算每个部分的相似度
        eyes_similarity = np.mean([distance.euclidean(landmarks1[i], landmarks2[i]) for i in eyes_indices])
        nose_similarity = np.mean([distance.euclidean(landmarks1[i], landmarks2[i]) for i in nose_indices])
        mouth_similarity = np.mean([distance.euclidean(landmarks1[i], landmarks2[i]) for i in mouth_indices])
        other_similarity = np.mean([distance.euclidean(landmarks1[i], landmarks2[i]) for i in other_indices])

        # 应用权重
        weighted_similarity = (
                0.6 * eyes_similarity +0.4*other_similarity
                # 0.2 * nose_similarity +
                # 0.2 * mouth_similarity +
                # 0.2 * other_similarity
        )
        return weighted_similarity
excel_output_file = os.path.join(pypath, "calculte_model_simi_dlib{}.xlsx".format(
    time.strftime("%Y-%m-%d %H:%M:%S", time.localtime(time.time()))))

img_path1 = ""
img_path2 = ""
input_file_path = "/Users/liujianlei/pycharmProjects/day1/AITest/dlibtest/testHeads"
# 初始化dlib的面部检测器和特征点预测器
detector = dlib.get_frontal_face_detector()
predictor = dlib.shape_predictor('shape_predictor_68_face_landmarks.dat')
wb = openpyxl.Workbook()
ws =wb.active
ws.append(["img_name","simi_value"])
#wb.save(excel_output_file)
imgs_names = os.listdir(input_file_path)
for img_name in tqdm(imgs_names):
    real_file_path = os.path.join(input_file_path,img_name)
    pattern = re.compile(r"^\d+")
    src_file_path = pattern.match(img_name)
    print("imgde name wei ", img_name)
    src_file_name = src_file_path.group()
    src_file_path_name = os.path.join(input_file_path, src_file_name + ".png")
    # 提取当前的图片名
    make_file_path_name = os.path.join(input_file_path, img_name)
    # 判断是否是原图
    if src_file_path_name == make_file_path_name:
        continue
    result = get_results(src_file_path_name,make_file_path_name)
    # results = DeepFace.verify(src_file_path_name,make_file_path_name,model_name="ArcFace",enforce_detection=False,align=True)
    ws.append([img_name,result])
    #wb.save(excel_output_file)
# 遍历结束后保存
wb.save(excel_output_file)


 1270
1270

 被折叠的 条评论
为什么被折叠?
被折叠的 条评论
为什么被折叠?
 到【灌水乐园】发言


