


一、总体思路
1.创建窗体,选择图片所在文件夹;
2.获取插入图片的起始位置;
3.插入完成后统一调整图片尺寸。
二、代码
Sub ImportAndResizeImagesWithCellAdjustment()
Dim ws As Worksheet
Dim folderPath As String
Dim file As Object
Dim imgPath As String
Dim pic As Picture
Dim targetCell As Range
Dim fso As Object
Dim startCellAddress As String
Dim startRow As Long
Dim startCol As Long
Dim imgWidth As Double
Dim imgHeight As Double
Dim inputWidth As String
Dim inputHeight As String
Dim pictureCollection As Collection
Dim cellPadding As Double
Set ws = ThisWorkbook.Sheets(1) ' 使用第一个工作表插入图片
Set pictureCollection = New Collection ' 创建一个初始化集合,用来储存图片
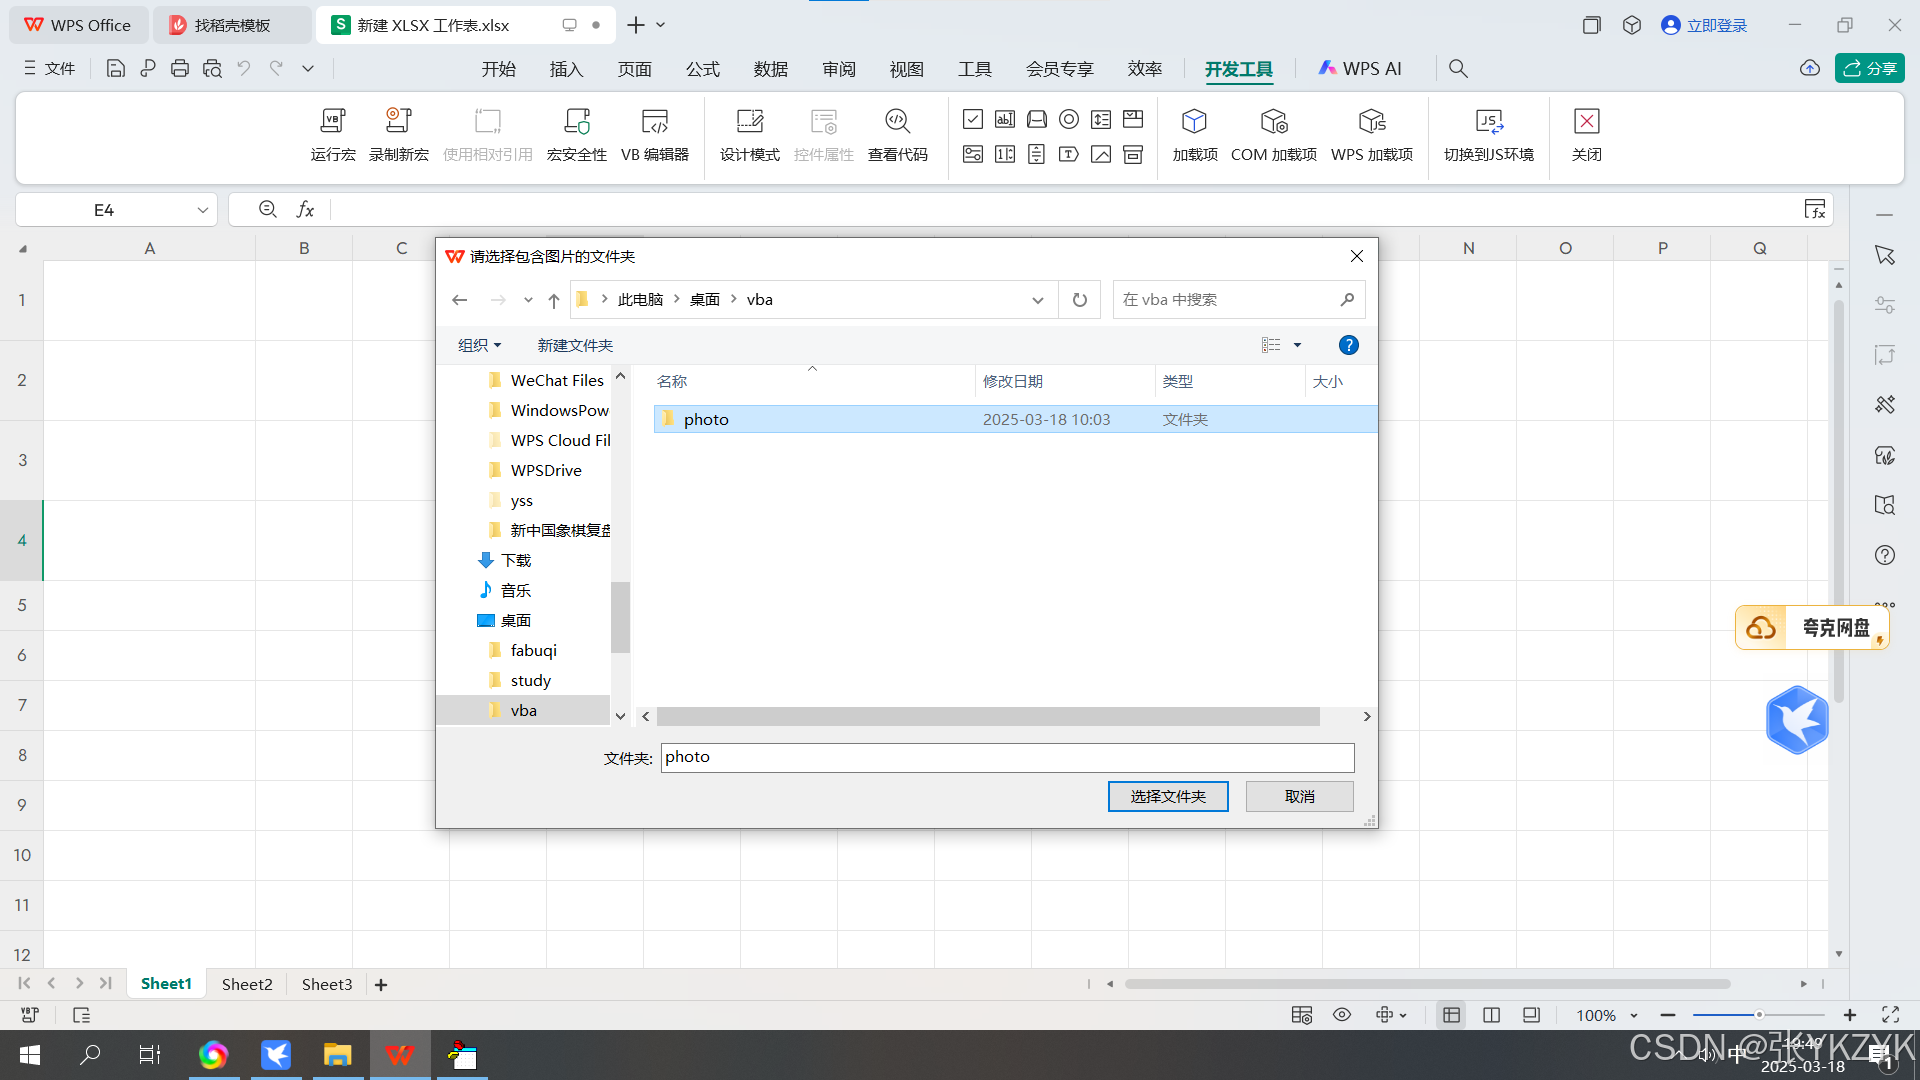
' 打开文件夹选择对话框
With Application.fileDialog(msoFileDialogFolderPicker)
.Title = "请选择包含图片的文件夹"
If .Show = -1 Then
folderPath = .SelectedItems(1)
Else
MsgBox "未选择文件夹,操作已取消。", vbExclamation
Exit Sub
End If
End With
If Right(folderPath, 1) <> "\" Then
folderPath = folderPath & "\"
End If
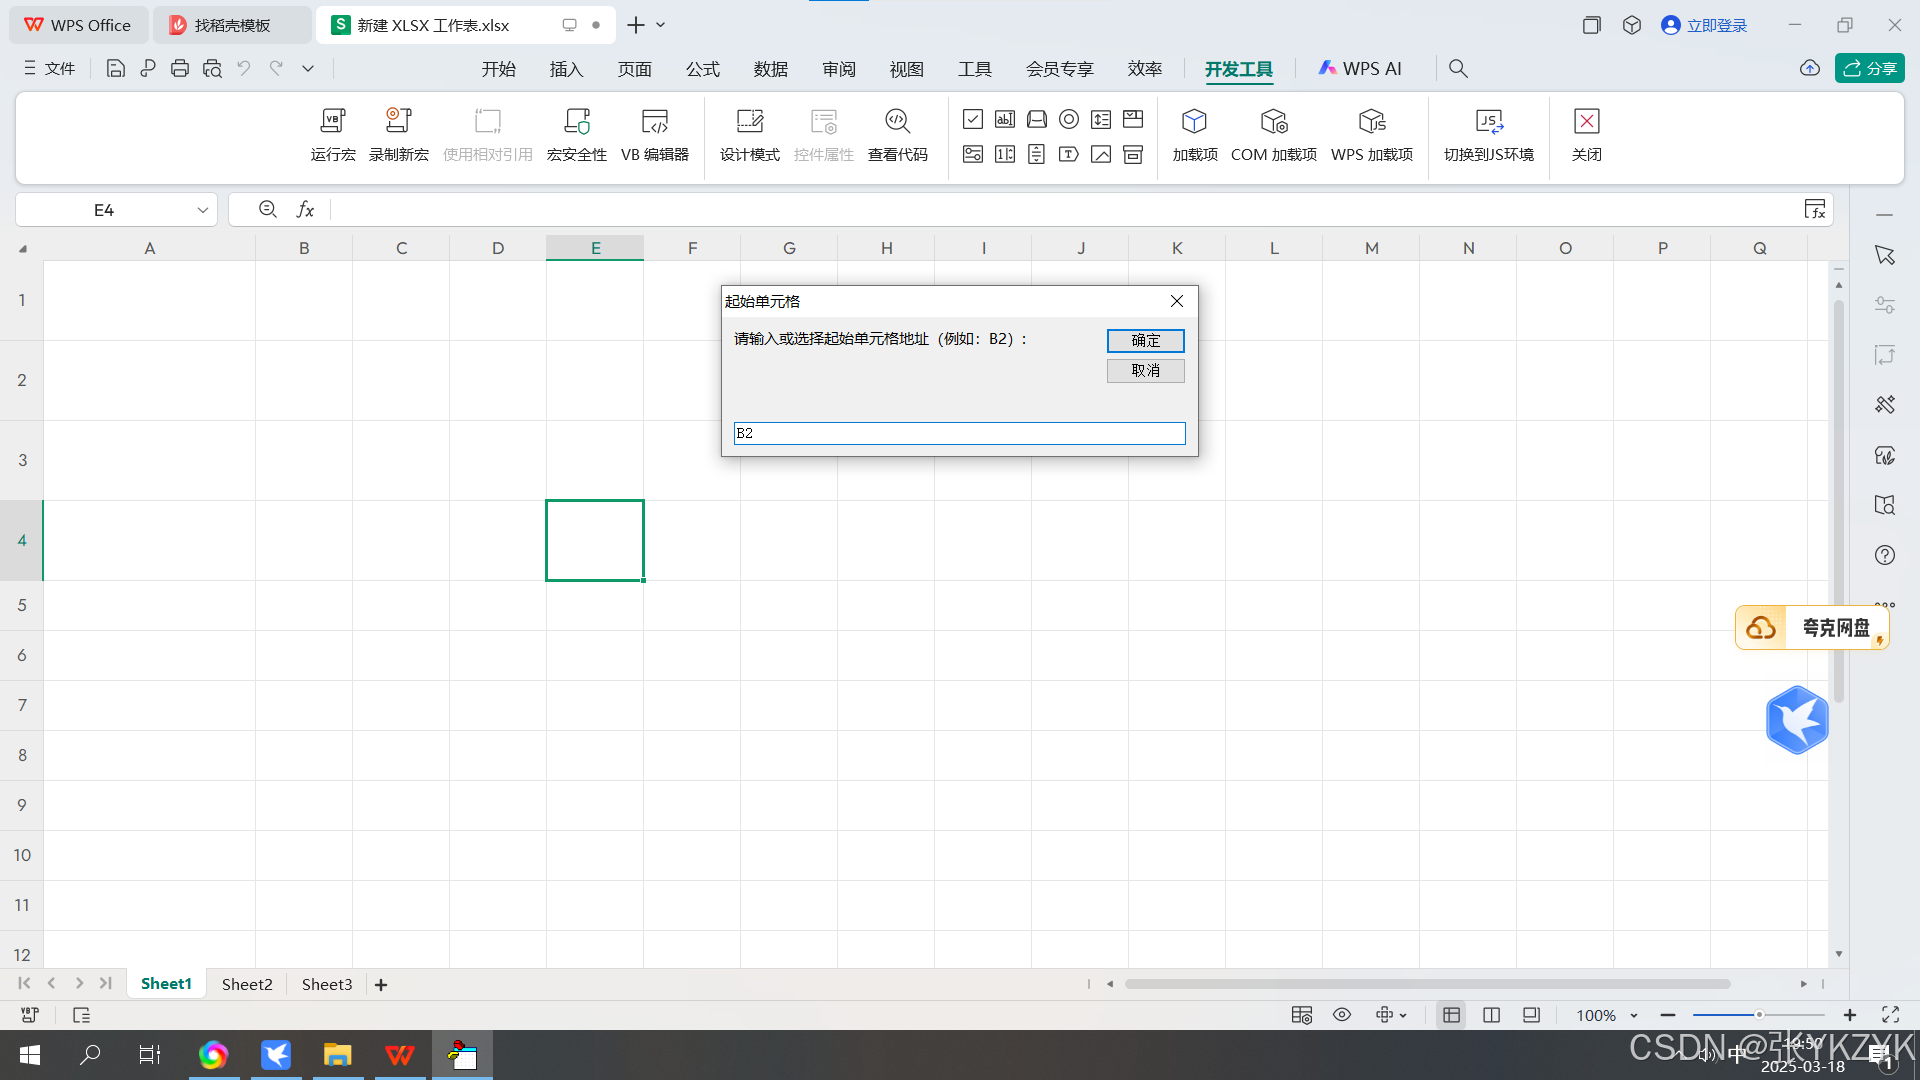
' 输入或选择起始单元格地址
startCellAddress = InputBox("请输入或选择起始单元格地址(例如:B2):", "起始单元格")
' 检查输入的单元格地址是否有效
On Error Resume Next
Set targetCell = ws.Range(startCellAddress)
On Error GoTo 0
If targetCell Is Nothing Then
MsgBox "输入的单元格地址无效,操作已取消。", vbExclamation
Exit Sub
End If
startRow = targetCell.Row
startCol = targetCell.Column
' 创建文件系统对象以遍历文件夹中的文件
Set fso = CreateObject("Scripting.FileSystemObject")
' 遍历文件夹中的图片文件(假设图片格式为 jpg、png、bmp 等)
Dim rowCounter As Long
rowCounter = startRow ' 从选中单元格所在行开始
For Each file In fso.GetFolder(folderPath).Files
If LCase(Right(file.Name, 4)) = ".jpg" Or _
LCase(Right(file.Name, 4)) = ".png" Or _
LCase(Right(file.Name, 4)) = ".bmp" Or _
LCase(Right(file.Name, 5)) = ".jpeg" Then
imgPath = file.Path ' 获取图片完整路径
' 插入图片到工作表
Set pic = ws.Pictures.Insert(imgPath)
' 设置图片位置与选中列单元格对齐
With pic
.Top = ws.Cells(rowCounter, startCol).Top
.Left = ws.Cells(rowCounter, startCol).Left
' 将图片对象添加到集合中以便后续统一调整大小
pictureCollection.Add pic
End With
rowCounter = rowCounter + 1 ' 移动到下一行
End If
Next file
' 如果没有插入任何图片,则退出
If pictureCollection.Count = 0 Then
MsgBox "没有找到图片或未插入任何图片。", vbExclamation
Exit Sub
End If
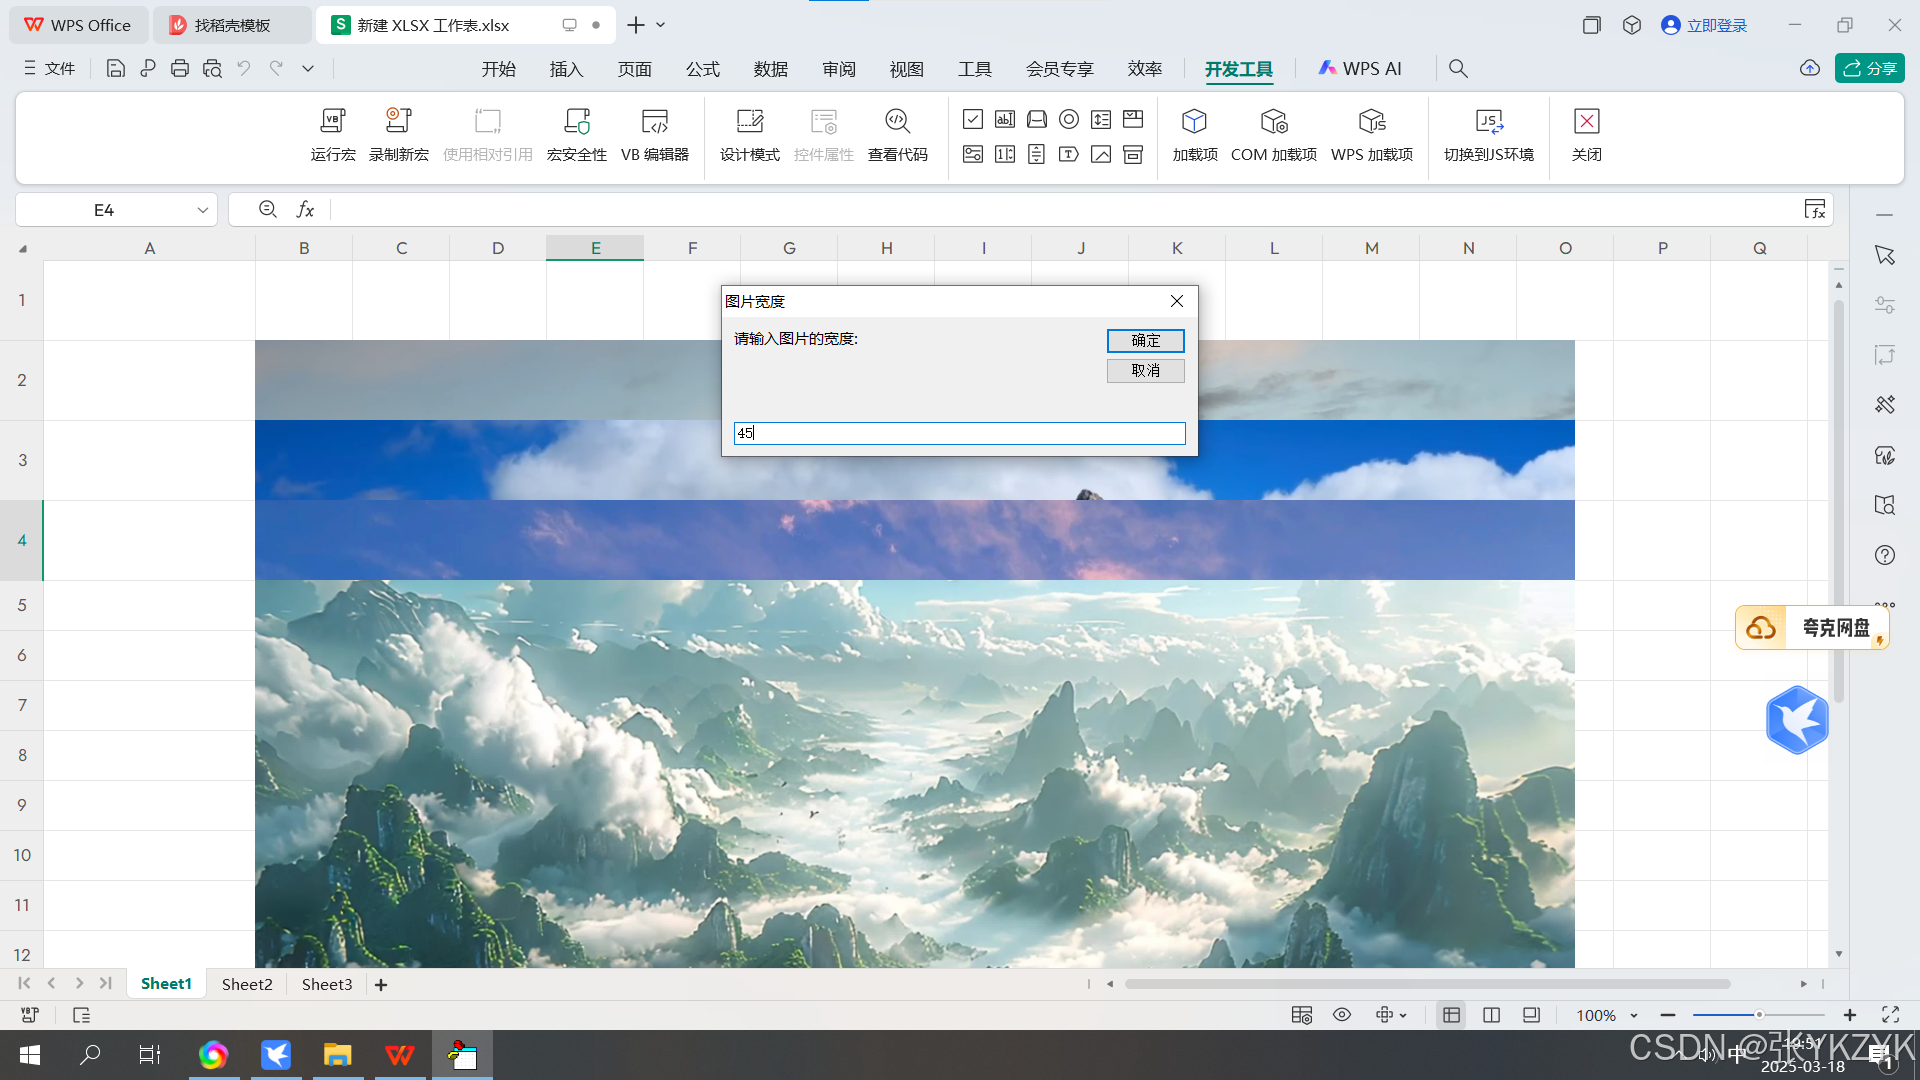
' 弹出输入框让用户输入图片的宽度和高度(用于统一调整所有图片的大小)
inputWidth = InputBox("请输入图片的宽度:", "图片宽度")
inputHeight = InputBox("请输入图片的高度:", "图片高度")
' 检查用户是否输入了有效的数值
If Not IsNumeric(inputWidth) Or Not IsNumeric(inputHeight) Then
MsgBox "请输入有效的数值。", vbExclamation
Exit Sub
End If
imgWidth = CDbl(inputWidth)
imgHeight = CDbl(inputHeight)
' 统一调整所有插入图片的大小,并调整单元格宽高
Dim picObj As Picture
rowCounter = startRow ' 重置行计数器以遍历已插入的图片
For Each picObj In pictureCollection
With picObj
.Width = imgWidth
.Height = imgHeight
End With
rowCounter = rowCounter + 1 ' 移动到下一行图片
Next picObj
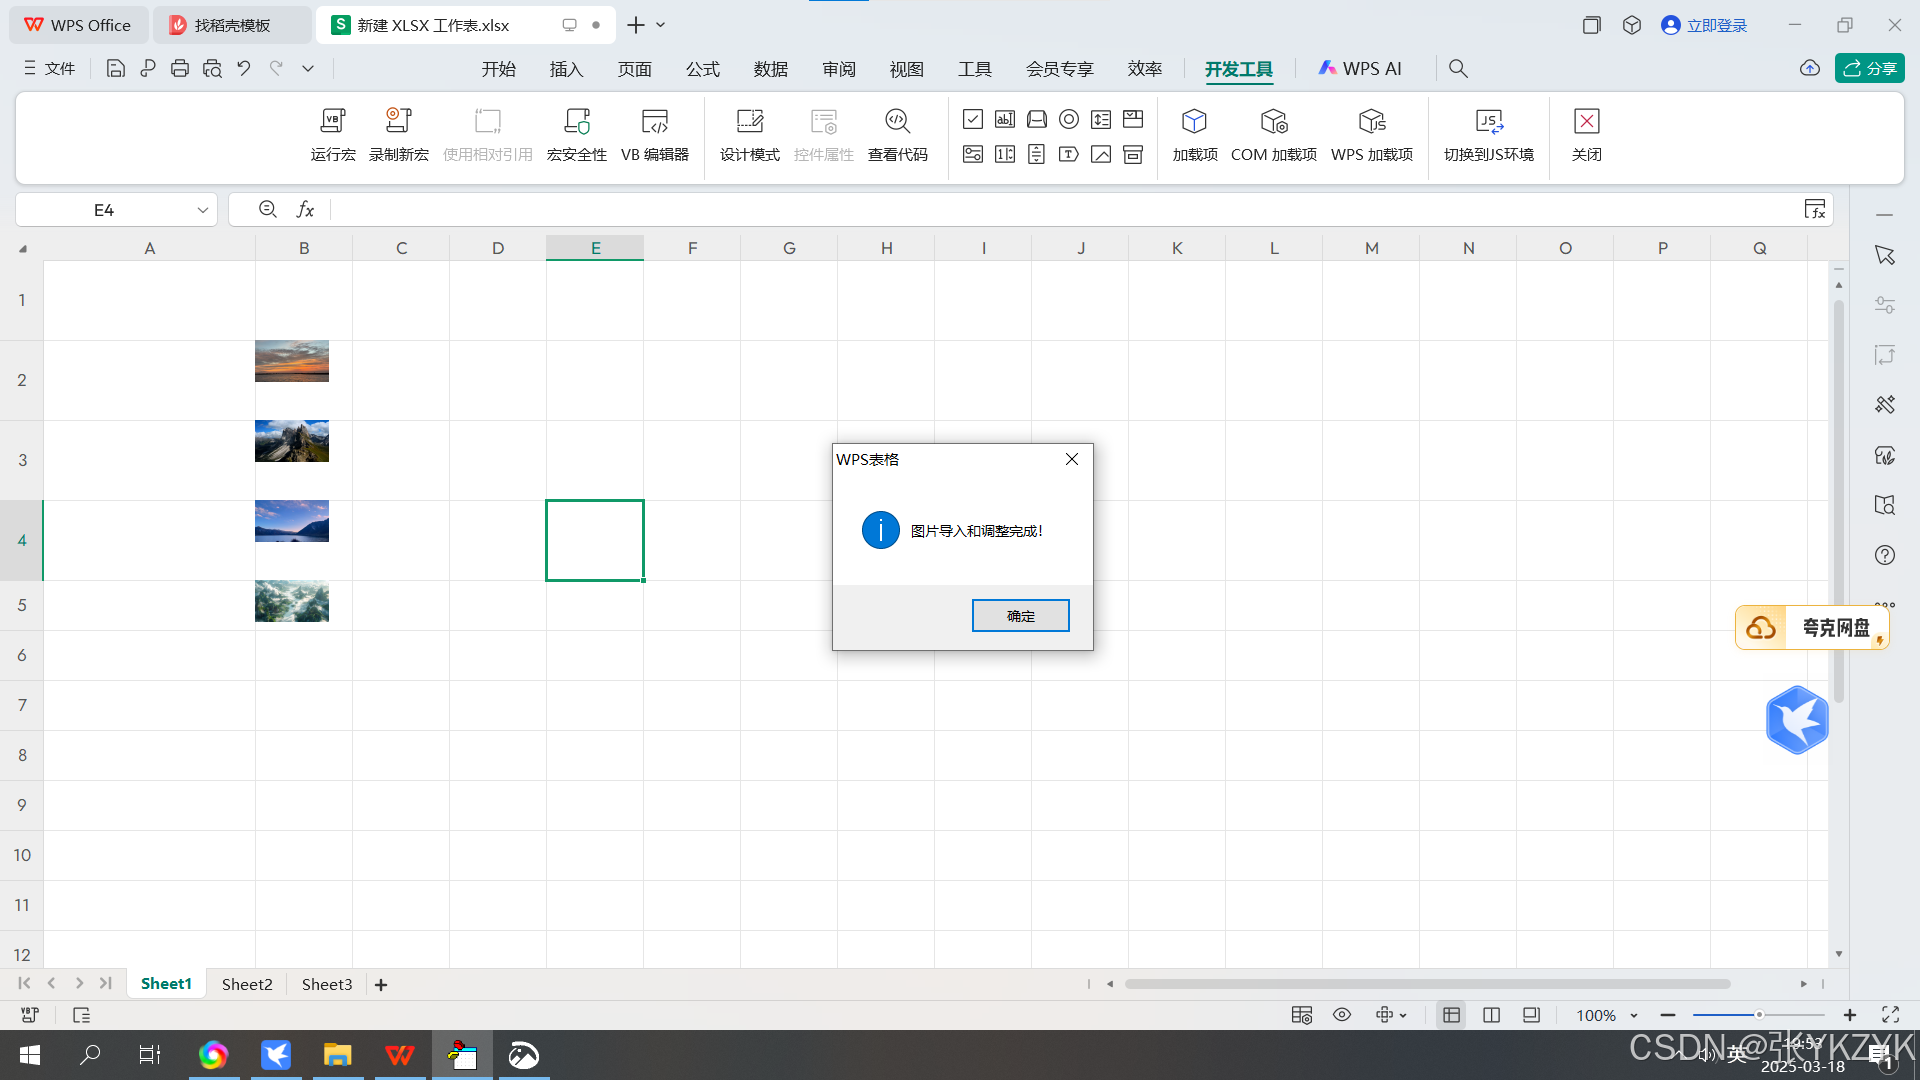
MsgBox "图片导入和调整完成!", vbInformation
End Sub
三、效果
1.选择指定文件夹
 2.选择起始单元格
 3.输入图片宽高
 4.插入完成


 2516
2516

 被折叠的 条评论
为什么被折叠?
被折叠的 条评论
为什么被折叠?
 到【灌水乐园】发言


