


最近在网上看到好多好看的效果都是用canvas做的,就去学习了一下,跟着b站上的博主一起学习。
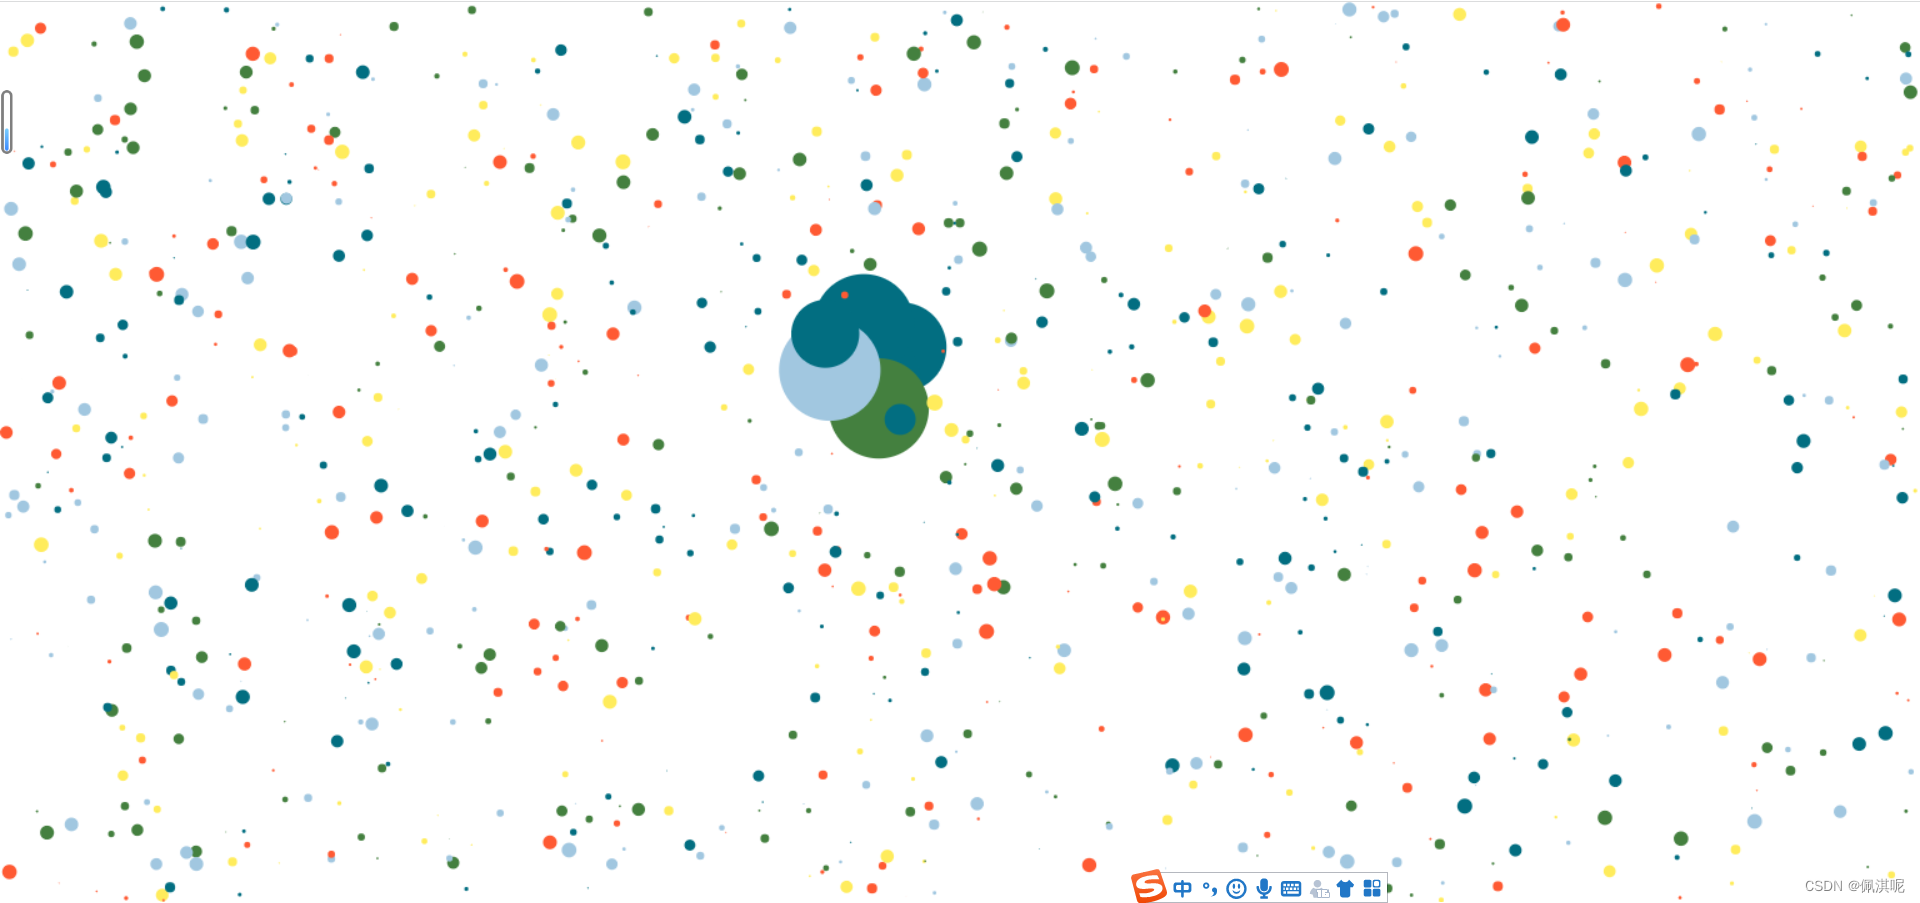
实现的效果如下:小球有一个运动的状态,并且鼠标移到哪儿,那儿的小球就会变大,并让其他小球恢复原本运动的状态和大小。
首先,我们分析一下这个案例中的几个主要点;
1.小球的动画如何实现
(1)调用了window下的requestAnimationFrame()方法。这个方法和setTimeout()方法类似,但是他比setTimeout()的性能更高,做出来的动画更加流畅,该方法需要传入一个回调函数作为参数,该回调函数会在浏览器下一次重绘之前执行。

所以在定义动画的函数中,传入的回调函数为自己,这样每次执行动画就会一直刷新。
(2)给小球在x轴和y轴上都设置一个速度,每次更新清除上一次绘制的路径,让他移动这个速度的大小
2.鼠标移入屏幕时,如何使小球变大
(1)定义一个对象,让鼠标的x,y等于这个对象的x,y
(2)设置鼠标移入时小球会变大的一个范围,只有在这个范围内的小球才会变大,而没有在这个范围内的小球就让他回复原来的状态
具体步骤如下:
1.在HTML里面创建一个canvas画布
<body>
    <canvas id="mycanvas"></canvas>
</body>
2.在js里获取canvas,并且将浏览器的宽高设置为画布的宽高
let canvas = document.getElementById('mycanvas');
    canvas.width = window.innerWidth;
    canvas.height = window.innerHeight;
    //创建画笔
    let ctx = canvas.getContext("2d");
3.画小球的时候要去设置小球的参数,包括小球的圆心坐标,半径,颜色,速度,还要判断小球移动的范围,不能让他超出屏幕,所以封装一个画小球的函数
function ball(x,y,dx,dy,r,color){
this.x = x; //圆心x轴
this.y= y; //圆心y轴
this.dx= dx; //x轴的速度
this.dy= dy; //y轴的速度
this.r= r; //圆半径
this.minr = r;
this.color= color;
//画小圆
this.draw=function(){
ctx.beginPath();
//小球左右移动不能跑出屏幕
if(this.x + this.r >canvas.width || this.x - this.r <0){
this.dx = -this.dx;
}
//小球上下移动不能跑出屏幕
if(this.y + this.r >canvas.height || this.y - this.r <0){
this.dy = -this.dy;
}
this.x +=this.dx;
this.y +=this.dy;
ctx.arc(this.x,this.y,this.r,0,2*Math.PI,false);
ctx.fillStyle = this.color;
ctx.fill();
}
}4.设置动画的函数,在每次画小球之前都要清除一次画布,不然画出来的小球是连续的。
function ani(){
        requestAnimationFrame(ani);
        ctx.clearRect(0,0,canvas.width,canvas.height);
        draw();
    }
ani();
5.获取鼠标的位置,让鼠标的位置等于当前canvas的位置
 let mouse ={
        x:canvas.width*2,
        y:canvas.height*2,
    }
    window.addEventListener('mousemove',function (e){
        mouse.x = e.clientX;
        mouse.y = e.clientY;
    })
6.判断鼠标移动时小球动的范围
  //鼠标移动范围
            if(mouse.x - this.x<50 && mouse.x - this.x>-50 && mouse.y - this.y<50 && mouse.y - this.y>-50){
                if(this.r < maxr){ //如果在范围内,让半径增大
                    this.r +=1;
                }
            }else{
                //如果没有这个范围,圆就变为原本的大小
                    this.r = this.minr;
            }
7.小球运动时要完全在屏幕内,则小球运动的范围是整个画布的大小减去小球的两个半径(左右两边,上下两边),也就是小球的位置必须大于等于小球的半径,这样小球才会完全在这个画布里面。
let arr = [];
    let colorArr = [
        '#FF5A33',
        '#44803F',
        '#A1C7E0',
        '#FFEC5C',
        '#026E81'
    ]
    for(let i=0;i<1000;i++){
        let r = Math.random()*6;
        let x = Math.random()*(canvas.width - r*2)+r;
        let y = Math.random()*(canvas.height - r*2)+r;
        let dx = (Math.random()-0.5)*2;
        let dy = (Math.random()-0.5)*2;
        let color = colorArr[Math.floor(Math.random()*5)];
        arr.push(new ball(x,y,dx,dy,r,color));
    }
8.最后遍历数组,实例化小球
function ani(){
        requestAnimationFrame(ani);
        ctx.clearRect(0,0,canvas.width,canvas.height);
       for(let b of arr){
           b.draw();
       }
    }
    ani();
完整代码:
<!DOCTYPE html>
<html lang="en">
<head>
<meta charset="UTF-8">
<title>弹跳小球</title>
</head>
<style>
*{
margin: 0;
padding: 0;
}
body{
overflow: hidden;
}
</style>
<body>
<canvas id="mycanvas"></canvas>
</body>
<script>
let canvas = document.getElementById('mycanvas');
canvas.width = window.innerWidth;
canvas.height = window.innerHeight;
//创建画笔
let ctx = canvas.getContext("2d");
//绘制圆
// let x = 10;
// ctx.arc(x,300,100,0,2*Math.PI,false);
// ctx.fillStyle = '#d09a9a';
// ctx.fill();
let maxr = 40;
let mouse ={
x:canvas.width*2,
y:canvas.height*2,
}
window.addEventListener('mousemove',function (e){
mouse.x = e.clientX;
mouse.y = e.clientY;
})
//封装圆
function ball(x,y,dx,dy,r,color){
this.x = x; //圆心x轴
this.y= y; //圆心y轴
this.dx= dx; //x轴的速度
this.dy= dy; //y轴的速度
this.r= r; //圆半径
this.minr = r;
this.color= color;
//画小圆
this.draw=function(){
ctx.beginPath();
//小球左右移动不能跑出屏幕
if(this.x + this.r >canvas.width || this.x - this.r <0){
this.dx = -this.dx;
}
//小球上下移动不能跑出屏幕
if(this.y + this.r >canvas.height || this.y - this.r <0){
this.dy = -this.dy;
}
//鼠标移动范围
if(mouse.x - this.x<50 && mouse.x - this.x>-50 && mouse.y - this.y<50 && mouse.y - this.y>-50){
if(this.r < maxr){ //如果在范围内,让半径增大
this.r +=1;
}
}else{
//如果没有这个范围,圆就变为原本的大小
this.r = this.minr;
}
this.x +=this.dx;
this.y +=this.dy;
ctx.arc(this.x,this.y,this.r,0,2*Math.PI,false);
ctx.fillStyle = this.color;
ctx.fill();
}
}
// let newball = new ball(300,300,10,10,50,'red');
let arr = [];
let colorArr = [
'#FF5A33',
'#44803F',
'#A1C7E0',
'#FFEC5C',
'#026E81'
]
for(let i=0;i<1000;i++){
let r = Math.random()*6;
let x = Math.random()*(canvas.width - r*2)+r;
let y = Math.random()*(canvas.height - r*2)+r;
let dx = (Math.random()-0.5)*2;
let dy = (Math.random()-0.5)*2;
let color = colorArr[Math.floor(Math.random()*5)];
arr.push(new ball(x,y,dx,dy,r,color));
}
//动画
function ani(){
requestAnimationFrame(ani);
ctx.clearRect(0,0,canvas.width,canvas.height);
for(let b of arr){
b.draw();
}
}
ani();
</script>
</html>本人小白一枚,有任何问题都可留言交流。


 1506
1506


 被折叠的 条评论
为什么被折叠?
被折叠的 条评论
为什么被折叠?
 到【灌水乐园】发言


