很香的 Docker
- 如果只是为了编译鸿蒙,初级的接触鸿蒙,
docker是很香的,从第一次接触docker就对它爱不释手, 脏活累活它干了,少了太多的麻烦.docker编译鸿蒙看编译环境篇就行了,L1和L2都编译通过了. - 如果要深入的了解鸿蒙,比如调试鸿蒙的代码或编译工具,就需要另辟蹊径了.
下图为调试编译工具hb 的过程,有了调试环境,鸿蒙很像光着屁屁的小孩,无限风光则尽收眼底.

调试之前的准备
个人喜欢做一劳永逸的事,如果有试过手动去安装鸿蒙开发环境,下载源码,确保编译成功其实是件非常麻烦的事情, 在虚拟机和WSL2上都跑通之后,发现其中的坑不少,这些坑本身没有技术含量,知道了也就知道了,但它们却跟牛皮癣一样,遇到了就不容易好老复发真烦人. 如何防止得牛皮癣的最好办法不是去治疗牛皮癣,而是不得牛皮癣,打上牛皮癣的疫苗. 这是本篇存在的意义,让整个过程简单,舒适,一气呵成.
Ubuntu 20.04 LTS
脚本获取方式: 1.直接下载 2.本篇内容 ctrl+c/v
turing@ubuntu: wget http://maniu.com/weharmony/L1/maniu.sh
turing@ubuntu: wget http://maniu.com/weharmony/L1/path.sh
两个脚本文件在 Ubuntu 20.04 LTS下运行没有问题, 推荐大家统一使用这个版本,尽量不要去折腾其他环境,真的,很容易遇到牛皮癣.
脚本1: sudo ./maniu.sh
#!/bin/bash
#使用版本: ubuntu:20.04
#1\. 安装脚本编译鸿蒙轻量级内核(L1/liteos)所需各种环境
#2\. 下载L1最新全量源码包 code-v1.1.1-LTS.tar.gz 至 /home/openharmony
#在脚本所在目录,执行以下命令即可
#turing@ubuntu:~$sudo ./maniu.sh

apt-get update -y
apt-get install curl wget -y
apt-get install vim -y
apt-get install ssh -y
apt-get install git -y
apt-get install python3.8 -y
apt-get install python3-pip -y
apt-get install dosfstools -y
apt-get install mtools -y
apt-get install scons -y
apt-get install make -y
apt-get install libffi-dev -y
apt-get install zip -y
apt-get install python3-distutils -y
apt-get install binutils -y
apt-get install mtd-utils -y
apt-get install libc6-dev-x32 -y
DEBIAN_FRONTEND="noninteractive" TZ="America/New_York" apt-get -y install tzdata
apt-get install default-jre -y
apt-get install default-jdk -y
apt-get install bison -y
apt-get install flex -y
apt-get install bc -y
apt-get install u-boot-tools -y
apt-get install gcc-arm-linux-gnueabi -y
apt-get install build-essential
apt-get install locales
locale-gen "en_US.UTF-8"
rm -rf /bin/sh /usr/bin/python /usr/bin/python3
ln -s /bin/bash /bin/sh
ln -s /usr/bin/python3.8 /usr/bin/python3
ln -s /usr/bin/python3.8 /usr/bin/python
pip3 install --trusted-host mirrors.aliyun.com -i https://mirrors.aliyun.com/pypi/simple setuptools
pip3 install --trusted-host mirrors.aliyun.com -i https://mirrors.aliyun.com/pypi/simple kconfiglib
pip3 install --trusted-host mirrors.aliyun.com -i http://mirrors.aliyun.com/pypi/simple pycryptodome
pip3 install --trusted-host mirrors.aliyun.com -i https://mirrors.aliyun.com/pypi/simple ecdsa
python3 -m pip install --user ohos-build

# 安装编译环境
mkdir -p /home/tools
wget -P /home/tools https://repo.huaweicloud.com/harmonyos/compiler/clang/9.0.0-36191/linux/llvm-linux-9.0.0-36191.tar
wget -P /home/tools https://repo.huaweicloud.com/harmonyos/compiler/hc-gen/0.65/linux/hc-gen-0.65-linux.tar
wget -P /home/tools https://repo.huaweicloud.com/harmonyos/compiler/gcc_riscv32/7.3.0/linux/gcc_riscv32-linux-7.3.0.tar.gz
wget -P /home/tools https://repo.huaweicloud.com/harmonyos/compiler/ninja/1.9.0/linux/ninja.1.9.0.tar
wget -P /home/tools https://repo.huaweicloud.com/harmonyos/compiler/gn/1717/linux/gn-linux-x86-1717.tar.gz
wget -P /home/tools https://mirrors.huaweicloud.com/nodejs/v12.20.0/node-v12.20.0-linux-x64.tar.gz
wget -P /home/tools https://repo.huaweicloud.com/harmonyos/develop_tools/hmos_app_packing_tool.jar
wget -P /home/tools https://repo.huaweicloud.com/harmonyos/develop_tools/hapsigntoolv2.jar
tar xvf /home/tools/llvm-linux-9.0.0-36191.tar -C /home/tools
tar xvf /home/tools/hc-gen-0.65-linux.tar -C /home/tools
tar xvf /home/tools/gcc_riscv32-linux-7.3.0.tar.gz -C /home/tools
tar xvf /home/tools/ninja.1.9.0.tar -C /home/tools
tar xvf /home/tools/gn-linux-x86-1717.tar.gz -C /home/tools
tar xvf /home/tools/node-v12.20.0-linux-x64.tar.gz -C /home/tools

#删除下载的压缩包
rm -rf /home/tools/*.tar
rm -rf /home/tools/*.gz
#安装ohos/hpm-cli
npm install -g @ohos/hpm-cli --registry https://mirrors.huaweicloud.com/repository/npm/
说明:
- 新环境系统包若没更新过 在 apt-get update -y 阶段会耗时较久
- 这里拼网速,网速好的情况下一般不会卡壳.
脚本2: ./path.sh
注意执行这个脚本不要用 sudo
turing@ubuntu:~$./path.sh
如果出现 bash: ./path.sh: Permission denied 加上用户执行脚本的权限后再执行
turing@ubuntu:~$sudo chmod a+x ./path.sh
脚本内容:
#!/bin/bash

#使用版本: ubuntu:20.04
#本脚本用于设置用户的环境变量,在 ./maniu.sh 执行成功后执行
#在脚本所在目录,执行以下命令即可,注意不要用 sudo
#turing@ubuntu:~$./path.sh

# 下载源码包,目前鸿蒙轻量级内核最新源码包为code-v1.1.1-LTS.tar.gz,后续有更新请自行替换
mkdir -p /home/openharmony
wget -P /home/openharmony https://repo.huaweicloud.com/harmonyos/os/1.1.1/code-v1.1.1-LTS.tar.gz
tar xvf /home/openharmony/code-v1.1.1-LTS.tar.gz -C /home/openharmony

sed -i '$aexport PATH=/home/tools/llvm/bin:$PATH' ~/.bashrc
sed -i '$aexport PATH=/home/tools/hc-gen:$PATH' ~/.bashrc
sed -i '$aexport PATH=/home/tools/gcc_riscv32/bin:$PATH' ~/.bashrc
sed -i '$aexport PATH=/home/tools/ninja:$PATH' ~/.bashrc
sed -i '$aexport PATH=/home/tools/node-v12.20.0-linux-x64/bin:$PATH' ~/.bashrc
sed -i '$aexport PATH=/home/tools:$PATH' ~/.bashrc
sed -i '$aexport PATH=~/.local/bin:$PATH' ~/.bashrc
export PATH=/home/tools/llvm/bin:$PATH
export PATH=/home/tools/hc-gen:$PATH
export PATH=/home/tools/gcc_riscv32/bin:$PATH
export PATH=/home/tools/ninja:$PATH
export PATH=/home/tools/node-v12.20.0-linux-x64/bin:$PATH
export PATH=/home/tools:$PATH
export PATH=~/.local/bin:$PATH
source ~/.bashrc

#输入 hb 或 gn 验证是否成功
#turing@ubuntu:~$ hb
#usage: hb [-h] [-v] {build,set,env,clean,deps} ...
#OHOS Build System version 0.4.2
说明:
- 下载源码包并解压在 /home/openharmony 目录下
- 很方便看出鸿蒙需要配置哪些环境变量.
- 如果验证失败可以去
~/.bashrc看下是否环境变量写入成功
编译鸿蒙轻量版(L0~L1/LiteOS)
hb set
turing@ubuntu:/home/openharmony/code-v1.1.1-LTS$# hb set
[OHOS INFO] Input code path: .
OHOS Which product do you need?  (Use arrow keys)

hisilicon
❯ ipcamera_hispark_aries
wifiiot_hispark_pegasus
ipcamera_hispark_taurus
- 目的是设置编译路径,会在根目录下生成
ohos_config.json文件
      {
      "root_path": "/home/openharmony/code-v1.1.1-LTS",
      "board": "hispark_aries",
      "kernel": "liteos_a",
      "product": "ipcamera_hispark_aries",
      "product_path": "/home/openharmony/code-v1.1.1-LTS/vendor/hisilicon/hispark_aries",
      "device_path": "/home/openharmony/code-v1.1.1-LTS/device/hisilicon/hispark_aries/sdk_liteos",
      "patch_cache": null
      }
- 有了这些路径就为后续的编译过程铺好了路.
hb build 一气呵成
turing@ubuntu:/home/openharmony/code-v1.1.1-LTS$# hb build

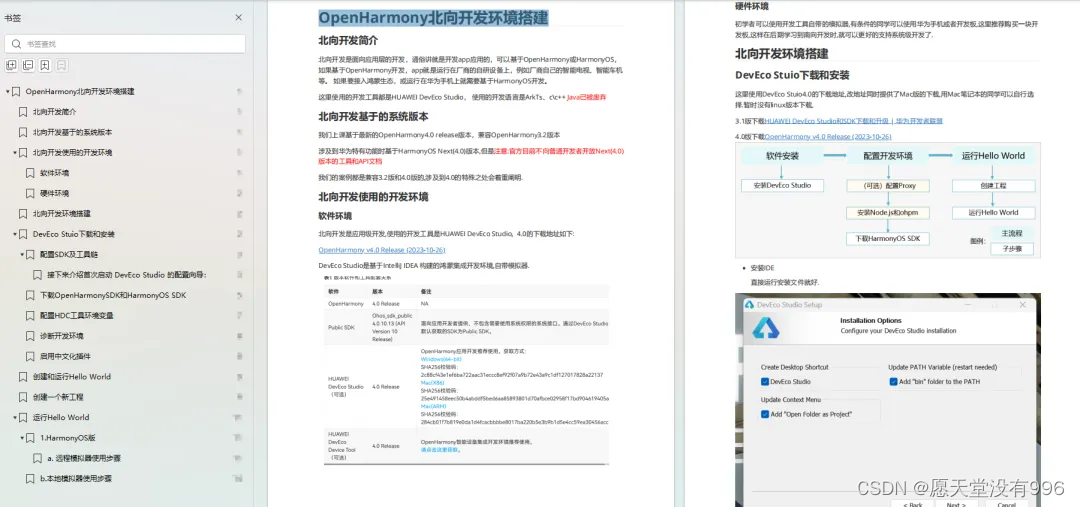
如果想更深入的学习 OpenHarmony (鸿蒙南向)全栈开发的内容,可以参考以下学习文档:
OpenHarmony 开发环境搭建:https://qr18.cn/CgxrRy

《OpenHarmony源码解析》:https://qr18.cn/CgxrRy
- 搭建开发环境
- Windows 开发环境的搭建
- Ubuntu 开发环境搭建
- Linux 与 Windows 之间的文件共享
- ……

系统架构分析:https://qr18.cn/CgxrRy
- 构建子系统
- 启动流程
- 子系统
- 分布式任务调度子系统
- 分布式通信子系统
- 驱动子系统
- ……

OpenHarmony 设备开发学习手册:https://qr18.cn/CgxrRy

OpenHarmony面试题(内含参考答案):https://qr18.cn/CgxrRy

写在最后
- 如果你觉得这篇内容对你还蛮有帮助,我想邀请你帮我三个小忙:
- 点赞,转发,有你们的 『点赞和评论』,才是我创造的动力。
- 关注小编,同时可以期待后续文章ing🚀,不定期分享原创知识。
- 想要获取更多完整鸿蒙最新学习资源,请移步前往小编:
https://gitee.com/MNxiaona/733GH


 被折叠的 条评论
为什么被折叠?


