


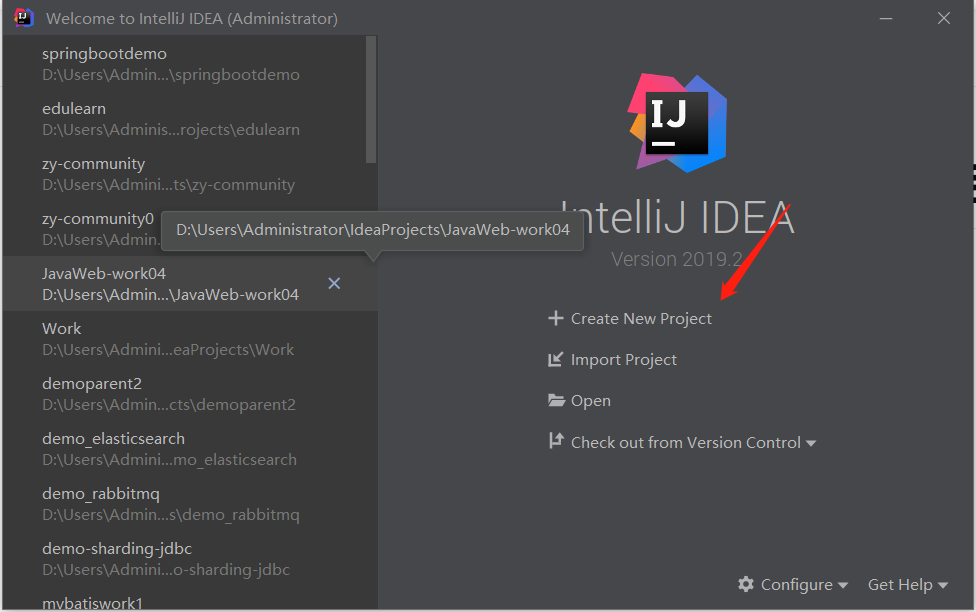
一、创建项目

(注意选择jdk版本)!!!
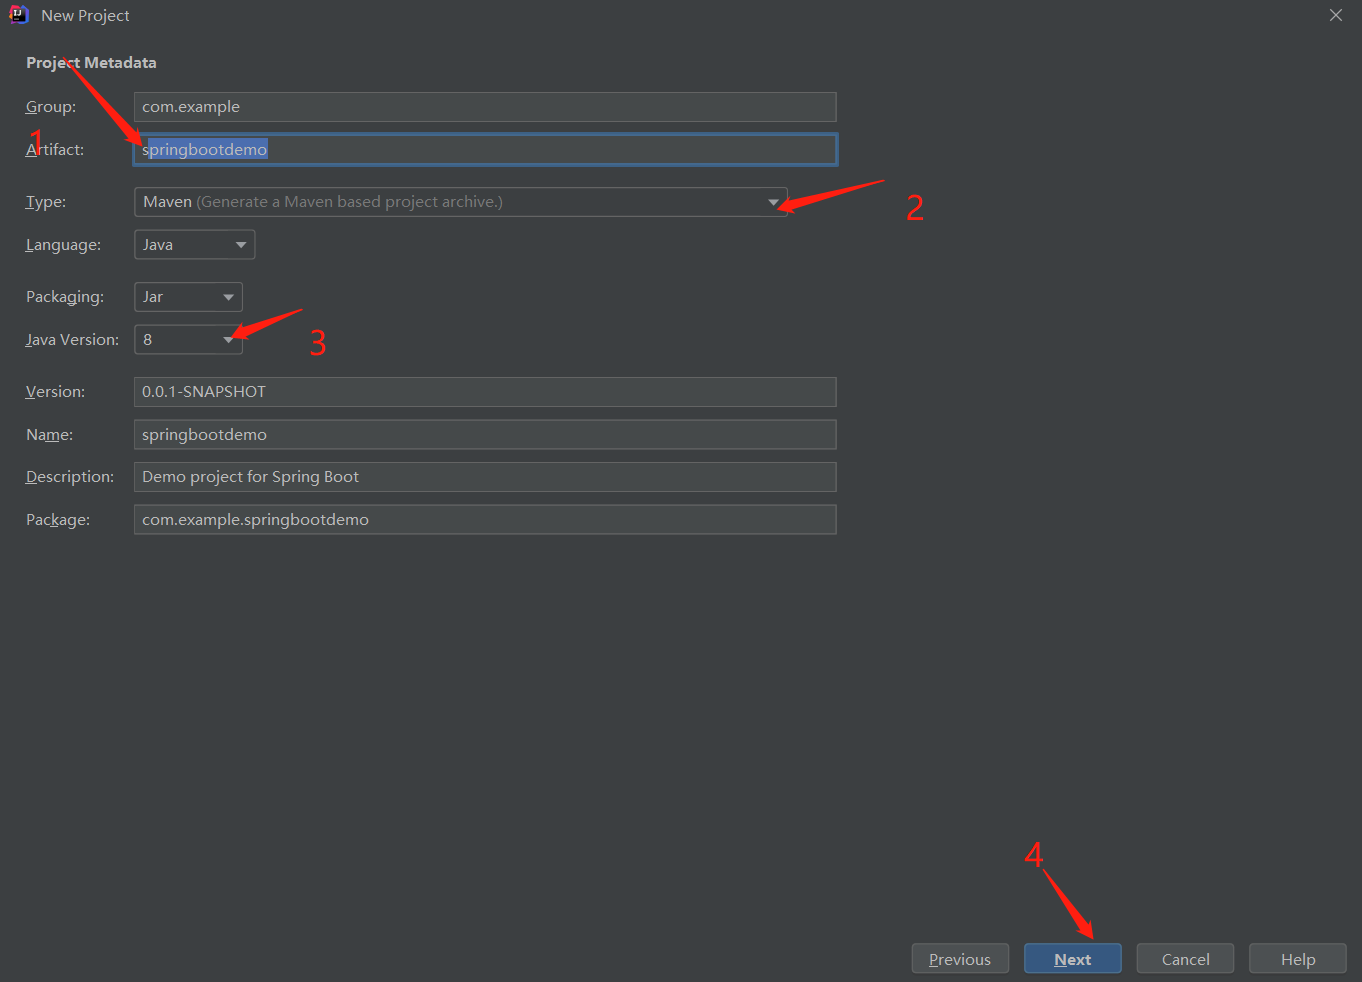
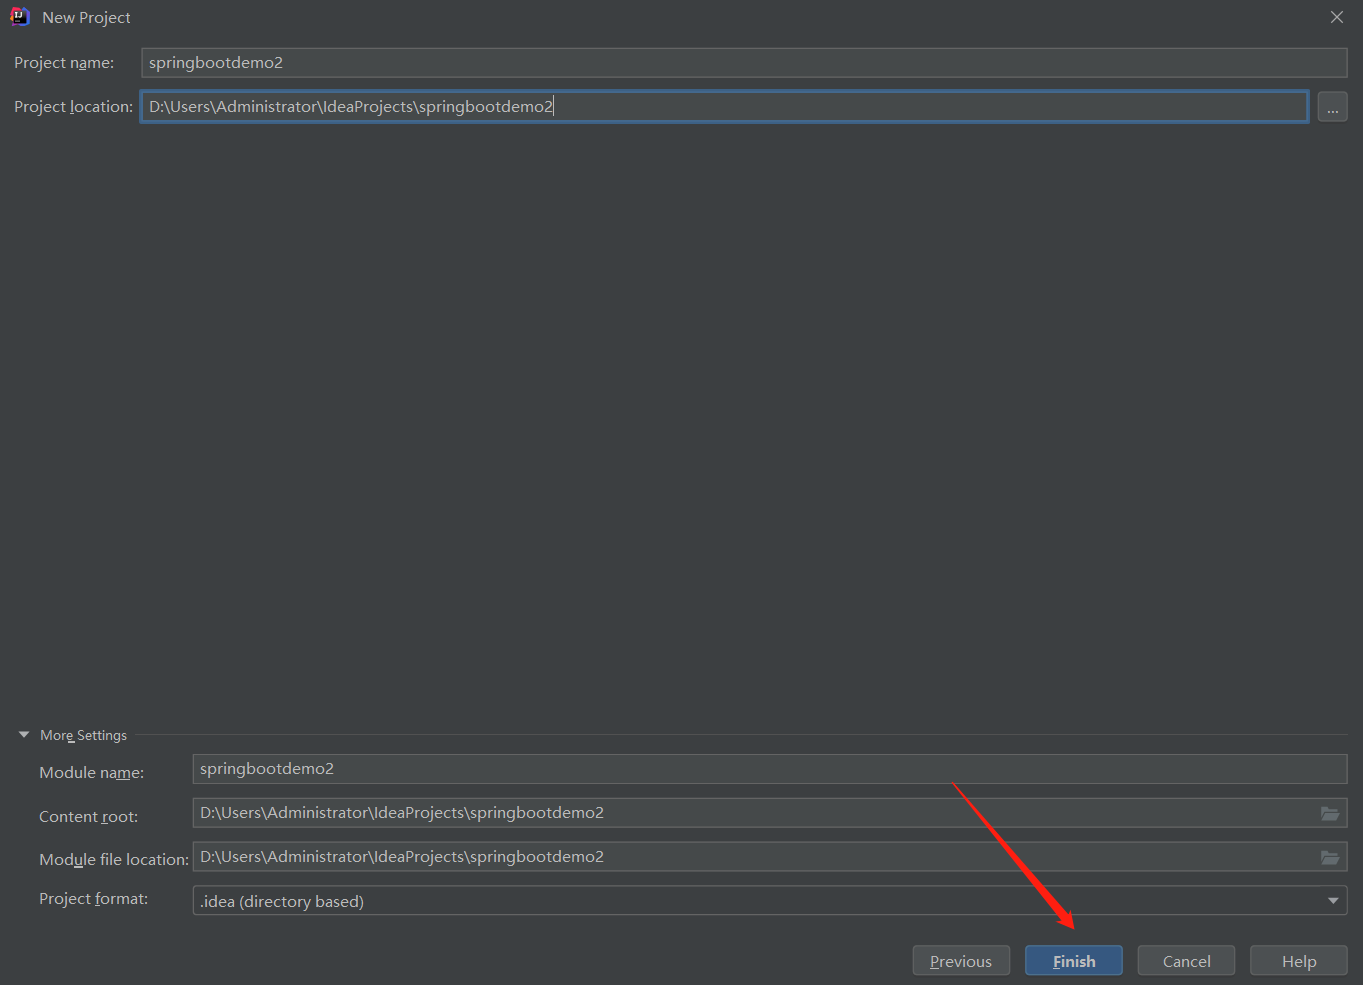
修改项目名
选择创建类型Idea创建项目Maven 和Maven Pom的区别 https://blog.csdn.net/ailifang/article/details/114667553
jdk版本

选择依赖
lombok 引入依赖之后,我们就可以使用lombok的注解啦!!
spring-web 提供核心的HTTP集成,包括一些方便的Servlet过滤器,Spring HTTP
Invoker,与其他Web框架和HTTP技术(例如Hessian,Burlap)集成的基础结构,spring-web的依赖:
序列化技术 protobuf,gson,hession,
http 工具 httpclient,okhttp
netty 依赖
spring 框架依赖 spring-aop,spring-beans,spring-context,spring-core,spring-oxm
servlet 依赖 javax.servlet-api
myBatis Framework https://blog.csdn.net/mt521/article/details/121792747
MySql Deiver 数据库驱动

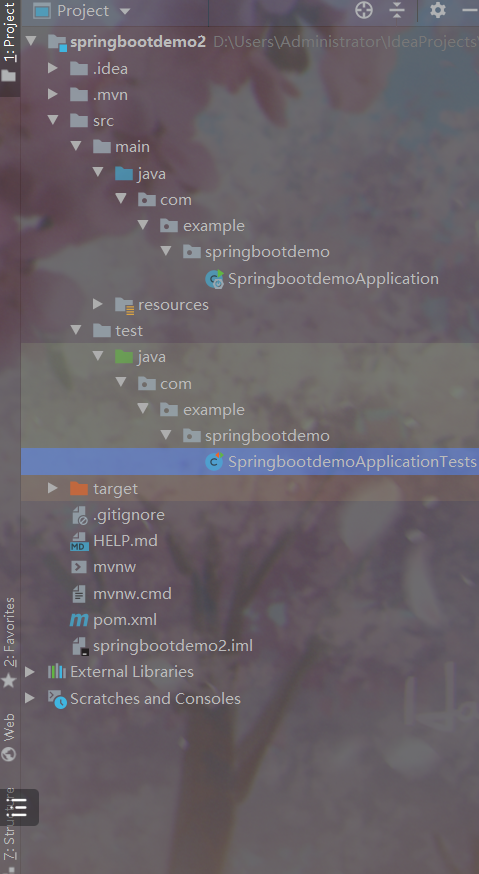
springboot默认 static中放静态页面,而templates中放动态页面 我们搭建前后端分离不需要这两个目录直接删除就行
在把application后缀改为yml

这边的springboot版本我修改为了2.1.6.RELEASE 不同的版本之间会有不同的错误需要修改
mysql-connector-j这边idea更我们生成的有问题 mybatis我这边修改为了mtbatis-plus
<?xml version="1.0" encoding="UTF-8"?>
<project xmlns="http://maven.apache.org/POM/4.0.0" xmlns:xsi="http://www.w3.org/2001/XMLSchema-instance"
         xsi:schemaLocation="http://maven.apache.org/POM/4.0.0 https://maven.apache.org/xsd/maven-4.0.0.xsd">
    <modelVersion>4.0.0</modelVersion>
    <parent>
        <groupId>org.springframework.boot</groupId>
        <artifactId>spring-boot-starter-parent</artifactId>
        <version>2.1.6.RELEASE</version>
        <relativePath/> <!-- lookup parent from repository -->
    </parent>
    <groupId>com.example</groupId>
    <artifactId>springbootdemo</artifactId>
    <version>0.0.1-SNAPSHOT</version>
    <name>springbootdemo</name>
    <description>Demo project for Spring Boot</description>
    <properties>
        <java.version>1.8</java.version>
    </properties>
    <dependencies>
        <dependency>
            <groupId>org.springframework.boot</groupId>
            <artifactId>spring-boot-starter-web</artifactId>
        </dependency>
        <dependency>
            <groupId>org.mybatis.spring.boot</groupId>
            <artifactId>mybatis-spring-boot-starter</artifactId>
            <version>2.3.0</version>
        </dependency>

        <dependency>
            <groupId>mysql</groupId>
            <artifactId>mysql-connector-java</artifactId>
            <scope>runtime</scope>
        </dependency>
        <dependency>
            <groupId>org.projectlombok</groupId>
            <artifactId>lombok</artifactId>
            <optional>true</optional>
        </dependency>
        <dependency>
            <groupId>org.springframework.boot</groupId>
            <artifactId>spring-boot-starter-test</artifactId>
            <scope>test</scope>
        </dependency>
    </dependencies>

    <build>
        <plugins>
            <plugin>
                <groupId>org.springframework.boot</groupId>
                <artifactId>spring-boot-maven-plugin</artifactId>
                <configuration>
                    <excludes>
                        <exclude>
                            <groupId>org.projectlombok</groupId>
                            <artifactId>lombok</artifactId>
                        </exclude>
                    </excludes>
                </configuration>
            </plugin>
        </plugins>
    </build>

</project>
单元测试目前不需要可以删除
二、连接数据库
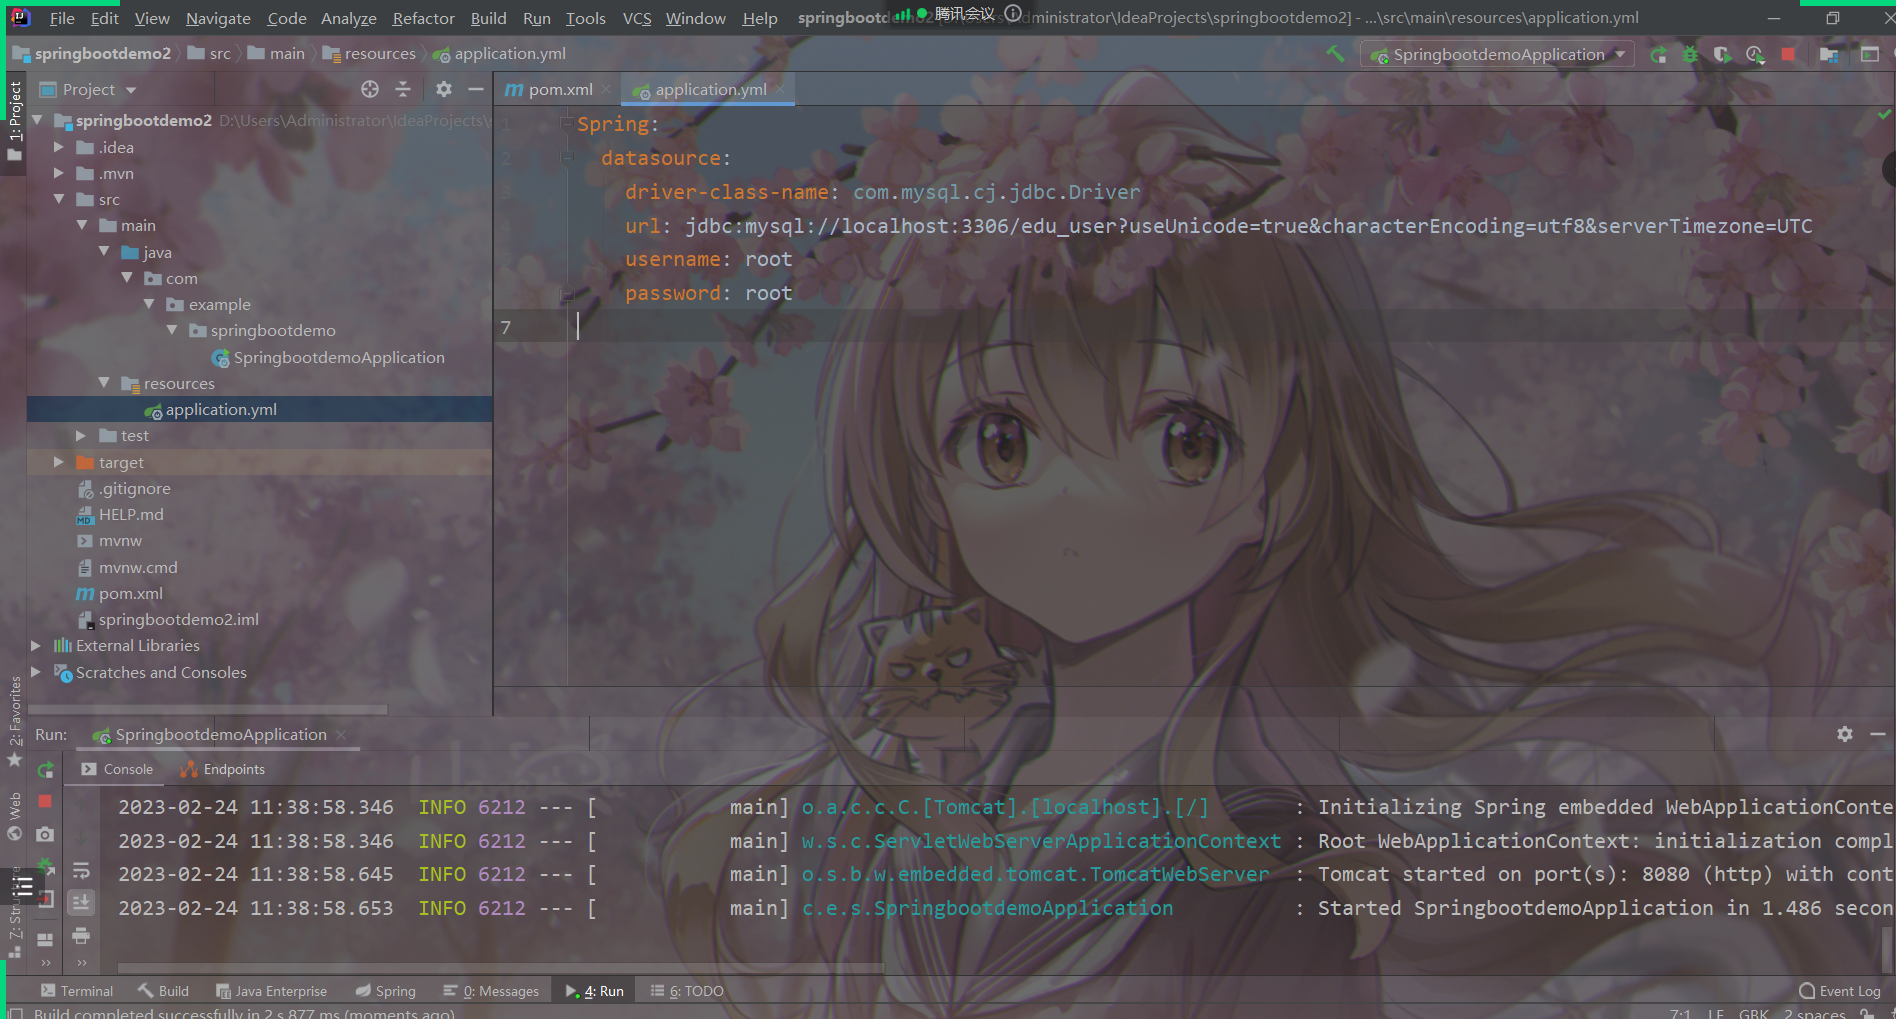
yml中配置数据库连接就可以启动springboot项目了
不同的数据库名和端口号名需要修改
Spring:
  datasource:
    driver-class-name: com.mysql.cj.jdbc.Driver
    url: jdbc:mysql://localhost:3306/edu_user?useUnicode=true&characterEncoding=utf8&serverTimezone=UTC
    username: root
    password: root
连接数据库

输入端口号、数据库、账号、密码以及要连接的数据库名
配置时区,在测试一下出现绿色的勾就连接成功了,记得点击应用!!!
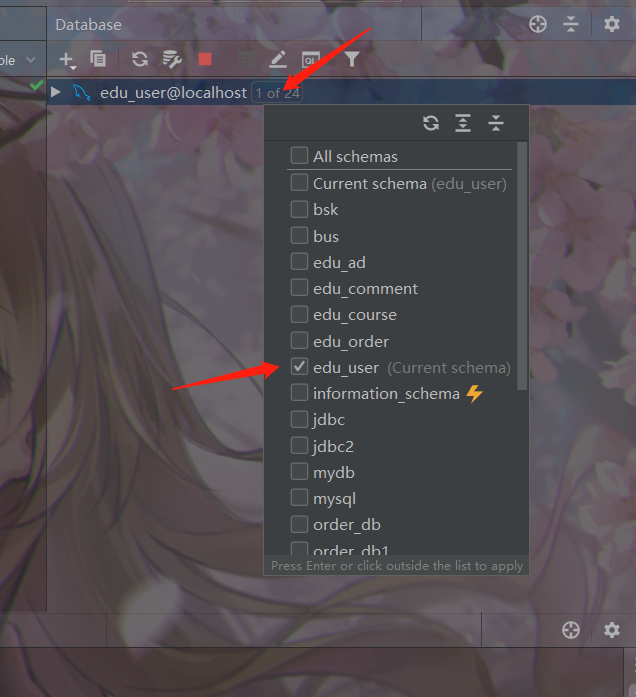
在点击我们要连接的数据库,这样我们的数据库就连接好了
我们使用MybatisX-Generator和EasyCode 来创建我们的MVC架构以及实体类


修改创建路径
修改创建后放的位置
修改实体类的目录名

看着勾选 这边template使用的是mybatis-plus
记得刷新不然会创建到上一次生成的位置

使用easycode生成controller层
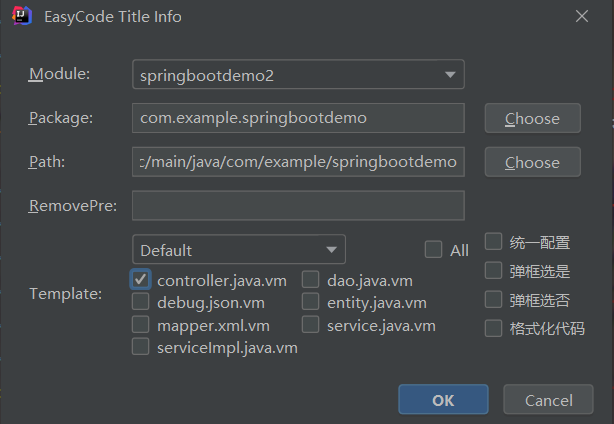
修改为当前的路径
单击controller 只生成controller层

删除不需要的方法
以及导包
在启动类上加上@mapperScan主机配置mapper层的位置
package com.example.springbootdemo;

import org.mybatis.spring.annotation.MapperScan;
import org.springframework.boot.SpringApplication;
import org.springframework.boot.autoconfigure.SpringBootApplication;

@SpringBootApplication
@MapperScan("com.example.springbootdemo.mapper")
public class SpringbootdemoApplication {

    public static void main(String[] args) {
        SpringApplication.run(SpringbootdemoApplication.class, args);
    }

}

在每个mapper加上@Repository注解交给spring容器管理
这样springboot项目就搭建成功了


 1412
1412


 被折叠的 条评论
为什么被折叠?
被折叠的 条评论
为什么被折叠?
 到【灌水乐园】发言


