


今天来给大家讲一下,如何在微信小程序中增加智能对话AI小助手。
相信许多计算机科学、物联网工程专业、电子信息专业的小伙伴都在学习或者做毕业设计的过程中都接触过微信小程序吧。微信小程序作为一种无需下载安装即可使用的应用形态,正深度融入人们的日常生活。它依托微信平台运行,用户通过搜索、扫码、好友分享等方式就能快速打开,极大降低了使用门槛。 从功能上看,小程序涵盖了生活服务、电商购物、娱乐休闲等多个领域。例如,“滴滴出行”小程序可直接在微信内叫车,“美团外卖”小程序能快速下单点餐,省去了安装独立APP的步骤;在旅游场景中,景区官方小程序还能提供语音导览、在线购票等服务,让出行更便捷。
而微信小程序在毕业设计方面作为移动端也是首选,开发成本低、开发简单、程序的界面设计和操作方式与原生应用相似,具有良好的交互性和流畅性。它能够根据手机屏幕大小自动适配,提供一致的用户体验。我在之前介绍了STM32+ESP8266+微信小程序的项目。相信大家也在网上见到不少类似的项目了哈,但是为了增加毕业设计或者其他项目的创新性和独特性,何不将自己开发的小程序与AI结合呢,而智能小助手/智能客服就是一个很好的应用。
在此,我给大家介绍一下我自己在微信开发者工具中开发的智能小助手的设计,我所使用的大模型是阿里云的通义千问。
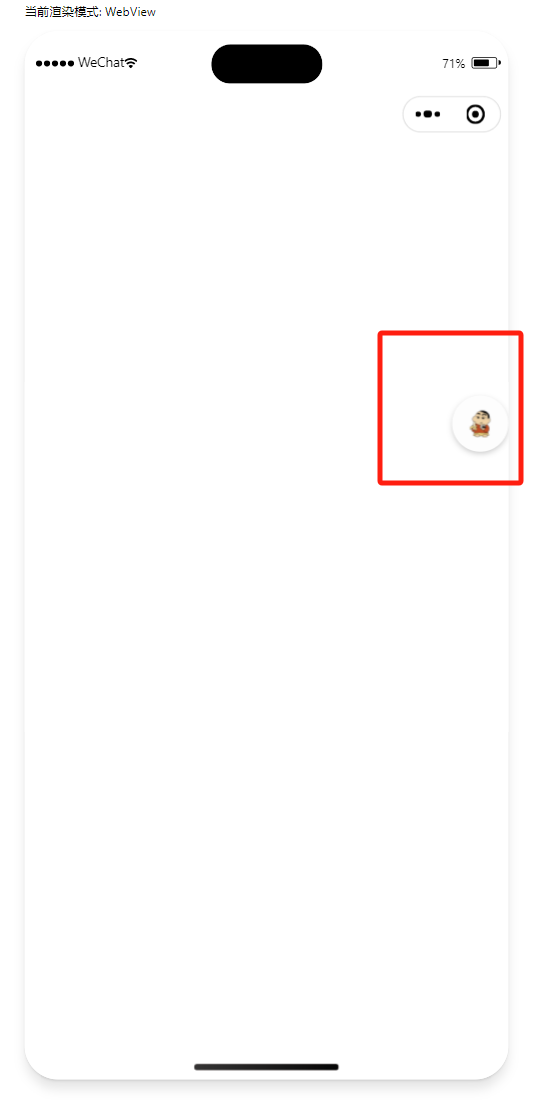
如上图,悬浮窗
点击悬浮窗进入到AI对话:
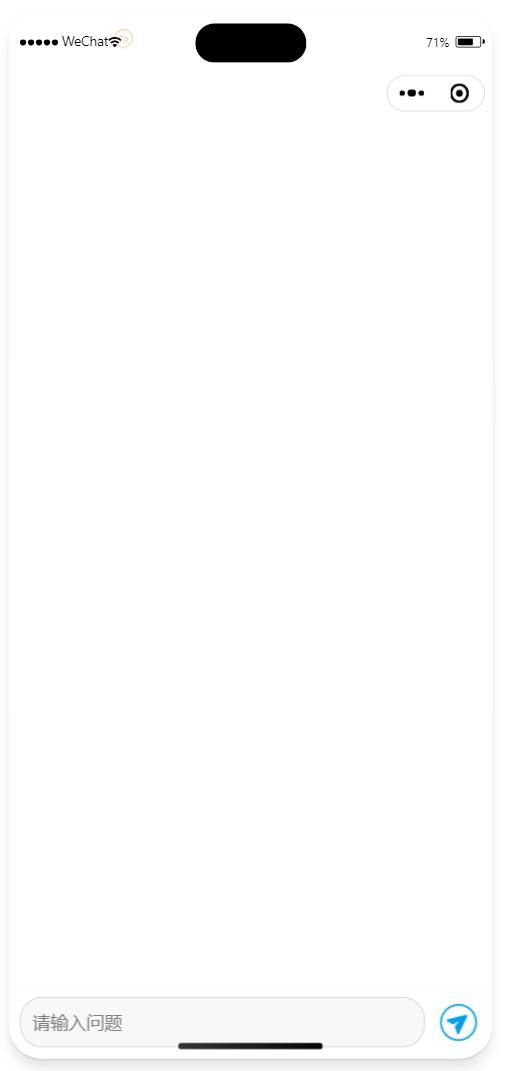
接下来向他提问问题:
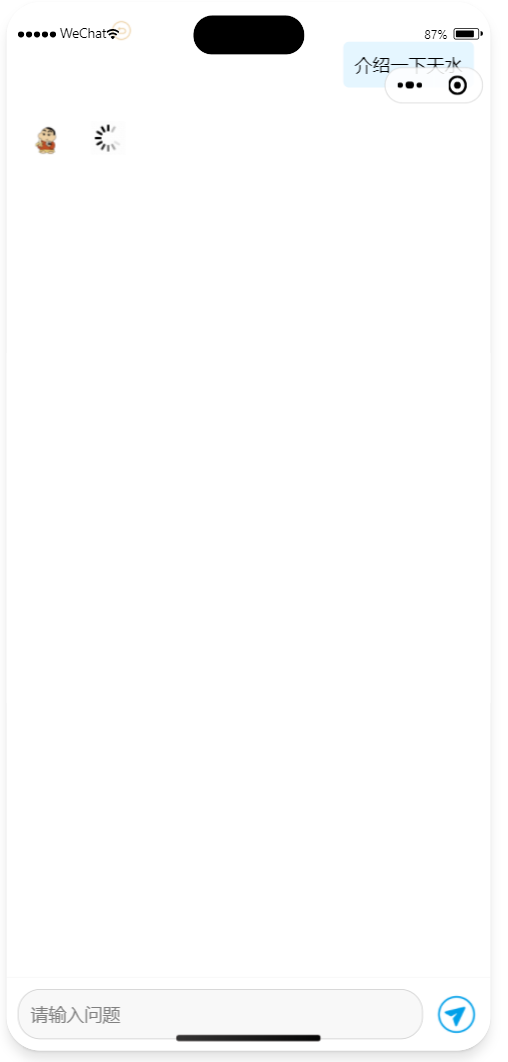
等待回答中:
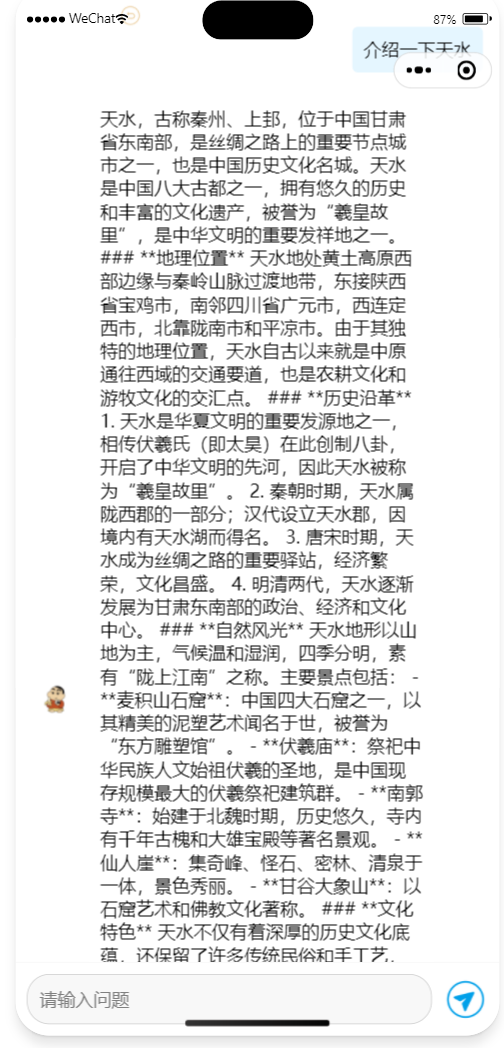
以上就是基本的演示了,接下来,我来讲一下大概的框架:
主要涉及 index.wxml(结构)、index.wxss(样式)以及 index.js(逻辑)文件。
程序如下所示:
Page({
  data: {
      inputValue: '',
      messages: [],
      isDialogVisible: false,
      floatingWindowX: 0,
      floatingWindowY: 0,
      startX: 0,
      startY: 0,
      isLoading: false
  },
  onLoad() {
      wx.getSystemInfo({
          success: (res) => {
              this.setData({
                  floatingWindowX: res.windowWidth - 70,
                  floatingWindowY: res.windowHeight - 70
              });
          }
      });
  },
  inputChange(e) {
      this.setData({
          inputValue: e.detail.value
      });
  },
  async sendMessage() {
      const inputValue = this.data.inputValue;
      if (!inputValue) return;

      const newMessages = [...this.data.messages, { role: 'user', content: inputValue }, { role: 'assistant', content: 'loading' }];
      this.setData({
          messages: newMessages,
          inputValue: '',
          isLoading: true
      });

      try {
          const response = await this.callTongyiQianwen(inputValue);
          const newMessagesWithoutLoading = newMessages.slice(0, -1);
          const botMessage = { role: 'assistant', content: response };
          this.setData({
              messages: [...newMessagesWithoutLoading, botMessage],
              isLoading: false
          });
      } catch (error) {
          console.error('请求出错:', error);
          const newMessagesWithoutLoading = newMessages.slice(0, -1);
          const errorMessage = { role: 'assistant', content: '请求出错,请稍后再试' };
          this.setData({
              messages: [...newMessagesWithoutLoading, errorMessage],
              isLoading: false
          });
      }
  },
.........
逻辑部分就主要包括数据绑定、事件处理、生命周期函数等几个关键方面,也不是很难哈。
其他的结构和样式程序如下:
<!-- 悬浮窗 -->
<view class="floating-window" style="left: {{floatingWindowX}}px; top: {{floatingWindowY}}px;" bindtouchstart="touchStart" bindtouchmove="touchMove" bindtouchend="touchEnd" bindtap="toggleDialog">
    <image src="../../img/hello.png" mode="aspectFit"></image>
</view>
<!-- 对话框 -->
<view class="dialog-container" wx:if="{{isDialogVisible}}">
    <view class="dialog-header">
        <button class="close-button" bindtap="closeDialog">
            <image src="../../img/back (1).png" mode="aspectFit"></image>
        </button>
    </view>
    <view class="dialog-messages">
        <block wx:for="{{messages}}" wx:key="*this">
            <view class="message-item">
                <block wx:if="{{item.role === 'assistant'}}">
                    <image class="bot-avatar" src="../../img/IP.png" mode="aspectFit"></image>
                </block>
                <view class="{{item.role === 'user' ? 'user-message' : 'bot-message'}}">
                    <block wx:if="{{item.content!='loading'}}">
                        {{item.content}}
                    </block>
                    <block wx:else>
                        <image src="../../img/loading.gif" mode="aspectFit"></image>
                    </block>
                </view>
            </view>
        </block>
    </view>
    <view class="input-container">
        <input type="text" placeholder="请输入问题" bindinput="inputChange" value="{{inputValue}}" class="search-input"/>
        <button class="send-button" bindtap="sendMessage">
            <image src="../../img/send.png" mode="aspectFit"></image>
        </button>
    </view>
</view>
.floating-window {
  position: fixed;
  width: 50px;
  height: 50px;
  background-color: #fdfdfd;
  border-radius: 50%;
  display: flex;
  justify-content: center;
  align-items: center;
  box-shadow: 0 2px 5px rgba(0, 0, 0, 0.2);
  z-index: 999;
}

.floating-window image {
  width: 30px;
  height: 30px;
}

.dialog-container {
  position: fixed;
  top: 0;
  left: 0;
  width: 100%;
  height: 100%;
  background-color: white;
  z-index: 999;
  display: flex;
  flex-direction: column;
}

.dialog-header {
  padding: 10px;
  position: relative;
  z-index: 1000;
}

.close-button {
  position: absolute;
  top: 10px;
  left: 10px;
  width: 30px;
  height: 30px;
  background-color: transparent;
  border: none;
  border-radius: 50%;
  display: flex;
  justify-content: center;
  align-items: center;
  padding: 0;
  z-index: 1001;
}

.close-button image {
  width: 20px;
  height: 20px;
}

.dialog-messages {
  flex: 1;
  padding: 10px;
  overflow-y: auto;
  position: relative;
}

.message-item {
  display: flex;
  align-items: center;
  margin-bottom: 10px;
}

.bot-avatar {
  width: 30px;
  height: 30px;
  border-radius: 50%;
  margin: 0 10px;
}

.user-message {
  text-align: right;
  background-color: #e5f6ff;
  padding: 10px;
  border-radius: 5px;
  margin: 5px;
  max-width: 70%;
  word-wrap: break-word;
  margin-left: auto;
}

.bot-message {
  text-align: left;
  background-color: #ffffff;
  padding: 10px;
  border-radius: 5px;
  margin: 5px;
  max-width: 70%;
  word-wrap: break-word;
}

.dialog-messages .bot-message image {
  width: 30px;
  height: 30px;
}

.input-container {
  display: flex;
  padding: 10px;
  align-items: center;
  background-color: rgb(255, 255, 255);
  border-top: 1px solid rgb(245, 245, 245);
}

.search-input {
  flex: 1;
  padding: 10px;
  border: 1px solid #ccc;
  border-radius: 20px;
  outline: none;
  background-color: #f8f8f8;
  margin-right: 10px;
}

/* 增加选择器特异性 */
view.input-container button.send-button {
  width: 40px;
  height: 40px;
  min-width: 30px;
  min-height: 40px;
  background-color: #ffffff;
  border: none;
  border-radius: 5px;
  display: flex;
  justify-content: center;
  align-items: center;
  padding: 0;
}

.send-button image {
  width: 40px;
  height: 40px;
}
以上就是全部程序了。喜欢的可以点点赞或者私信我哦。


 326
326

 被折叠的 条评论
为什么被折叠?
被折叠的 条评论
为什么被折叠?
 到【灌水乐园】发言


