


文章目录
关于登录-生成验证码图片校验功能
后端生成验证码功能
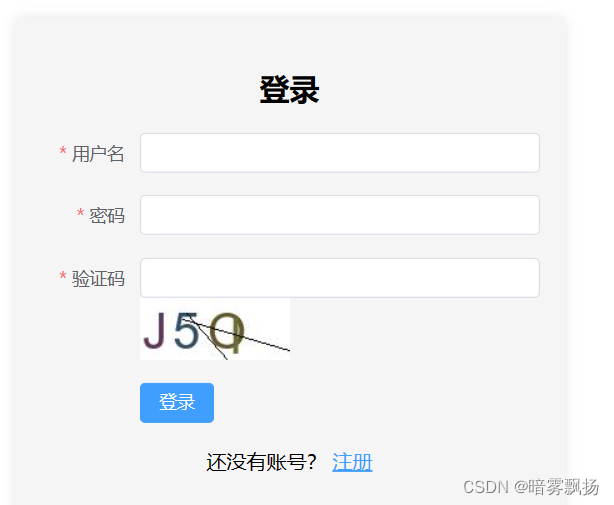
1.1效果图:
1.2随机颜色函数
# 随机颜色函数
    def randColor(self):
        return (random.randint(32, 127), random.randint(32, 127), random.randint(32, 127))
1.3生成4位验证码
# 生成4位验证码函数
    def geneText(self):
        # ascii_letters是生成所有字母 digits是生成所有数字0-9
        return ''.join(random.sample(string.ascii_letters + string.digits, 4))
1.4划线干扰(不过多增加其他干扰项)
# 划线干扰函数
    def drawLines(self, draw, num, width, height):
        for num in range(num):
            x1 = random.randint(0, width / 2)
            y1 = random.randint(0, height / 2)
            x2 = random.randint(0, width)
            y2 = random.randint(height / 2, height)
            draw.line(((x1, y1), (x2, y2)), fill='black', width=1)
1.5生成验证码和对应图片
先要引入PIL库,用pip install pillow
# 生成验证码图形(此处需要用到PIL库:pip install pillow)
    def getVerifyCode(self):
        # 4位验证码
        code = self.geneText()
        # 图片大小
        width, height = 120, 50
        # 新图片对象
        im = Image.new('RGB', (width, height), 'white')
        # 字体
        font = ImageFont.truetype('app/static/arial.ttf', 40)
        # draw对象
        draw = ImageDraw.Draw(im)
        # 绘制字符串
        for item in range(4):
            draw.text((5 + random.randint(-3, 3) + 23 * item, 5 + random.randint(-3, 3)),
                      text=code[item], fill=self.randColor(), font=font)
        # 划线
        self.drawLines(draw, 2, width, height)
        return im, code
1.6把图片转为2进制放在response里传送给前端
该函数调用imageCode()类里的getVerifyCode()方法得到图片对象image传给前端,并且得到对象code将其储存在session里,用于后面的验证码正确性校验逻辑
# 把图片发送到前端去展示。
    def getImgCode(self):
        image, code = self.getVerifyCode()
        # 图片以二进制形式写入
        buf = BytesIO()
        image.save(buf, 'jpeg')
        buf_str = buf.getvalue()
        # 把buf_str作为response返回前端,并设置首部字段
        response = make_response(buf_str)
        #将response的头类型改为图片
        response.headers['Content-Type'] = 'image/gif'
        # 将验证码字符串储存在session中
        session['imageCode'] = code
        #由于response的类型为图片所以不能以json格式传回
        return response
注意!后面验证码校验逻辑时需要全部化为大写/小写来验证 如:
# 全部转换为小写字符串校验(例子)
captcha_login = request.form.get('captcha_login').lower()
if captcha_login == session['imageCode'].lower():
	****
1.7用蓝图实现生成验证码的url(‘/verify’)
请特别注意:以上函数全部放在一个imageCode()类里面
#此处我直接把验证码图片生成放在login功能里,所以使用的蓝图也是login的蓝图
@bp_login.get("/verify")
def generateCode():
    return imageCode().getImgCode()
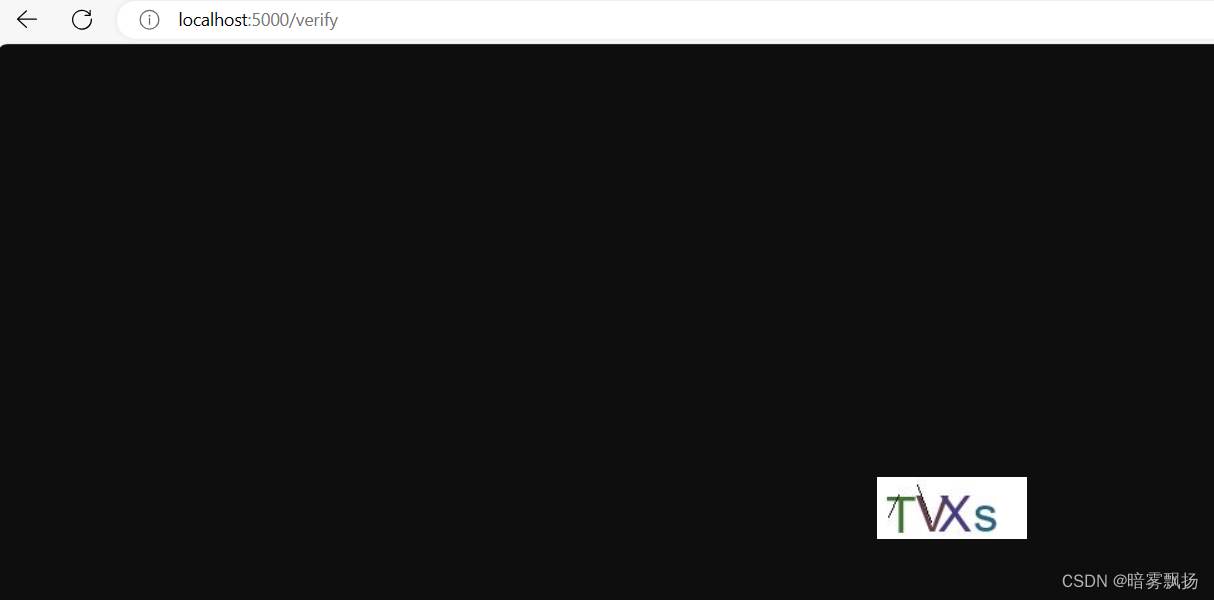
这里为什么要重开一个url:"/verify"呢?因为我的前端需要有一个url接收这个二进制码图片,然后再提取放到login界面上。
我们可以尝试访问这个url,如图:
前端验证码接收显示逻辑
表单img
templates: 首先在vue文件的templates里添加表单:
1、src绑定一个captchaUrl属性,用于绑定图片的url
2、@click绑定了一个getCaptcha方法,用于获取新的验证码图片
	<el-form-item label="验证码" prop="captcha_login">
        <el-input v-model="loginForm.captcha_login"></el-input>
        <img :src="captcharUrl" @click="getCaptcha" />
        <!-- :img标签用于显示验证码图片;其中src绑定了一个captchaUrl属性,用于绑定图片的url;@click绑定了一个getCaptcha方法,用于获取新的验证码图片。 -->
     </el-form-item>
添加data
javascript: 然后我们需要在data里添加一个captcharUrl作为存放验证码图片的Url
此处即为前面的后端开出的url:“/verify”
data() {
    return {
      loginForm: {
        username: '',
        password: '',
        captcha_login: ''
      },
      loginRules: {
        username: [
          { required: true, message: '请输入用户名', trigger: 'blur' }
        ],
        password: [
          { required: true, message: '请输入密码', trigger: 'blur' }
        ],
        captcha_login: [
          { required: true, message: '请输入验证码', trigger: 'blur' }
        ]
      },
      //captchaUrl属性,用于存储验证码图片的URL
      captcharUrl: 'http://localhost:5000/verify',
    }
  }
添加methods
javascript:在methods里面添加一个getCaptcha()函数(用于绑定img里的click实践刷新验证码)
该函数绑定了http://localhost:5000/verify这个url,会触发时向后端发送get请求,后端也会更新session中储存的验证码’imageCode’
getCaptcha() {
      //加入时间戳,防止浏览器缓存
      this.captcharUrl = 'http://localhost:5000/verify?t=' + Date.now()
    }
添加mounted
javascript:添加一个mounted挂载函数 用于整个页面处理完成后,挂载该函数生成验证码图片
//整个页面处理完成后,挂载该函数生成验证码图片
  mounted() {
    this.getCaptcha()
  }
axios开启携带cookie
配置声明
首先有一件事情需要声明:
不论是前面的captcharUrl,getCaptcha()还是axios的基础配置,建议全部改写成一样的'http://localhost:5000'或者是'http://127.0.0.1:5000',不要一处是localhost,一处是127.0.0.1,这样可能会导致一些错误!!!
然后就是在axios里开启携带cookie了
我们直接在main.js的axios配置里添加如下代码:
withCredentials: true
全部配置为下:
//axios基础设置
const instance = axios.create({
  baseURL:"http://localhost:5000",
  timeout:5000,
  headers: {
    'Content-Type': 'application/json' // 设置默认的Content-Type为JSON
  },
  //Axios自定义为:请求时携带Cookie
  withCredentials: true
})
cookie中的session-ID
重点!!!
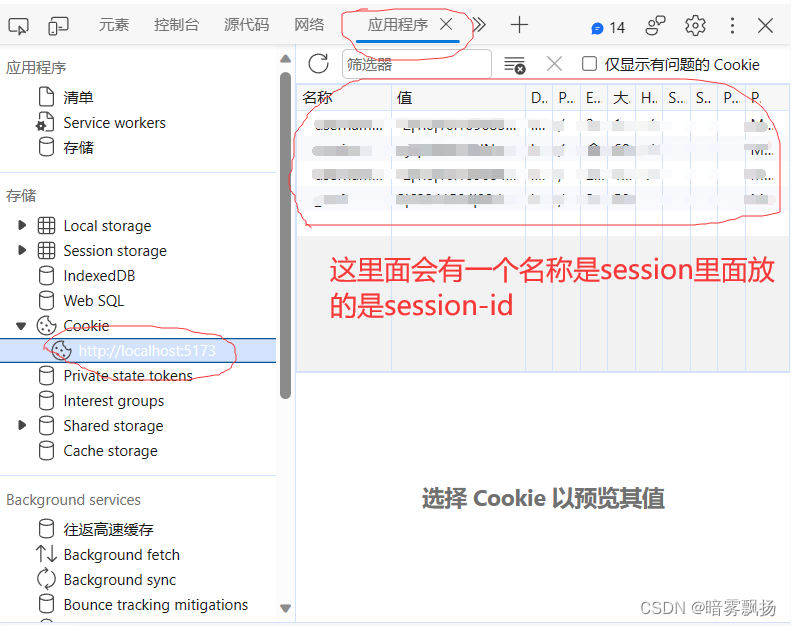
由于我们后面的功能代码全部是由axios实例来发送请求的,这样子就能够让我们每次向服务器端发送的request请求都携带一个cookie,该cookie内会添加后端的session会话的id,这样就可以保证服务器端接收到客户端的request请求以后,可以得到这个session的id,在后面的功能逻辑中用于访问正确的session会话,而不是错误访问非该用户的session和重置为空的session。
重点!!!
在浏览器的开发人员工具中的应用程序中可以找到
如图:
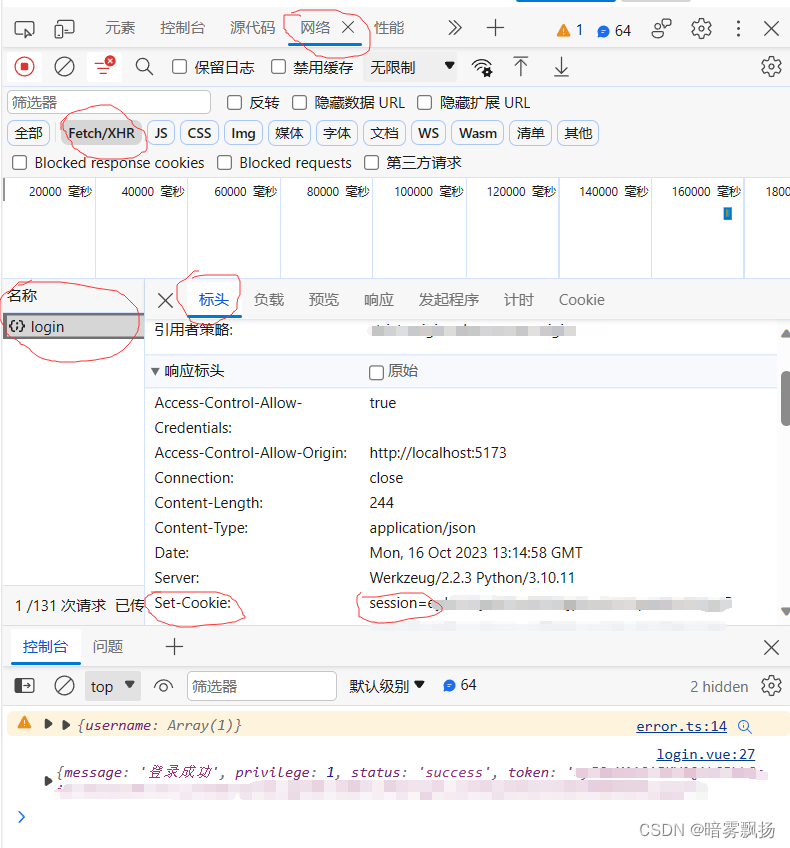
当然也可以访问网络里的Fetch/XHR中某一次功能实现的标头查看
如图:
后端的session使用
后端只需要接收到了request就会自动去调用这里面的session-id,不需要你手动去取出来
于是可以直接撰写登录逻辑校验代码:
@bp_login.route('/login', methods=['GET', 'POST'])
def login1():
    # 获取前端发送的数据
    if request.is_json:  # 前端发送json格式时
        data = request.get_json()
        username = data.get('username')
        password = data.get('password')
        captcha_login = data.get('captcha_login').lower()
    else:  # 前端发送表单格式时
        username = request.form.get('username')
        password = request.form.get('password')
        captcha_login = request.form.get('captcha_login').lower()

    # 先判断验证码是否正确(避免不必要的数据库查询)
    if captcha_login == session['imageCode'].lower():
        pass
    else:
        return jsonify({
            'status': 'error',
            'message': '验证码错误'
        })
    # 接下来的用户名和密码校验功能省略...
注:本博客只做了最基础的图片验证码生成校验逻辑,验证码格式布局,刷新按钮等UI-布局问题请自行解决。


 1618
1618


 被折叠的 条评论
为什么被折叠?
被折叠的 条评论
为什么被折叠?
 到【灌水乐园】发言


