


nodejs环境与ssh服务
nodejs是一个运行环境
重新安装epel-release源,不然找不到nodejs
从头做:
[root@localhost ~]# wget -O /etc/yum.repos.d/CentOS-Base.repo https://mirrors.aliyun.com/repo/Centos-7.repo
[root@localhost ~]# yum clean all
[root@localhost ~]# yum makecache
[root@localhost ~]# yum remove elep-release
[root@localhost ~]# yum -y install epel-release.noarch
[root@localhost ~]# yum list | grep nodejs
[root@localhost ~]# yum -y install nodejs.x86_64
[root@localhost ~]# node -v
v16.20.2
nodejs安装包管理器 npm node package manager
[root@localhost ~]# yum -y install npmnpm config set registry https://registry.npmmirror.com
这个指令的目的是防止它跑国外站点去拿数据很慢!
[root@localhost ~]# npm install -g @vue/cli -g 安装vue的脚手架软件 -g是全局安装
[root@localhost ~]# find / -name "vue"
[root@localhost ~]# /usr/local/bin/vue -V
创建前端项目
[root@localhost ~]# /usr/local/bin/vue create vuehtm1000
[root@localhost ~]# tree vuehtm1000
启动前端项目
[root@localhost ~]# cd vuehtm1000
[root@localhost vuehtm1000]# npm run serve
[root@localhost vuehtm1000]# npm run build 构建htm1000的静态页面

按上面的链接访问可访问到网址

将这些静态部署到nginx的html中
[root@localhost vuehtm1000]# find / -name "html" -type d
[root@localhost vuehtm1000]# cp -R ./dist/* /usr/share/nginx/html/
[root@localhost vuehtm1000]# nginx
[root@localhost vuehtm1000]# nginx -s reload 重新启动nginx
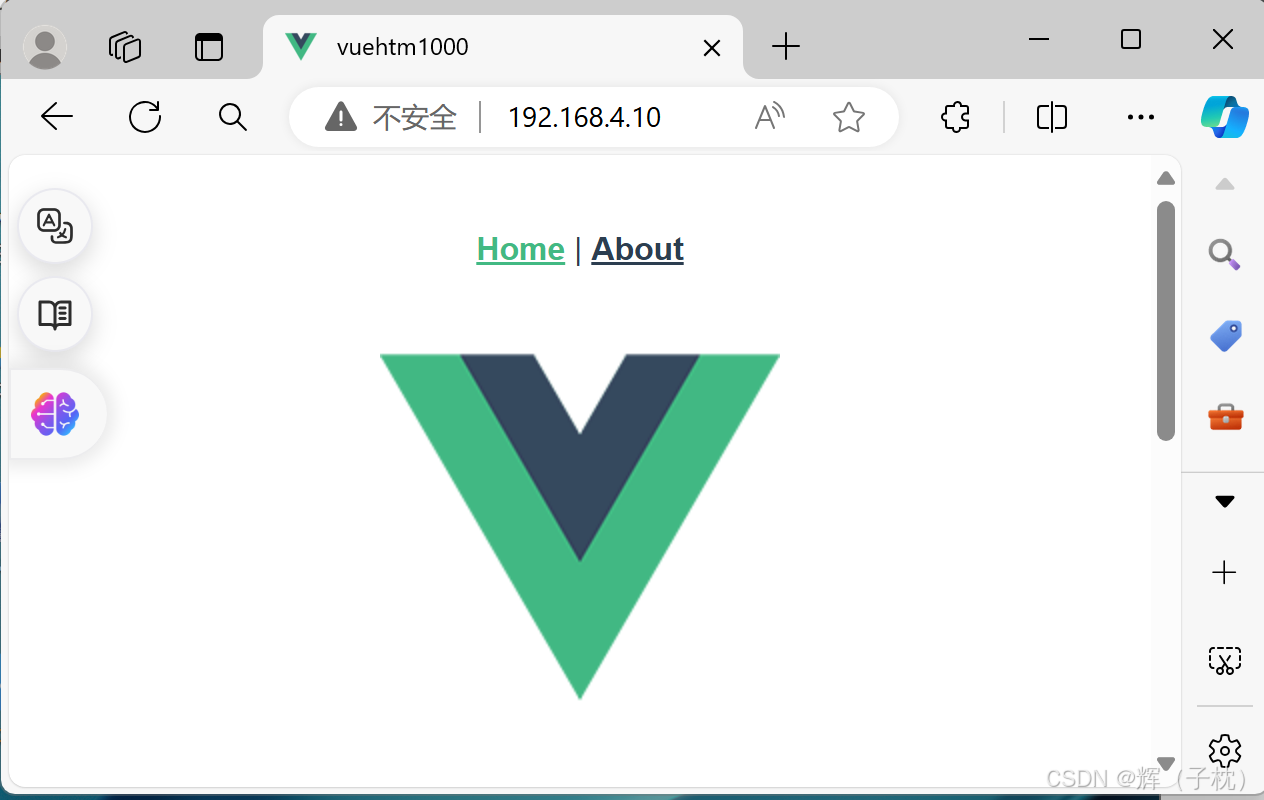
浏览器访问本机IP
ssh加密算法
加密
对称加密 des
非对称加密 ras
有两条密码本
公钥 用于加密 保障不是明文传输
私钥 用于解密 将加密的的文件解析成明文
[root@localhost vuehtm1000]# netstat -lntup |grep sshd
tcp 0 0 0.0.0.0:22 0.0.0.0:* LISTEN 1031/sshd
tcp6 0 0 :::22 :::* LISTEN 1031/sshd
[root@localhost ~]# ssh -lroot -p22 192.168.4.20
[root@localhost ~]#yum -y install openssh
[root@localhost ~]#yum -y install openssh-server
[root@localhost ~]#yum -y install openssh-clients
[root@localhost ~]# vim /etc/ssh/sshd_config
PermitRootLogin no 第38行把yes改为no
[root@localhost ~]#systemctl restart sshd
然后退出Xshell后就会发现连接不上了。
登陆到另一台机子
[root@y ~]# ssh -l root -p 22 192.168.4.10 用root用户远程登陆
root@192.168.4.10's password:
Permission denied, please try again.
root@192.168.4.10's password:
Permission denied, please try again.
root@192.168.4.10's password:
Permission denied (publickey,gssapi-keyex,gssapi-with-mic,password). 未登陆成功
[root@y ~]# ssh -l a -p 22 192.168.4.10
tdr@192.168.4.10's password:
Last login: Wed Jul 17 14:40:40 2024 from 192.168.4.30
远程登陆10主机a用户成功
[y@a~]$ exit 退出登陆
添加用户
[root@y vuehtml000]# useradd zhangsan
[root@y vuehtml000]# useradd lisi
[root@y vuehtml000]# useradd wangwu
[root@y vuehtml000]# passwd zhangsan
[root@y vuehtml000]# passwd lisi
[root@y vuehtml000]# passwd wangwu
[root@y vuehtml000]# mkdir /code/ 创建用户数据目录
[root@y vuehtml000]# groupadd code 创建附属组并将用户添加进附属组
[root@y vuehtml000]# usermod -g code zhangsan
[root@y vuehtml000]# usermod -g code lisi
[root@y vuehtml000]# usermod -g code wangwu
[root@y vuehtml000]# chgrp -R code /code/ 将code目录的组改为code
[root@y vuehtml000]# chmod -R g+w /code/ 给属组增加写的权限
[root@y vuehtml000]# vim /etc/ssh/sshd_config
17 Port 9999 去掉注释,修改端口为9999
[root@y vuehtml000]# systemctl restart sshd //重启ssh服务
这里关掉Xshell也将连接不上了,因为端口号被更改了,需要重新设置端口号重连
这里说明一下restart和reload的区别,reload是刷新配置不结束,restart是结束应用并重启
去另一台主机
ssh连接服务器,如果服务端⼝是22,可以不⽤添加-p选项
如果不是22端⼝,就必须要添加-p选项
[root@localhost ~]# ssh -p 9999 -l lisi 192.168.4.30

[lisi@y ~]$ exit
登出
Connection to 192.168.4.30 closed.
用专业工具pwgen生成密码
[root@y vuehtml000]# yum -y install pwgen
[root@y vuehtml000]# pwgen -cnBs1 10 1
4Y9zeKkTmH
扩展:pwgen密码⽣成器的使⽤
⽤法: pwgen 选项参数 ⻓度 ⽣成个数
Usage: pwgen OPTIONS [ num_pw ]
密码中⾄少包含⼀个⼤写字⺟
-c or –capitalize
密码中不包含⼤写字⺟
-A or –no-capitalize
密码中⾄少包含⼀个数字
-n or –numerals
密码中不包含数字
-0 or –no-numerals
密码中⾄少包含⼀个特殊符号
-y or –symbols
⽣成完全随机密码
-s or –secure
密码中不包含歧义字符(例如1,l,O,0)
-B or –ambiguous
使⽤SHA1 hash给定的⽂件作为⼀个随机种⼦
-H or –sha1=path/to/file[#seed]
在列中打印⽣成的密码-C
不要在列中打印⽣成的密码,即⼀⾏⼀个密码
-1
不要使⽤任何元⾳,以避免偶然的脏话
-v or –no-vowels
SSH服务补充
scp命令
主要功能:⽤于Linux系统与Linux系统之间进⾏⽂件的传输(上传、下载)
上传:
scp [选项] 本地⽂件路径 远程⽤户名@远程服务器的IP地址:远程⽂件存储路径
-r 递归上传,主要针对⽂件夹
-P : 更换了SSH服务的默认端⼝必须使⽤-P选项
下载:
scp [选项] 远程⽤户名@远程服务器的IP地址:远程⽂件路径 本地⽂件存储路径
-r : 递归上传,主要针对⽂件夹
-P : 更换了SSH服务的默认端⼝必须使⽤-P选项
踢出用户
[root@tds ~]# w 查看当前在线用户
17:18:35 up 3:52, 3 users, load average: 0.00, 0.01, 0.05
USER TTY FROM LOGIN@ IDLE JCPU PCPU WHAT
root tty1 14:39 2:37m 0.02s 0.02s -bash
root pts/2 192.168.1.1 13:52 3.00s 0.14s 0.13s ssh -l root -p 22 192.168.1.125
root pts/3 tds 14:46 3.00s 0.21s 0.02s w
[root@tds ~]# pkill -kill -t pts/1 踢出某个账号
ssh免密登录
[zhangsan@y root]$ ssh-keygen 按三次回车
[zhangsan@y ~]$ ls ./.ssh/
id_rsa id_rsa.pub known_hosts
[zhangsan@y ~]$ ssh-copy-id root@192.168.4.10 这里用张三账号登陆4.10不用密码
id_rsa:保存私钥
id_rsa.pub:保存公钥
authorized_keys:保存已授权的客户端公钥
known_hosts:保存已认证的远程主机公钥


 504
504

 被折叠的 条评论
为什么被折叠?
被折叠的 条评论
为什么被折叠?
 到【灌水乐园】发言


