


 本文介绍了如何使用cpp-httplib库在Linux服务器上搭建一个基础的HTTP服务器,包括安装库、设置基本服务、处理搜索请求,并配合前端页面实现交互。同时提到了注意事项如GCC版本升级和阿里云安全系统的应用。
http_server模块
一.安装cpp-httplib库
可以自己写一个http服务器,但比较麻烦,这里直接使用库。
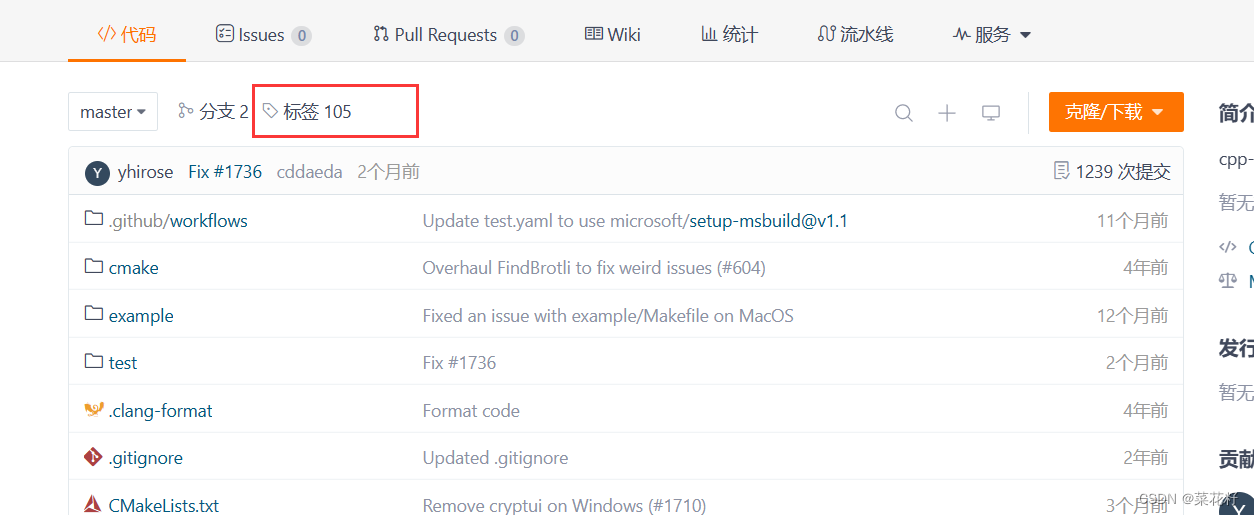
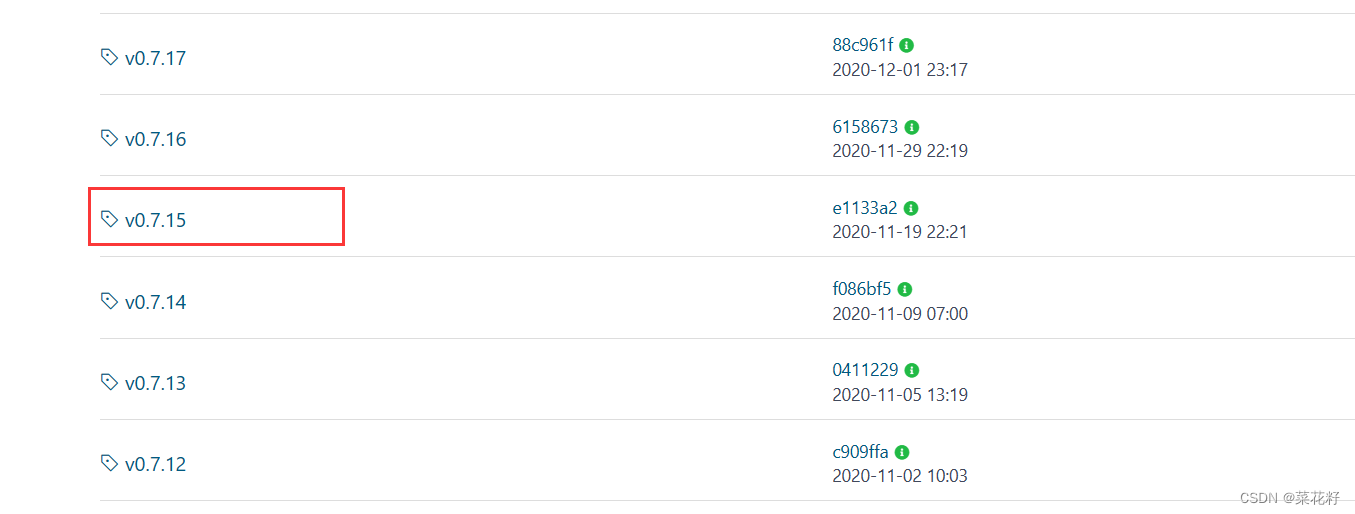
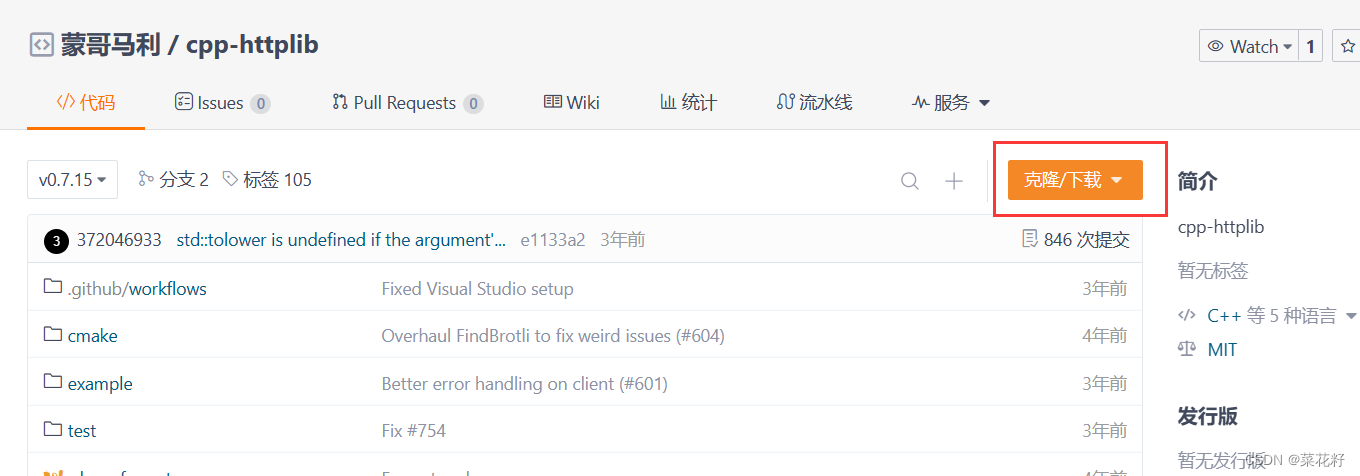
在gitee上搜索cpp-httplib,任意找一个即可(建议使用0.7.15版本)。例如:https://gitee.com/welldonexing/cpp-httplib/tags?page=3(注意由于是用户进行上传的,所以链接有可能失效,可以自己搜索)

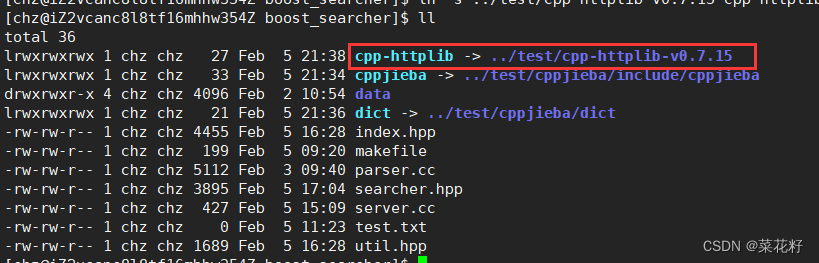
接下来拖到云服务器上,再进行解压即可。接下来建立软链接到data目录下(当然建立软链接是为了方便找到,不建立只要能找到路径都行)
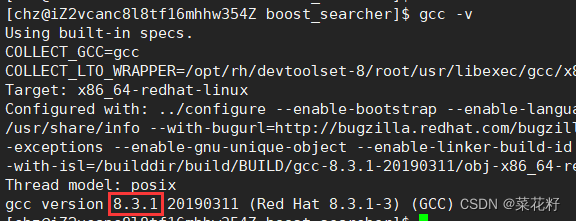
注意:使用该库需要较新的gcc,可以使用gcc -v查看版本。
升级gcc(三条指令):
1. sudo yum install centos-release-scl

2. sudo yum install devtoolset-8-gcc*

3. scl enable devtoolset-8 bash

4.echo "source /opt/rh/devtoolset-8/enable" >>/etc/profile(长期保持8.3版本,注意su)
接下来使用gcc -v再查看版本:
二.基本使用服务器
创建一个http_server.cc文件和wwwroot目录用以存放主页面(一般主页面名为index.htmp)。(为了不混淆,把上一章写的server.cc改名为debug.cc)
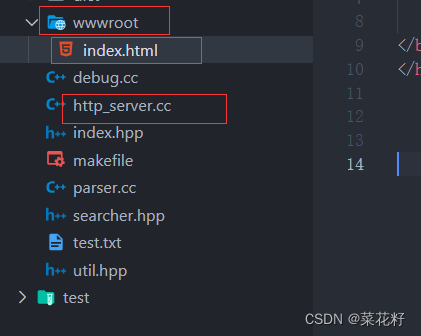
http_server.cc
#include "cpp-httplib/httplib.h"

const std::string root_path="./wwwroot";

int main()
{
  httplib::Server svr; // 创建对象

  // 测试
  svr.set_base_dir(root_path.c_str());//主页面
  svr.Get("/hi", [](const httplib::Request &rep, httplib::Response &rsp)
          { rsp.set_content("你好,世界", "test/plain: charset-utf-8"); });

  svr.listen("0.0.0.0",8081);
      return 0;
}
index.html
<html>
<head>
  <meta charset="UTF-8">
  <title>for test</title>
</head>
<body>
  <h1>你好,世界</h1>
  <p>这是一个httplib的测试网页</p>
</body>
</htm1>
测试
将服务器运行起来,在浏览器上输入云服务器的ip和端口号(3389),就可以跳转到主页面上。


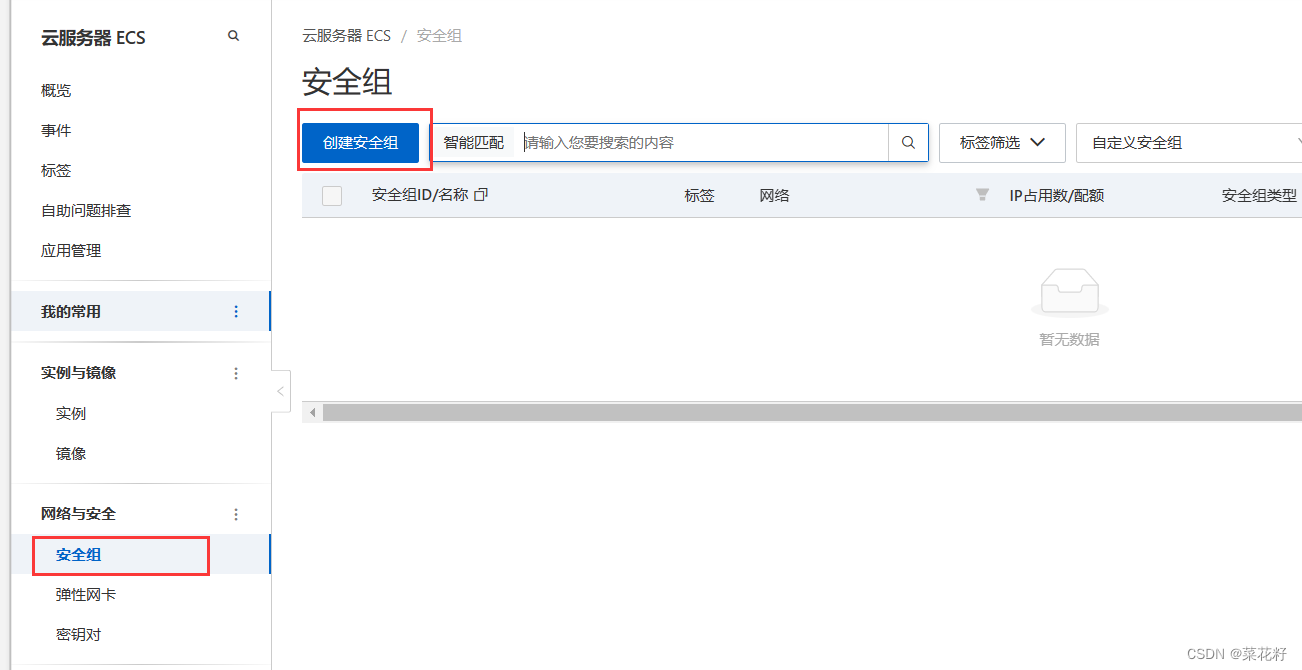
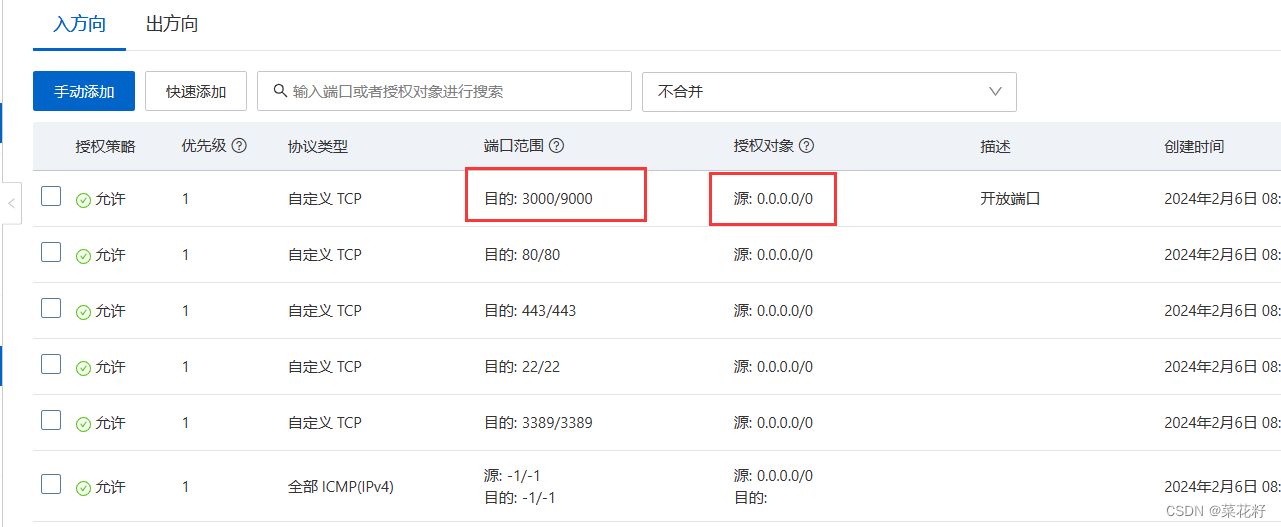
坑:注意阿里云有安全系统,如果你一直连不上就要考虑端口是否开放了。
开放示例:可以使用netstat -ntlp查看服务器是否启动
三.完成http服务器的调用
1.首先进行搜索库的初始化
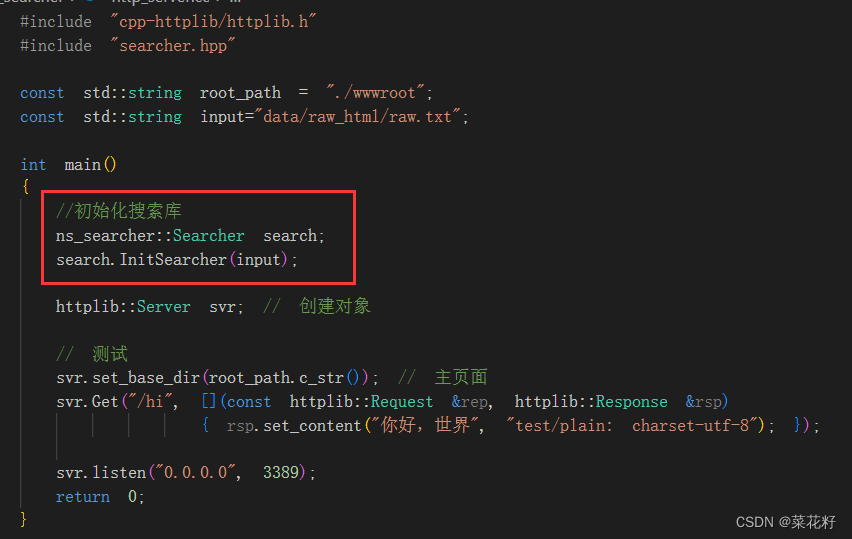
2.接收参数
想要进行搜索,就需要获取用户输入的关键字。获取到后,再使用search的查找功能。

http_server.cc
#include "cpp-httplib/httplib.h"
#include "searcher.hpp"
const std::string root_path = "./wwwroot";
const std::string input="data/raw_html/raw.txt";
int main()
{
//初始化搜索库
ns_searcher::Searcher search;
search.InitSearcher(input);
httplib::Server svr; // 创建对象
// 测试
svr.set_base_dir(root_path.c_str()); // 主页面
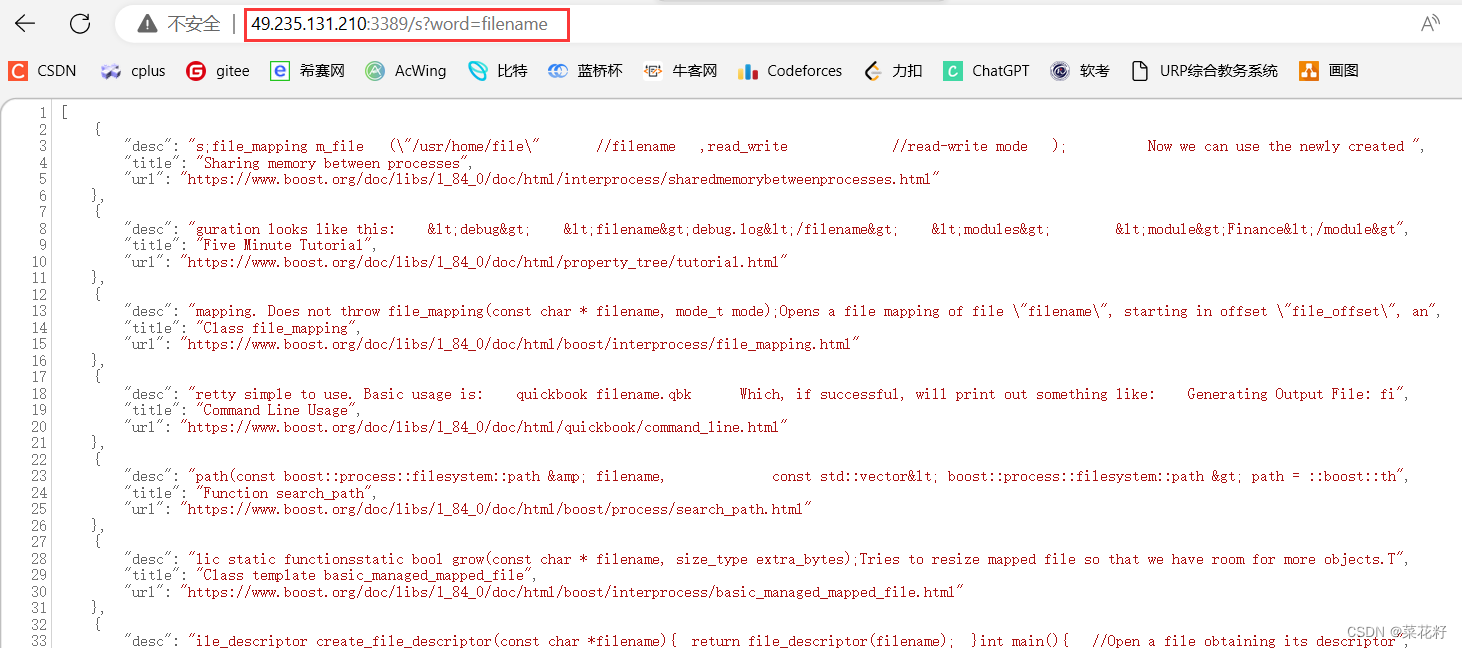
svr.Get("/s", [&search](const httplib::Request &req, httplib::Response &rsp)
{
if(!req.has_param("word"))
{
rsp.set_content("必须要有搜索关键字!","test/plain:charset=utf-8");
return;
}
std::string word=req.get_param_value("word");
std::cout<<"用户在搜索:"<<word<<std::endl;
std::string json_string;
search.Search(word,&json_string);//搜索结果
rsp.set_content(json_string,"application/json");//发送回去
});
svr.listen("0.0.0.0", 3389);
return 0;
}
四.前端部分
由于该项目主要是面向后端部分,所以前端部分就直接给代码了。
index.html
<!DOCTYPE html>
<html lang="en">

<head>
  <meta charset="UTF-8">
  <meta http-equiv="X-UA-Compatible" content="IE=edge">
  <meta name="viewport" content="width=device-width, initial-scale=1.0">
  <script src="http://code.jquery.com/jquery-2.1.1.min.js"></script>

  <title>boost 搜索引擎</title>
  <style>
    /* 去掉网页中的所有的默认内外边距,html的盒子模型 */
    * {
      /* 设置外边距 */
      margin: 0;
      /* 设置内边距 */
      padding: 0;
    }

    /* 将我们的body内的内容100%和html的呈现吻合 */
    html,
    body {
      height: 100%;
    }

    /* 类选择器.container */
    .container {
      /* 设置div的宽度 */
      width: 800px;
      /* 通过设置外边距达到居中对齐的目的 */
      margin: 0px auto;
      /* 设置外边距的上边距,保持元素和网页的上部距离 */
      margin-top: 15px;
    }

    /* 复合选择器,选中container 下的 search */
    .container .search {
      /* 宽度与父标签保持一致 */
      width: 100%;
      /* 高度设置为52px */
      height: 52px;
    }

    /* 先选中input标签, 直接设置标签的属性,先要选中, input:标签选择器*/
    /* input在进行高度设置的时候,没有考虑边框的问题 */
    .container .search input {
      /* 设置left浮动 */
      float: left;
      width: 600px;
      height: 50px;
      /* 设置边框属性:边框的宽度,样式,颜色 */
      border: 1px solid black;
      /* 去掉input输入框的有边框 */
      border-right: none;
      /* 设置内边距,默认文字不要和左侧边框紧挨着 */
      padding-left: 10px;
      /* 设置input内部的字体的颜色和样式 */
      color: #CCC;
      font-size: 14px;
    }

    /* 先选中button标签, 直接设置标签的属性,先要选中, button:标签选择器*/
    .container .search button {
      /* 设置left浮动 */
      float: left;
      width: 150px;
      height: 52px;
      /* 设置button的背景颜色,#4e6ef2 */
      background-color: #4e6ef2;
      /* 设置button中的字体颜色 */
      color: #FFF;
      /* 设置字体的大小 */
      font-size: 19px;
      font-family: Georgia, 'Times New Roman', Times, serif;
    }

    .container .result {
      width: 100%;
    }

    .container .result .item {
      margin-top: 15px;
    }

    .container .result .item a {
      /* 设置为块级元素,单独站一行 */
      display: block;
      /* a标签的下划线去掉 */
      text-decoration: none;
      /* 设置a标签中的文字的字体大小 */
      font-size: 20px;
      /* 设置字体的颜色 */
      color: #4e6ef2;
    }

    .container .result .item a:hover {
      text-decoration: underline;
    }

    .container .result .item p {
      margin-top: 5px;
      font-size: 16px;
      font-family: 'Lucida Sans', 'Lucida Sans Regular', 'Lucida Grande', 'Lucida Sans Unicode', Geneva, Verdana, sans-serif;
    }

    .container .result .item i {
      /* 设置为块级元素,单独站一行 */
      display: block;
      /* 取消斜体风格 */
      font-style: normal;
      color: green;
    }
  </style>
</head>

<body>
  <div class="container">
    <div class="search">
      <input type="text" value="请输入搜索关键字">
      <button onclick="Search()">搜索一下</button>
    </div>
    <div class="result">
      <!-- 动态生成网页内容 -->
      <!-- <div class="item">
                <a href="#">这是标题</a>
                <p>这是摘要这是摘要这是摘要这是摘要这是摘要这是摘要这是摘要这是摘要这是摘要这是摘要这是摘要这是摘要这是摘要这是摘要这是摘要</p>
                <i>https://search.gitee.com/?skin=rec&type=repository&q=cpp-httplib</i>
            </div>
            <div class="item">
                <a href="#">这是标题</a>
                <p>这是摘要这是摘要这是摘要这是摘要这是摘要这是摘要这是摘要这是摘要这是摘要这是摘要这是摘要这是摘要这是摘要这是摘要这是摘要</p>
                <i>https://search.gitee.com/?skin=rec&type=repository&q=cpp-httplib</i>
            </div>
            <div class="item">
                <a href="#">这是标题</a>
                <p>这是摘要这是摘要这是摘要这是摘要这是摘要这是摘要这是摘要这是摘要这是摘要这是摘要这是摘要这是摘要这是摘要这是摘要这是摘要</p>
                <i>https://search.gitee.com/?skin=rec&type=repository&q=cpp-httplib</i>
            </div>
            <div class="item">
                <a href="#">这是标题</a>
                <p>这是摘要这是摘要这是摘要这是摘要这是摘要这是摘要这是摘要这是摘要这是摘要这是摘要这是摘要这是摘要这是摘要这是摘要这是摘要</p>
                <i>https://search.gitee.com/?skin=rec&type=repository&q=cpp-httplib</i>
            </div>
            <div class="item">
                <a href="#">这是标题</a>
                <p>这是摘要这是摘要这是摘要这是摘要这是摘要这是摘要这是摘要这是摘要这是摘要这是摘要这是摘要这是摘要这是摘要这是摘要这是摘要</p>
                <i>https://search.gitee.com/?skin=rec&type=repository&q=cpp-httplib</i>
            </div> -->
    </div>
  </div>
  <script>
    function Search() {
      // 是浏览器的一个弹出框
      // alert("hello js!");
      // 1. 提取数据, $可以理解成就是JQuery的别称
      let query = $(".container .search input").val();
      console.log("query = " + query); //console是浏览器的对话框,可以用来进行查看js数据

      //2. 发起http请求,ajax: 属于一个和后端进行数据交互的函数,JQuery中的
      $.ajax({
        type: "GET",
        url: "/s?word=" + query,
        success: function (data) {
          console.log(data);
          BuildHtml(data);
        }
      });
    }

    function BuildHtml(data) {
      // 获取html中的result标签
      let result_lable = $(".container .result");
      // 清空历史搜索结果
      result_lable.empty();

      for (let elem of data) {
        // console.log(elem.title);
        // console.log(elem.url);
        let a_lable = $("<a>", {
          text: elem.title,
          href: elem.url,
          // 跳转到新的页面
          target: "_blank"
        });
        let p_lable = $("<p>", {
          text: elem.desc
        });
        let i_lable = $("<i>", {
          text: elem.url
        });
        let div_lable = $("<div>", {
          class: "item"
        });
        a_lable.appendTo(div_lable);
        p_lable.appendTo(div_lable);
        i_lable.appendTo(div_lable);
        div_lable.appendTo(result_lable);
      }
    }
  </script>
</body>

</html>


 475
475

 被折叠的 条评论
为什么被折叠?
被折叠的 条评论
为什么被折叠?
 到【灌水乐园】发言


