


一、本地yum源光盘配置
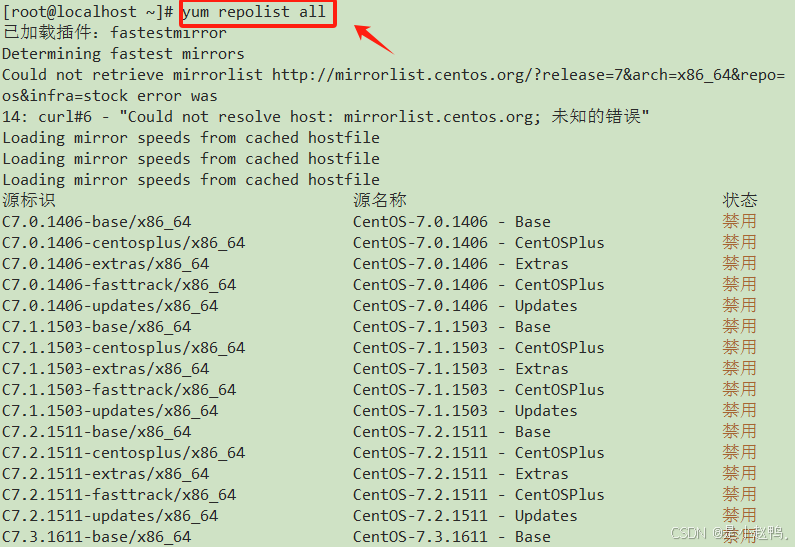
1.查看现有的yum仓库镜像

2.查看所有镜像文件
3.将yum.repos.d下的所有文件打包成压缩包
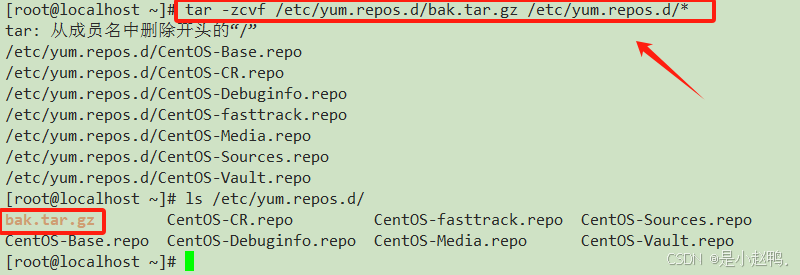
4.删除yum.repos.d下以.repo结尾的文件

5.配置yum源仓库
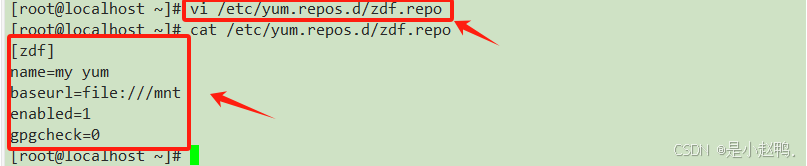
yum仓库的格式
| 编号 | 属性 |
| 1 | [仓库名称] 可以有多个仓库 |
| 2 | name=仓库描述 |
| 3 | baseurl=仓库的路径,支持多种格式file:///mnt |
| 4 | enabled=1/0 是否启用当前仓库,1启用,0不启用 |
| 5 | gpgcheck=0/1表示秘钥检测,0不检测,1检测 |
6.显示以配置的文件仓库列表及各个软件仓库的软件包数量

此时发现报错,而仓库数量显示为0
然后我们回到虚拟机,发现虚拟机设置中的设备状态,没有选中已连接
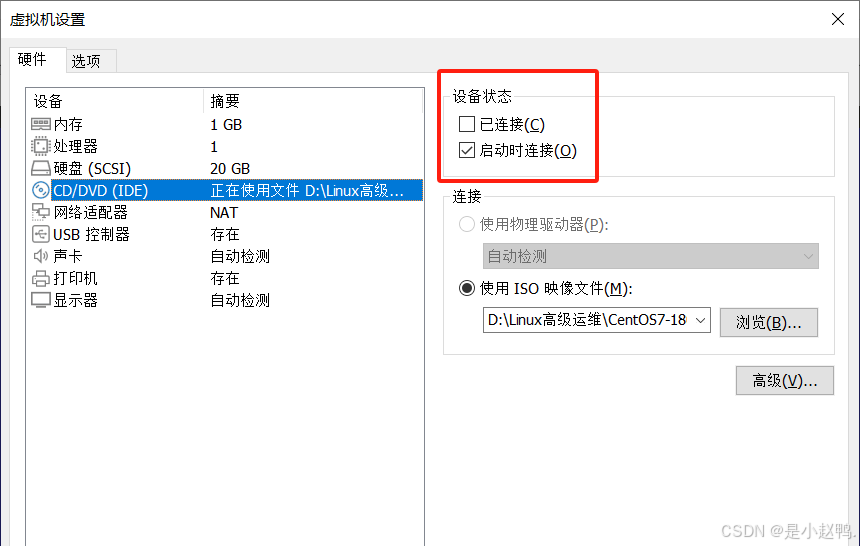
只需选中已连接,然后点击确定就好了
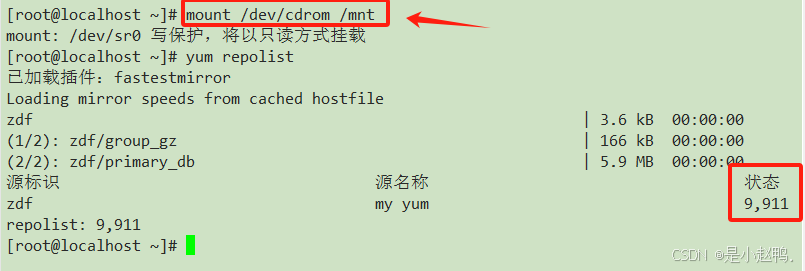
7.挂载虚拟光盘,将、/dev/cdrom挂载到mnt目录下,然后再次查看仓库数量
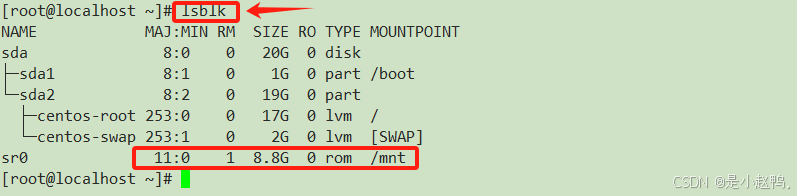
查看磁盘挂载情况
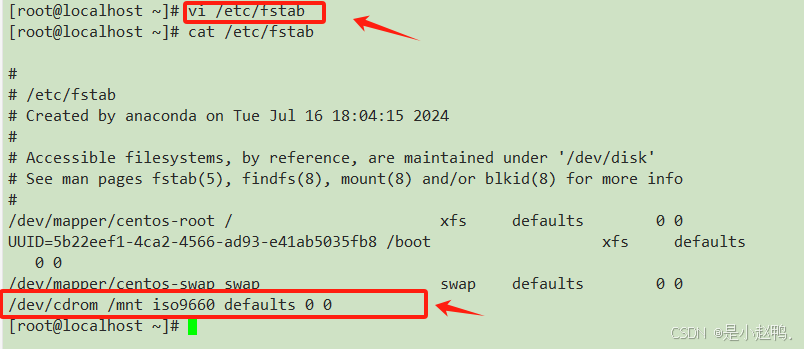
8.编辑永久挂载的文件
9.自动挂载

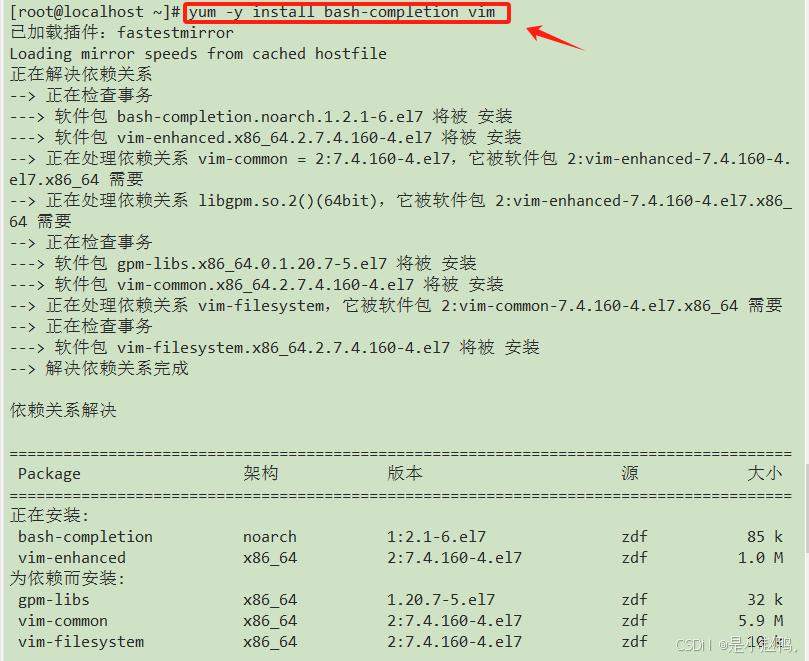
为方便后续操作,我们安装vim及net-tools
由于新建的虚拟机没有vim指令,只有vi,安装vim后我们能正常使用vim指令
安装net-tools后我们可以使用ifconfig命令,更方便我们查看虚拟机IP地址

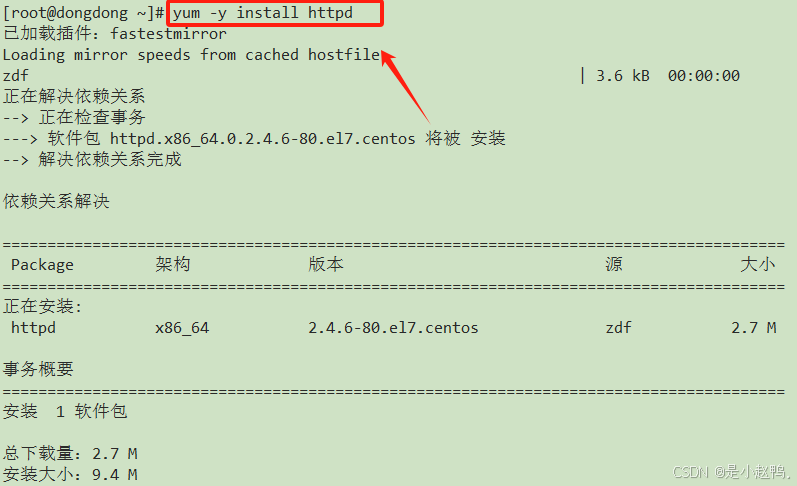
10.测试yum
查看是否安装httpd
![]()
卸载httpd

再次查看是否安装httpd
![]()
重新安装httpd
再次查看是否安装httpd

二、网络yum源配置
1.百度搜索框搜索“阿里mirror镜像站点”
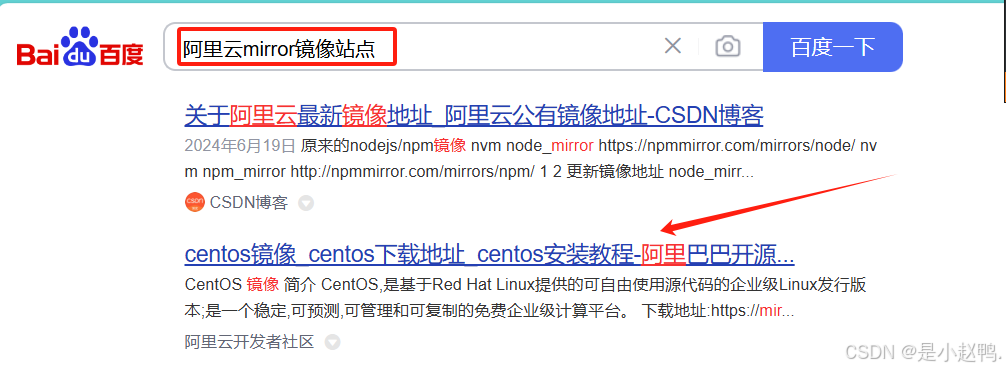
点击下载地址:
https://developer.aliyun.com/mirror/centos
2.根据官方提示配置yum源
(1)下载

(2)生成缓存
yum makecache
(3)清空内存
yum clean all
(4)查看源
yum repolist all

3.epel源配置
(1)下载epel软件包
yum -y install epel-release

(2)查看安装情况

(3)使用ls查看yum.repos.d目录

4.安装小火车
(1)安装软件包:
yum -y install sl

(2)使用sl查看,可以看到小火车图案

三、特定软件源配置--nginx
1.搜nginx的镜像
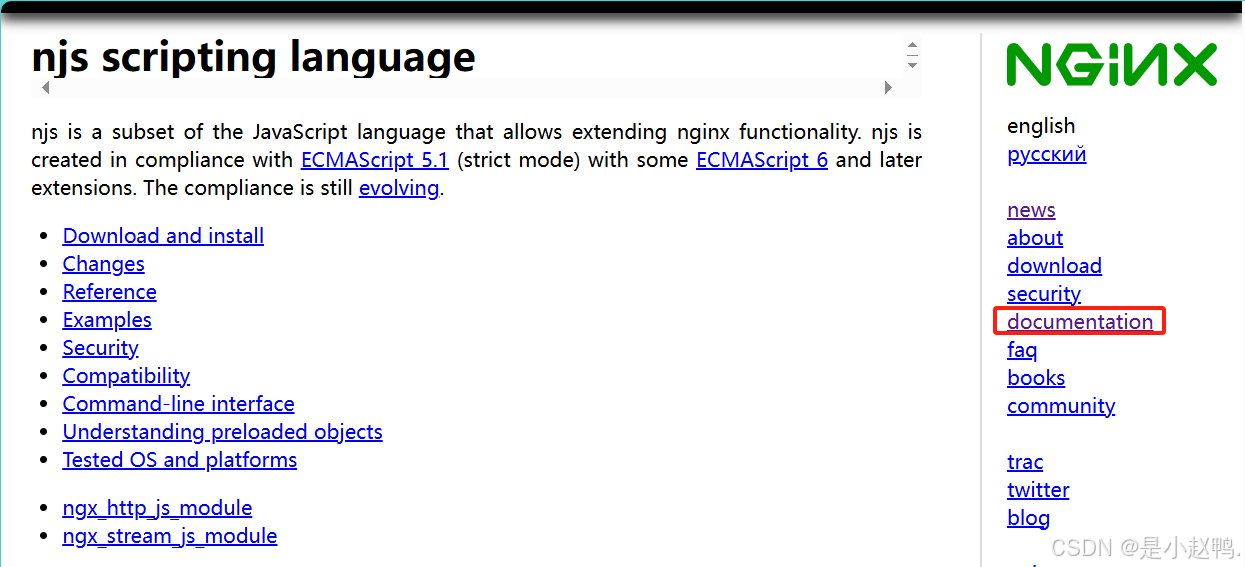
百度搜索 https://nginx.org/

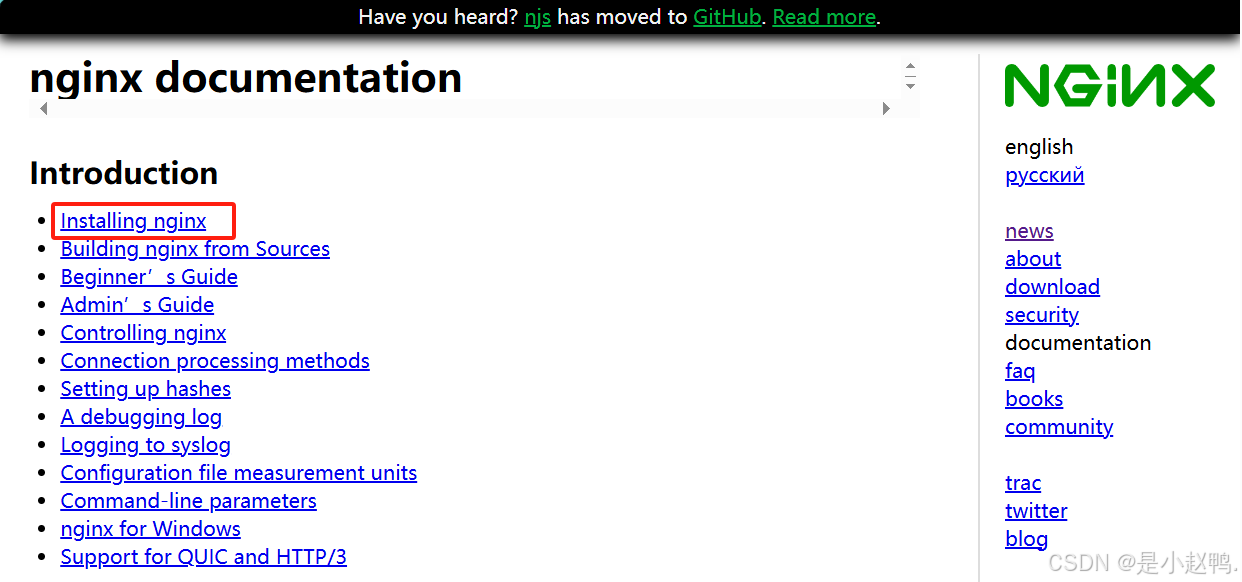
2.搜document
3.搜install
4.点击packages

5.找到repo⽂件内容
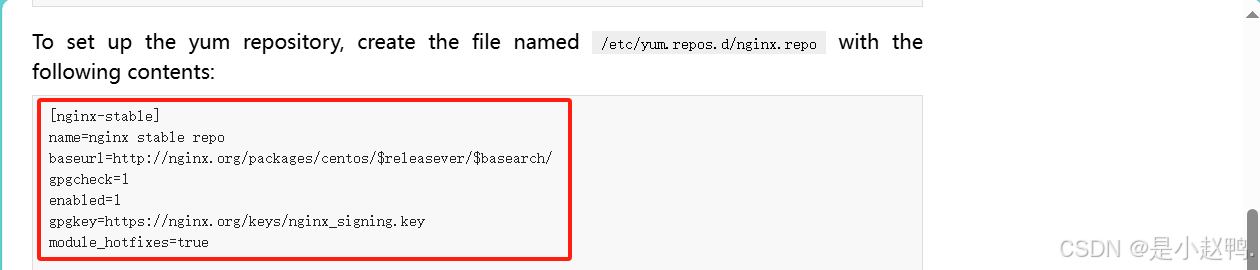
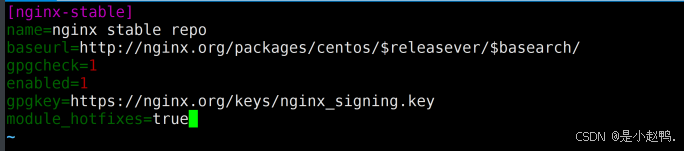
6.安装稳定版本
[root@localhost ~]# vim /etc/yum.repos.d/nginx.repo
7.创建缓存
[root@localhost ~]# yum clean all
[root@localhost ~]# yum makecache
[root@localhost ~]# yum list|grep nginx
8.安装并且检查
[root@localhost ~]# yum install nginx -y
9.启动服务
[root@localhost ~]# nginx
10. 查看指令
[root@localhost ~]# whereis nginx
11. 访问服务器
[root@localhost ~]# curl http://localhost
12.停⽤nginx
[root@localhost ~]# nginx -s stop
13.访问测试
[root@localhost ~]# curl http://localhost
四、⾃建yum源仓库
1.缓存安装软件包
-----使得下一次还能够使用
2.如何缓存
[root@localhost ~]#vim /etc/yum.conf[main]cachedir=/var/cache/yum/$basearch/$releaserver # 定义软件包缓存路径keepcache=1 #开启缓存debuglevel=2logfile=/var/log/yum.log
3.卸载,然后安装nginx 查看缓存⽂件
(1)卸载
[root@localhost ~]# yum -y remove nginx.x86_64
(2)安装
[root@localhost ~]# yum -y install nginx
(3)查找安装包
[root@localhost ~]# find /var/cache/ -name "*tree*" -type f/var/cache/yum/x86_64/7/os/packages/tree-1.6.0-10.el7.x86_64.rpm
[root@localhost ~]# find /var/cache/ -name "*nginx*" -type f/var/cache/yum/x86_64/7/nginx-stable/packages/nginx-1.26.1-2.el7.ngx.x86_64.rpm
(4)只下载不安装
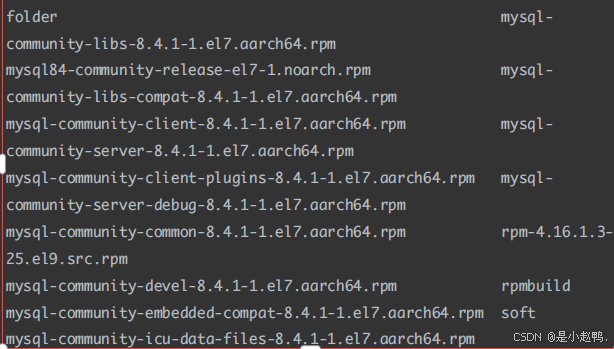
[root@localhost ~]# yum install --downloadonly --downloaddir=./soft samba
[root@localhost ~]# ls soft/
五、安装createrepo制作仓库软件
1.下载createrepo的安装包
[root@localhost ~]# yum -y install createrepo
2.把soft⽂件夹做成⼀个本地的⾃建仓库
[root@localhost ~]# createrepo soft/
[root@localhost ~]# ls
[root@localhost ~]# cd soft/
[root@localhost soft]# ls
3.在/etc/yum.repos.d/下创建 soft.repo
vim /etc/yum.repos.d/soft.repo[soft]name=soft_localgpgcheck=0baseurl=file:///root/softenable=1
4.删除其他仓库⽂件
[root@localhost soft]# rm -rf /etc/yum.repos.d/*.repo[root@localhost soft]# ls /etc/yum.repos.d/repo.tar.gz
5.配置仓库⽂件
[root@localhost soft]# vim /etc/yum.repos.d/soft.repo
6.创建缓存
[root@localhost soft]# yum clean all已加载插件:fastestmirror正在清理软件源: softCleaning up list of fastest mirrorsOther repos take up 748 M of disk space (use --verbose for details)[root@localhost soft]# yum makecache已加载插件:fastestmirror
7. 再次安装samba
[root@localhost soft]# yum -y install samba


 2253
2253


 被折叠的 条评论
为什么被折叠?
被折叠的 条评论
为什么被折叠?
 到【灌水乐园】发言


