


一、实验目的
1、掌握HTTP协议工作流程与报文格式;
2、掌握基于HTTP协议的服务器客户机交互模式的实现;
二、实验内容
基本要求为编写并启动服务器端处理HTTP请求的程序:
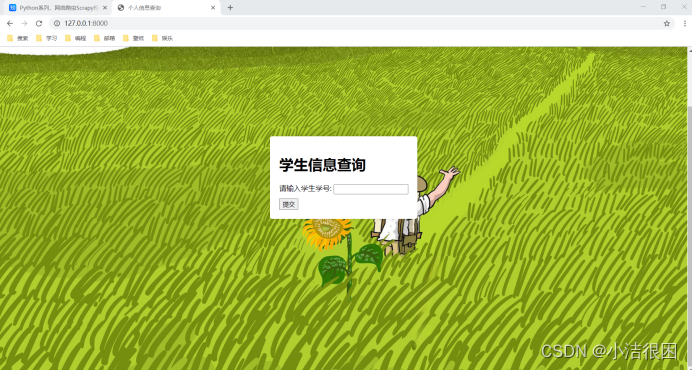
(1)编写服务器端Web主页及相应的cgi处理程序,其中Web主页中提示用户输入学生学号至对话框中;
(2)待用户提交后,cgi程序可根据输入的学生学号查询本地记录,如能找到该学生,则返回其基本信息,否则返回提示。
三、实验原理
1、编写服务器端http请求的相应程序的主要原理
这里面主要是使用到了CGIHTTPRequestHandler类和HTTPServer类。CGIHTTPRequestHandler类可以帮助开发者快速构建和测试基于 CGI 的 Web 应用程序。HTTPServer 类是 Python 内置的一个类,用于处理 HTTP 请求;
2、index.html的实验原理
它是一个文本文件,其中包含了HTML标签,用于定义网页的结构和内容。它可以包含 <head> 和 <body> 标签,分别用于定义网页的头部信息和主体内容。它里面可以包括网页内容、设计样式和布局、交互行为、浏览器渲染等。
3、cgi脚本的原理
(1)Web 服务器配置
Web服务器(如 Apache、Nginx 等)在接收到客户端请求时,会根据请求的 URL 匹配到对应的 CGI 脚本,并将请求传递给该脚本进行处理;
(2)HTTP 请求处理
CGI脚本接收到 HTTP 请求后,会解析请求头部和请求体,从中提取出客户端提交的参数和数据;
(3)数据处理逻辑
CGI脚本根据请求参数和数据执行相应的处理逻辑,可以进行数据处理、计算、查询数据库等操作,生成需要返回给客户端的内容;
(4)生成响应
处理完成后,CGI 脚本生成 HTTP 响应内容,包括状态码、响应头部和响应体,然后将响应发送给 Web 服务器;
(5)Web 服务器返回
Web 服务器收到 CGI 脚本生成的响应后,将其发送给客户端浏览器;
(6)客户端渲染
客户端浏览器收到响应后,根据响应内容进行渲染,展示给用户。如果响应内容是 HTML 页面,则浏览器会解析 HTML 标记并渲染页面,如果是其他类型的内容(如图片、文件等),则直接展示或下载。
四、实验环境
1、Python
2、Pycharm
3、Chrome浏览器
4、scrapy包
五、实验步骤
1、基于HTTPServer、CGIHTTPRequestHandler等类,来编写服务器端http的相应程序代码
#!/usr/bin/python3.4
# -*- coding=utf-8 -*-

import os
from http.server import HTTPServer, CGIHTTPRequestHandler
import optparse


def http_simple_server(webdir='.', webport=80):
    print('webdir "%s", port %s' % (webdir, webport))
    os.chdir(webdir)  # 修改本地工作目录,这个目录中应该有index.html
    srvaddr = ('', webport)  # 绑定本地地址与端口号
    srvobj = HTTPServer(srvaddr, CGIHTTPRequestHandler)  # 增加动态网页CGI的处理能力
    srvobj.serve_forever()  # 打开服务器

if __name__ == '__main__':
    parser = optparse.OptionParser('用法:\n python server.py --dirpath 工作目录 --port 工作端口')
    parser.add_option('--dirpath', dest='dirpath', type='string', help='工作目录')
    parser.add_option('--port', dest='port', type='string', help='工作端口')
    (options, args) = parser.parse_args()
    dirpath = options.dirpath
    port = options.port
    if dirpath == None or port == None:
        print(parser.usage)
    else:
        http_simple_server(dirpath, int(port))
# print(dirpath, ' ', int(port))
2、设计index.html文件,显示提示输入学生学号,以及一个输入框和提交按钮
<!DOCTYPE html>
<html>
<head>
<title>个人信息查询</title>
<style>
body {
display: flex;
justify-content: center;
align-items: center;
height: 120vh;
margin: 0;
background-image: url("background.png");//图片放在本地
background-size: cover;
background-repeat: no-repeat;
background-position: top center;
}
.container {
background-color: white;
padding: 20px;
border-radius: 5px;
box-shadow: 0 0 10px rgba(0, 0, 0, 0.1);
}
.form-group {
margin-top: 10px; /* 增加输入框和标签的间距 */
}
</style>
</head>
<body>
<div class="container">
<meta http-equiv="Content-Type" content="text/html; charset=utf-8" />
<h1>学生信息查询</h1>
<form action="/cgi-bin/servercgi.py" method="POST">
<div class="form-group">
<label for="student_id">请输入学生学号:</label>
<input type="text" id="student_id" name="student_id">
</div>
<div class="form-group">
<input type="submit" value="提交">
</div>
</form>
</div>
</body>
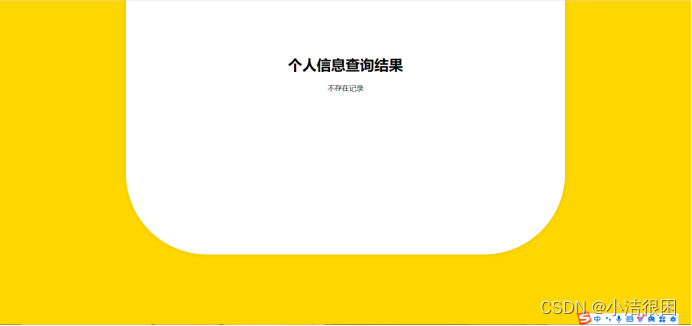
</html>3、在index.html里面按提交按钮之后,将其交由cgi脚本处理,根据输入的学号去本地文的数据库里面查找该学生的基本信息,包括学号、姓名以及所在学院,找到后构建想用Web界面,显示上述信息(要考虑没找到的情形,返回提示信息)
# -*- coding=utf-8 -*-

import cgi, html
import sqlite3

print('Content-type:text/html\n')
print('''
<!DOCTYPE html>
<html>
<head>
    <title>个人信息查询结果</title>
    <style>
        body {
            display: flex;
            justify-content: center;
            align-items: center;
            height: 40vh;
            margin: 1;
            background-color: #FFD700;
        }
        .container {
            background-color: white;
            padding: 360px;
            border-radius: 180px;
            box-shadow: 0 0 10px rgba(0, 0, 0, 0.1);
            text-align: center;
        }
    </style>
</head>
<body>
    <div class="container">
        <meta http-equiv="Content-Type" content="text/html; charset=gb2312" />
        <h1>个人信息查询结果</h1>
''')

# 读取客户输入
form = cgi.FieldStorage()
# 读取用户输入的学号
student_id = html.escape(form['student_id'].value)

# 查询数据库
results = "不存在记录"
conn = sqlite3.connect('students.db')
c = conn.cursor()
c.execute("SELECT * FROM students WHERE student_id = ?", (student_id,))
row = c.fetchone()
if row:
    student_id, name, department = row
    results = f'''
        <h2>
            学号:{student_id}<br>
            姓名:{name}<br>
            学院:{department}
        </h2>
    '''
conn.close()

print(results)
print('    </div>')
print('</body>')
print('</html>')
4、文件存放位置

六、运行及结果
注意:看好所运行的位置和运行的命令!!!


 5473
5473

 被折叠的 条评论
为什么被折叠?
被折叠的 条评论
为什么被折叠?
 到【灌水乐园】发言


