


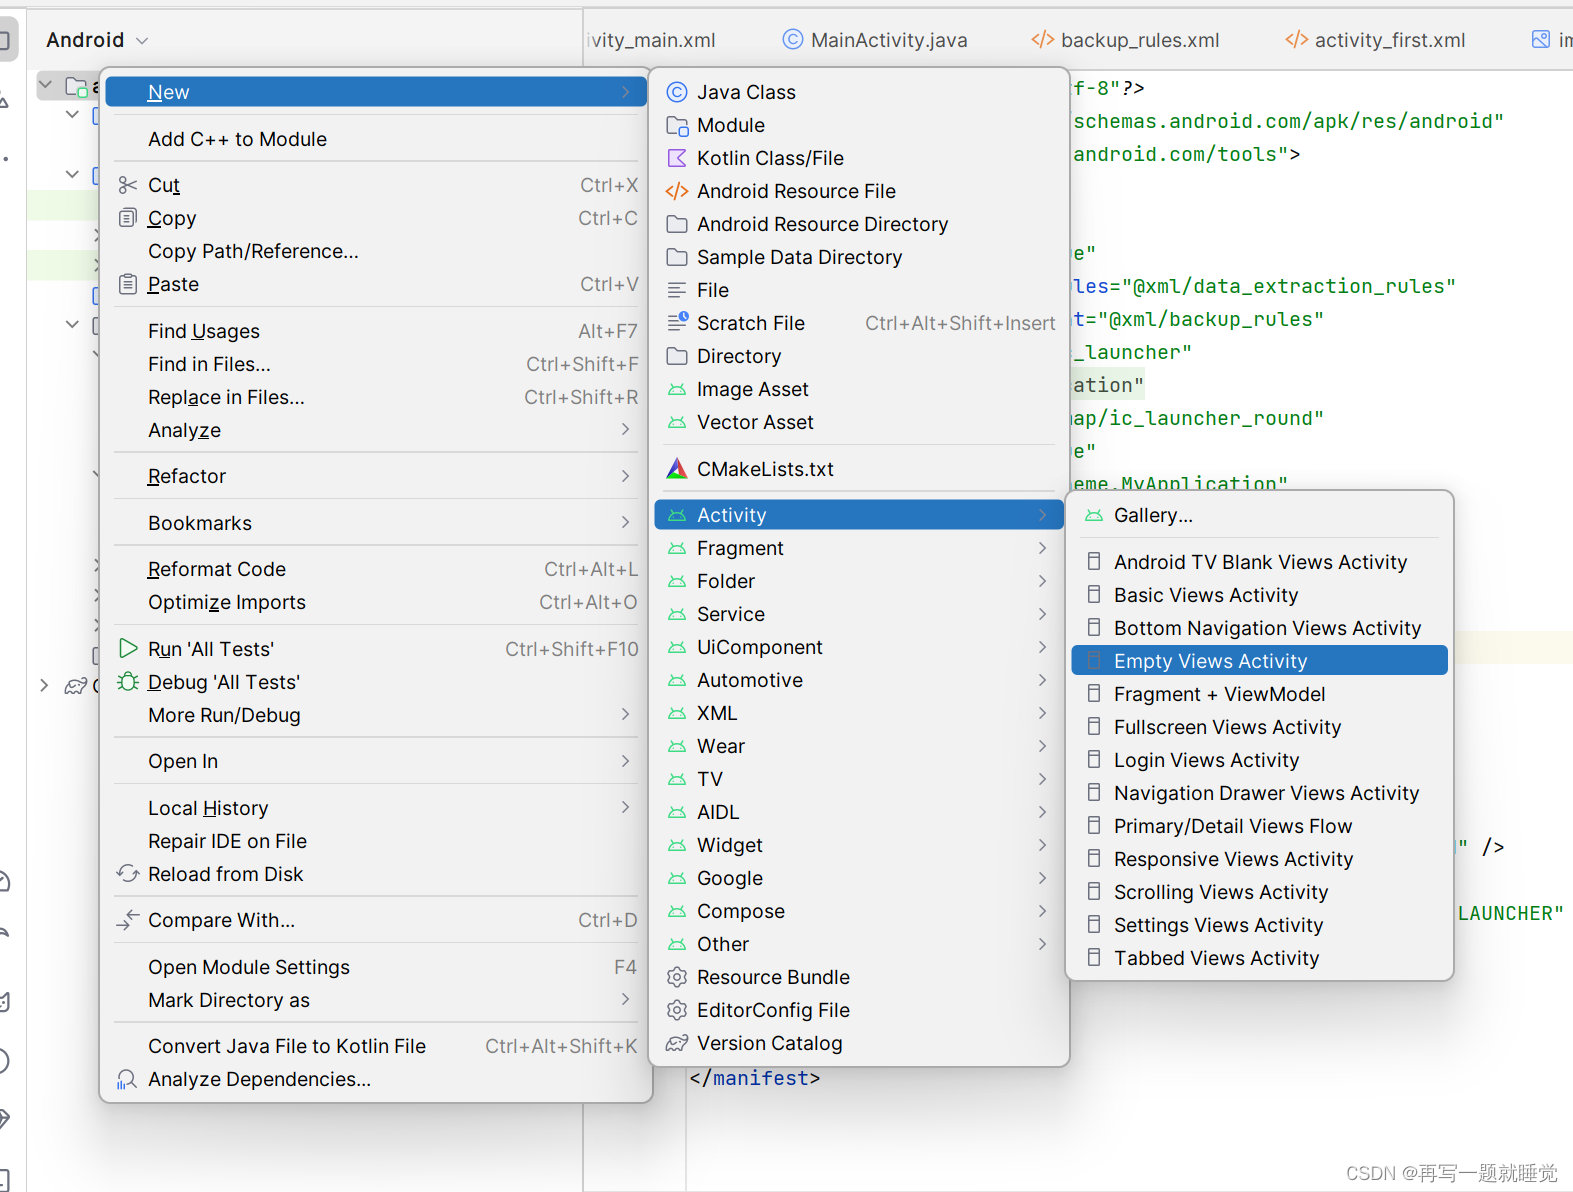
1首先先创建一个空的activity项目,接着设置自己的项目名称,勾选上lacuncher

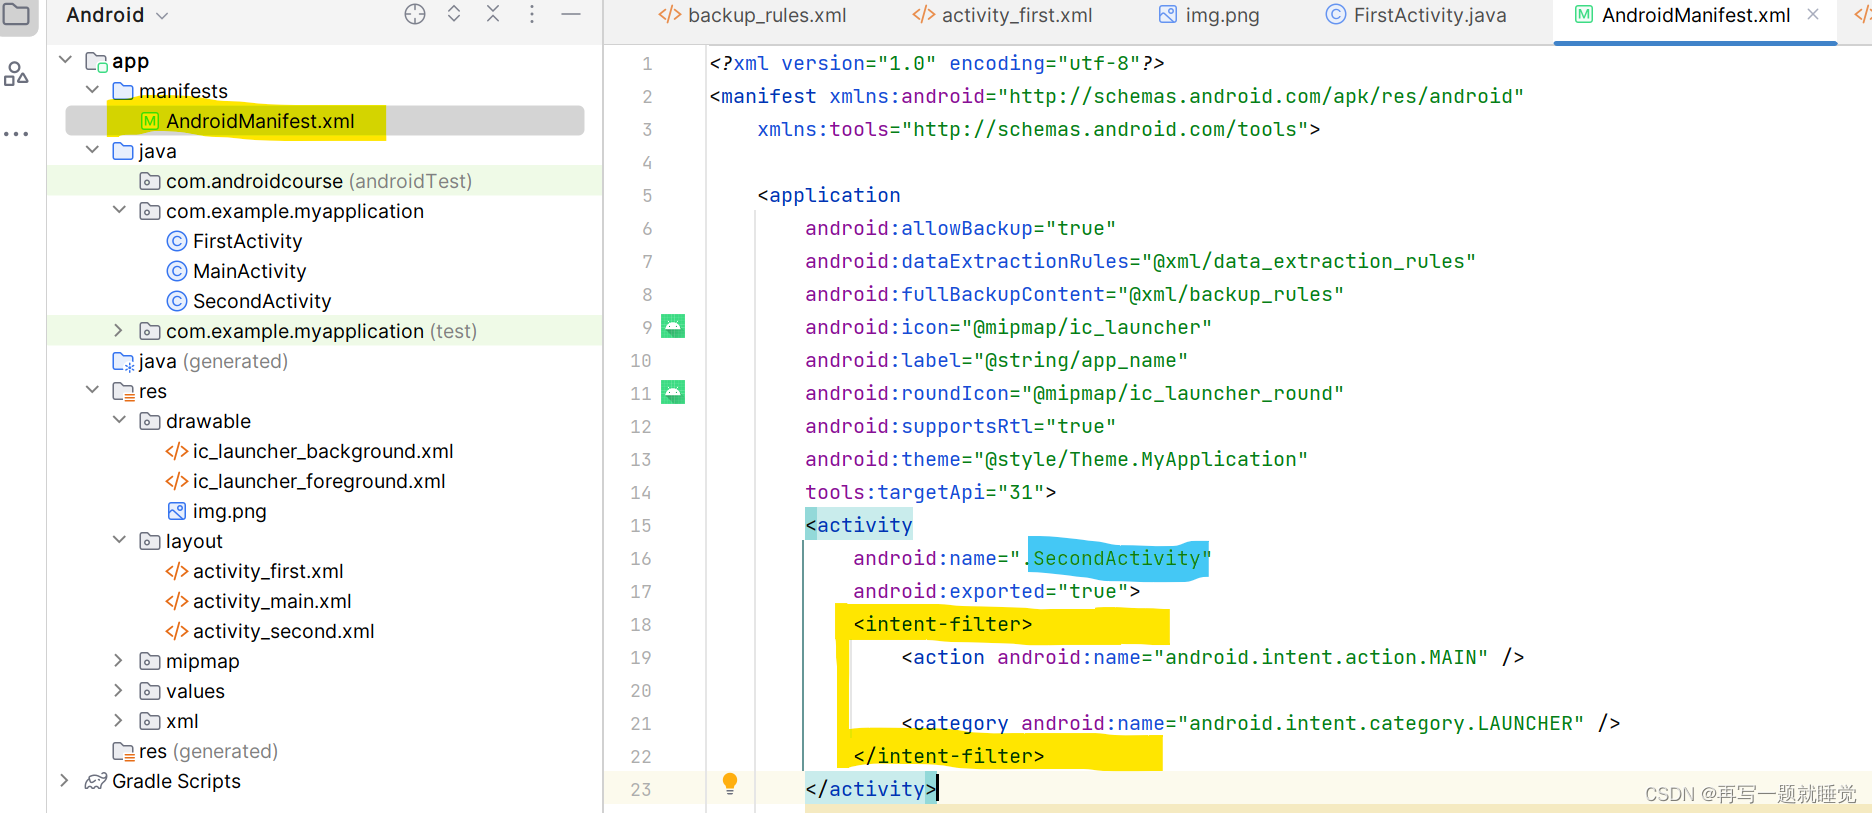
创建成功后点开manifests把刚刚创建的文件名下面的<intent-filter>这一行全部删除
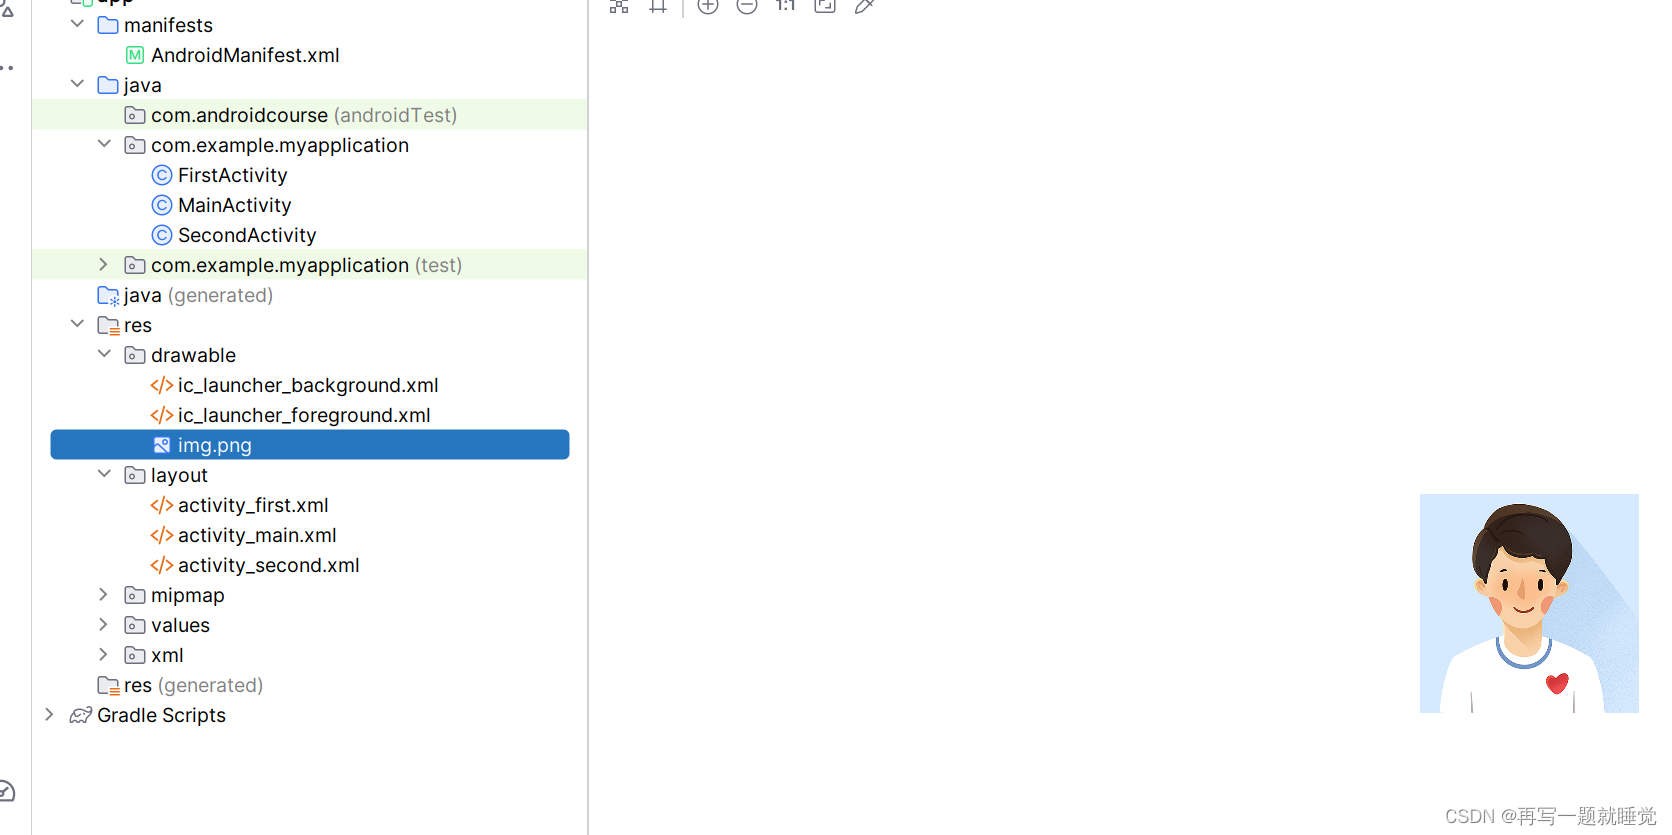
然后点开res,复制一张图片,右键drawable点击粘贴,这里放的是图片资源,用于放置登录头像
然后点开layout文件,开始编写我们的项目,右上角有三个选项分别为,展示代码,代码加效果,效果,这里我们选择代码加图片方便查看,当前为代码加效果,再点击一次还可以切换成上下。
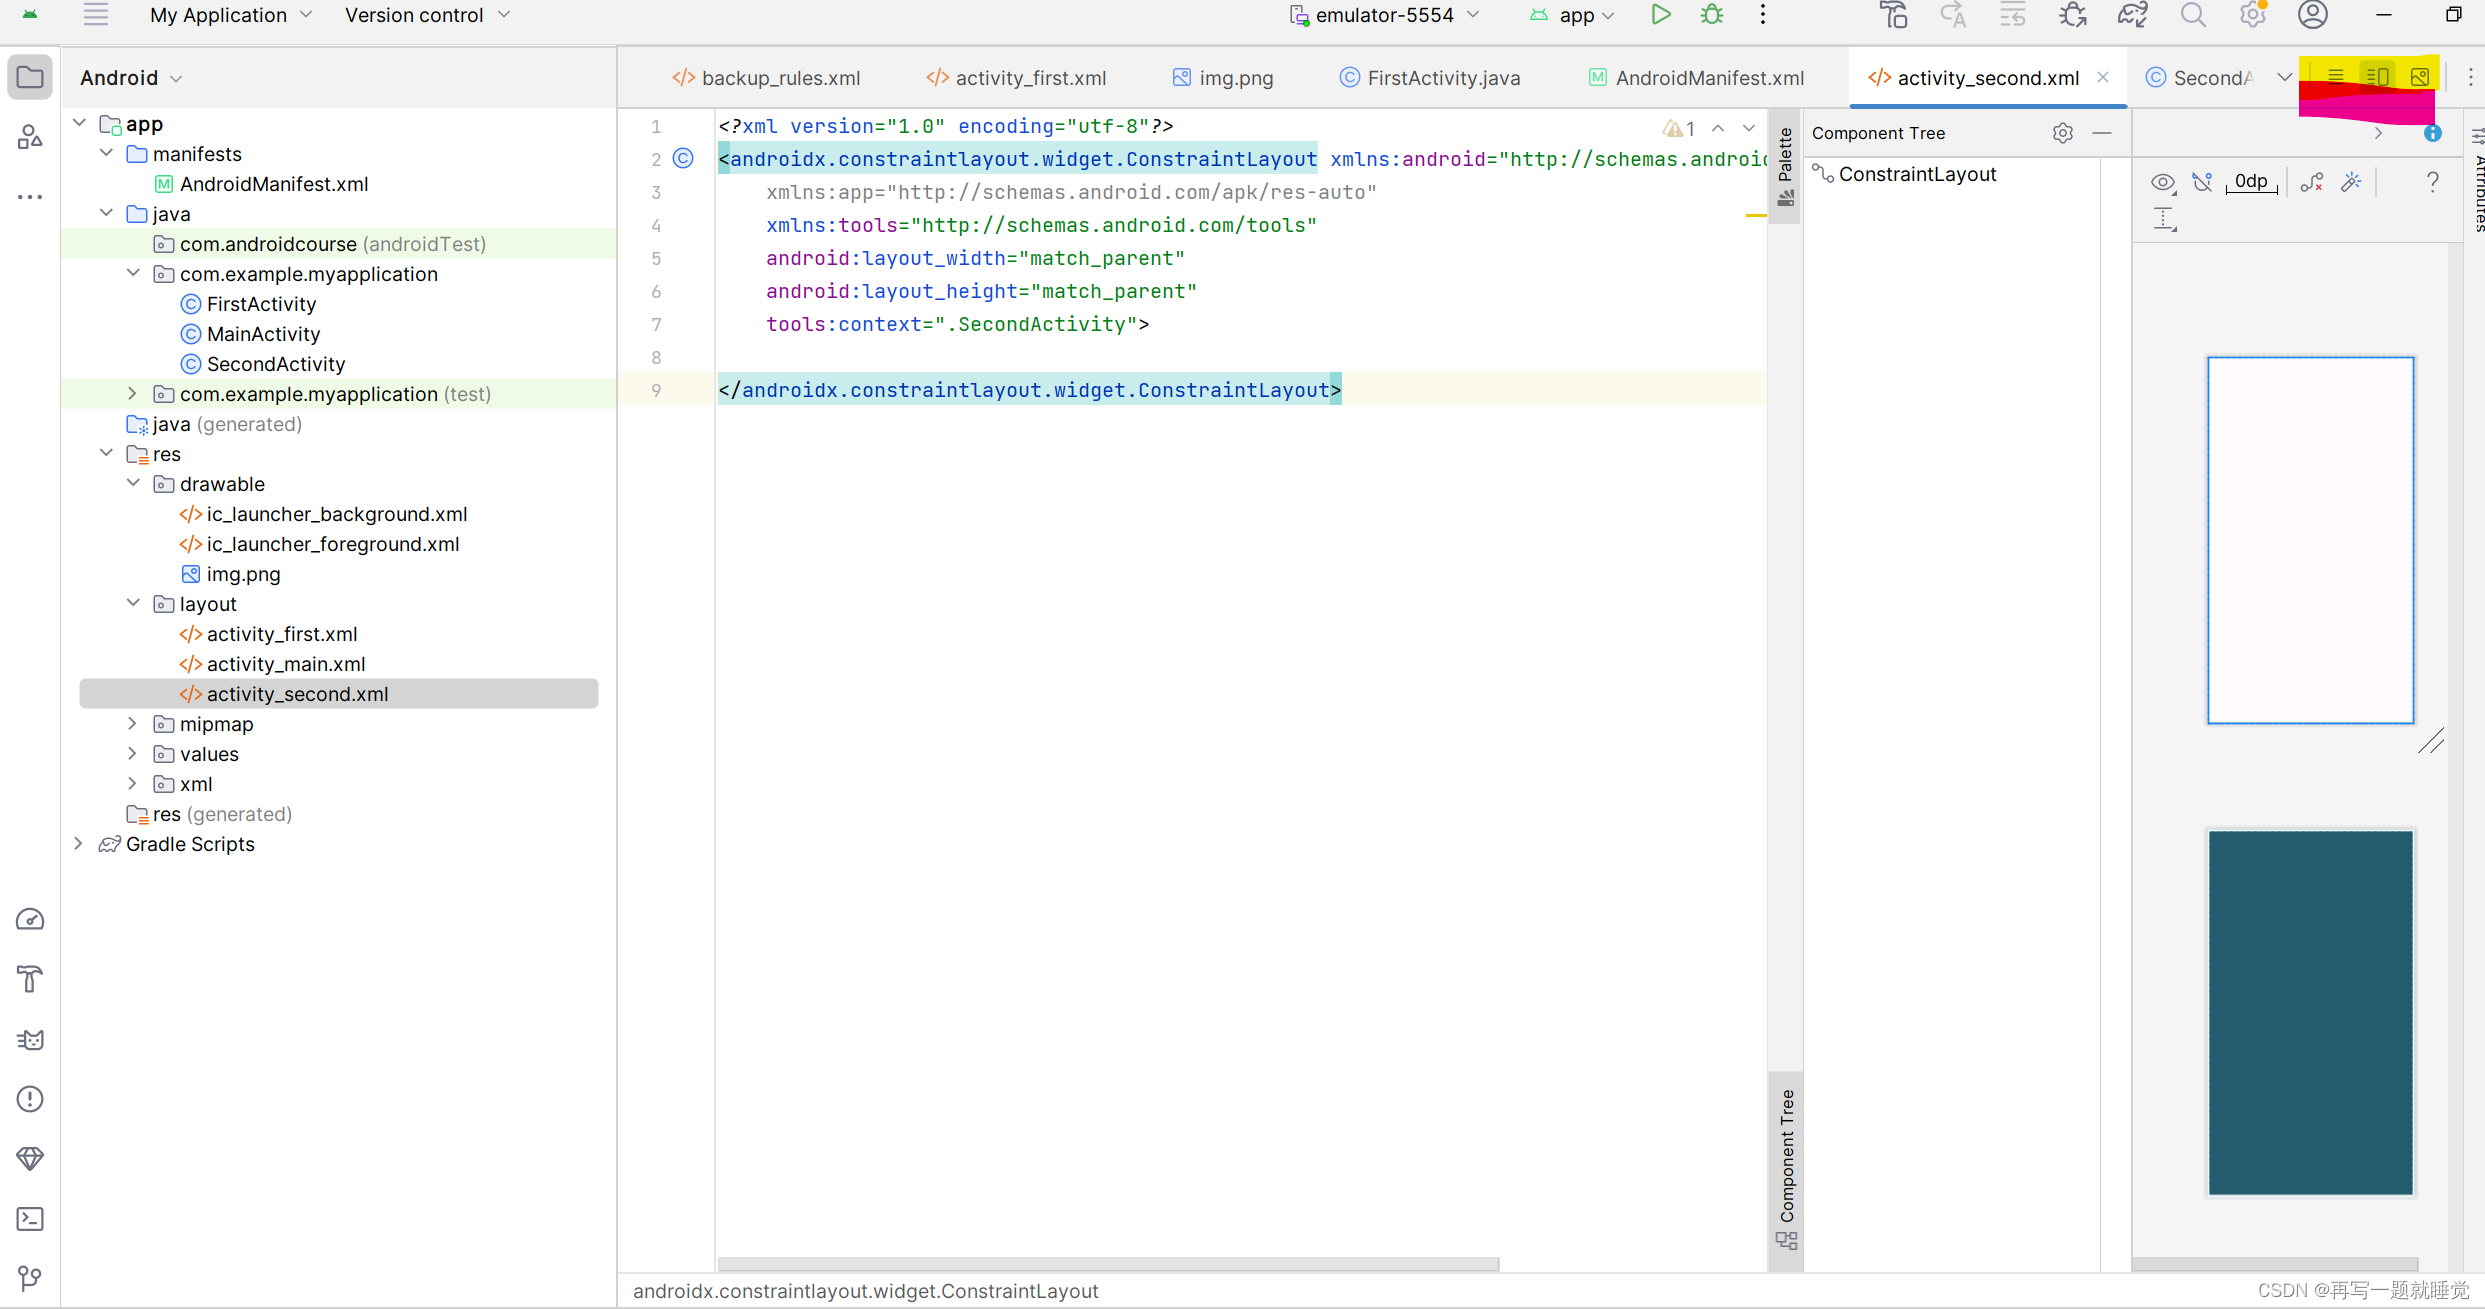
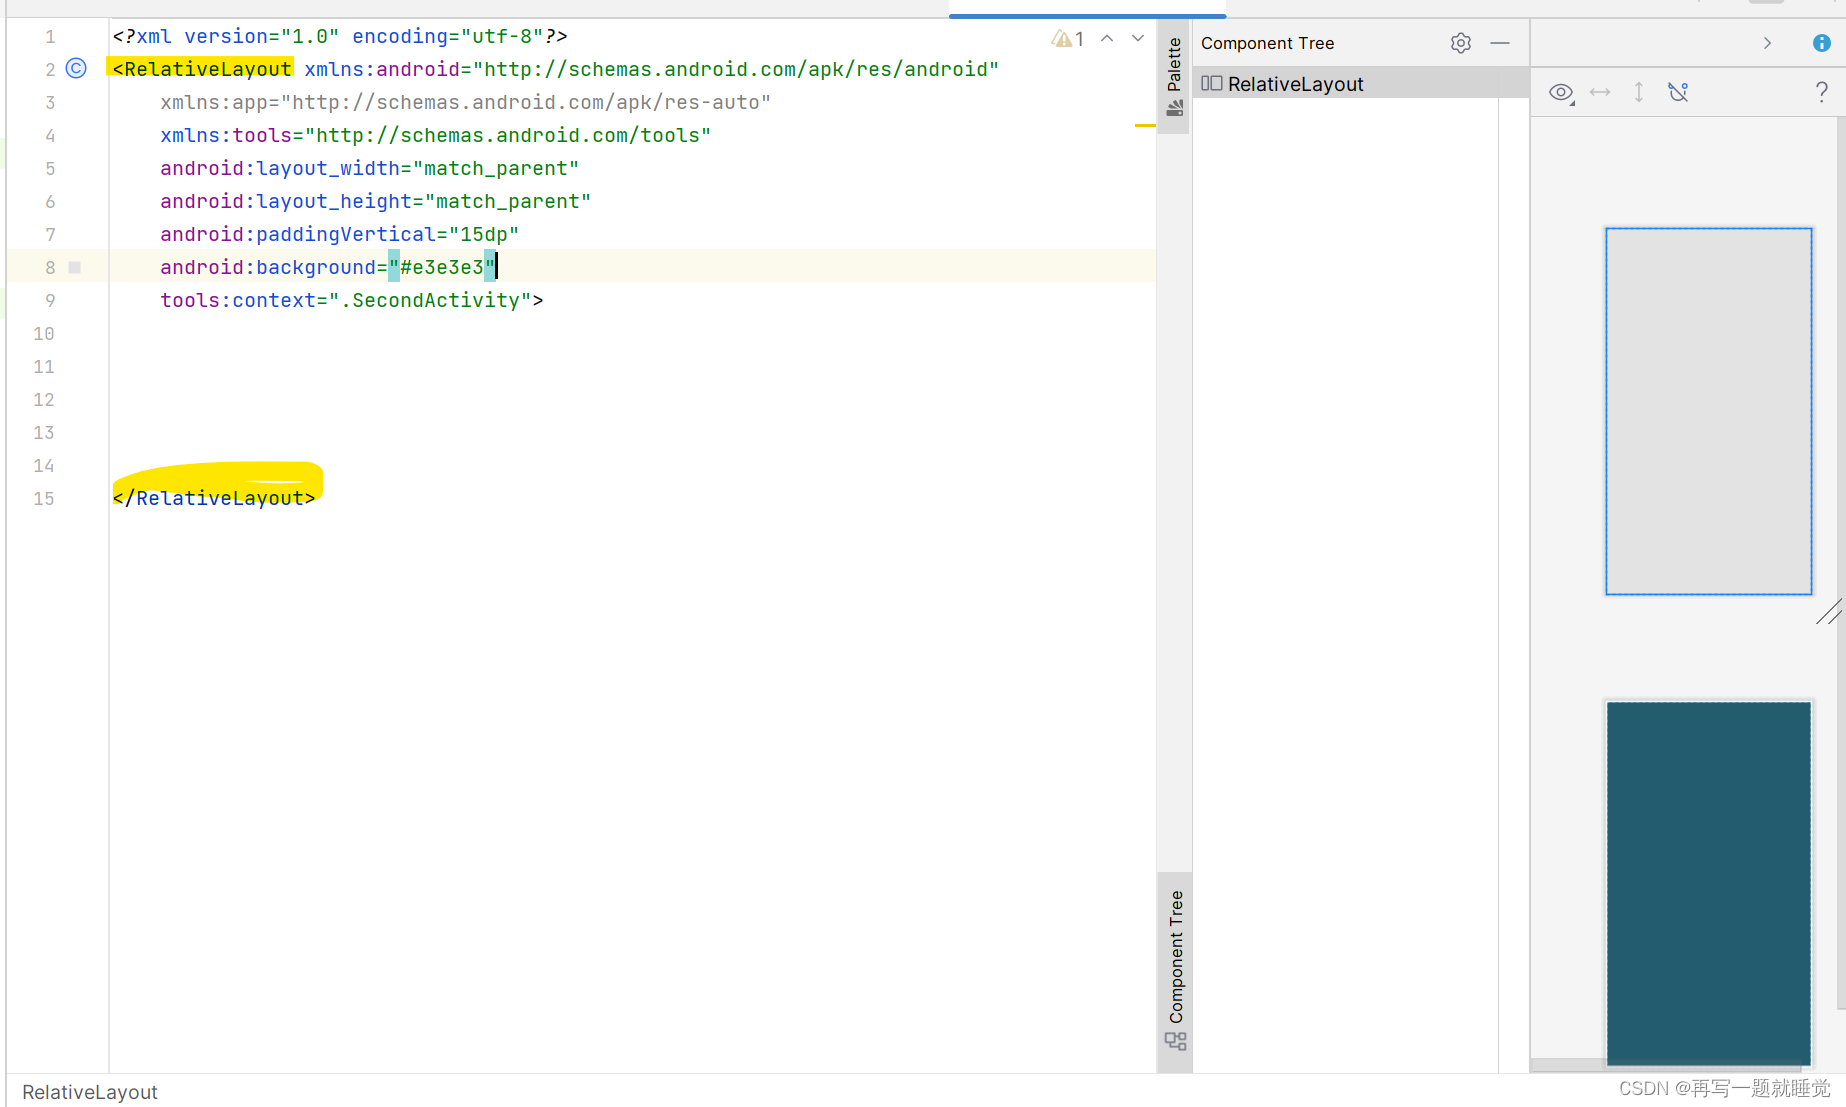
然后我们将原来的androidx这一串更改为RelativeLayout
设置距离边界的大小以及颜色
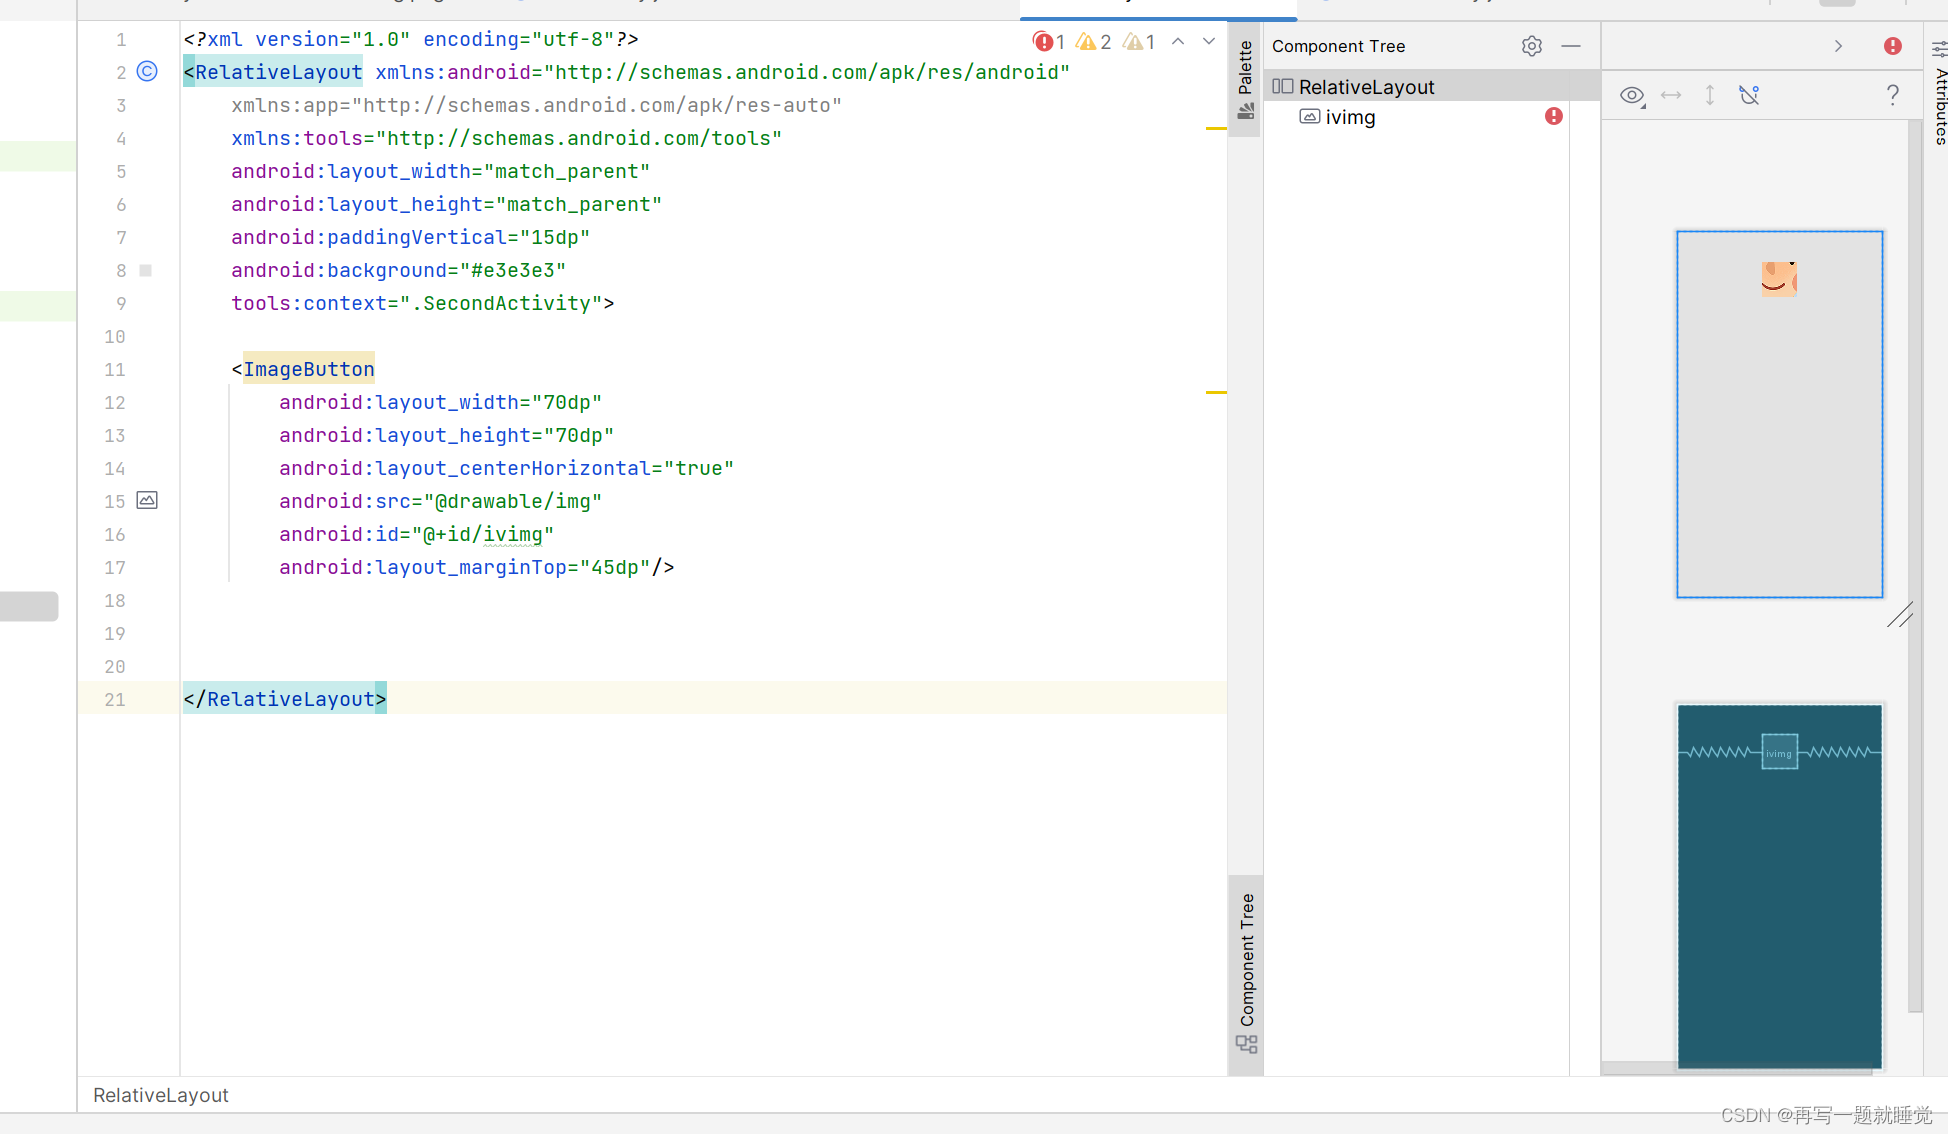
然后我们设置用户头像,并居中,编写如下代码,id是随便取的,但是需要记住,等下调节页面布局的时候需要用到
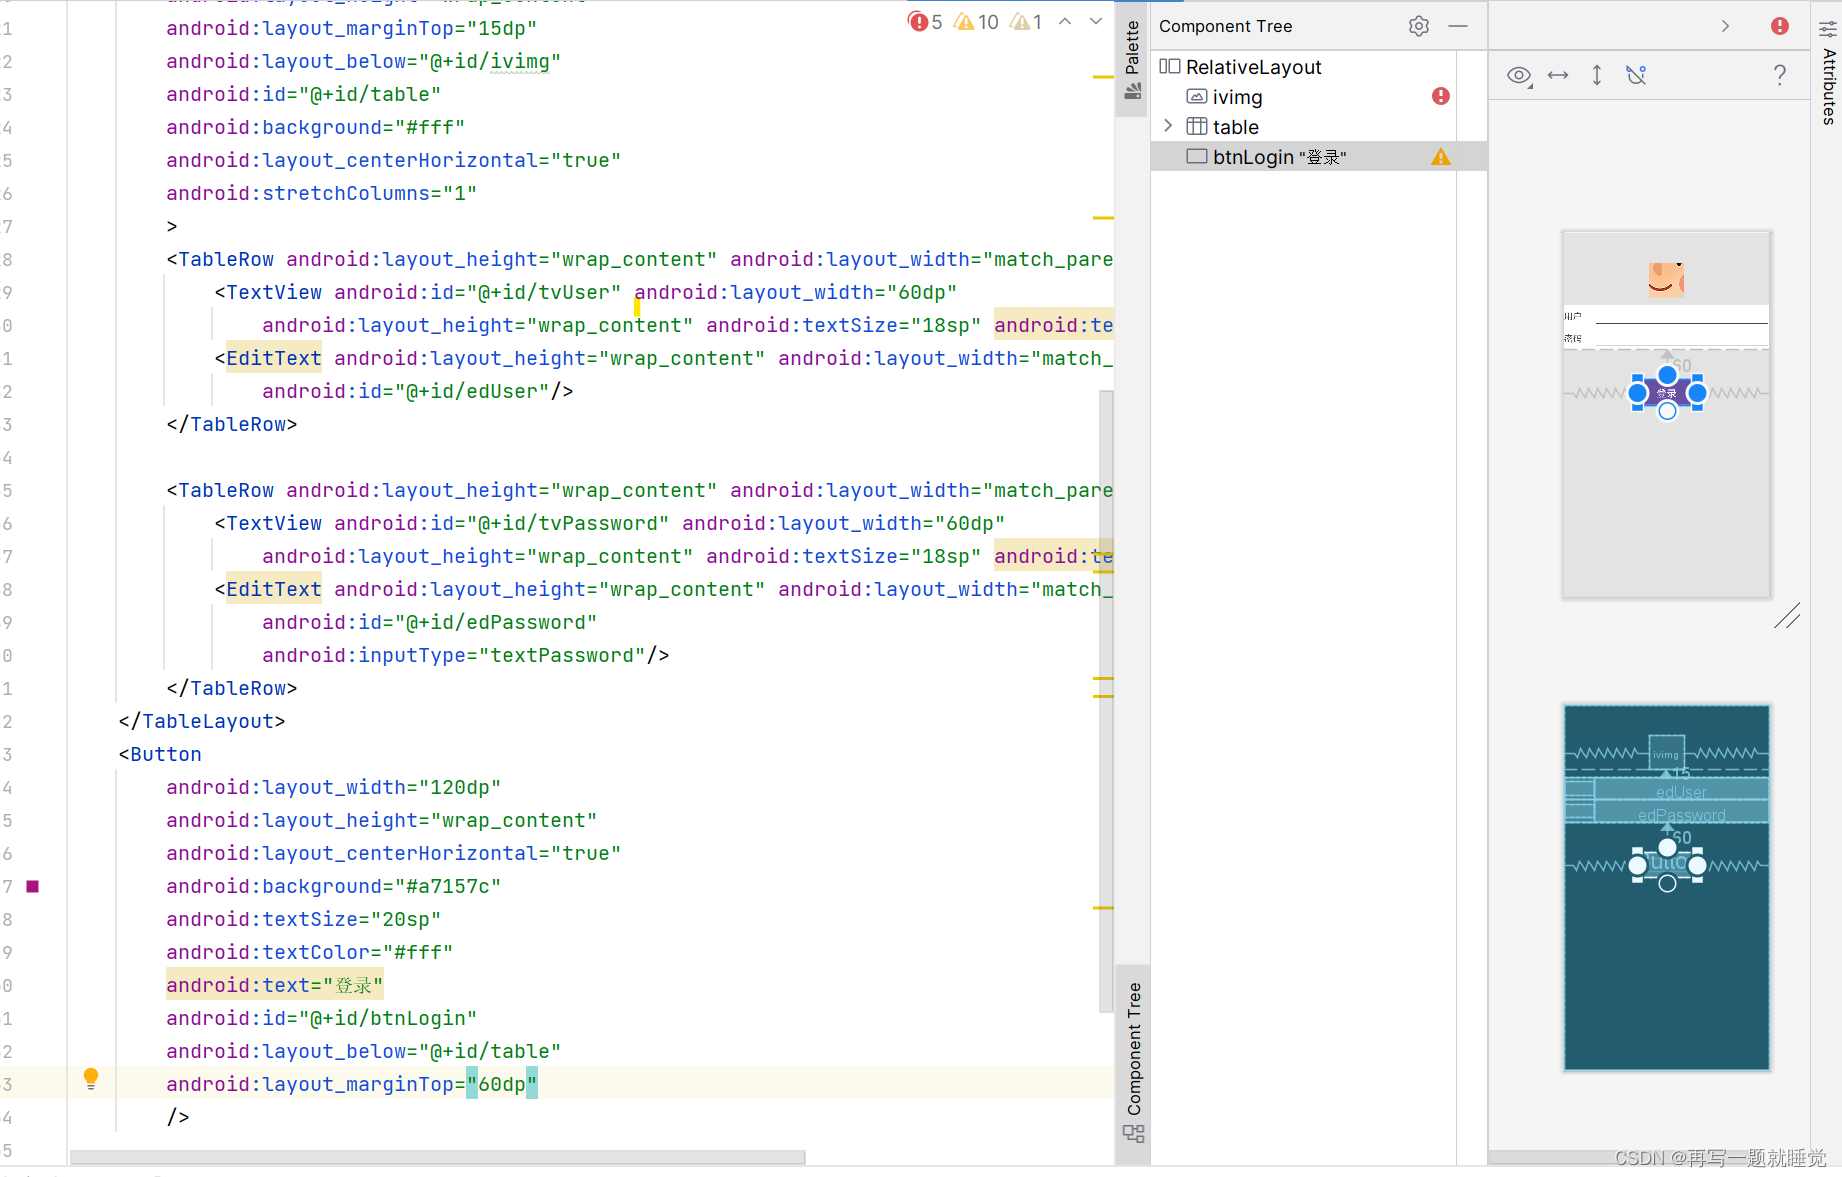
设计用户名和密码表格,这里重叠了效果不太好

最后加入一个登录按钮,然后根据id调节一下位置
最后运行一下

<?xml version="1.0" encoding="utf-8"?>
<RelativeLayout xmlns:android="http://schemas.android.com/apk/res/android"
    xmlns:app="http://schemas.android.com/apk/res-auto"
    xmlns:tools="http://schemas.android.com/tools"
    android:layout_width="match_parent"
    android:layout_height="match_parent"
    android:paddingVertical="15dp"
    android:background="#e3e3e3"
    tools:context=".SecondActivity">

    <ImageButton
        android:layout_width="70dp"
        android:layout_height="70dp"
        android:layout_centerHorizontal="true"
        android:src="@drawable/img"
        android:id="@+id/ivimg"
        android:layout_marginTop="45dp"/>
    <TableLayout
        android:layout_width="match_parent"
        android:layout_height="wrap_content"
        android:layout_marginTop="15dp"
        android:layout_below="@+id/ivimg"
        android:id="@+id/table"
        android:background="#fff"
        android:layout_centerHorizontal="true"
        android:stretchColumns="1"
        >
        <TableRow android:layout_height="wrap_content" android:layout_width="match_parent" android:id="@+id/row1" >
            <TextView android:id="@+id/tvUser" android:layout_width="60dp"
                android:layout_height="wrap_content" android:textSize="18sp" android:text="用户"/>
            <EditText android:layout_height="wrap_content" android:layout_width="match_parent"
                android:id="@+id/edUser"/>
        </TableRow>

        <TableRow android:layout_height="wrap_content" android:layout_width="match_parent" android:id="@+id/row2" >
            <TextView android:id="@+id/tvPassword" android:layout_width="60dp"
                android:layout_height="wrap_content" android:textSize="18sp" android:text="密码"/>
            <EditText android:layout_height="wrap_content" android:layout_width="match_parent"
                android:id="@+id/edPassword"
                android:inputType="textPassword"/>
        </TableRow>
    </TableLayout>
    <Button
        android:layout_width="120dp"
        android:layout_height="wrap_content"
        android:layout_centerHorizontal="true"
        android:background="#a7157c"
        android:textSize="20sp"
        android:textColor="#fff"
        android:text="登录"
        android:id="@+id/btnLogin"
        android:layout_below="@+id/table"
        android:layout_marginTop="60dp"
        />


</RelativeLayout>
最后就完成了一个简单页面的创建


 4100
4100

 被折叠的 条评论
为什么被折叠?
被折叠的 条评论
为什么被折叠?
 到【灌水乐园】发言


