


①前端编写
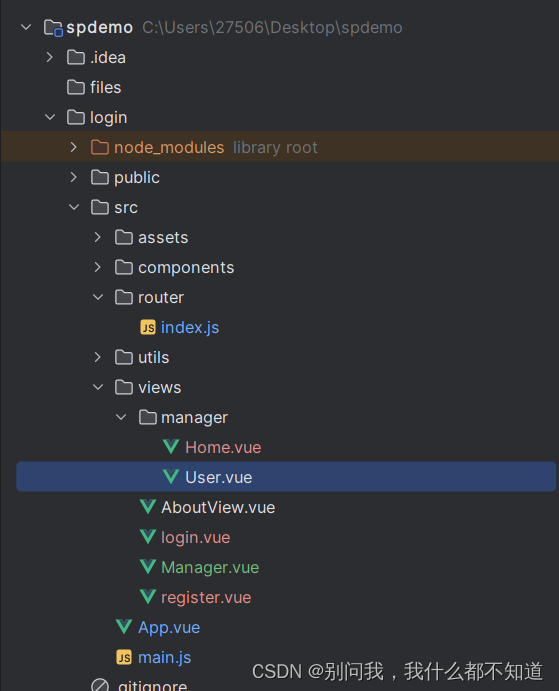
将Homeview修改为manager
Manager:
<template>
  <div>
    <el-container>
      <!--    侧边栏  -->
      <el-aside :width="asideWidth" style="min-height: 100vh; background-color: #001529">
        <div style="height: 60px; color: white; display: flex; align-items: center; justify-content: center">
          <img src="@/assets/logo1.png" alt="" style="width: 40px; height: 40px">
          <span class="logo-title" v-show="!isCollapse">honey2024</span>
        </div>

        <el-menu :collapse="isCollapse" :collapse-transition="false" router background-color="#001529" text-color="rgba(255, 255, 255, 0.65)" active-text-color="#fff" style="border: none" :default-active="$route.path">
          <el-menu-item index="/home">
            <i class="el-icon-s-home"></i>
            <span slot="title">系统首页</span>
          </el-menu-item>
          <el-submenu index="info" v-if="user.role === '管理员'">
            <template slot="title">
              <i class="el-icon-menu"></i>
              <span>信息管理</span>
            </template>
            <el-menu-item index="/user">用户信息</el-menu-item>
          </el-submenu>
        </el-menu>

      </el-aside>

      <el-container>
        <!--        头部区域-->
        <el-header>

          <i :class="collapseIcon" style="font-size: 26px" @click="handleCollapse"></i>
          <el-breadcrumb separator-class="el-icon-arrow-right" style="margin-left: 20px">
            <el-breadcrumb-item :to="{ path: '/' }">首页</el-breadcrumb-item>
            <el-breadcrumb-item :to="{ path: '/user' }">用户管理</el-breadcrumb-item>
          </el-breadcrumb>

          <div style="flex: 1; width: 0; display: flex; align-items: center; justify-content: flex-end">
            <i class="el-icon-quanping" style="font-size: 26px" @click="handleFull"></i>
            <el-dropdown placement="bottom">
              <div style="display: flex; align-items: center; cursor: default">
                <img src="@/assets/logo1.png" alt="" style="width: 40px; height: 40px; margin: 0 5px">
                <span>{{user.name}}</span>
              </div>
              <el-dropdown-menu slot="dropdown">
                <el-dropdown-item>个人信息</el-dropdown-item>
                <el-dropdown-item>修改密码</el-dropdown-item>
                <el-dropdown-item @click.native="logout">退出登录</el-dropdown-item>
              </el-dropdown-menu>
            </el-dropdown>
          </div>

        </el-header>

        <!--        主体区域-->
        <el-main>
          <router-view></router-view>
        </el-main>

      </el-container>


    </el-container>
  </div>
</template>

<script>
import axios from "axios";
import request from '@/utils/request'

export default {
  name: 'HomeView',
  data() {
    return {
      isCollapse: false,  // 不收缩
      asideWidth: '200px',
      collapseIcon: 'el-icon-s-fold',
      users: [],
      user:JSON.parse(localStorage.getItem('honey-user')||'{}'),
      url:'',
      urls:[]
    }
  },
  mounted() {
    // axios.get('http://localhost:9090/user/selectall').then(res=>{
    //   console.log(res.data);
    //   this.users=res.data.data
    // })

    request.get('/user/selectall').then(res => {
      this.users = res.data
    })
  },
  methods: {
    preview(url){
      window.open(url)
    },
    showUrls(){
      console.log(this.urls)
    },
    handleMutipleFileUpload(response,file,fileList){
      this.urls=fileList.map(v=>v.response?.data)
    },
    handleTableFileUpload(row,file,fileList){
      console.log(row,file,fileList)
      row.avatar=file.response.data
      // this.$set(row,'avatar',file.response.data)
      console.log(row)
      request.put('/user/update',row).then(res=>{
        if(res.code==='200'){
          this.$message.success('上传成功')
        }else{
          this.$message.error(res.msg)
        }
      })
    },
    handleFileUpload(response,file,fileList){
      this.fileList=fileList
      console.log(response,file,fileList)
    },
    logout() {
      localStorage.removeItem("honey-user")
      this.$router.push('/login')
    },
    handleFull() {
      document.documentElement.requestFullscreen()
    },
    handleCollapse() {
      this.isCollapse = !this.isCollapse
      this.asideWidth = this.isCollapse ? '64px' : '200px'
      this.collapseIcon = this.isCollapse ? 'el-icon-s-unfold' : 'el-icon-s-fold'
    }
  }
}
</script>

<style>
.el-menu--inline {
  background-color: #000c17 !important;
}

.el-menu--inline .el-menu-item {
  background-color: #000c17 !important;
  padding-left: 49px !important;
}

.el-menu-item:hover, .el-submenu__title:hover {
  color: #fff !important;
}

.el-submenu__title:hover i {
  color: #fff !important;
}

.el-menu-item:hover i {
  color: #fff !important;
}

.el-menu-item.is-active {
  background-color: #1890ff !important;
  border-radius: 5px !important;
  width: calc(100% - 8px);
  margin-left: 4px;
}

.el-menu-item.is-active i, .el-menu-item.is-active .el-tooltip {
  margin-left: -4px;
}

.el-menu-item {
  height: 40px !important;
  line-height: 40px !important;
}

.el-submenu__title {
  height: 40px !important;
  line-height: 40px !important;
}

.el-submenu .el-menu-item {
  min-width: 0 !important;
}

.el-menu--inline .el-menu-item.is-active {
  padding-left: 45px !important;
}

/*.el-submenu__icon-arrow {*/
/*  margin-top: -5px;*/
/*}*/

.el-aside {
  transition: width .3s;
  box-shadow: 2px 0 6px rgba(0, 21, 41, .35);
}

.logo-title {
  margin-left: 5px;
  font-size: 20px;
  transition: all .3s; /* 0.3s */
}

.el-header {
  box-shadow: 2px 0 6px rgba(0, 21, 41, .35);
  display: flex;
  align-items: center;
}
</style>
Home:
<template>
  <div>
    <div style="box-shadow: 0 0 10px rgba(0,0,0,.1); padding: 10px 20px; border-radius: 5px; margin-bottom: 10px">
      早安,{{user.name}},祝你开心每一天!
    </div>
    <div style="display: flex;">
      <el-card style="width: 100%;">
        <div slot="header" class="clearfix">
          <span>青哥哥带你做毕设2024</span>
        </div>
        <div>
          2024毕设正式开始了!青哥哥带你手把手敲出来!
          <div style="margin-top: 20px">
            <div style="margin: 10px 0"><strong>主题色</strong></div>
            <el-button type="primary">按钮</el-button>
            <el-button type="success">按钮</el-button>
            <el-button type="warning">按钮</el-button>
            <el-button type="danger">按钮</el-button>
            <el-button type="info">按钮</el-button>
          </div>
        </div>
      </el-card>
    </div>
  </div>
</template>

<script>
export default {
  name:'Home',
  data(){
    return{
      user:JSON.parse(localStorage.getItem('honey-user')||'{}')
    }
  }

}
</script>

<style scoped>

</style>
User:
<template>
  <div>
    <el-table :data="tableData" stripe>
      <el-table-column prop="id" label="ID"></el-table-column>
      <el-table-column prop="username" label="用户名"></el-table-column>
      <el-table-column prop="name" label="姓名"></el-table-column>
      <el-table-column prop="phone" label="手机号"></el-table-column>
      <el-table-column prop="email" label="邮箱"></el-table-column>
      <el-table-column prop="address" label="地址"></el-table-column>
      <el-table-column label="头像">
        <template v-slot="scope">
          <div style="display: flex;align-items: center">
            <el-image style="width: 50px;height: 50px;border-radius: 50%" v-if="scope.row.avatar" :src="scope.row.avatar" :preview-src-list="[scope.row.avatar]"></el-image>
          </div>
        </template>
      </el-table-column>
      <el-table-column prop="role" label="角色"></el-table-column>
      <el-table-column label="操作">
        <template v-slot="scope">
          <div style="display: flex">
            <el-button type="primary" plain size="mini">编辑</el-button>
            <el-button type="danger" plain size="mini">删除</el-button>
          </div>
        </template>
      </el-table-column>
    </el-table>
  </div>
</template>

<script>
export default {
  name:'User',
  data(){
    return{
      tableData:[]
    }
  },
  created() {
    this.load()
  },
  methods:{
    load(){
      this.$request.get('/user/selectall').then(res=>{
        this.tableData=res.data
      })
    }
  }
}
</script>

<style scoped>

</style>
router文件夹下的index.js:
import Vue from 'vue'
import VueRouter from 'vue-router'
import Manager from '../views/Manager.vue'

Vue.use(VueRouter)

const routes = [
  {
    path: '/',
    name: 'manager',
    component: Manager,
    children:[
      {path:'home',name:'Home',component:()=>import('../views/manager/Home.vue')},
      {
        path:'user',name:'User',component:()=>import('../views/manager/User.vue')
      }
    ],
    redirect:'/home'
  },
  {
    path: '/about',
    name: 'about',
    // route level code-splitting
    // this generates a separate chunk (about.[hash].js) for this route
    // which is lazy-loaded when the route is visited.
    component: () => import(/* webpackChunkName: "about" */ '../views/AboutView.vue')
  },
  {
    path:'/login',
    name:'login',
    component: ()=>import('../views/login.vue')
  },
  {
    path:'/register',
    name:'register',
    component: ()=>import('../views/register.vue')
  }
]

const router = new VueRouter({
  mode: 'history',
  base: process.env.BASE_URL,
  routes
})

export default router
②后端编写
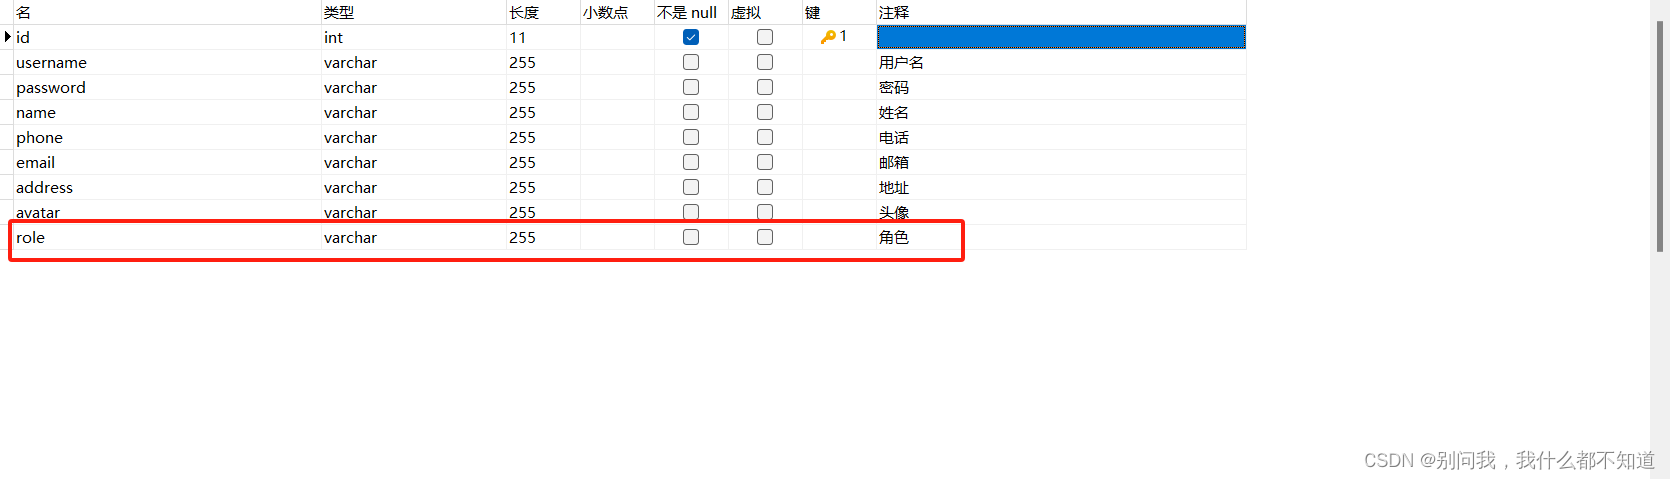
用navicate配置修改数据库:

Springboot修改:
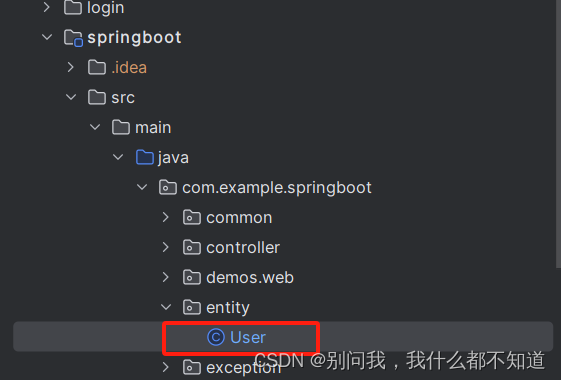
User:
package com.example.springboot.entity;

import lombok.AllArgsConstructor;
import lombok.Data;

@Data
public class User {
    private Integer id;
    private String username;
    private String password;
    private String name;
    private String phone;
    private String email;
    private String address;
    private String avatar;
    private String token;
    private String role;
}
③编写路由守卫
修改如图部分:

修改vue中router文件夹下index.js:
import Vue from 'vue'
import VueRouter from 'vue-router'
import Manager from '../views/Manager.vue'

Vue.use(VueRouter)

const routes = [
  {
    path: '/',
    name: 'manager',
    component: Manager,
    children:[
      {path:'home',name:'Home',component:()=>import('../views/manager/Home.vue')},
      {
        path:'user',name:'User',component:()=>import('../views/manager/User.vue')
      },
      {
        path:'403',name:'Auth',component:()=>import('../views/Auth.vue')
      }
    ],
    redirect:'/home'
  },
  {
    path: '/about',
    name: 'about',
    // route level code-splitting
    // this generates a separate chunk (about.[hash].js) for this route
    // which is lazy-loaded when the route is visited.
    component: () => import(/* webpackChunkName: "about" */ '../views/AboutView.vue')
  },
  {
    path:'/login',
    name:'login',
    component: ()=>import('../views/login.vue')
  },
  {
    path:'/register',
    name:'register',
    component: ()=>import('../views/register.vue')
  },
  {
    path:'*',
    name:'404',
    component: ()=>import('../views/404.vue')
  }
]

const router = new VueRouter({
  mode: 'history',
  base: process.env.BASE_URL,
  routes
})
router.beforeEach((to,from,next)=>{
  let adminPaths=['/user']
  let user=JSON.parse(localStorage.getItem('honey-user')||'{}')
  if(user.role !== '管理员' && adminPaths.includes(to.path)){
    next('/403')
  }else{
    next()
  }
})
export default router
编写404和无权访问(403)页面:自行美化
404:
<template>
  <div>
    <div style="height: 100vh;display: flex;align-items: center;justify-content: center">
      <div style="font-size: 40px">    404 找不到页面
        <router-link to="/">返回首页</router-link>
      </div>
    </div>
  </div>
</template>

<script>
export default {

}
</script>

<style scoped>

</style>
Auth:
<template>
  <div>
    <div style="height: calc(100vh - 80px);display: flex;align-items: center;justify-content: center">
      <div style="font-size: 40px">
        无权访问
        <router-link to="/">返回首页</router-link>
      </div>
    </div>
  </div>
</template>

<script>
export default {

}
</script>

<style scoped>

</style>
注册页修改配置:
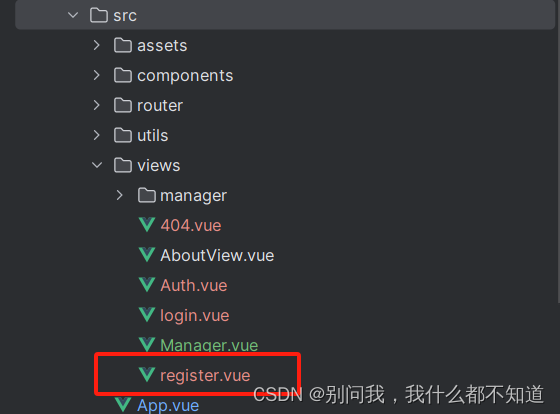
register:
<template>
  <div style="display: flex;align-items: center;justify-content: center;background-color: #669fefff;height: 100vh;">
    <div style="display: flex;width: 50%;background-color: white;border-radius: 5px;overflow: hidden;">
      <div style="flex: 1;">
        <img src="@/assets/register.png" alt="" style="width: 100%;">
      </div>
      <div style="flex: 1;display: flex;align-items: center;justify-content: center;">
        <el-form :model="user" style="width: 80%;" :rules="rules" ref="registerRef">
          <div style="font-weight: bold; font-size: 20px;margin-bottom: 20px;text-align: center;">
            欢迎注册后台管理系统
          </div>
          <el-form-item prop="username">
            <el-input placeholder="请输入用户名" v-model="user.username" prefix-icon="el-icon-user"></el-input>
          </el-form-item>
          <el-form-item prop="password">
            <el-input placeholder="请输入密码" v-model="user.password" show-password prefix-icon="el-icon-lock"></el-input>
          </el-form-item>
          <el-form-item prop="confirmPass">
            <el-input placeholder="请确认密码" v-model="user.confirmPass"></el-input>
          </el-form-item>
          <el-form-item prop="role">
            <el-radio-group v-model="user.role">
              <el-radio label="用户">
              </el-radio>
              <el-radio label="商家">
              </el-radio>
            </el-radio-group>
          </el-form-item>
          <el-form-item>
            <el-button type="primary" style="width: 100%;" @click="register">注册</el-button>
          </el-form-item>
          <div style="display: flex;">
            <div style="flex: 1;text-align: left">已没有账号?去<span style="color:aquamarine;cursor: pointer;" @click="$router.push('/login')">登录</span></div>
          </div>
        </el-form>
      </div>
    </div>
  </div>
</template>

<script>
export default {
  name:'register',
  data() {
    const validatePass = (rule, value, callback) => {
      if (value === '') {
        callback(new Error('请输入确认密码'));
      } else if(value !== this.user.password){
        callback(new Error('两次密码不一致'));
      } else {
        callback();
      }
    };
    return {
      code:'',
      user: {
        code:'',
        username: '',
        password: '',
        confirmPass:''
      },
      rules:{
        username:[{
          required:'true',message:'请输入账号',trigger:'blur'
        }],
        password:[{
          required:'true',message:'请输入密码',trigger:'blur'
        }],
        confirmPass:[{
          validator:validatePass,trigger:'blur'
        }],
        role:[
          {
            required:'true',message:'请选择角色',trigger:'blur'
          }
        ]
      },
    }
  },
  methods:{
    getCode(code){
      this.code=code.toLowerCase()
    },
    register(){
      this.$refs['registerRef'].validate((valid=>{
        if(valid){
          this.$request.post("/register",this.user).then(res=>{
            if(res.code === '200'){
              this.$router.push('/login')
              this.$message.success('注册成功')
            }else{
              this.$message.error(res.msg)
            }
            console.log(res);
          })
        }
      }))
    }
  }
}
</script>

<style scoped></style>
修改springboot中的Mapper文件夹下的Usermapper:为insert数据库添加一个role属性
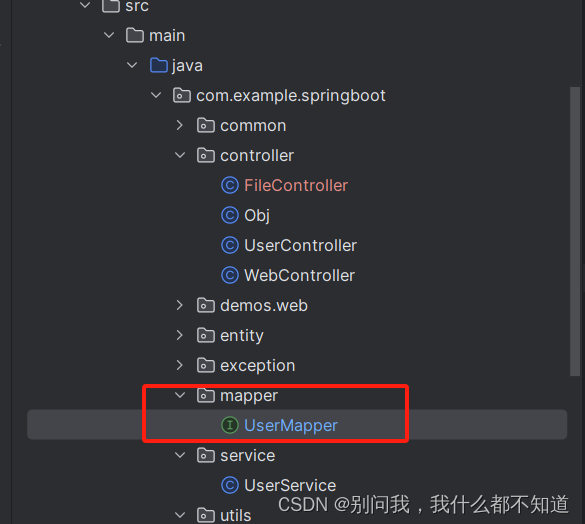
UserMapper:
package com.example.springboot.mapper;

import com.example.springboot.entity.User;
import org.apache.ibatis.annotations.*;

import java.util.List;

@Mapper
public interface UserMapper {
    @Insert("insert into `user` (username, password, name, phone, email, address, avatar, role) " +
            "values (#{username}, #{password}, #{name}, #{phone}, #{email}, #{address}, #{avatar},#{role})")
    void insert(User user);

    @Update("update `user` set username = #{username} , password = #{password} , name = #{name} , phone=#{phone} , email = #{email} , avatar=#{avatar} where id = #{id}")
    void updateUser(User user);

    @Delete("delete from `user` where id=#{id}")
    void deleteUser(Integer id);

    @Select("select * from `user` order by id desc")
    List<User> selectall();

    @Select("select * from `user` where id =#{id} order by id desc")
    User selectbyid(Integer id);

    @Select("select * from `user` where name = #{name} order by id desc")
    List<User> selectbyname(String name);
    @Select("select * from `user` where username = #{username} and name = #{name} order by id desc")
    List<User> selectbymore(@Param("username") String username,@Param("name") String name);

    @Select("select * from `user` where username like  concat('%',#{username},'%') or name like concat('%',#{name},'%') order by id desc")
    List<User> selectbymo(@Param("username") String username,@Param("name") String name);

    @Select("select * from `user` where username = #{username} order by id desc")
    User selectbyUsername(String username);

}


 6379
6379


 被折叠的 条评论
为什么被折叠?
被折叠的 条评论
为什么被折叠?
 到【灌水乐园】发言


