image-animator组件为图片帧动画播放器。
创建image-animator组件
在pages/index目录下的hml文件中创建一个image-animator组件,css文件中编写组件样式,js文件中引用图片。
<!-- xxx.hml -->
<div class="container">
  <image-animator class="animator" images="{{frames}}" duration="3s"/>
</div>
/* xxx.css */
.container {
  width: 100%;
  height: 100%;
  flex-direction: column;
  justify-content: center;
  align-items: center;
  background-color: #F1F3F5;
}
.animator {
  width: 500px;
  height: 500px;
}
// index.js
export default {
  data: {
    frames: [
      {
        src: "/common/landscape1.jpg",
      },
      {
        src: "/common/landscape2.jpg",
      }
    ],
  },
};

设置image-animator组件属性
添加iteration(播放次数)、reverse(播放顺序)、fixedsize(图片大小是否固定为组件大小)、duration(播放时长)和fillmode(执行结束后的状态)属性,控制图片的播放效果。
<!-- xxx.hml -->
<div class="container">
  <image-animator class="animator" fixedsize="false" iteration='2' reverse="false" ref="animator" fillmode="none" images="{{frames}}"   duration="5s" />
</div>
/* xxx.css */
.container {
  width: 100%;
  height: 100%;
  flex-direction: column;
  background-color: #F1F3F5;
}
.animator {
  width: 500px;
  height: 500px;
}
// index.js
export default {
  data: {
    frames: [
      {
        src: 'common/landscape1.jpg',
        width: '250px',
        height: '250px',
        left: '150px',
        top: '50px',
      },
      {
        src: 'common/landscape2.jpg',
        width: '300px',
        height: '300px',
        left: '150px',
        top: '100px',
      },
      {
        src: 'common/landscape1.jpg',
        width: '350px',
        height: '350px',
        left: '150px',
        top: '150px',
      },
      {
        src: 'common/landscape2.jpg',
        width: '400px',
        height: '400px',
        left: '150px',
        top: '200px',
      },
      {
        src: 'common/landscape3.jpg',
        width: '450px',
        height: '450px',
        left: '150px',
        top: '250px',
      },
      {
        src: 'common/landscape4.jpg',
        width: '500px',
        height: '500px',
        left: '150px',
        top: '300px',
      },
    ],
  },
};

说明
- 如果在images属性中设置了单独的duration属性,在image-animator组件中设置的duration属性无效。
- 如果fixedsize属性值设置为true,图片的width 、height 、top 和left属性无效。
- 如果reverse属性值设置为false,表示从第1张图片播放到最后1张图片。 如果reverse属性值设置为true,表示从最后1张图片播放到第1张图片。
绑定事件
向image-animator组件添加start、pause、stop和resume事件。当图片播放器开始播放时触发start事件,当图片播放器被点击时触发pause事件,长按图片播放器触发resume事件,图片播放器停止播放时触发stop事件。
<!-- xxx.hml -->
<div class="doc-page">
  <image-animator class="img" id="img" images="{{imginfo}}" iteration="1" duration="10s" onstart="popstart" onpause="poppause"   onstop="popstop" onresume="popresume" onlongpress="setresume" onclick="setpause">
  </image-animator>
</div>
/* xxx.css */
.doc-page {
  width: 100%;
  height: 100%;
  flex-direction: column;
  align-items: center;
  justify-content: center;
   background-color: #F1F3F5;
}
.img {
  width: 600px;
  height: 600px;
  border: 3px solid orange;
}
// index.js
import promptAction from '@ohos.promptAction';
export default {
  data: {
    imginfo: [
      {
        src: 'common/landscape1.jpg',
      },{
        src: 'common/landscape2.jpg',
      },{
        src: 'common/landscape3.jpg',
      },{
        src: 'common/landscape4.jpg',
      }
    ],
  },
  onInit() {
  },
  setpause(e) {
    this.$element('img').pause()
  },
  setresume(e) {
    this.$element('img').resume()
  },
  popstart(e) {
    promptAction.showToast({
      message: '开始'
    })
  },
  poppause(e) {
    promptAction.showToast({
      message: '暂停'
    })
  },
  popstop(e) {
    promptAction.showToast({
      message: '停止'
    })
  },
  popresume(e) {
    promptAction.showToast({
      message: '恢复'
    })
  }
}

场景示例
在本场景中,开发者可通过开始播放、停止播放等按钮切换图片的播放状态。
image-animator组件通过调用start、pause、stop和resume方法控制图片的开始、暂停、停止和重新播放,通过getState方法查询图片的播放状态。
<!-- xxx.hml -->
<div class="doc-page">
  <image-animator class="img" id="img" images="{{imginfo}}" iteration="2" reverse="{{rev}}" duration="10s">
  </image-animator>
  <div style="width: 700px;height:450px;margin-top: 40px;flex-direction:column;justify-content:space-around;">
    <div class="container">
      <button type="capsule" value="开始播放" onclick="startimg"></button>
      <button type="capsule" value="暂停播放" onclick="pauseimg"></button>
    </div>
    <div class="container">
      <button type="capsule" value="停止播放" onclick="stopimg"></button>
      <button type="capsule" value="重新播放" onclick="resumeimg"></button>
    </div>
    <div class="container">
      <button type="capsule" value="获取播放状态" onclick="getimgstate"></button>
      <button type="capsule" value="{{revVal}}" onclick="revimg"></button>
    </div>
  </div>
</div>
/* xxx.css */
.doc-page {
  width: 100%;
  height: 100%;
  flex-direction: column;
  align-items: center;
  justify-content: center;
  background-color: #F1F3F5;
}
.img {
  width: 600px;
  height: 600px;
  border: 3px solid orange;
}
button{
  width: 260px
}
.container {
  width: 100%;
  height: 120px;
  align-items: center;
  justify-content: space-around;
}
// index.js
import promptAction from '@ohos.promptAction';
export default {
  data: {
    rev:false,
    imginfo: [
      {
        src: 'common/landscape1.jpg',
      },{
        src: 'common/landscape2.jpg',
      },{
        src: 'common/landscape3.jpg',
      },{
        src: 'common/landscape4.jpg',
      }
    ],
    revVal: '反向播放'
  },
  onInit() {
  },
  startimg(e) {
    this.$element('img').start()
  },
  pauseimg(e) {
    this.$element('img').pause()
  },
  stopimg(e) {
    this.$element('img').stop()
  },
  resumeimg(e) {
    this.$element('img').resume()
  },
  getimgstate(e) {
    promptAction.showToast({
      message: '当前状态:' + this.$element('img').getState()
    })
  },
  revimg(e) {
    this.rev = !this.rev
    if (this.rev) {
      this.revVal = '正向播放'
    } else {
      this.revVal = '反向播放'
    }
  }
}

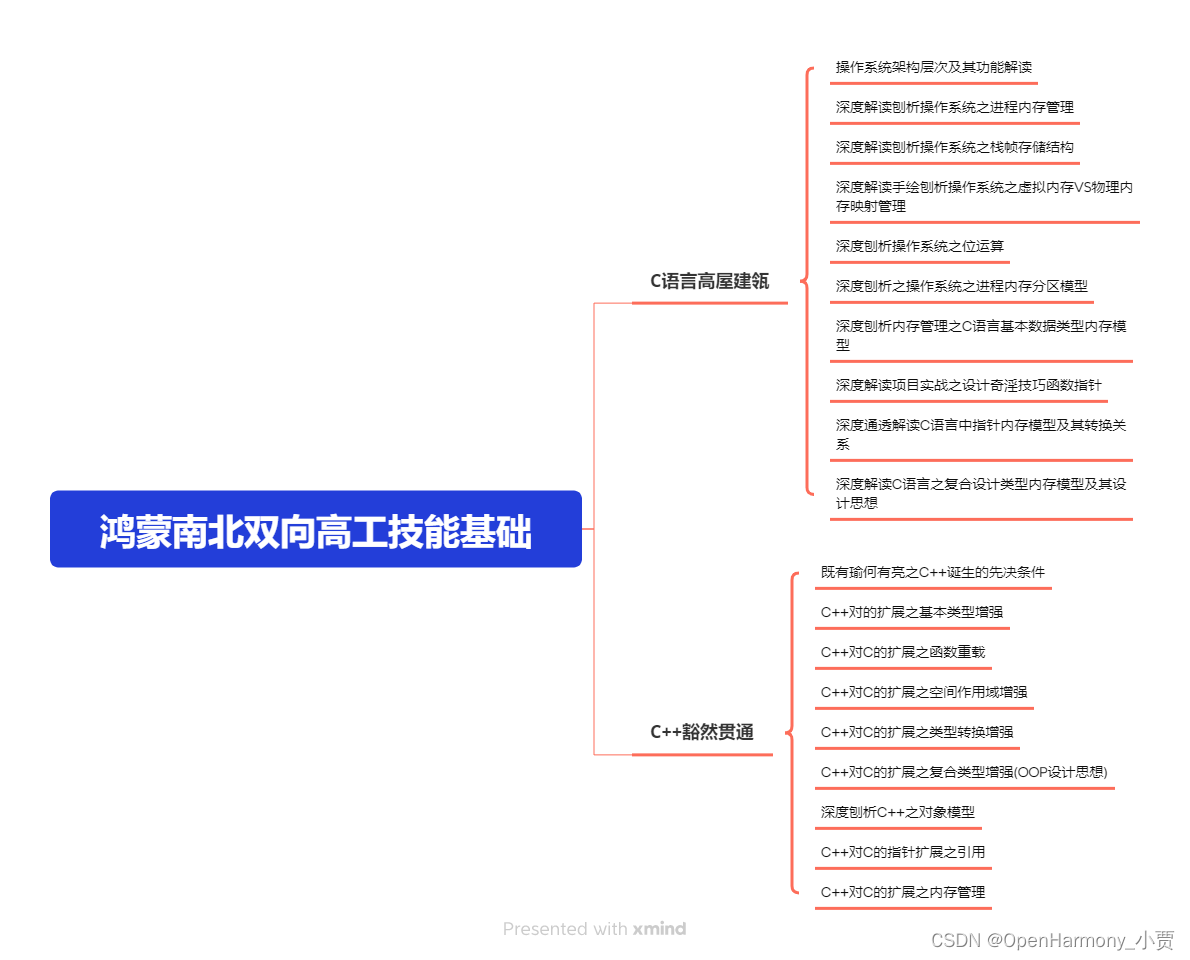
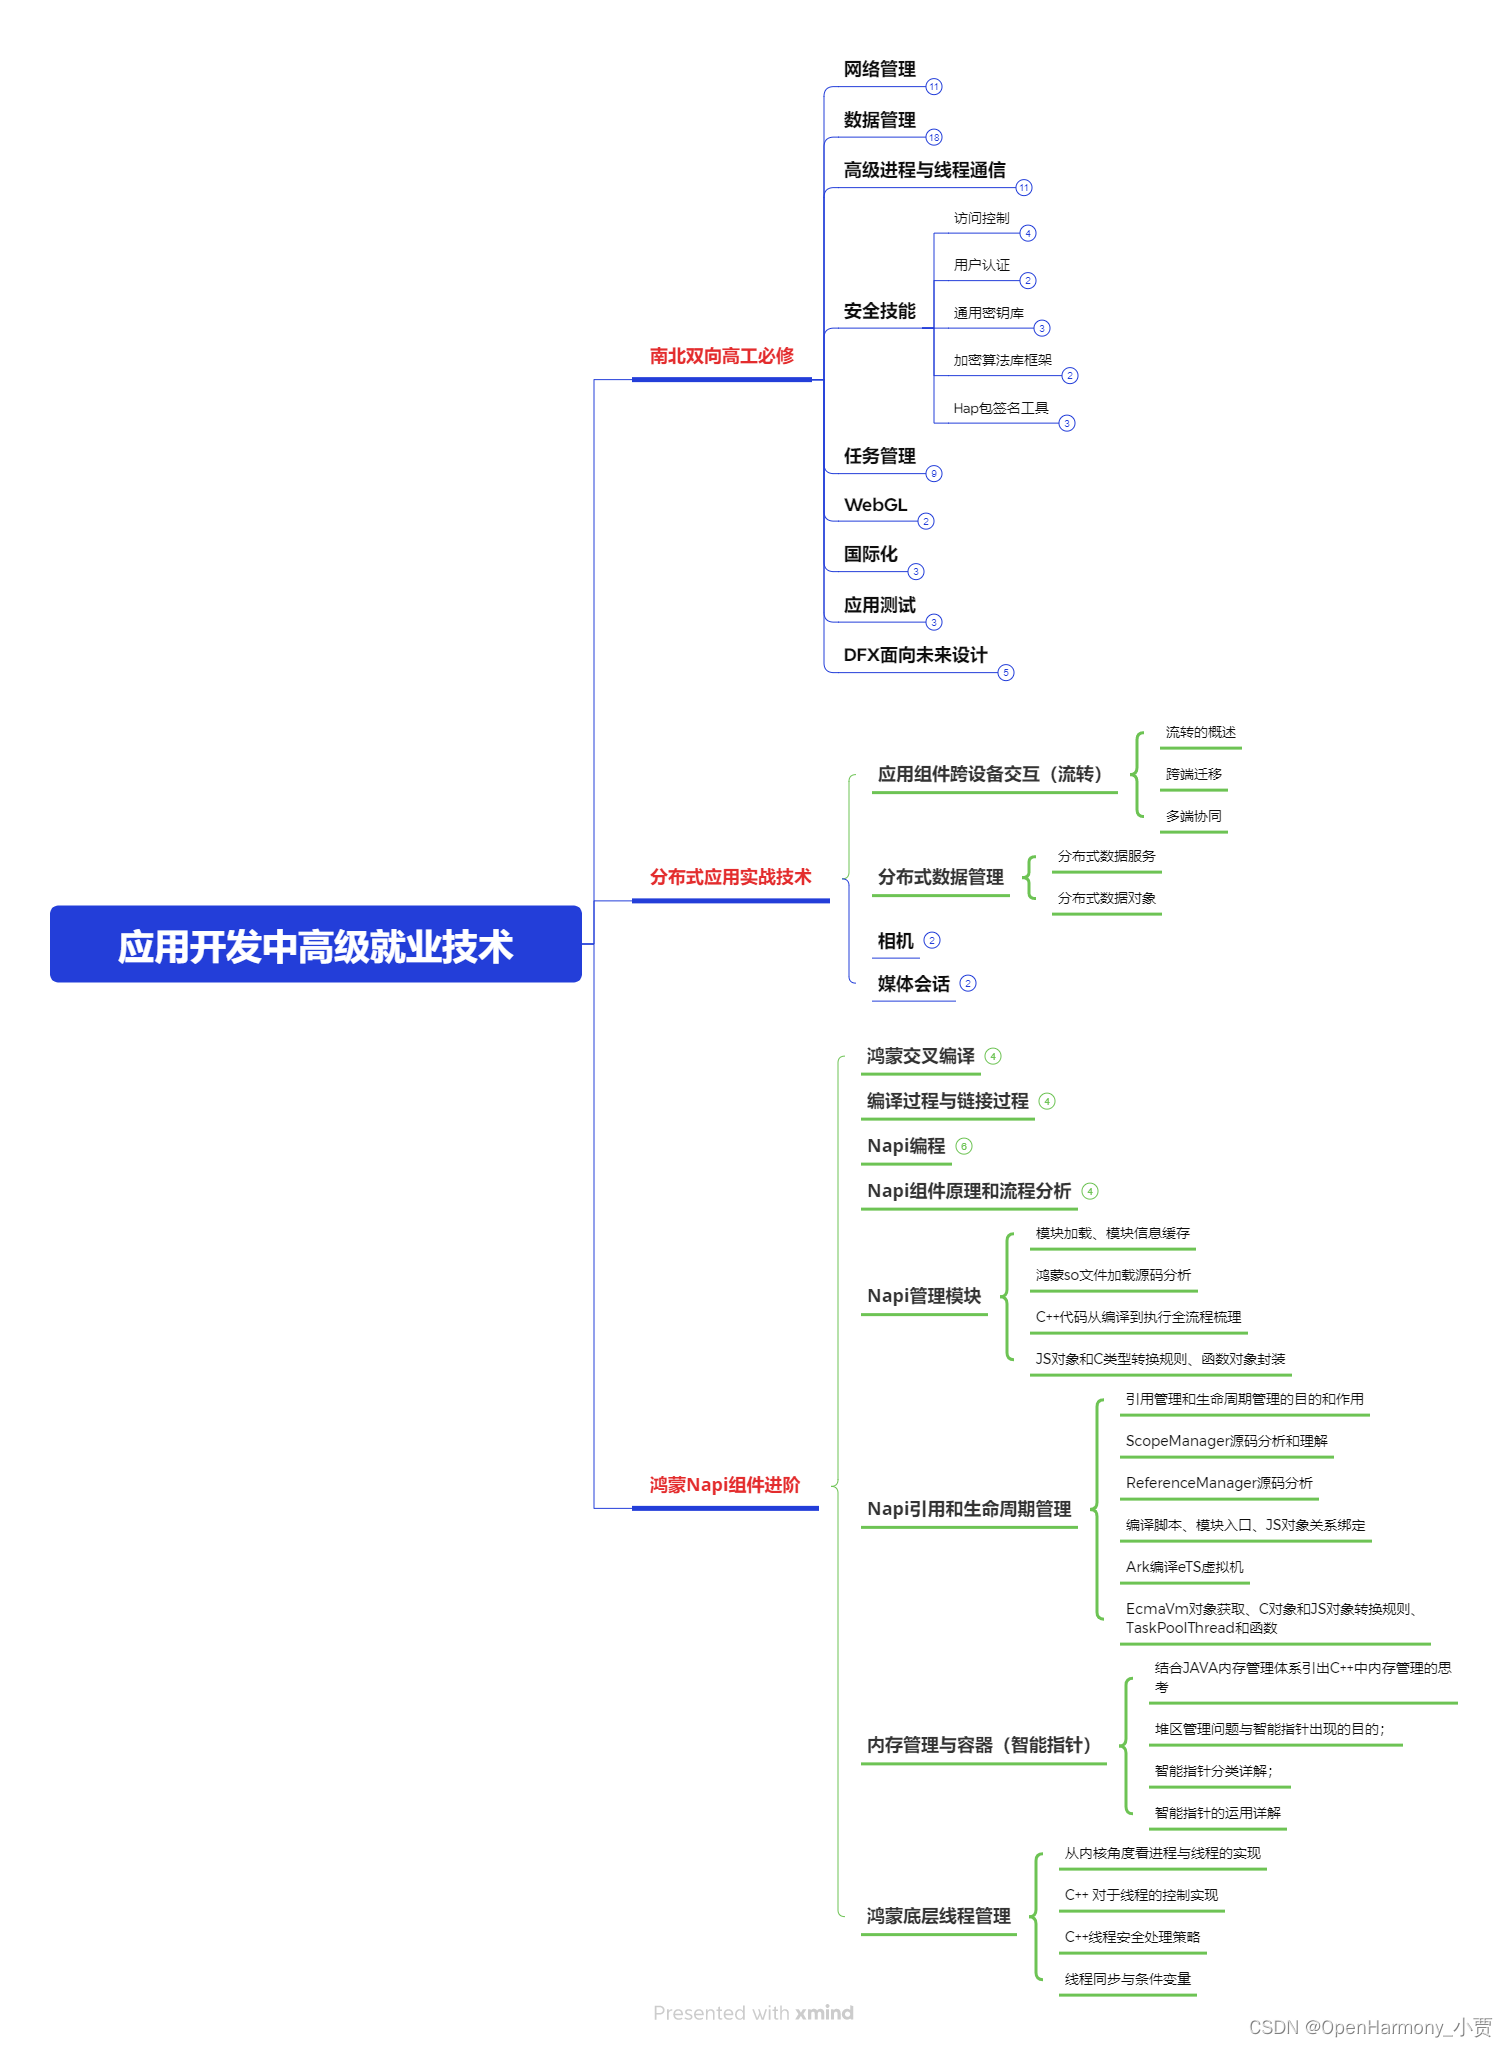
鸿蒙全栈开发全新学习指南
有很多小伙伴不知道学习哪些鸿蒙开发技术?不知道需要重点掌握哪些鸿蒙应用开发知识点?而且学习时频繁踩坑,最终浪费大量时间。所以要有一份实用的鸿蒙(HarmonyOS NEXT)学习路线与学习文档用来跟着学习是非常有必要的。
针对一些列因素,整理了一套纯血版鸿蒙(HarmonyOS Next)全栈开发技术的学习路线,包含了鸿蒙开发必掌握的核心知识要点,内容有(ArkTS、ArkUI开发组件、Stage模型、多端部署、分布式应用开发、WebGL、元服务、OpenHarmony多媒体技术、Napi组件、OpenHarmony内核、OpenHarmony驱动开发、系统定制移植等等)鸿蒙(HarmonyOS NEXT)技术知识点。
本路线共分为四个阶段:
第一阶段:鸿蒙初中级开发必备技能

第二阶段:鸿蒙南北双向高工技能基础:gitee.com/MNxiaona/733GH

第三阶段:应用开发中高级就业技术

第四阶段:全网首发-工业级南向设备开发就业技术:gitee.com/MNxiaona/733GH

《鸿蒙 (Harmony OS)开发学习手册》(共计892页)
如何快速入门?
1.基本概念
2.构建第一个ArkTS应用
3.……

开发基础知识:gitee.com/MNxiaona/733GH
1.应用基础知识
2.配置文件
3.应用数据管理
4.应用安全管理
5.应用隐私保护
6.三方应用调用管控机制
7.资源分类与访问
8.学习ArkTS语言
9.……

基于ArkTS 开发
1.Ability开发
2.UI开发
3.公共事件与通知
4.窗口管理
5.媒体
6.安全
7.网络与链接
8.电话服务
9.数据管理
10.后台任务(Background Task)管理
11.设备管理
12.设备使用信息统计
13.DFX
14.国际化开发
15.折叠屏系列
16.……

鸿蒙开发面试真题(含参考答案):gitee.com/MNxiaona/733GH

鸿蒙入门教学视频:

美团APP实战开发教学:gitee.com/MNxiaona/733GH

写在最后
- 如果你觉得这篇内容对你还蛮有帮助,我想邀请你帮我三个小忙:
- 点赞,转发,有你们的 『点赞和评论』,才是我创造的动力。
- 关注小编,同时可以期待后续文章ing🚀,不定期分享原创知识。
- 想要获取更多完整鸿蒙最新学习资源,请移步前往小编:
gitee.com/MNxiaona/733GH


 915
915

 被折叠的 条评论
为什么被折叠?


