


目前需求方提出的问题是以下四个:
1.百度编辑器(Ueditor)视频上传到阿里云
2.解决不支持FLASH问题
3.视频上传后可以预览
4.修改视频封面
看一下原始的功能是什么样的
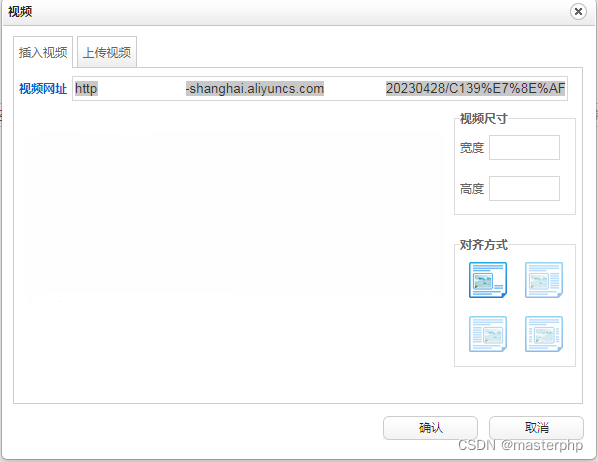
上传视频:

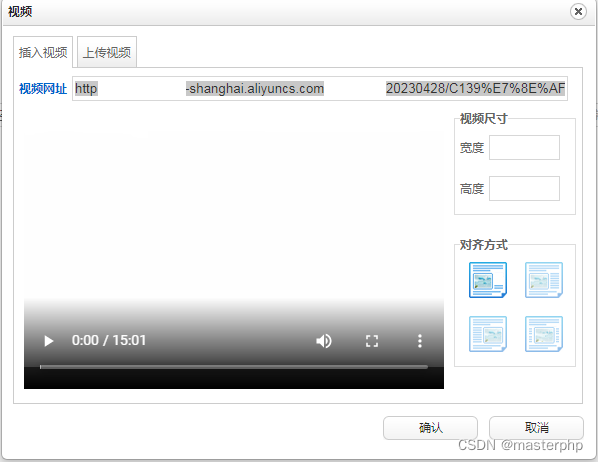
视频上传完成

上传视频保存的路径:

问题目前都展示出来了,那么我们来一个个的解决一下(解决问题的顺序会是乱序,大家注意)
首先我们解决第4点(浏览器有缓存,注意刷新和重开浏览器才会有效)
直接晒出代码:
修改的目标文件:ueditor.all.min.js
搜索关键字:controls
添加代码poster="图片地址"//图片地址一定要是https的图片服务器存储的图片

然后我们解决第1点:
修改的目标文件:Uploader.class.php 中的 upFile 方法
private function upFile()
{
$file = $this->file = $_FILES[$this->fileField];
if (!$file) {
$this->stateInfo = $this->getStateInfo("ERROR_FILE_NOT_FOUND");
return;
}
if ($this->file['error']) {
$this->stateInfo = $this->getStateInfo($file['error']);
return;
} else if (!file_exists($file['tmp_name'])) {
$this->stateInfo = $this->getStateInfo("ERROR_TMP_FILE_NOT_FOUND");
return;
} else if (!is_uploaded_file($file['tmp_name'])) {
$this->stateInfo = $this->getStateInfo("ERROR_TMPFILE");
return;
}
//修改:上传阿里云OSS
$ossClient=new OssClient('阿里云服务器accessKey','阿里云服务器accessKeySecret','阿里云服务器endpoint');
$ossClient->uploadFile('telemedicine', 'meeting_file/'.date ('Ym') .'/'.$file['name'], $file['tmp_name']);
$this->oriName = $file['name'];
$this->fileSize = $file['size'];
$this->fileType = $this->getFileExt();
$this->fullName = $this->getFullName();
$this->filePath = $this->getFilePath();
$this->fileName = $this->getFileName();
$dirname = dirname($this->filePath);
//检查文件大小是否超出限制
if (!$this->checkSize()) {
$this->stateInfo = $this->getStateInfo("ERROR_SIZE_EXCEED");
return;
}
//检查是否不允许的文件格式
if (!$this->checkType()) {
$this->stateInfo = $this->getStateInfo("ERROR_TYPE_NOT_ALLOWED");
return;
}
$this->stateInfo = $this->stateMap[0];
}
修改的目标文件:config.json 中的 上传视频配置 方法
/* 执行上传视频的action名称 */
"videoActionName": "uploadvideo",
/* 提交的视频表单名称 */
"videoFieldName": "upfile",
/* 上传保存路径,可以自定义保存路径和文件名格式 */
"videoPathFormat": "/存放文件夹名字/{yyyy}{mm}/{filename}",
/* 视频访问路径前缀 */
"videoUrlPrefix": "阿里云服务器endpoint",
/* 上传大小限制,单位B,默认100MB */
"videoMaxSize": 1024000000,
/* 上传视频格式显示 */
"videoAllowFiles": [
".flv", ".swf", ".mkv", ".avi", ".rm", ".rmvb", ".mpeg", ".mpg",
".ogg", ".ogv", ".mov", ".wmv", ".mp4", ".webm", ".mp3", ".wav", ".mid"],
然后我们解决第2点:
修改的目标文件:video.js 中的 createPreviewVideo 方法(至于原方法中的 lang.urlError,这个是错误提示信息,可以根据你自己的需要去开启或者屏蔽其中的一些提示信息)
$G("preview").innerHTML = '<div class="previewMsg"></div>'+
'<p><video controls class="previewVideo"' +
' width="' + 600 + '"' +
' height="' + 300 + '"' +
' wmode="transparent" play="true" loop="false" menu="false" allowscriptaccess="never" allowfullscreen="true" >' +
'<source type="video/mp4" src="' + conUrl + '">' +
'</video></p>';
最后解决第3点:
修改文件:ueditor.config.js
whitList数组中添加配置:
source: ['src', 'type'],
embed: ['type', 'class', 'pluginspage', 'src', 'width', 'height', 'align', 'style', 'wmode', 'play', 'autoplay', 'loop', 'menu', 'allowscriptaccess', 'allowfullscreen', 'controls', 'preload'],
iframe: ['src', 'class', 'height', 'width', 'max-width', 'max-height', 'align', 'frameborder', 'allowfullscreen']
修改文件:ueditor.all.js 中 creatInsertStr 方法
case 'embed':
str = '<p><video controls class="previewVideo"' +
' width="' + width + '"' +
' height="' + height + '"' +
' wmode="transparent" play="true" loop="false" menu="false" allowscriptaccess="never" allowfullscreen="true" >' +
'<source type="video/mp4" src="' + url + '">' +
'</video></p>'
break;
case 'video':
var ext = url.substr(url.lastIndexOf('.') + 1);
if(ext == 'ogv') ext = 'ogg';
str = '<p><video poster="https://csxstg.ccmtv.cn/static/lib/ueditor1_4_3_3-utf8-php/utf8-php-xiumi/themes/default/images/video.jpg" ' + (id ? ' id="' + id + '"' : '') + ' class="' + classname + ' video-js" ' + (align ? ' style="float:' + align + '"': '') +
' controls preload="none" width="' + width + '" height="' + height + '" src="' + url + '" data-setup="{}">' +
'<source src="' + url + '" type="video/' + ext + '" /></video></p>';
break;
修改文件:ueditor.all.js 中 switchImgAndVideo方法
var className = node.getAttr('class');
if(className && className.indexOf('edui-faked-video') != -1){
var html = creatInsertStr( img2video ? node.getAttr('_url') : node.getAttr('src'),node.getAttr('width'),node.getAttr('height'),null,node.getStyle('float') || '',className,img2video ? 'embed':'embed');
node.parentNode.replaceChild(UE.uNode.createElement(html),node);
}
if(className && className.indexOf('edui-upload-video') != -1){
var html = creatInsertStr( img2video ? node.getAttr('_url') : node.getAttr('src'),node.getAttr('width'),node.getAttr('height'),null,node.getStyle('float') || '',className,img2video ? 'video':'video');
node.parentNode.replaceChild(UE.uNode.createElement(html),node);
}
修改文件:ueditor.all.js 中 me.commands["insertvideo"]方法
for(var i=0,vi,len = videoObjs.length;i<len;i++){
vi = videoObjs[i];
cl = (type == 'upload' ? 'edui-upload-video video-js vjs-default-skin':'edui-faked-video');
html.push(creatInsertStr( vi.url, vi.width || 420, vi.height || 280, id + i, null, cl, 'video'));
}

至此,四个问题全部解决完成,希望大家遇到此类问题少走弯路,分分钟搞定
提示:
1.第3点中ueditor.all.js 中 creatInsertStr 方法中,需要新增<p>标签,这样是为了视频能够被选中
2.修改视频上传,编辑功能也会被去掉,这个非常重要,样式只能通过html按钮进入页面来实现


 3583
3583


 被折叠的 条评论
为什么被折叠?
被折叠的 条评论
为什么被折叠?
 到【灌水乐园】发言


