


Windows配置MMDetection说明
由于官方最新版本侧重linux环境配置,windows目前更新并不及时,本文采用比较早的版本作为windows下的环境的配置。
配置安装内容如下:
- pytorch:1.6.0+cu101
- torchvision:0.6.1
- mmcv-full==1.1.5
- mmdetection2.6
安装mmcv-full和Pytorch
mmcv-full包括cuda套件部分,可以用于GPU加速,
conda create -n mmd26 python=3.7
conda activate mmd26

pip install -i https://pypi.tuna.tsinghua.edu.cn/simple torch==1.6.0 torchvision==0.6.1 -f https://download.pytorch.org/whl/torch_stable.html


pip install mmcv-full==1.1.5 -f https://download.openmmlab.com/mmcv/dist/cu101/torch1.6.0/index.html
安装MMDetection2.6
偷懒的话,download即可
传送门
忽略下面下载流程
-------------------------------分割线--------------------------
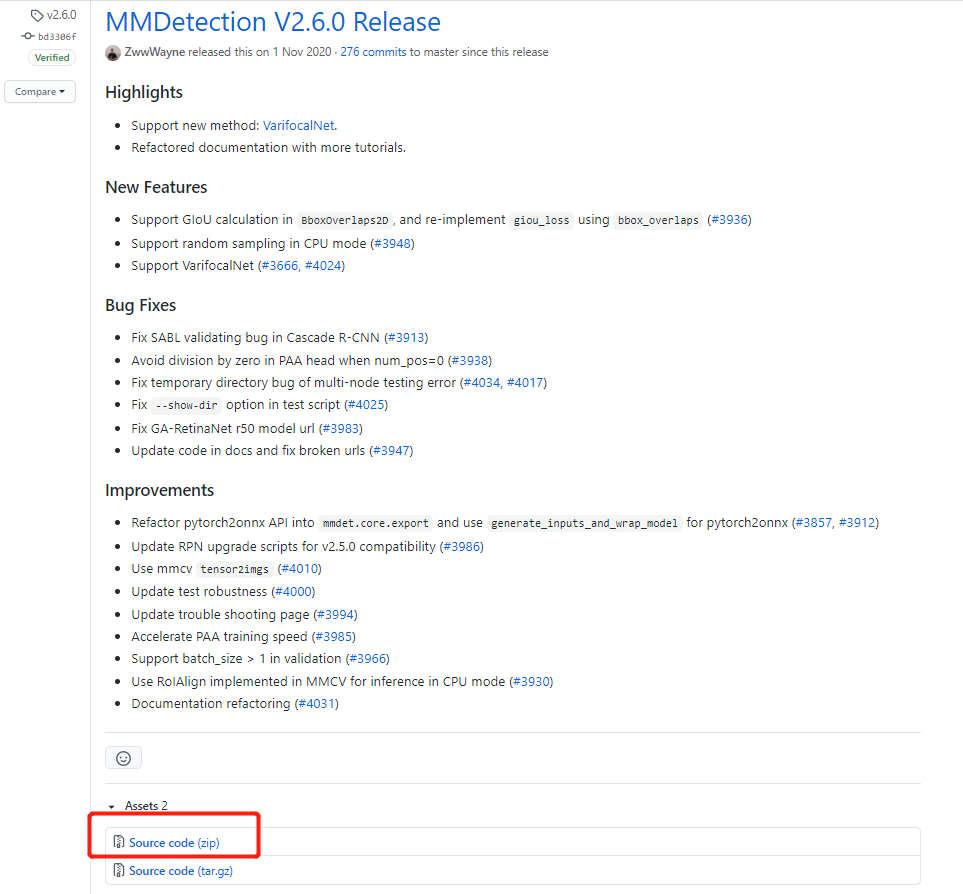
查看更早的版本,选择MMDetection2.6,并下载
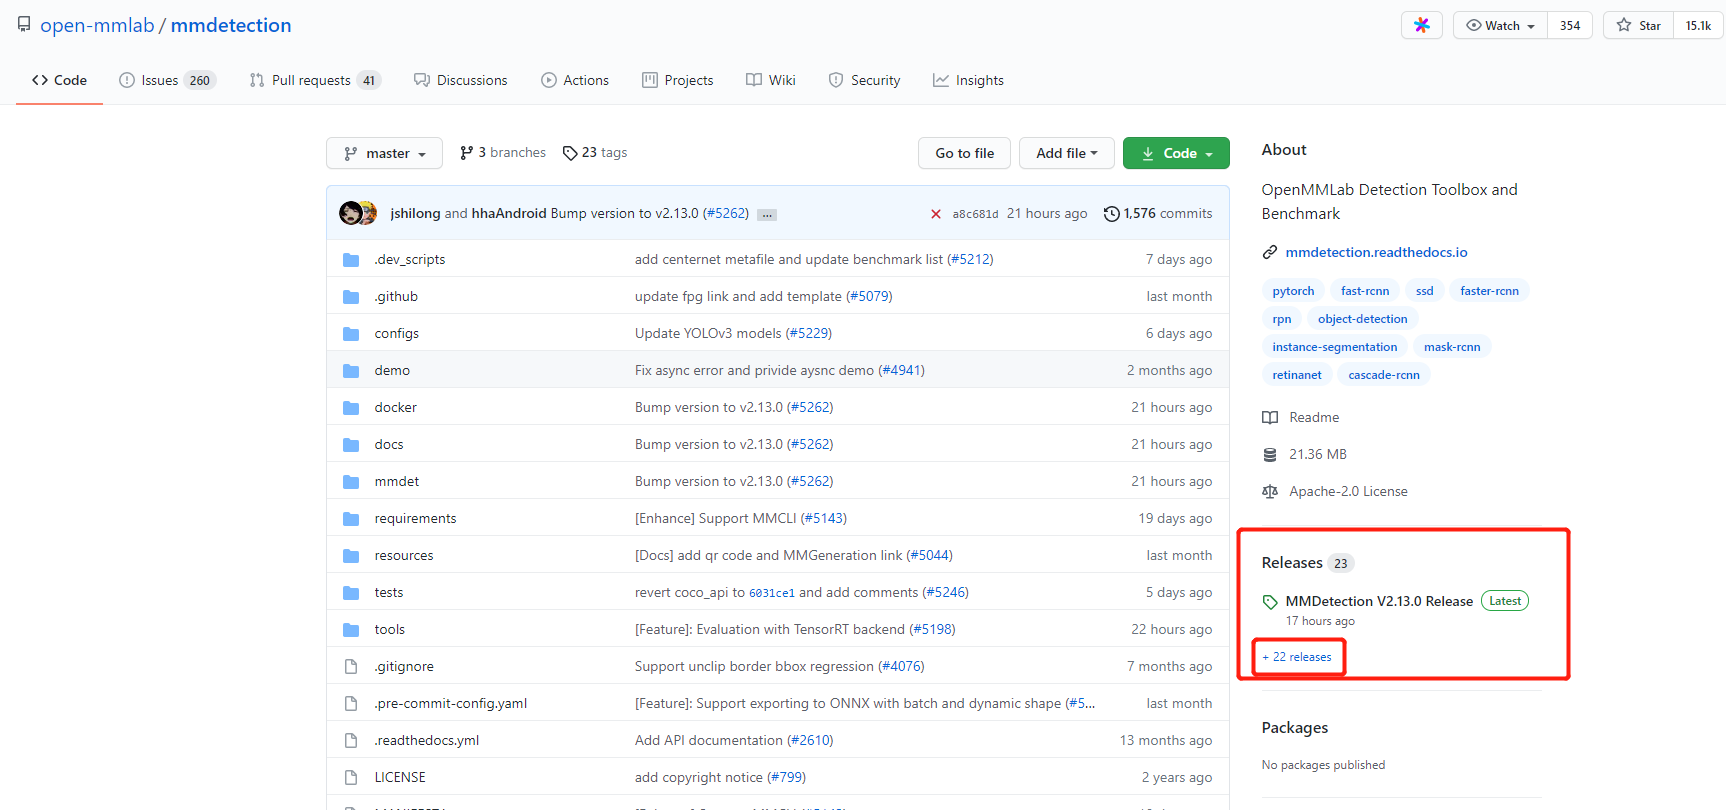
进入MMDetection2.6下载源码
编译源码
# 打开终端
运行->cmd
# 激活环境
conda activate mmd26
# 进入mmdetection2.6的目录结构,安装相关依赖以及编译
cd mmdetection2.6
pip install -r requirements.txt
python setup.py develop
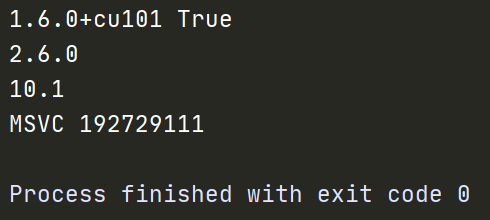
检查正确性
# Check Pytorch installation
import torch, torchvision
print(torch.__version__, torch.cuda.is_available())

# Check MMDetection installation
import mmdet
print(mmdet.__version__)

# Check mmcv installation
from mmcv.ops import get_compiling_cuda_version, get_compiler_version
print(get_compiling_cuda_version())
print(get_compiler_version())
案例应用
# 权重下载
mkdir checkpoints
wget -c https://open-mmlab.s3.ap-northeast-2.amazonaws.com/mmdetection/v2.0/mask_rcnn/mask_rcnn_r50_caffe_fpn_mstrain-poly_3x_coco/mask_rcnn_r50_caffe_fpn_mstrain-poly_3x_coco_bbox_mAP-0.408__segm_mAP-0.37_20200504_163245-42aa3d00.pth \
      -O checkpoints/mask_rcnn_r50_caffe_fpn_mstrain-poly_3x_coco_bbox_mAP-0.408__segm_mAP-0.37_20200504_163245-42aa3d00.pth
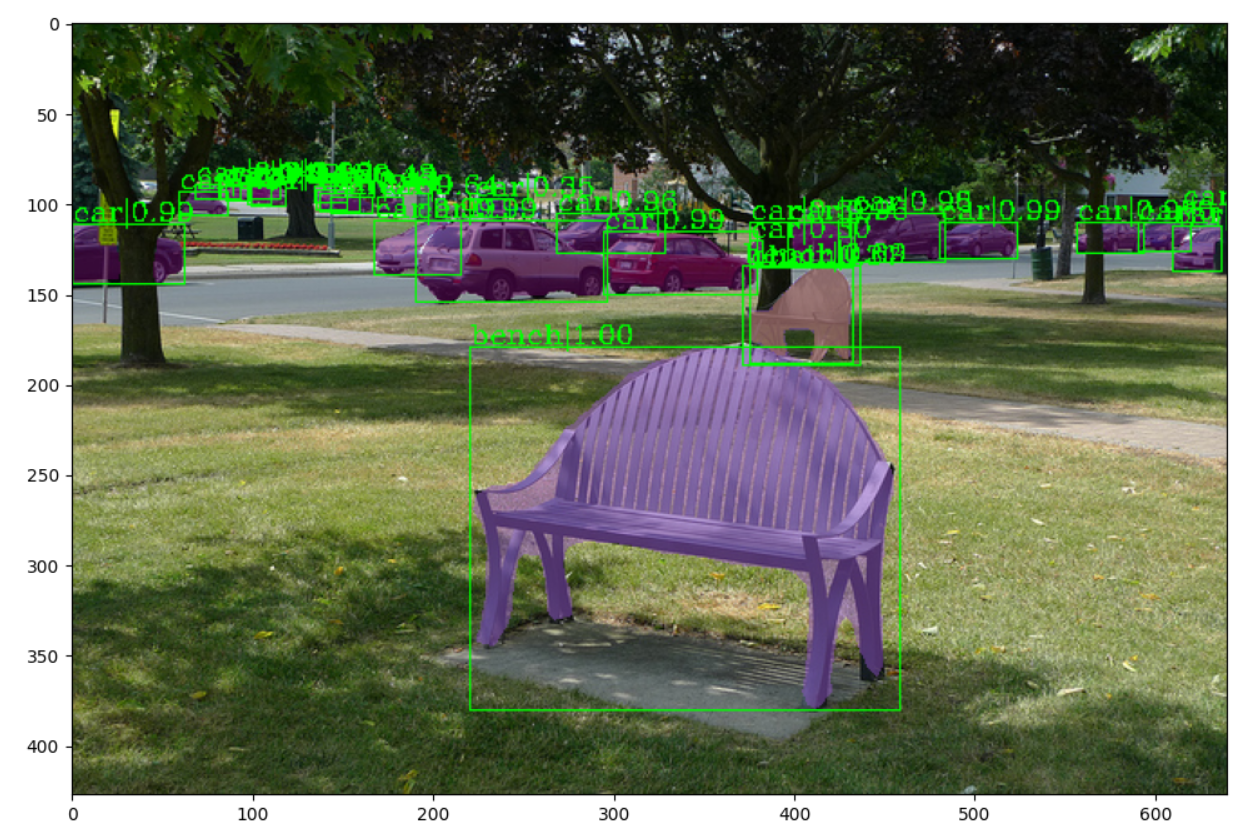
应用代码
from mmdet.apis import inference_detector, init_detector, show_result_pyplot

# Choose to use a config and initialize the detector
config = 'configs/mask_rcnn/mask_rcnn_r50_caffe_fpn_mstrain-poly_3x_coco.py'
# Setup a checkpoint file to load
checkpoint = 'checkpoints/mask_rcnn_r50_caffe_fpn_mstrain-poly_3x_coco_bbox_mAP-0.408__segm_mAP-0.37_20200504_163245-42aa3d00.pth'
# initialize the detector
model = init_detector(config, checkpoint, device='cuda:0')

# Use the detector to do inference
img = 'demo/demo.jpg'
result = inference_detector(model, img)

# Let's plot the result
show_result_pyplot(model, img, result, score_thr=0.3)


 3261
3261


 被折叠的 条评论
为什么被折叠?
被折叠的 条评论
为什么被折叠?
 到【灌水乐园】发言


