


Android-PickerView 主要是个级联选择器,很好用的插件:
GitHub下载地址
1.无法下载导入插件Android-PickerView
在项目根目录settings.gradle中更换仓库(注意,一些教程里边的url没有使用https协议,可能会导致不成功,所以要使用https):
pluginManagement {
    repositories {

/*        gradlePluginPortal()
        google()
        mavenCentral()*/
        maven { url 'https://maven.aliyun.com/nexus/content/repositories/google' }
        maven { url 'https://maven.aliyun.com/nexus/content/repositories/jcenter'}
    }
}
dependencyResolutionManagement {
    repositoriesMode.set(RepositoriesMode.FAIL_ON_PROJECT_REPOS)
    repositories {
/*
        google()
        mavenCentral()*/

        maven { url 'https://maven.aliyun.com/nexus/content/repositories/google' }
        maven { url 'https://maven.aliyun.com/nexus/content/repositories/jcenter'}
    }
}
然后sync一下。
2.gradle配置差异,配置属性问题,其实报错的地方就可以发现了问题所在,按要求改一下咯:
android.useAndroidX=true
android.enableJetifier=true
更改后的gradle.properties
# Project-wide Gradle settings.
# IDE (e.g. Android Studio) users:
# Gradle settings configured through the IDE *will override*
# any settings specified in this file.
# For more details on how to configure your build environment visit
# http://www.gradle.org/docs/current/userguide/build_environment.html
# Specifies the JVM arguments used for the daemon process.
# The setting is particularly useful for tweaking memory settings.
org.gradle.jvmargs=-Xmx2048m -Dfile.encoding=UTF-8
# When configured, Gradle will run in incubating parallel mode.
# This option should only be used with decoupled projects. More details, visit
# http://www.gradle.org/docs/current/userguide/multi_project_builds.html#sec:decoupled_projects
# org.gradle.parallel=true
# AndroidX package structure to make it clearer which packages are bundled with the
# Android operating system, and which are packaged with your app"s APK
# https://developer.android.com/topic/libraries/support-library/androidx-rn
android.useAndroidX=true
# Enables namespacing of each library's R class so that its R class includes only the
# resources declared in the library itself and none from the library's dependencies,
# thereby reducing the size of the R class for that library
android.nonTransitiveRClass=true
android.overridePathCheck=false

android.enableJetifier=true
3.Android-PickerView 使用的SDK版本问题,可能导致无法使用该插件,在SDK Manger中下载吧:
tools->
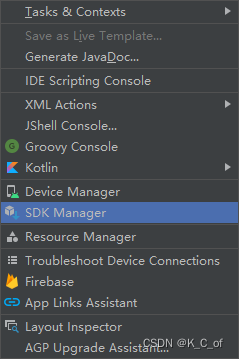
SDK Manager->
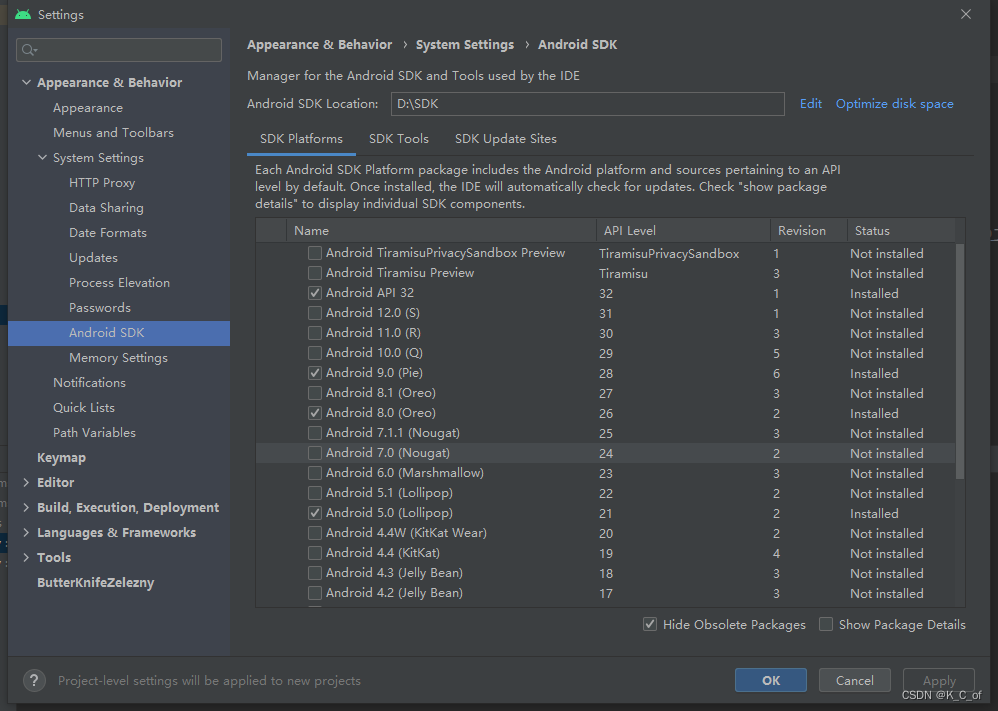
就这样下载吧,32、28、26、27这些老版本都下载吧,按理说在github中可以找到开发文档的,我没看到,我这样说可能也不正确,但我的开发环境试了倒可以,斟酌损益咯。
然后可能会提醒你去设置android.overridePathCheck=false,看情况而定吧
4.有时候没错了但是调试不成:
Edit一下。
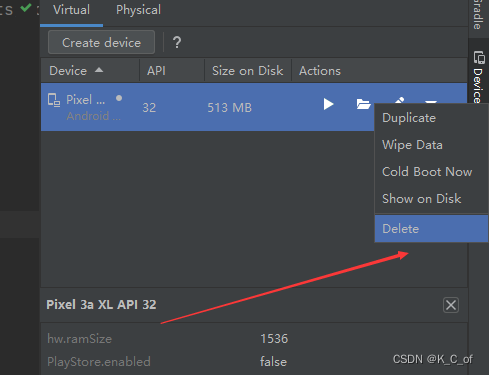
5.重中之重,不要随便改SDK位置或者更改虚拟机位置(ini配置文件等)由于你的虚拟机打不开那个啥has terminal的原因,极大建议是删掉虚拟机重装,大概率恢复如初!
暂时能够总结这么些经验了,遇到问题及时分享出来吧,害


 882
882


 被折叠的 条评论
为什么被折叠?
被折叠的 条评论
为什么被折叠?
 到【灌水乐园】发言


