


yolov3 + win10 + vs2019 + opencv3.4.3 调用yolov3进行检测识别
准备阶段
1.yolov3生成dll
2.opencv3下载3
yolov3生成dll
前面准备阶段请参考
https://blog.csdn.net/mqyw29995/article/details/101603410
这里有区别的是打开yolo_cpp_dll.sln而不是darknet.sln,并且只需要编译生成yolo_cpp_dll相关库即可,完成后会生成对应动态库和静态库

创建C++工程
1.创建新c++工程
2.配置OpenCV,包括c/c++和lib,并将对应dll复制到执行程序所在文件内。
这里需要注意需要确定对应vs的版本,我这里用的是vs2015的平台工具集,所以用的是v14下的dll和lib

3.复制对应的yolov3的所需文件到c++工程下执行程序所在文件内
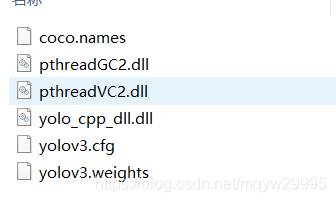
并复制hpp和lib到c++工程下

并且在c++工程下属性里链接库中配置yolo_cpp_dll.lib库
配置好了之后添加代码
#include <iostream>
#include "yolo_v2_class.hpp"
#include <opencv2/opencv.hpp>
#include "opencv2/highgui/highgui.hpp"
#include "opencv2/imgproc.hpp"
int main()
{
std::string names_file = "coco.names"; //添加标签文件
std::string cfg_file = "yolov3.cfg"; //添加网络文件
std::string weights_file = "yolov3.weights"; //添加模型文件
Detector detector(cfg_file, weights_file, 0); //初始化检测器
//将标签文件里的内容读到obj_names里
std::vector<std::string> obj_names;
std::ifstream ifs(names_file.c_str());
std::string line;
while (getline(ifs, line))
{
obj_names.push_back(line);
}
cv::Mat src;
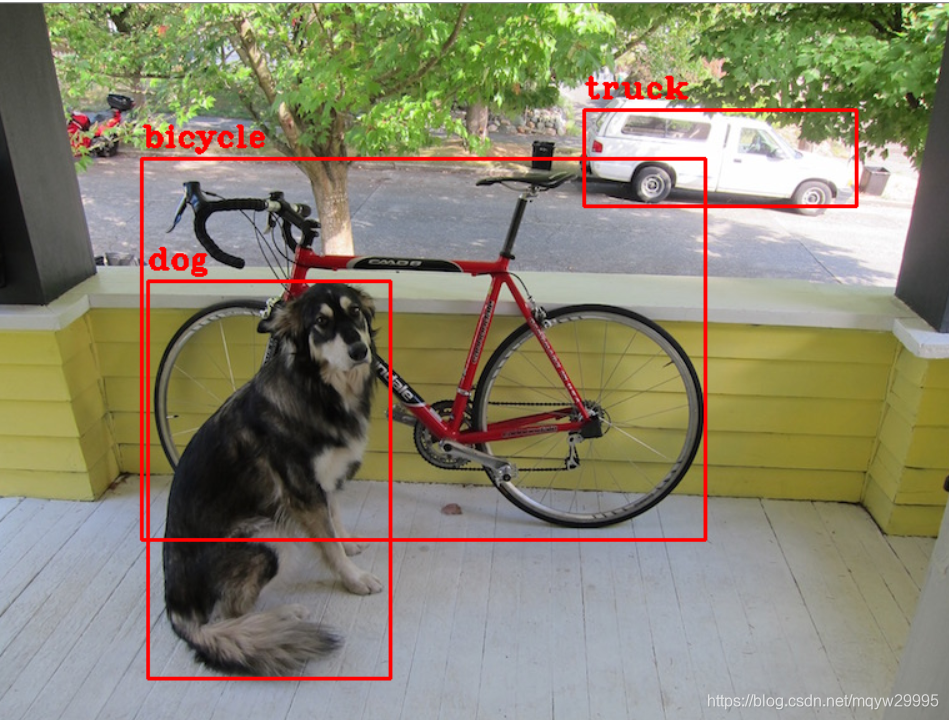
src = cv::imread("dog.jpg");
std::vector<bbox_t> result_vec = detector.detect(src);
for (int i = 0; i < result_vec.size(); i++)
{
cv::rectangle(src, cv::Rect(result_vec[i].x, result_vec[i].y, result_vec[i].w, result_vec[i].h), CV_RGB(255,0,0), 2);
putText(src, obj_names[result_vec[i].obj_id], cv::Point2f(result_vec[i].x, result_vec[i].y - 10), cv::FONT_HERSHEY_COMPLEX_SMALL, 1.2, cv::Scalar(0, 0, 255), 2);
}
cv::imshow("a", src);
cv::waitKey();
return 0;
}添加完代码后直接运行程序,就可以得到预测结果
补充:由于这里用的yolov3是vs2015编译的所以在创建vs2019工程时需要吧平台工具集改成vs2015(v140)并且目标平台版本修改成10.0.18362.0


 2万+
2万+


 被折叠的 条评论
为什么被折叠?
被折叠的 条评论
为什么被折叠?
 到【灌水乐园】发言


