一直想找个时间把自己所遇到的问题和解决思路写成博客,但都感觉“没时间”,最近几天闲着没事干,就琢磨着自定义一个带弧度的UITabBar,刚开始去网上搜了很多类似效果的文章,但感觉都不能满足自己想要的,但最终结合了各个前辈的思路,最终得以将遇到的一个个小问题解决。第一次写博客请大家多多指教。好了废话不多说,直接开干。
主要实现:1.自定义中间带弧度的UITabBar(参照代码思路可改成其它形状)。
2.TabBar保留系统原有push和pop过渡效果。
3.由于自定义了UITabBar所以就连同TabBarController也一同定义了(用法和系统的很类似)。
最重要的一点,无代码就别BB:代码。
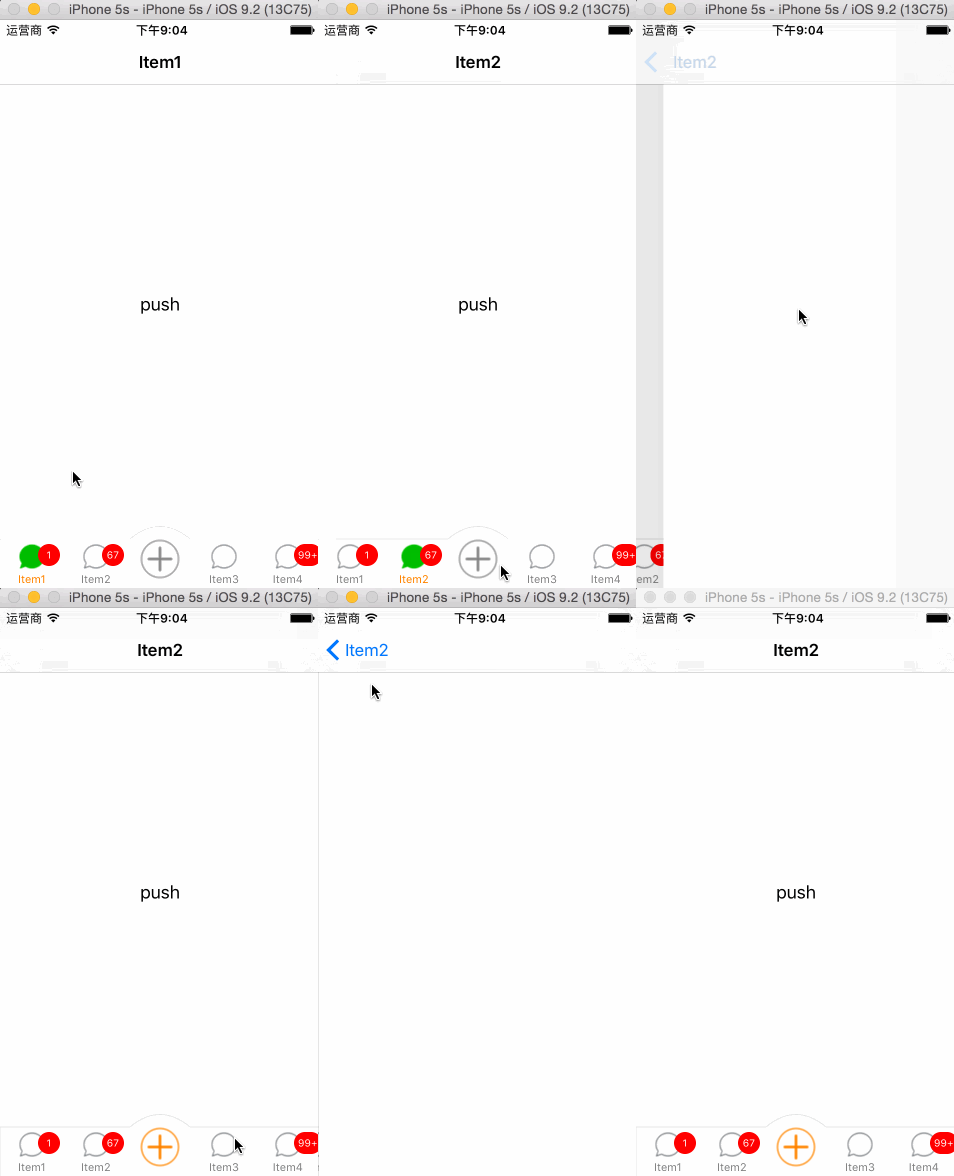
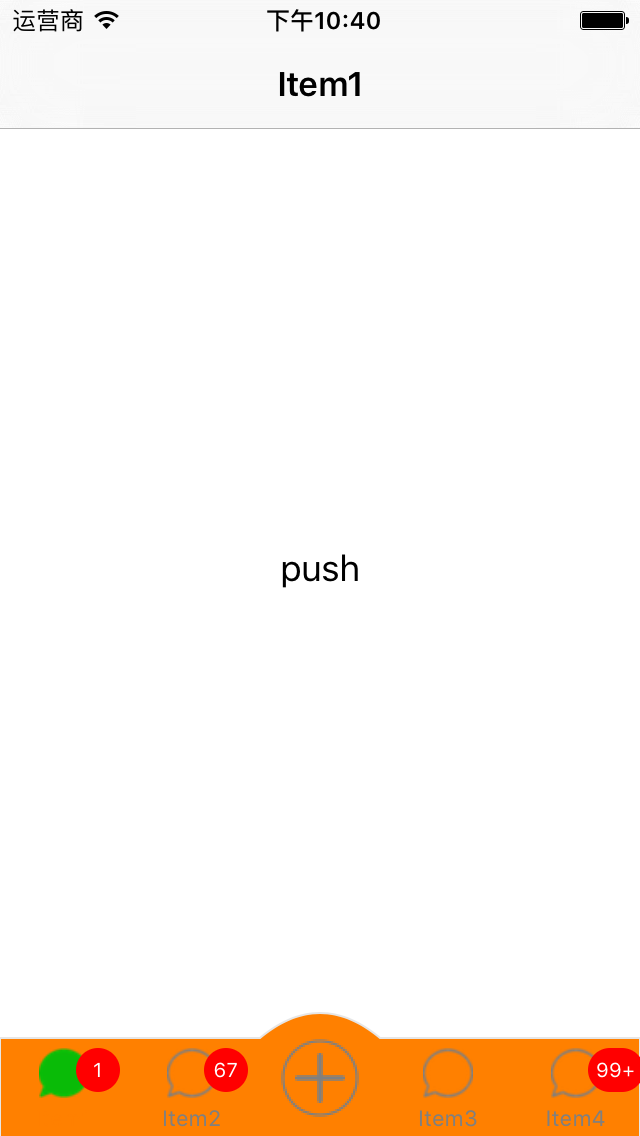
然后上效果图(上传代码后才看到Item4的角标显示不全,这个就自己去弄了):
接下来分享下遇到的问题和解决的思路(当然有些是参考了他人的解决思路):
1.如果简单的在中间放一个突出的圆形Button,那么圆弧效果就基本上有了,但与TabBar衔接看起来不那么流畅。所以就自定义了一个UITabBar,继承于UIView,但要保留原有的push和pop效果就只能添加到系统当前的UITabBar上(如果是添加到self.view上,那么当push到下一个页面要隐藏TabBar时,就很难做到系统原有的动画效果),代码如下:
//显示TabBarItem的高度给50,剩下的10是预留给中间顶部的圆弧高度。
    _yTabBar = [[YSKJTabBar alloc]initWithFrame:CGRectMake(0, -10, CGRectGetWidth(self.view.bounds), 60)];
    _yTabBar.delegate = self;
//    _yTabBar.yBarTintColor = [UIColor orangeColor];
[self.tabBar addSubview:_yTabBar];- (UIViewController *)addChildViewController:(UIViewController *)childController
title:(NSString *)title
imageName:(NSString *)imageName
selectImageName:(NSString *)selectImageName
badgeString:(NSString *)badgeString{
childController.title = title;
childController.yTabbarItem.yTitle = title;
childController.yTabbarItem.yBadgeString = badgeString;
childController.yTabbarItem.ySelectTitleColor = [UIColor orangeColor];
childController.yTabbarItem.yImage = [UIImage imageNamed:imageName];
childController.yTabbarItem.ySelectImage = [UIImage imageNamed:selectImageName];
UINavigationController *navigationController = [[UINavigationController alloc]initWithRootViewController:childController];
return navigationController;
}效果如下图:
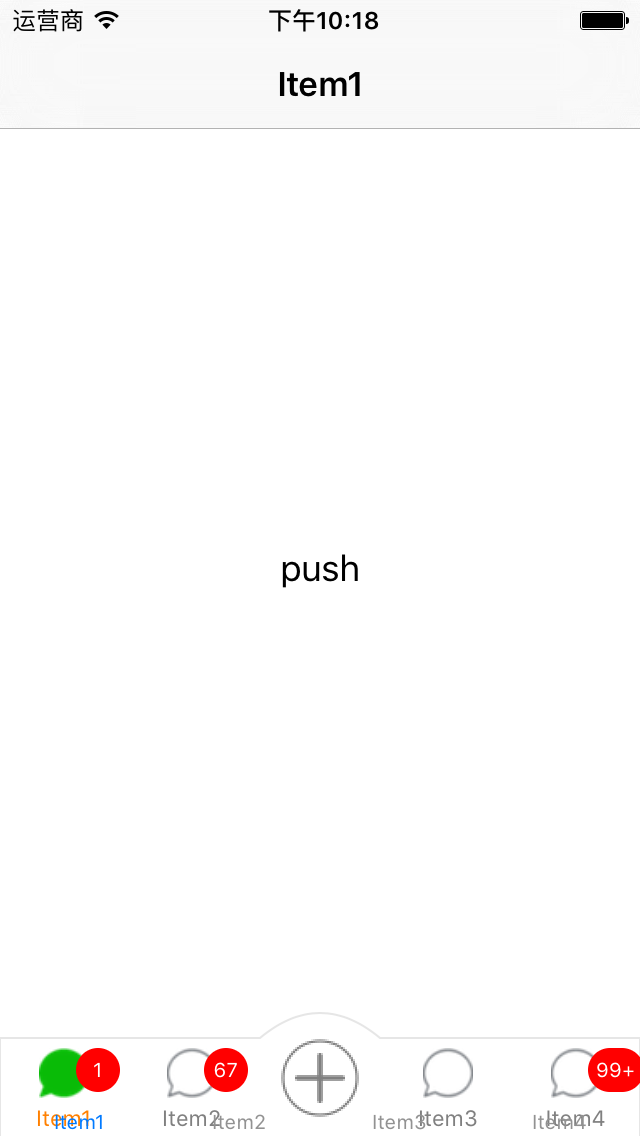
可以看到效果图,系统的TabBarItem已经显示出来了(当然你也可以在添加子Controller的时候不设置title)。解决思路就是在自定义的UITabBarController中添加如下代码:
- (void)viewWillAppear:(BOOL)animated {
    [super viewWillAppear:animated];
    for (UIView *child in self.tabBar.subviews) {
        if ([child isKindOfClass:[UIControl class]]) {
            [child removeFromSuperview];
        }
    }
}
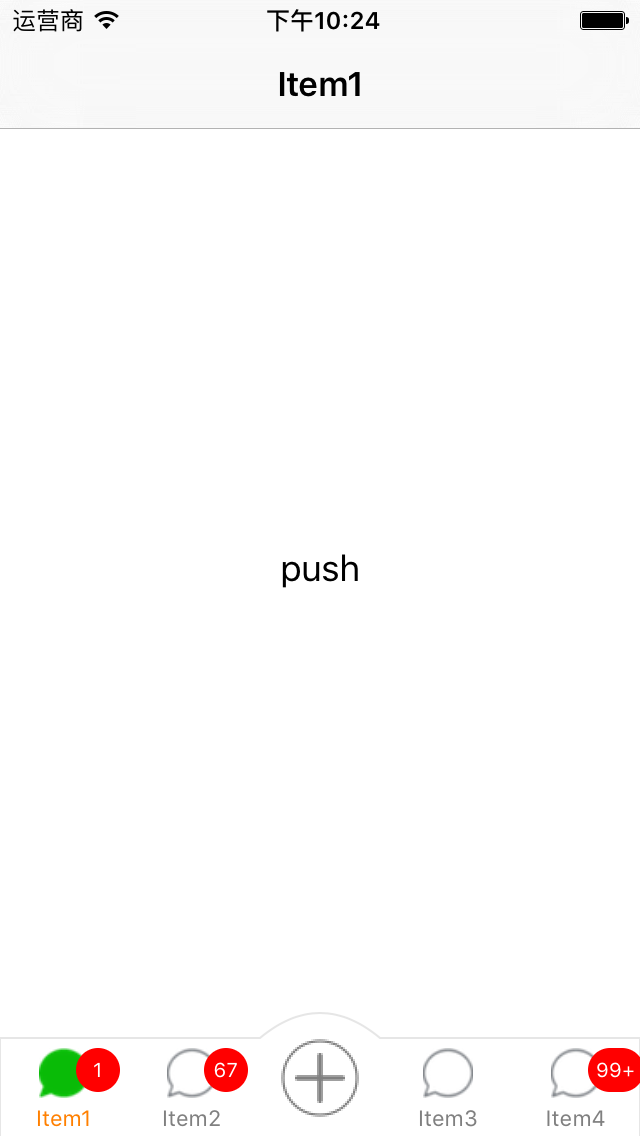
解决后的效果如下:
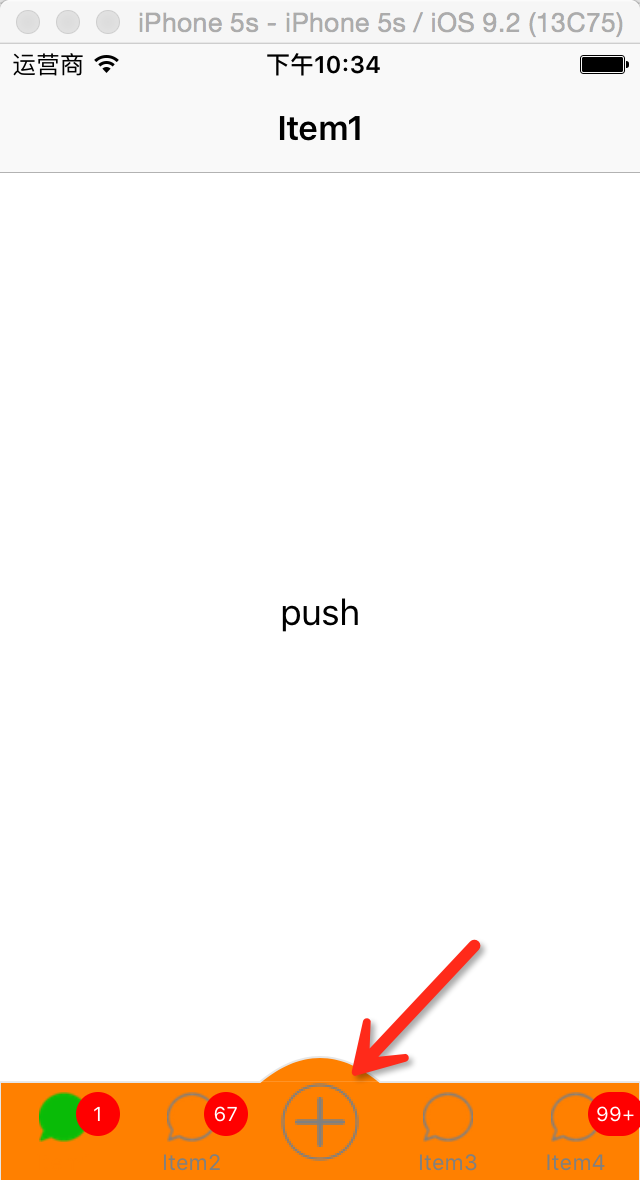
3.此时将自定义TabBar的背景颜色改为橙色,效果如下:
Controller
可以看到红色箭头所指处有一条白线,这就是系统TabBar自带的,去除代码如下:
//    self.tabBar.barStyle = UIBarStyleBlack; //白线
//    self.tabBar.barStyle = UIBarStyleDefault; //黑线

    //去掉UITabbar顶部线条。
    CGRect rect = CGRectMake(0, 0, self.view.frame.size.width, self.view.frame.size.height);
    UIGraphicsBeginImageContext(rect.size);
    CGContextRef context = UIGraphicsGetCurrentContext();
    CGContextSetFillColorWithColor(context, [[UIColor clearColor] CGColor]);
    CGContextFillRect(context, rect);
    UIImage *img = UIGraphicsGetImageFromCurrentImageContext();
    UIGraphicsEndImageContext();
    [self.tabBar setBackgroundImage:img];
    [self.tabBar setShadowImage:img];
效果如下(Item的字体颜色也是橙色,忘改了):
可以看到白色线条已经不见了。
好了,基本遇到的问题都写了,第一次写博客,有不好的地方请多多指教,在下会继续努力。




 1460
1460


 被折叠的 条评论
为什么被折叠?


