


本教程介绍如何在 Windows 10/11 下使用 VSCode 配置 CLion 内置的 MinGW 作为 C++ 编译工具链,实现 代码编写、编译和调试。
1. 安装 VSCode 和 MinGW
1.1 下载 VSCode
从 VSCode 官网 下载并安装最新版。
下载扩展 C/C++。
1.2 获取 MinGW
CLion 自带官方支持的 MinGW-w64,路径示例:
D:\Program Files\JetBrains\CLion 2024.2.2\bin\mingw
你也可以使用 MSYS2 或 MinGW-w64 官网提供的独立版本。
2. 配置环境变量
2.1 添加 MinGW 和 GDB 到环境变量
-
Win + R 输入
sysdm.cpl,回车 -
高级 选项卡 → 环境变量
-
系统变量 → 找到
Path,点击 编辑 -
添加以下路径:
D:\Program Files\JetBrains\CLion 2024.2.2\bin\mingw\bin D:\Program Files\JetBrains\CLion 2024.2.2\bin\gdb\win\x64\bin\ -
确定,保存退出
2.2 验证
打开 cmd,运行:
g++ --version
gdb --version
如果正确显示版本号,则 MinGW 和 GDB 配置成功。
3. 配置 VSCode
CppProjects/ # 项目集合文件夹
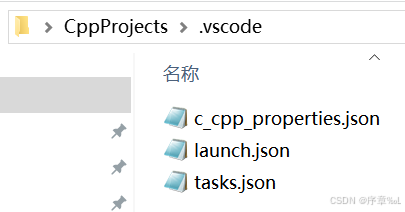
│── .vscode/ # VSCode 配置文件
│ ├── c_cpp_properties.json
│ ├── launch.json
│ ├── tasks.json
创建 .vscode 文件夹,并在其中添加以下 3 个配置文件:
3.1 c_cpp_properties.json(IntelliSense 配置)
{
    "configurations": [
        {
            "name": "Win32",
            "includePath": [
                "${workspaceFolder}\\**"
            ],
            "defines": [],
            "compilerPath": "D:\\Program Files\\JetBrains\\CLion 2024.2.2\\bin\\mingw\\bin\\g++.exe",
            "cStandard": "c17",
            "cppStandard": "c++17",
            "intelliSenseMode": "${default}"
        }
    ],
    "version": 4
}
参数说明
| 参数 | 作用 |
|---|---|
compilerPath | 指定 g++ 编译器路径 |
includePath | 头文件搜索路径 |
cStandard / cppStandard | C/C++ 代码标准 |
intelliSenseMode | 自动补全模式 |
3.2 tasks.json(编译配置)
{
    "version": "2.0.0",
    "tasks": [
        {
            "type": "cppbuild",
            "label": "C/C++: g++.exe 生成活动文件",
            "command": "D:\\Program Files\\JetBrains\\CLion 2024.2.2\\bin\\mingw\\bin\\g++.exe",
            "args": [
                "-fdiagnostics-color=always",
                "-g",
                "${fileDirname}\\*.cpp",
                "-o",
                "${fileDirname}\\output\\${fileBasenameNoExtension}.exe"
            ],
            "options": {
                "cwd": "D:\\Program Files\\JetBrains\\CLion 2024.2.2\\bin\\mingw\\bin"
            },
            "problemMatcher": [
                "$gcc"
            ],
            "group": {
                "kind": "build",
                "isDefault": true
            },
            "detail": "编译器: D:\\Program Files\\JetBrains\\CLion 2024.2.2\\bin\\mingw\\bin\\g++.exe"
        }
    ]
}
args 说明
| 参数 | 作用 |
|---|---|
-fdiagnostics-color=always | 让终端输出彩色编译信息 |
-g | 生成调试信息,方便 GDB 调试 |
${fileDirname}\\*.cpp | 编译当前目录下的所有 .cpp 文件,支持多文件项目 |
-o ${fileDirname}\\output\\${fileBasenameNoExtension}.exe | 指定输出文件名,output/ 目录存放编译结果 |
3.3 launch.json(调试配置)
{
    "version": "0.2.0",
    "configurations": [
        {
            "name": "Debug - GDB",
            "type": "cppdbg",
            "request": "launch",
            "program": "${fileDirname}/output/${fileBasenameNoExtension}.exe",
            "args": [],
            "stopAtEntry": false,
            "cwd": "${fileDirname}",
            "environment": [],
            "externalConsole": true,
            "MIMode": "gdb",
            "setupCommands": [
                {
                    "description": "启用 GDB pretty printing",
                    "text": "-enable-pretty-printing",
                    "ignoreFailures": true
                },
                {
                    "description": "使用 Intel 汇编风格",
                    "text": "-gdb-set disassembly-flavor intel",
                    "ignoreFailures": true
                }
            ],
            "miDebuggerPath": "D:\\Program Files\\JetBrains\\CLion 2024.2.2\\bin\\gdb\\win\\x64\\bin\\gdb.exe",
            "preLaunchTask": "C/C++: g++.exe 生成活动文件"
        }
    ]
}
参数说明
| 参数 | 作用 |
|---|---|
MIMode | 选择调试模式(GDB) |
miDebuggerPath | 指定 gdb.exe 路径 |
program | 运行的可执行文件 |
stopAtEntry | 是否在 main() 处暂停 |
setupCommands | GDB 预设命令 |
preLaunchTask | 先运行 tasks.json 里的编译任务 |
注:文件中的路径都需要换成你的!
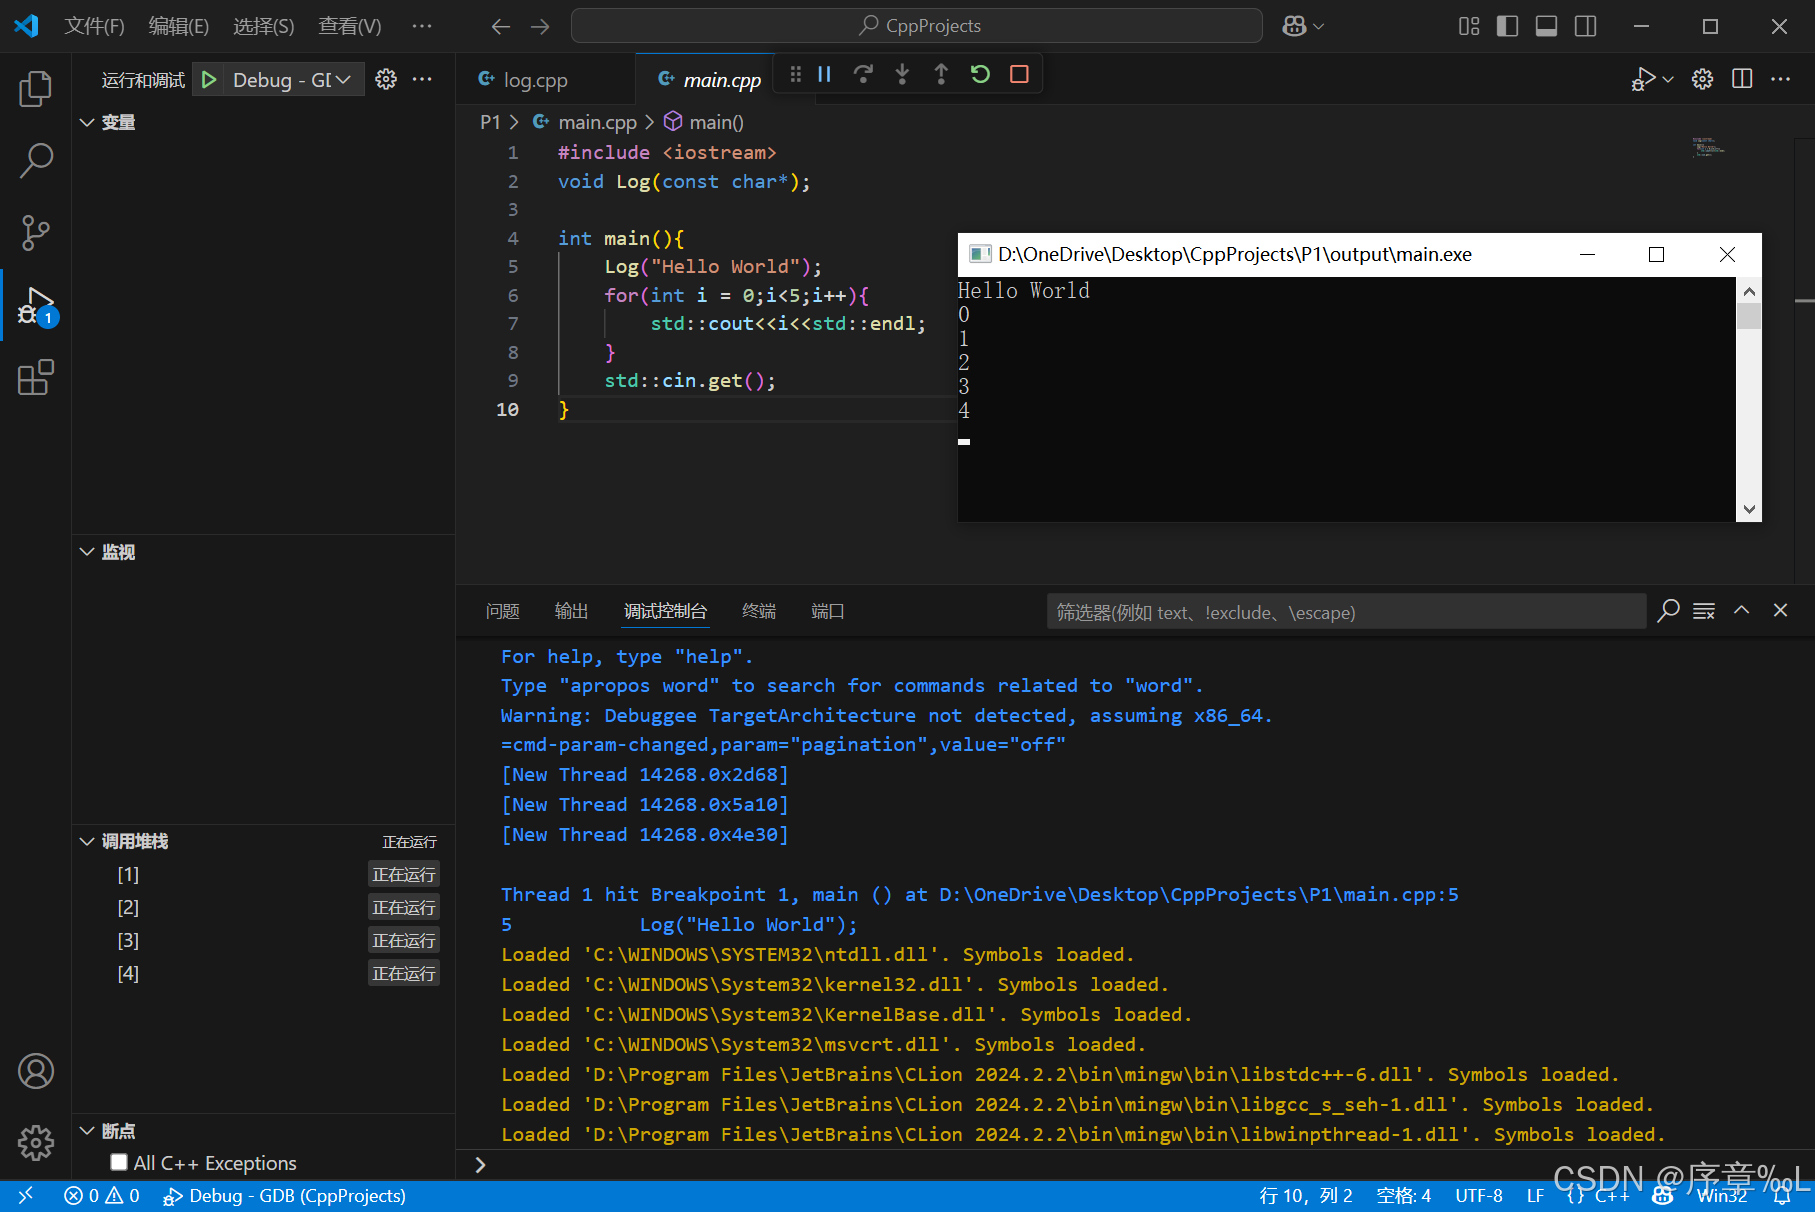
3.4 运行测试
step1 新建下述文件夹,用VS Code打开
step2 新建项目“P1”,放入测试代码

main.cpp
#include <iostream>
void Log(const char*);

int main(){
    Log("Hello World");
    for(int i = 0;i<5;i++){
        std::cout<<i<<std::endl;
    }
    std::cin.get();
}
log.cpp
#include <iostream>

void Log(const char* message){
    std::cout<<message<<std::endl;
}
step3 在main.cpp中按F5运行
3.5 如何使用独立 MinGW-w64?
-
下载安装 MinGW-w64
-
从 MinGW-w64 官网 下载并安装。
-
假设你安装在:
C:\mingw-w64 -
关键目录:
C:\mingw-w64\bin
-
-
更新环境变量
-
添加
C:\mingw-w64\bin到Path -
验证:
g++ --version
gdb --version
-
修改 VSCode 配置
只需要改 路径,其他不变:
1. c_cpp_properties.json(修改 compilerPath)
"compilerPath": "C:\\mingw-w64\\bin\\g++.exe"
2. tasks.json(修改 command & cwd)
"command": "C:\\mingw-w64\\bin\\g++.exe",
"options": {
    "cwd": "C:\\mingw-w64\\bin"
}
3. launch.json(修改 miDebuggerPath)
"miDebuggerPath": "C:\\mingw-w64\\bin\\gdb.exe"
✅ 这样,你就能在 VSCode 上用 MinGW-w64 进行 C++ 开发和调试了!
4. 最终 VSCode 目录结构
CppProjects/
│── P1/                     # 第一个项目
│   ├── main.cpp            # 入口文件
│   ├── module1.cpp         # 其他模块
│   ├── module2.cpp         # 其他模块
│   ├── output/             # 存放编译后的 .exe
│── P2/                     # 第二个项目
│   ├── main.cpp
│   ├── utils.cpp
│   ├── utils.h
│   ├── output/
│── .vscode/                # VSCode 配置文件
│   ├── c_cpp_properties.json
│   ├── launch.json
│   ├── tasks.json
💡 说明:
-
每个项目
P1/ P2/都有自己的.cpp和.h文件,但 VSCode 只需一个.vscode/配置文件夹。 -
tasks.json允许 不同项目独立编译,因为"args": ["${fileDirname}\\*.cpp"]可以自动匹配当前文件夹的所有.cpp文件。
5. 总结
| 配置文件 | 作用 |
|---|---|
c_cpp_properties.json | IntelliSense(代码补全) |
tasks.json | 编译 C++ 代码 |
launch.json | 调试 C++ 代码 |
这样,你的 VSCode 可以像 CLion 一样开发 C++ 项目,同时支持 GDB 调试!🚀
注:以上部分文字由AI生成!


 6360
6360

 被折叠的 条评论
为什么被折叠?
被折叠的 条评论
为什么被折叠?
 到【灌水乐园】发言


