


首先要链接上服务器
首先WINDOWS打开CMDER,MAC的话打开Terminal,都是类似的。
在窗口输入 ssh root@ALIYUN_IP。这里的ALIYUN_IP是你的服务器的公网IP地址。举个例子,我的公网IP是47.88.12.221,那么我就需要输入:
ssh root@47.88.12.221第一次链接的时候,需要输入yes/no。这个时候直接输入yes即可。
然后会被要求输入密码,这个密码就是你购买ecs时候输入的密码。举个例子,这个服务器的密码是ggwpXmgseo_123,我就直接输入:
// 我直接输入ggwpXmgseo_123,但是屏幕上不会显示出来。因为是敏感数据。

root@47.88.12.221's password:
成功链接上服务器之后,会看到如下的话语。这是以阿里云为例子的。
Welcome to Ubuntu 18.04.6 LTS (GNU/Linux 4.15.0-162-generic x86_64)

 * Documentation:  https://help.ubuntu.com
 * Management:     https://landscape.canonical.com
 * Support:        https://ubuntu.com/advantage

Welcome to Alibaba Cloud Elastic Compute Service !

root@discourse:~#
先更新apt
现在已经链接上了服务器,先更新apt。
apt-get update更新的过程中,你会看到一个百分比,会需要一点时间。
安装Git
接下来在服务器上安装git工具
apt install git-all安装的过程中,会问你 Y/n 的问题,直接输入y即可,代表着yes(继续安装)。
开始安装Discourse
接下来克隆官方的discourse docker镜像。直接在窗口中输入以下代码即可。
sudo -s
git clone https://github.com/discourse/discourse_docker.git /var/discourse
cd /var/discourse
安装完毕,并且执行完毕cd命令之后,你应该看到你的窗口中显示着类似如下的东西。
// 你的路径已经被改成成了/var/discourse
// 如果你的前缀是其它的,例如root@asdasdfo-12312,这是很正常的。代表着你的服务器的名字和我的服务器的名字不同罢了。
root@discourse:/var/discourse#
安装Docker
移除旧版本的Docker,如果有。
sudo apt-get remove docker docker-engine docker.io containerd runc为安装做准备
sudo apt-get install \
    ca-certificates \
    curl \
    gnupg \
    lsb-release
添加官方的GPG
curl -fsSL https://download.docker.com/linux/ubuntu/gpg | sudo gpg --dearmor -o /usr/share/keyrings/docker-archive-keyring.gpg设置稳定的Repo
echo \
  "deb [arch=$(dpkg --print-architecture) signed-by=/usr/share/keyrings/docker-archive-keyring.gpg] https://download.docker.com/linux/ubuntu \
  $(lsb_release -cs) stable" | sudo tee /etc/apt/sources.list.d/docker.list > /dev/null
安装前更新
sudo apt-get update正式安装
sudo apt-get install docker-ce docker-ce-cli containerd.io如果你安装成功了之后,你输入docker ps这个命令,就会看到如下的显示。
CONTAINER ID IMAGE COMMAND CREATED STATUS PORTS NAMES删除80端口进程
有些时候,会存在80端口被占用的情况。这样子无法初始化discourse的。
kill $(sudo netstat -anp | awk '/ LISTEN / {if($4 ~ ":80$") { gsub("/.*","",$7); print $7; exit } }')初始化Discourse
确保你在争取的路径
cd /var/discourse直接运行下方命令,开始初始化Discourse
./discourse-setup你会看到下面的这些问题弹出来,而你需要一个一个的回答和输入。
// 你的域名,我的就是forum.xmg180.com
Hostname for your Discourse? [discourse.example.com]: forum.xmg180.com

// 你的邮箱,我们的示范里面就是我的qq邮箱,一定需要是你可以登录的邮箱
Email address for admin account(s)? [me@example.com,you@example.com]: 664944266@qq.com

// SMTP服务器,我们情况就是in-v3.mailjet.com
SMTP server address? [smtp.example.com]: in-v3.mailjet.com

// SMTP的端口,Mailjet 就是 587
SMTP port? [587]: 587

// SMTP的用户名:我们的情况就是输入Mailjet的API KEY,也就是SMTP USERNAME
SMTP user name? [user@example.com]:  a7ba0412312a473a9d123pansdf61586de

// SMTP的密码:来自于Mailjet提供的SMTP密码,也就是SMTP Password
SMTP password? [pa$$word]: 65dd6a9fea782a51a18c7985198d12a5

// 消息接收邮箱,我们的企业邮箱no-reply@xmg180.com
notification email address? [noreply@forum.xmg180.com]: no-reply@xmg180.com

// SSL的邮箱,这个地方输入自己的邮箱即可,推荐企业邮箱
Optional email address for Let's Encrypt warnings? (ENTER to skip) [me@example.com]: 664944266@qq.com

// 额外的maxmind参数,忽略即可,直接确认键跳过。
Optional Maxmind License key () [xxxxxxxxxxxxxxxx]:
输入完毕之后,它会问你,这些数据参数对么?你只需要敲击键盘的确认键即可继续。例如:
Does this look right?

Hostname          :  no-reply@xmg180.com
Email             :  664944266@qq.com
SMTP address      :  in-v3.mailjet.com
SMTP port         :  587
SMTP username     : 1asd2312390123pasidhfpoasi1
SMTP password     : a8sds709fdg878089vc7x0bx
Notification email:  no-reply@xmg180.com
Let's Encrypt :  664944266@qq.com
Maxmind license: (unset)


// 敲击键盘的确认键继续,如果你输入ctril+c,则是代表重新填写。
接下来,Discourse就会自动开启安装。你可以在屏幕中看到进度条。
letsencrypt.ssl.template.yml enabled


Configuration file at containers/app.yml updated successfully!

Updates successful. Rebuilding in 5 seconds.
Building app
x86_64 arch detected.

WARNING: We are about to start downloading the Discourse base image
This process may take anywhere between a few minutes to an hour, depending on your network speed

Please be patient

2.0.20211118-0105: Pulling from discourse/base
a10c77af2613: Pull complete
2a94306b3060: =======> Do
启动你的Discourse
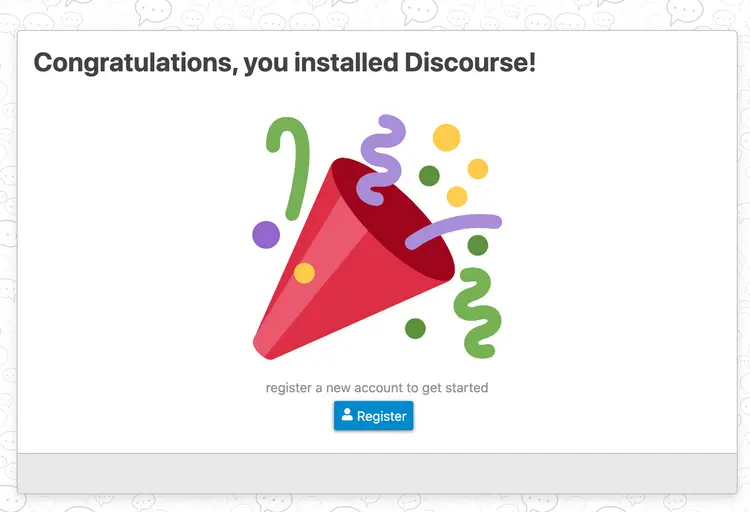
接下来你只需要打开你的网站域名,例如forum.xmg180.com即可。我的是打不开的,因为我将其关闭了。我上面这个只是作为示范教学教大家如何搭建而已。
打开之后,你会看到欢迎界面。其实剩下的东西我觉得就没必要教你了。Discourse会引导你创建第一个账户,成为超级管理员。然后你的论坛就正式开启了。
注册成功之后,会通过你刚才所设置的邮箱发送邮件给你。你会收到下述的这个邮件。
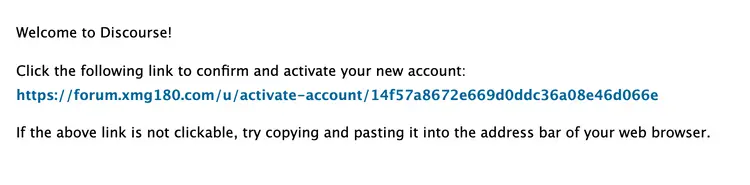
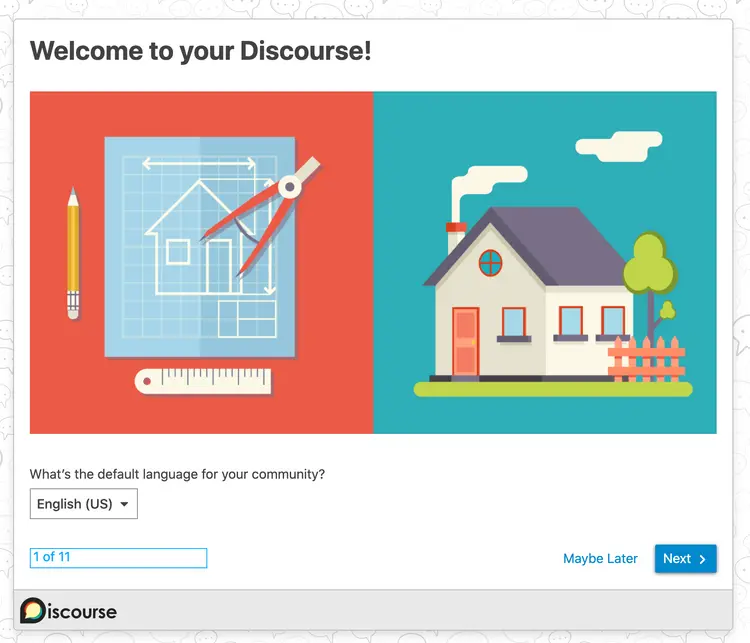
点击链接,正式激活你的论坛。在初始化过程中,如果卡死了,可以选择点击Maybe later。我就遇到了这种情况。
到此,和Anker一样的论坛就搭建完成了。Anker还自行添加了自己的风格,我们当然也可以。
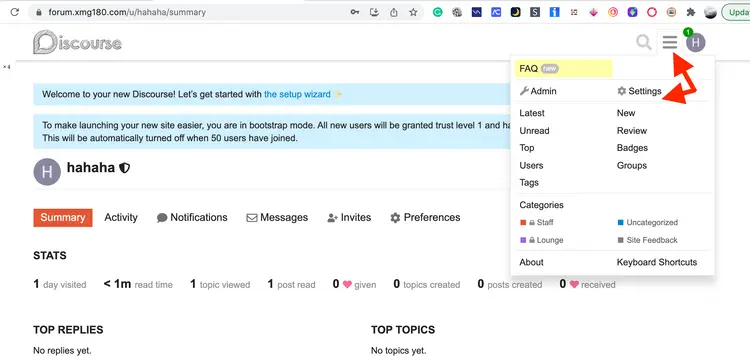
如果你想要管理用户和修改风格的话,或者是学习Anker和亚马逊官方的论坛风格,你只需要在右上角点击三条杠,然后找到Admin和Setting即可。


 605
605


 被折叠的 条评论
为什么被折叠?
被折叠的 条评论
为什么被折叠?
 到【灌水乐园】发言


