


环境:win10
编译软件 : AS
这里只讲listview的基础用法,建议先查询widget相关知识后再来
先利用AS创建一个ListWidget,系统会自动帮你生成一个AppWidgetProvider,以及布局文件 /xml中的list_widget_info.xml和/layout中的list_widget.xml这里就不具体介绍了。开始我们的小例子叭
list_widget.xml中添加listview控件
<LinearLayout xmlns:android="http://schemas.android.com/apk/res/android"
    android:layout_width="match_parent"
    android:layout_height="match_parent"
    android:background="#603BA3"
    android:padding="@dimen/widget_margin"
    android:orientation="vertical"
    android:theme="@style/ThemeOverlay.WidgetListTest.AppWidgetContainer">
  <TextView
        android:id="@+id/testText"
        android:layout_width="match_parent"
        android:layout_height="wrap_content"
        android:gravity="center"
        android:textSize="20sp"
        android:text="课表"/>
<ListView
    android:id="@+id/listTest"
    android:layout_width="match_parent"
    android:layout_height="wrap_content"/>

</LinearLayout>
创建listview的子view :list_widget_item.xml
<LinearLayout xmlns:android="http://schemas.android.com/apk/res/android"
    android:layout_width="match_parent"
    android:layout_height="wrap_content"
    xmlns:app="http://schemas.android.com/apk/res-auto"
    android:orientation="horizontal"
    android:layout_margin="5dp"

    >
<LinearLayout
    android:layout_width="0dp"
    android:layout_weight="2"
    android:layout_height="match_parent"
    android:orientation="vertical">


    <TextView
        android:id="@+id/class_mc"
        android:layout_width="match_parent"
        android:layout_height="wrap_content"
        android:gravity="center"
        android:layout_marginBottom="5dp"
        android:textSize="18dp"
        />

    <LinearLayout
        android:layout_width="match_parent"
        android:layout_height="match_parent"
        android:orientation="horizontal">
<ImageView
    android:layout_width="15dp"
    android:layout_height="15dp"
    android:src="@drawable/teacher"
    android:layout_marginRight="5dp"/>

        <TextView
            android:id="@+id/class_js"
            android:layout_width="wrap_content"
            android:layout_height="wrap_content"
            android:layout_marginRight="15dp"
            android:text="***"/>
        <ImageView
            android:layout_width="15dp"
            android:layout_height="15dp"
            android:src="@drawable/place"
            android:layout_marginRight="5dp"/>
        <TextView
            android:id="@+id/class_dd"
            android:layout_width="wrap_content"
            android:layout_height="wrap_content"
            android:layout_marginRight="10dp"
            android:text="***512"/>

    </LinearLayout>
</LinearLayout>
    <TextView
        android:id="@+id/class_sj"
        android:layout_width="0dp"
        android:layout_weight="1"
        android:layout_height="match_parent"
        android:text="17:00-18:40"
        android:textColor="@color/cardview_light_background"
        android:gravity="center"
   />
</LinearLayout>
创建一个list的服务适配器ListviewService
class ListViewService : RemoteViewsService() {
    override fun onGetViewFactory(intent: Intent?): RemoteViewsFactory? {
        return ListRemoteViewsFactory(this.applicationContext, intent)
    }
private class ListRemoteViewsFactory (context: Context, intent: Intent?): RemoteViewsFactory{
    private var mContext: Context? = context
    var appWidgetId = Integer.valueOf(intent?.getData()?.getSchemeSpecificPart())- ListWidget().m //得到原来的widgetId

    private val mList = ArrayList<String>()


    override fun onCreate() {
        mList.add(Date().toString())//获取系统的时间 相当于检测该适配器是否正常运行
        mList.add("计算机操作系统")
        mList.add("计算机操作系统")
        mList.add("计算机操作系统")
       mList.add("计算机操作系统")


    }
    override fun onDataSetChanged() {
        mList.clear()
        mList.add(Date().toString())//获取系统的时间 相当于检测该适配器是否正常运行
        mList.add("计算机操作系统")
        mList.add("计算机操作系统")
        mList.add("计算机操作系统")
        mList.add("计算机操作系统")
    }
    override fun onDestroy() {
        mList.clear()
    }

    override fun getCount(): Int {
        return mList.size
    }

    override fun getViewAt(position: Int): RemoteViews? {
        val views = RemoteViews(mContext!!.packageName, R.layout.list_widget_item)
views.setTextViewText(R.id.class_mc,mList[position])
        Log.d("momo",mList[position])
        return views
    }

    /* 在更新界面的时候如果耗时就会显示 正在加载... 的默认字样,但是你可以更改这个界面
         * 如果返回null 显示默认界面
         * 否则 加载自定义的,返回RemoteViews
         */
    override fun getLoadingView(): RemoteViews? {
        return null
    }

    override fun getViewTypeCount(): Int {
        return 1
    }

    override fun getItemId(position: Int): Long {
        return position.toLong()
    }

    override fun hasStableIds(): Boolean {
        return false
    }
}


}
- RemoteViewsService : 是一个远程的服务适配器 可以请求RemoteViews,管理RemoteViews的服务.
- RemoteViewsFactory : 提供了RemoteViewsFactory用于填充远程集合视图。
- onDataSetChanged():是用于更新listview中的数据的
- getViewAt(position: Int):用于填充子view
在AppWidgetProvider的update()中设置adapter
class ListWidget : AppWidgetProvider() {
    var m=(0..1000).random() //随机数
    override fun onUpdate(
        context: Context,
        appWidgetManager: AppWidgetManager,
        appWidgetIds: IntArray
    ) {
        for (i in appWidgetIds){


        // There may be multiple widgets active, so update all of them
        val views = RemoteViews(context.packageName, R.layout.list_widget)
        views.setTextViewText(R.id.testText, "课表")
        val adapter = Intent(context, ListViewService::class.java)//创建适配器
        adapter.setData(Uri.fromParts("content",i.toString()+m.toString(),null))//加上一个随机数让RemoteViewsFactory认为是一个新的widgetid而重新创建新工厂RemoteViewsFactory
        views.setRemoteAdapter(R.id.listTest, adapter) //为list绑定adapter
        views.setEmptyView(R.id.listTest,android.R.id.empty)
        val mComponentName = ComponentName(context, ListWidget::class.java)
        appWidgetManager.updateAppWidget(mComponentName, views)
        }
    }

    override fun onEnabled(context: Context) {
        // Enter relevant functionality for when the first widget is created
    }

    override fun onDisabled(context: Context) {
        // Enter relevant functionality for when the last widget is disabled
    }
}

internal fun updateAppWidget(
    context: Context,
    appWidgetManager: AppWidgetManager,
    appWidgetId: Int
) {
    val widgetText = context.getString(R.string.appwidget_text)
    // Construct the RemoteViews object
    val views = RemoteViews(context.packageName, R.layout.list_widget)


    // Instruct the widget manager to update the widget
    appWidgetManager.updateAppWidget(appWidgetId, views)
}
为什么需要重新创建工厂: 是因为远程服务适配器会缓存所有widgetid的工厂,所以当你需要更新listview内容而发送请求时,服务适配器并不会为你重新创建工厂从而更新内容。这里还有一种方案:就是调用notifyAppWidgetViewDataChanged()方法,但是有时会没有效果,我也不知道为什么。
m是一个公开的随机数
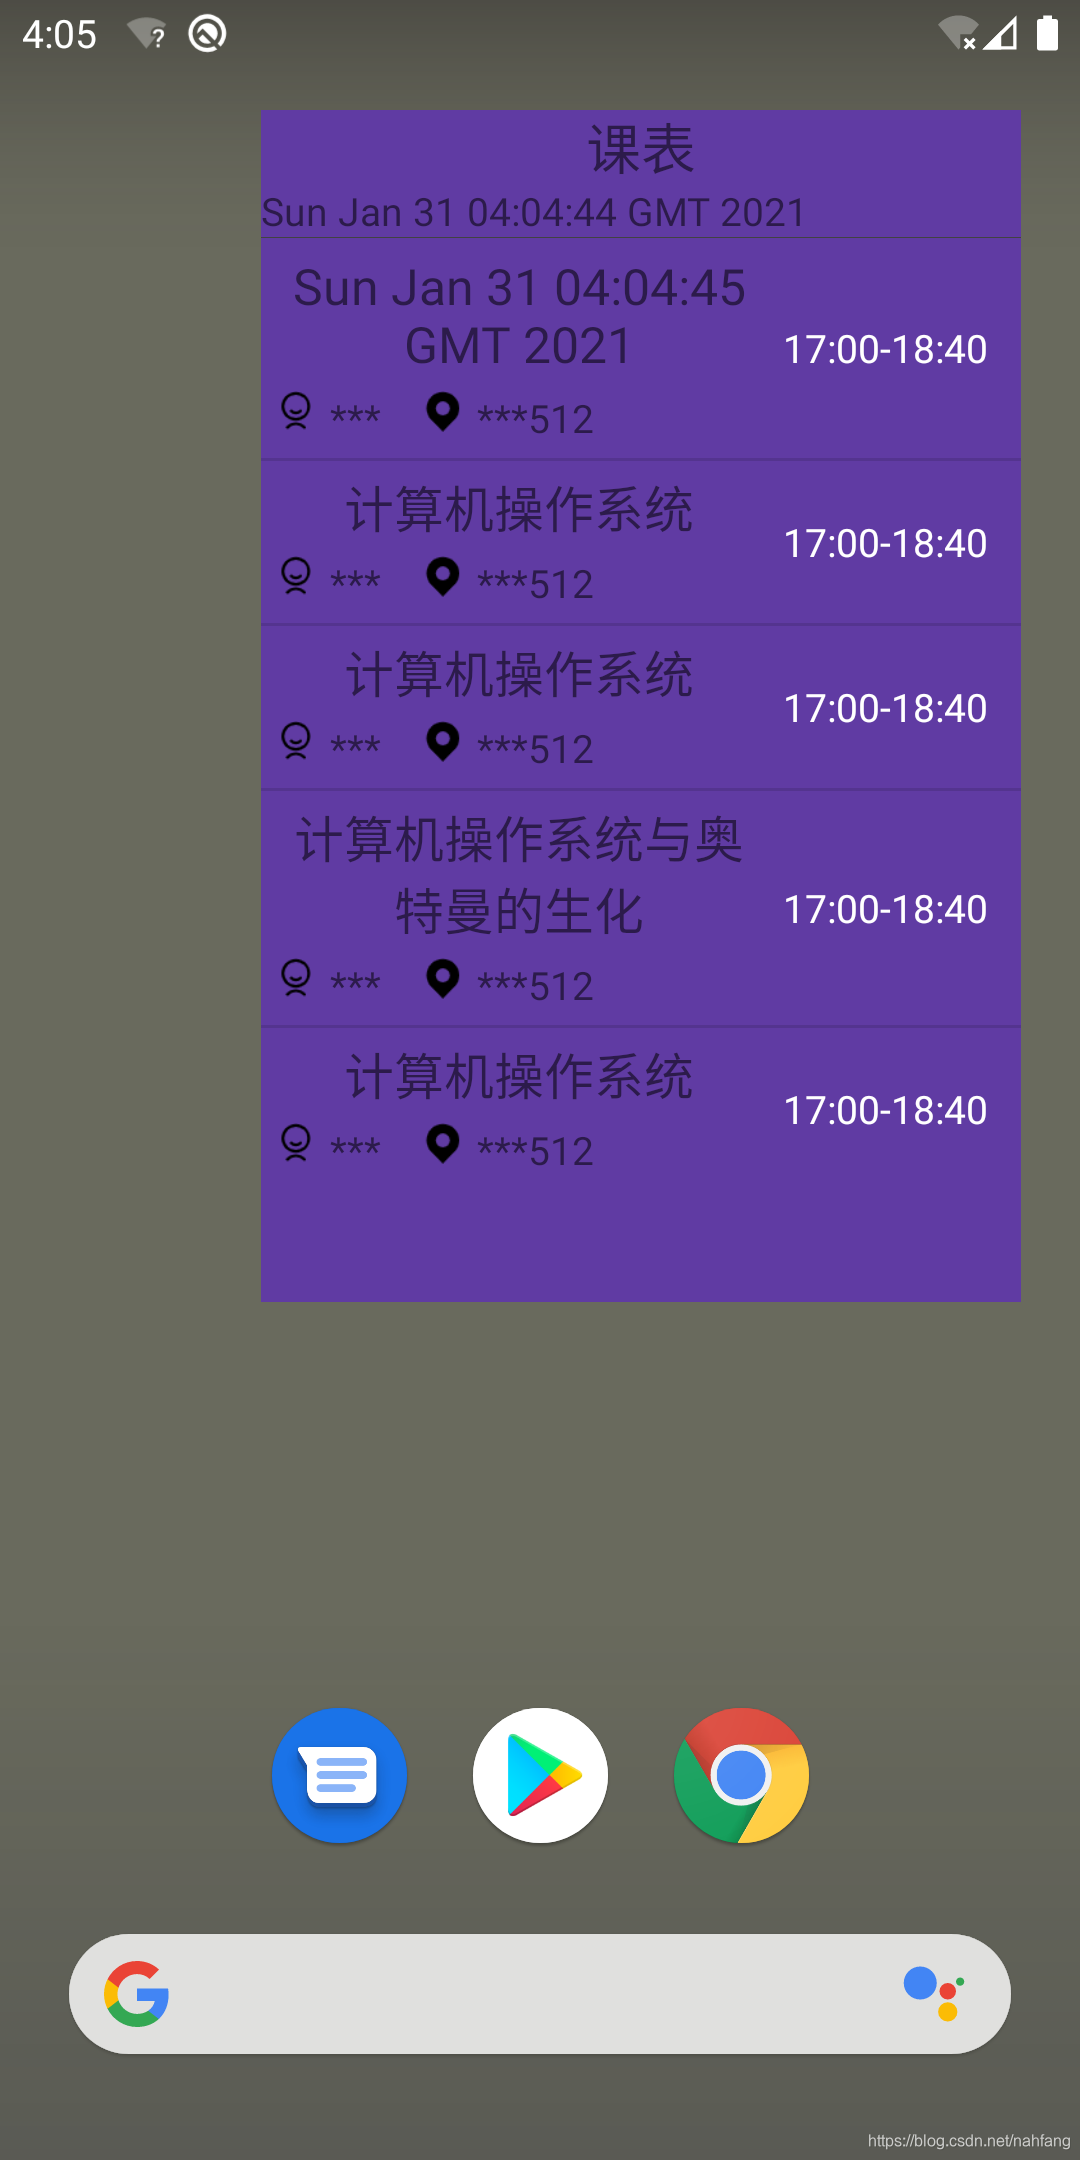
效果图(内容有删减)大概差不多,懒得再运行一次了


 1907
1907


 被折叠的 条评论
为什么被折叠?
被折叠的 条评论
为什么被折叠?
 到【灌水乐园】发言


