


 本文详细介绍了如何在树莓派上安装64位系统,从SD卡格式化、系统烧制到启动后的配置,包括WiFi连接、SSH启用、远程VNC连接、中文环境设置及摄像头配置。同时,分享了换源以提升软件下载速度的步骤,并提供了相关工具和资源链接。
最近在使用一个SDK时发现只提供了linux64版本的,而我用的树莓派系统是32位的。查了一下发现官方有提供64位版本的,开始了重装系统,总结了一下基础配置包括换源,远程连接,中文输入法,摄像头等配置。
大纲
- 准备工具
* 1. SD卡格式化
* 2. 烧制工具
* 3. 系统镜像 - 烧制镜像
* 1. 格式化sd卡
* 2. 打开Raspberry Pi Imager 进行烧制
* 3. choose SD 选择需要烧制到的SD卡 - 启动前的配置
* 1. 配置WiFi
* 2. 打开ssh
* 3.扫描获取树莓派ip - 启动后的基础配置
* 1. 树莓派内部配置
* 2. 换源
* 3.远程连接
* 4.安装中文字体以及输入法
* 5.摄像头配置
准备工具
下面所有用的工具和镜像我都放到了下面链接中 可以更快下载
链接
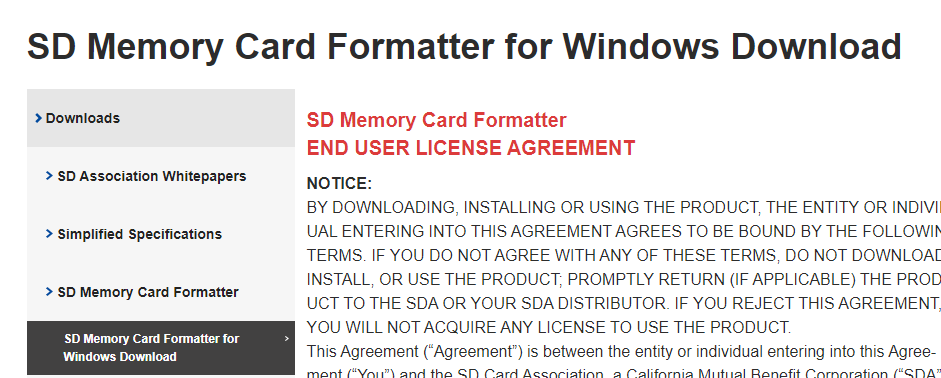
1. SD卡格式化
下载链接 划到下面有个accept 点击之后便会开始下载
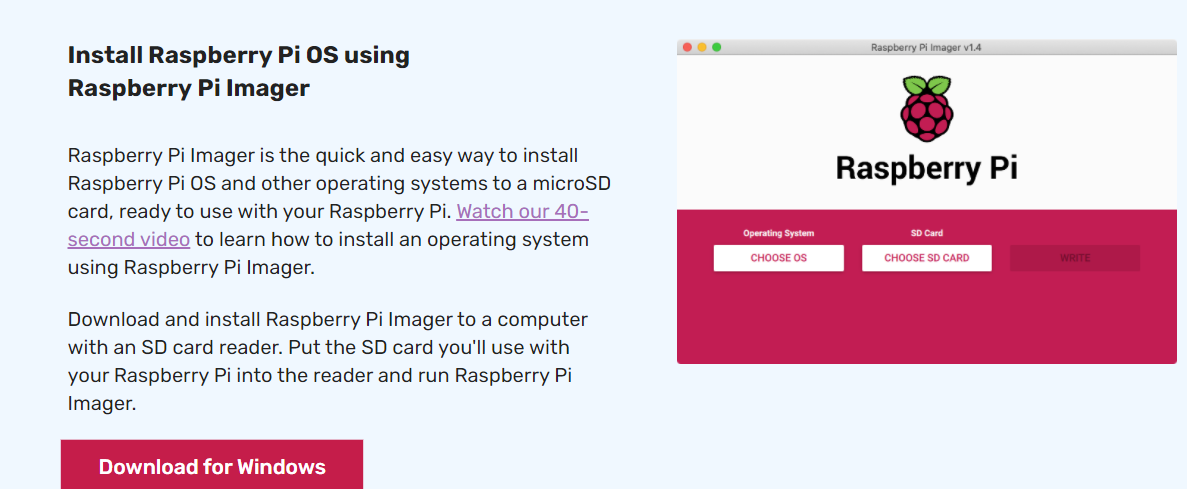
2. 烧制工具
树莓派官网的工具Imager 下载链接
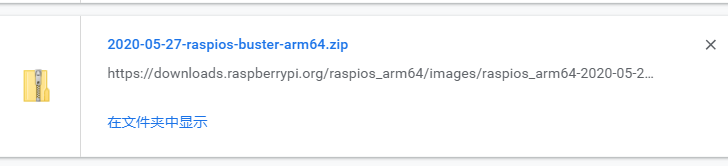
3. 系统镜像
官网下载64位的 链接
1 2 下载的安装包之后傻瓜式安装 
烧制镜像
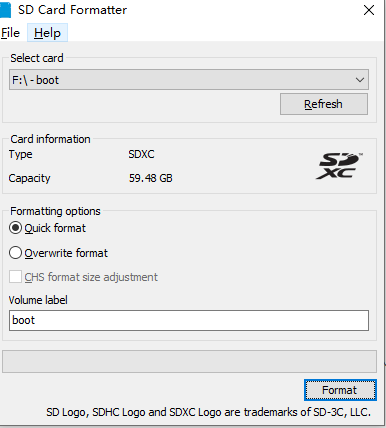
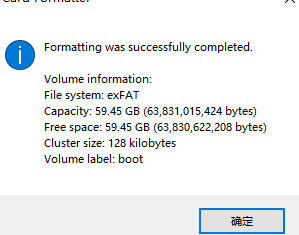
1. 格式化sd卡
选择SD卡 quick format 然后点击format
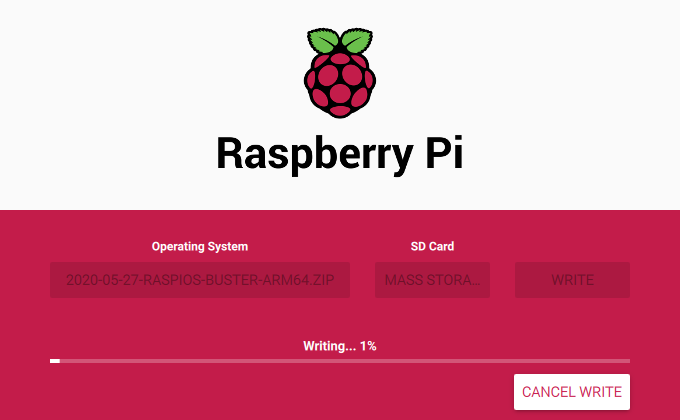
2. 打开Raspberry Pi Imager 进行烧制
choose os 选择 use custom 然后找到下载的镜像
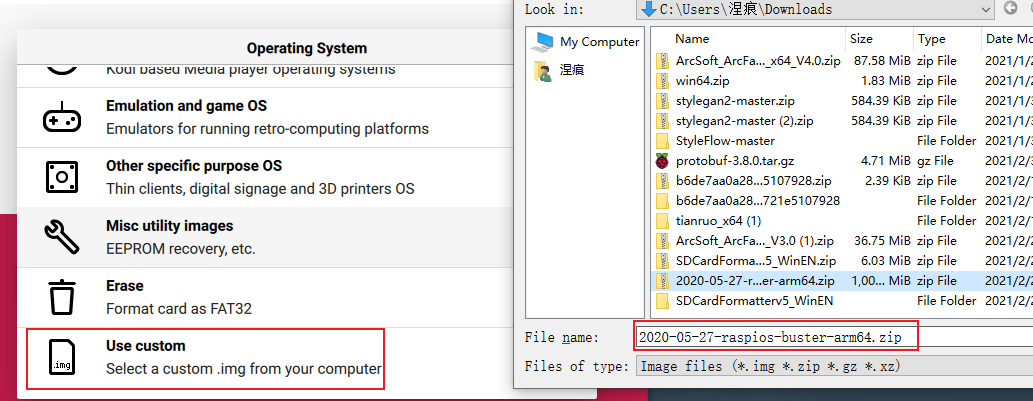
3. choose SD 选择需要烧制到的SD卡
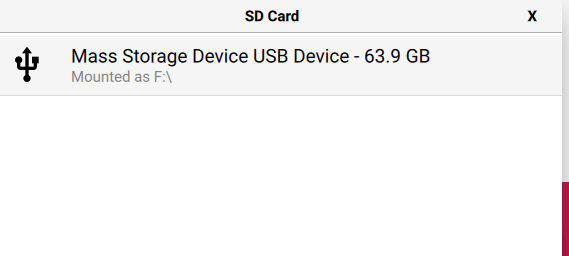
点击write
(在写之前 Imager提示 会擦去sd的所有内容,那好像这个工具也就对sd进行了格式化,前面不需要先格式化也可以。而且Imager 里面提供了很多树莓派的系统可以在这里面下载 也可以提前下载好)
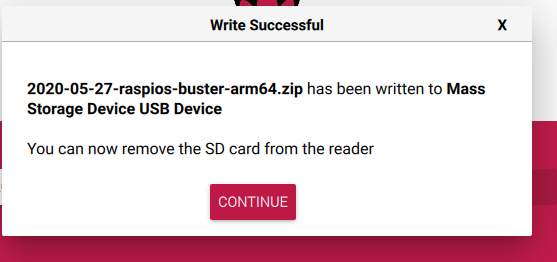
完成
启动前的配置
如果没有显示器或者感觉连线麻烦的 可以先配置一下WiFi 和ssh 通过ssh控制
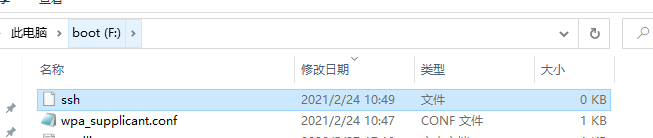
1. 配置WiFi
在boot盘引导区 查找wpa_supplicant.conf文件 如果没有就新建一个 写入以下内容
ctrl_interface=DIR=/var/run/wpa_supplicant GROUP=netdev
update_config=1
ap_scan=1
fast_reauth=1
country=CN

network={
ssid="WIFI名称"
psk="WIFI密码"
}

2. 打开ssh
入boot盘中中,创建一个名称为 ssh 的空白文件,没有扩展名。
树莓派在启动的时候会检测这个文件,一旦存在,会启动SSH服务
接下来就可以把SD卡插入到树莓派中 上电开机
3.扫描获取树莓派ip
利用扫描工具(ipscan) 找到树莓派的ip (要保证主机和树莓派同连一个WiFi在一个局域网中)
扫描工具下载链接
运行 SCAN扫描即可
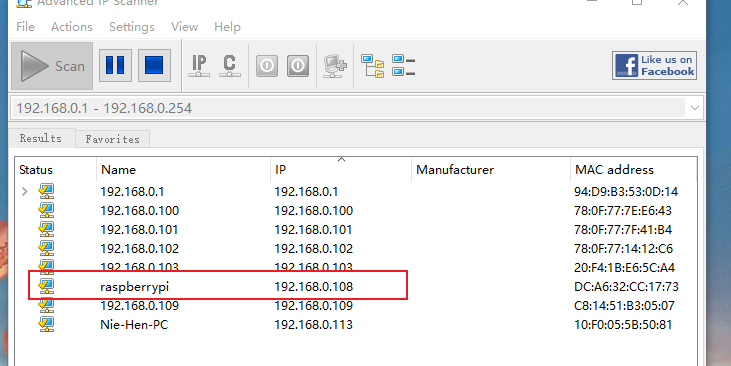
就可以用ssh来控制
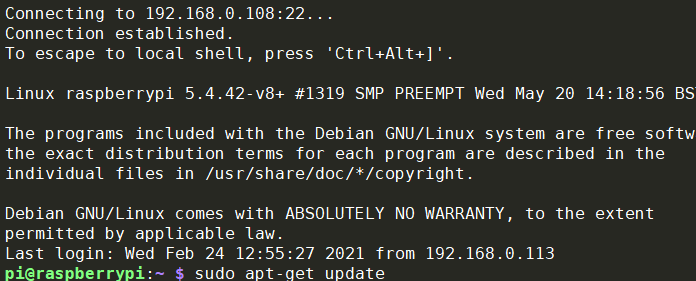
启动后的基础配置
用ssh连接 初始化用户名是pi 密码是raspberry

可以看到已经是64位的了
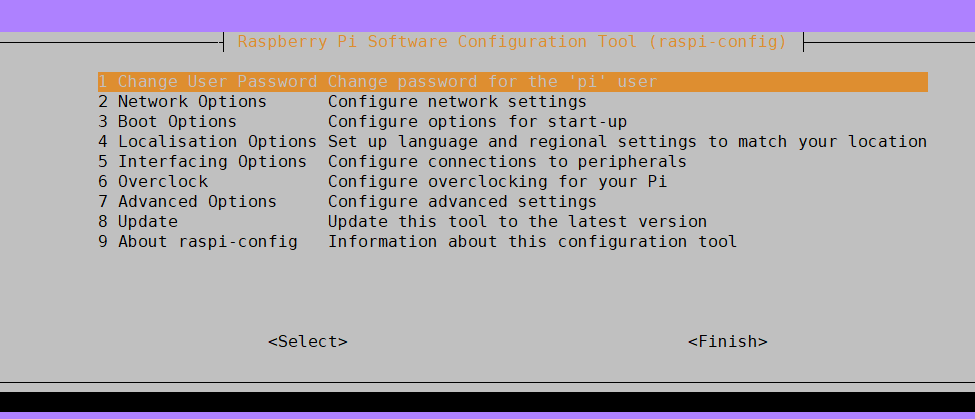
1. 树莓派内部配置
主要是 改初试密码 改地区 时区等内部配置 也可以进行摄像头 ssh GPIO等设置
可以在ssh中更改 上下移动光标 回车确定 Esc退出
sudo raspi-config
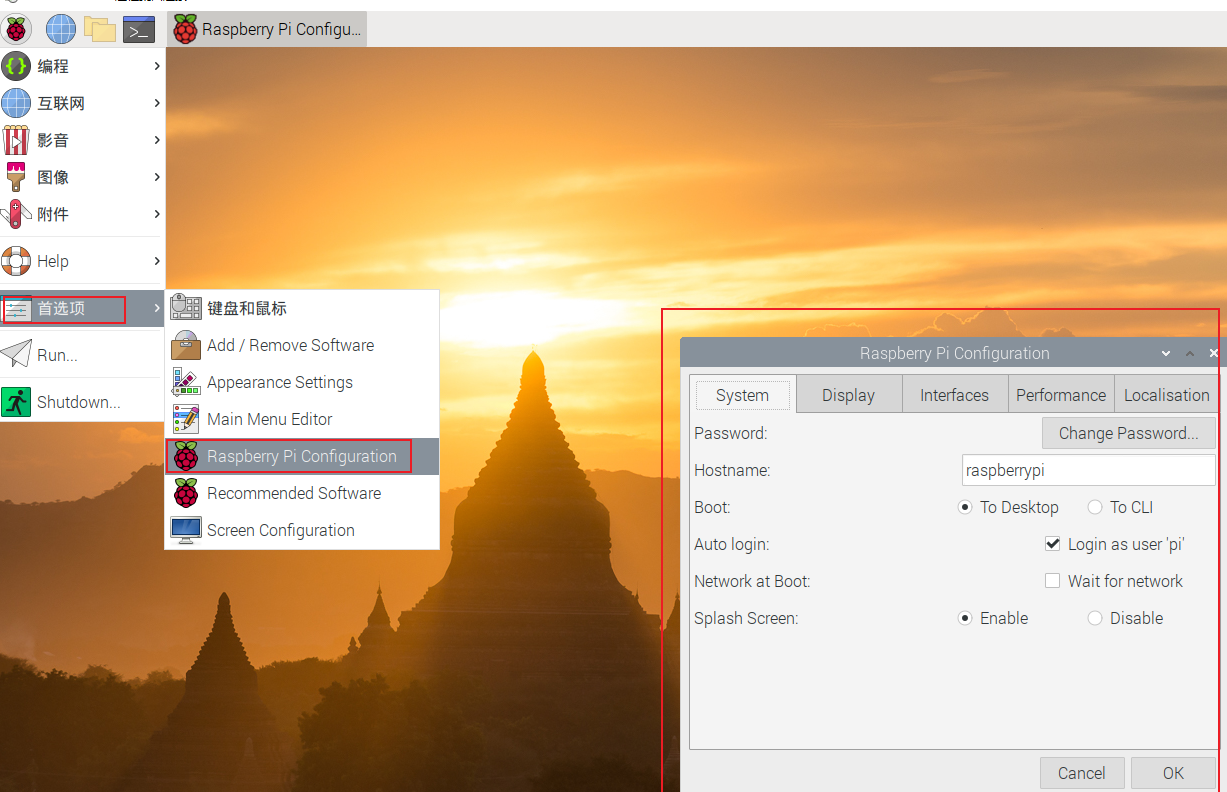
也可以到下面配置完远程连接后打开桌面进行配置
2. 换源
换源主要是为了下载包的速度更快
使用之前树莓派的源
deb http://mirrors.ustc.edu.cn/raspbian/raspbian/ stretch main contrib non-free rpi

deb-src http://mirrors.tuna.tsinghua.edu.cn/raspbian/raspbian/ stretch main contrib non-free rpi
进行apt-get update后,可能会出现以下问题:
由于没有公钥,无法验证下列签名
换成debian的源就可以了 因为64位版本貌似是debian版本的
sudo vim /etc/apt/sources.list
注释掉之前的 并在末尾加上
deb https://mirrors.tuna.tsinghua.edu.cn/debian/ buster main contrib non-free
deb-src https://mirrors.tuna.tsinghua.edu.cn/debian/ buster main contrib non-free
deb https://mirrors.tuna.tsinghua.edu.cn/debian/ buster-updates main contrib non-free
deb-src https://mirrors.tuna.tsinghua.edu.cn/debian/ buster-updates main contrib non-free
deb https://mirrors.tuna.tsinghua.edu.cn/debian/ buster-backports main contrib non-free
deb-src https://mirrors.tuna.tsinghua.edu.cn/debian/ buster-backports main contrib non-free
deb https://mirrors.tuna.tsinghua.edu.cn/debian-security buster/updates main contrib non-free
deb-src https://mirrors.tuna.tsinghua.edu.cn/debian-security buster/updates main contrib non-free
sudo vim /etc/apt/sources.list.d/raspi.list
把其他的给注释掉。
然后就可以进行更新
sudo apt-get update

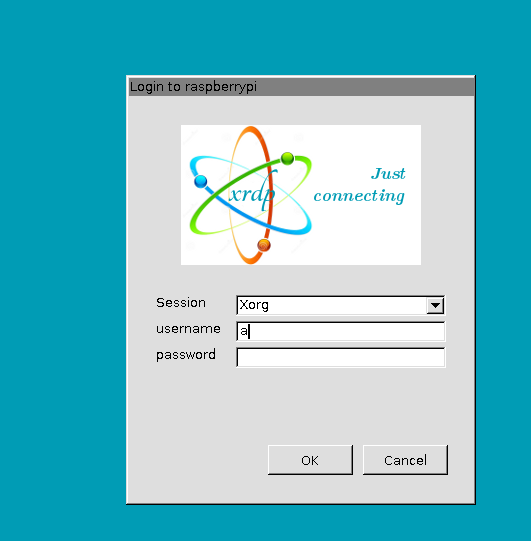
3.远程连接
有时候界面操作还是方便且必要的 所以还是要用 vnc远程连接

sudo apt-get install xrdp tightvncserver
安装好后 sudo /etc/init.d/xrdp restart 重启即可
4.安装中文字体以及输入法
安装中文字体
sudo apt-get install fonts-wqy-zenhei
安装中文输入法
sudo apt-get install fcitx fcitx-googlepinyin fcitx-module-cloudpinyin fcitx-sunpinyin
装完之后重启
ctrl+空格 切换为中文输入法

5.摄像头配置
1、输入 sudo raspi-config
先在 interfacing option里把camera 接口打开 (enable)。
2、如果使用的是树莓派摄像头,还需输入sudo modprobe bcm2835-v4l2
输入这行命令,发现/dev/下已经有摄像头的设备了。
这句话相当于加载驱动模块,每次开机都要开启,摄像头才能使用。
可以将这条命令放入 /etc/rc.local 文件中,让其自启动。
如果还想了解更多摄像头操作以及python调用摄像头 我在这里面写了
使用树莓派实现的口罩检测
其他配置:会慢慢更新。
如果文章帮助到了你,可以点赞收藏,关注我 后续会写一些树莓派应用的文章!


 3048
3048

 被折叠的 条评论
为什么被折叠?
被折叠的 条评论
为什么被折叠?
 到【灌水乐园】发言


