


Axis2快速入门:http://axis.apache.org/axis2/java/core/docs/quickstartguide.html
一、Eclipse axis2插件安装
Axis2主页上有关于插件的安装方法;见http://axis.apache.org/axis2/java/core/tools/eclipse/wsdl2java-plugin.html#Installation
Axis2下载:http://axis.apache.org/axis2/java/core/download.cgi

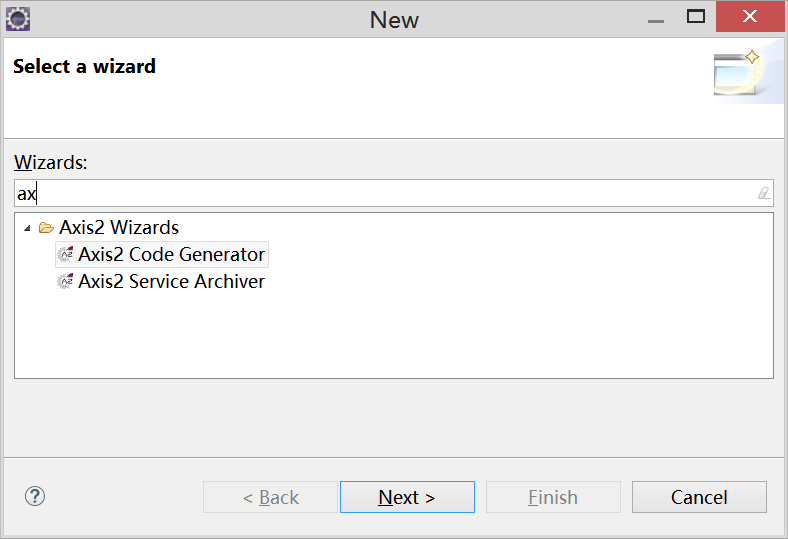
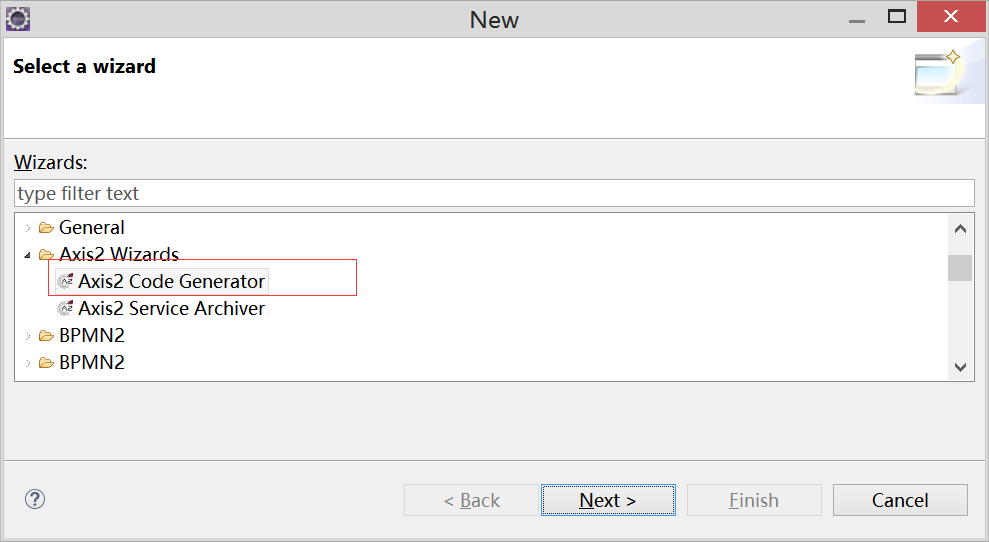
这两个压缩包解压后放到eclipse安装目录下的plugins目录,重启eclipse服务器,File new ->other,可以看到下面的这两个选项,表示插件安装成功
二、Axis2服务端开发
1、在tomcat中部署axis2(为了接下来发布webservice服务)
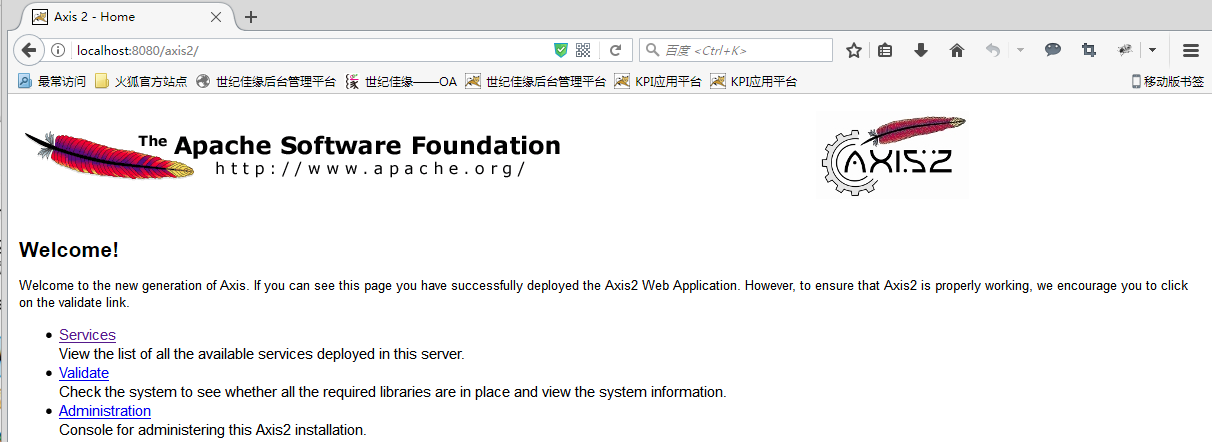
下载axis2-1.7.6-war.zip,解压到tomcat的webapps目录下,启动tomcat服务器,会发现webapps目录下多了axis2文件夹,在浏览器里输入http://localhost:8080/axis2,会发现对应的网页,说明已经成功了
2、建立要发布的WebService
2.1、new java project:AxisService
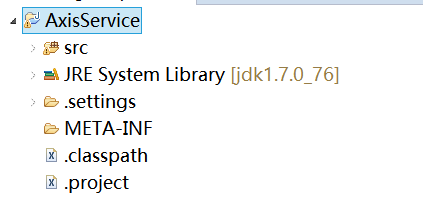
2.2、编写需要发布的WebService,在src目录下建包samples.quickstart.service.pojo,new class StockQuoteService如下
package samples.quickstart.service.pojo;

import java.util.HashMap;
import java.util.Map.Entry;

public class StockQuoteService {
	private HashMap<String, Double> map = new HashMap<String, Double>();

	public double getPrice(String symbol) {
		Double price = (Double) map.get(symbol);
		if (price != null) {
			return price.doubleValue();
		}
		return 42.00;
	}

	public String list() {
		String result = "{";
		for (Entry<String, Double> entry : map.entrySet()) {
			result += entry.getKey() + ":" + entry.getValue() + ",";
		}
		result += "}";
		return result;
	}

	public void update(String symbol, double price) {
		map.put(symbol, new Double(price));
	}

	public String sayHello(String name) {
		return "hello" + name + "axis2";
	}
}
3、发布WebService
3.1、打包要发布的Service, 点击Eclipse中New -> File -> Other -> Axis2 wizards -> Axis2 Services Archiver
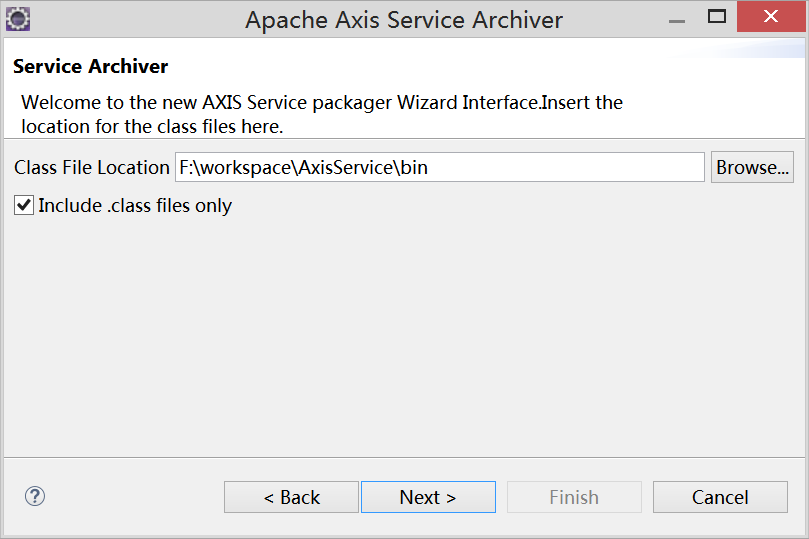
3.2、按上图填写,class File Location为工作目录对应项目的bin文件夹,并勾上Include .class files only,点击next
3.3、默认选择Skip WSDL,点击next
3.4、默认,继续next
3.5、默认,继续next
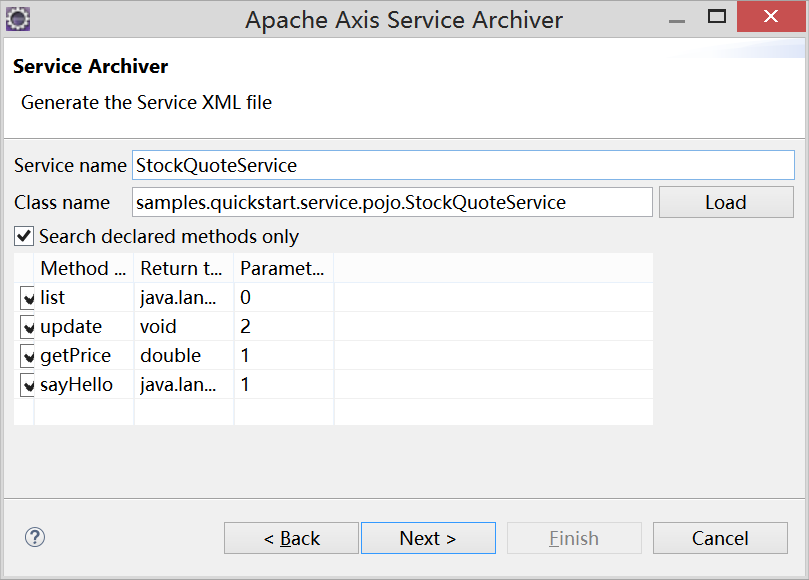
3.6、如上图所示,选择正确的Class Name,否则load不到class
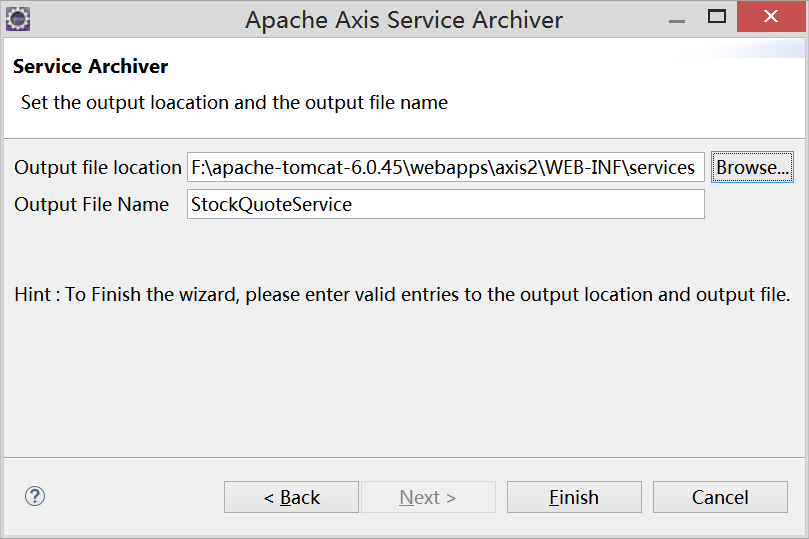
3.7 、如上图所示,output file location填写tomcat目录的axis2\web-inf\services下,点击Finish后,可以发现:F:\apache-tomcat-6.0.45\webapps\axis2\WEB-INF\services目录下增加了StockQuoteService.aar
3.8、测试发布的WebService
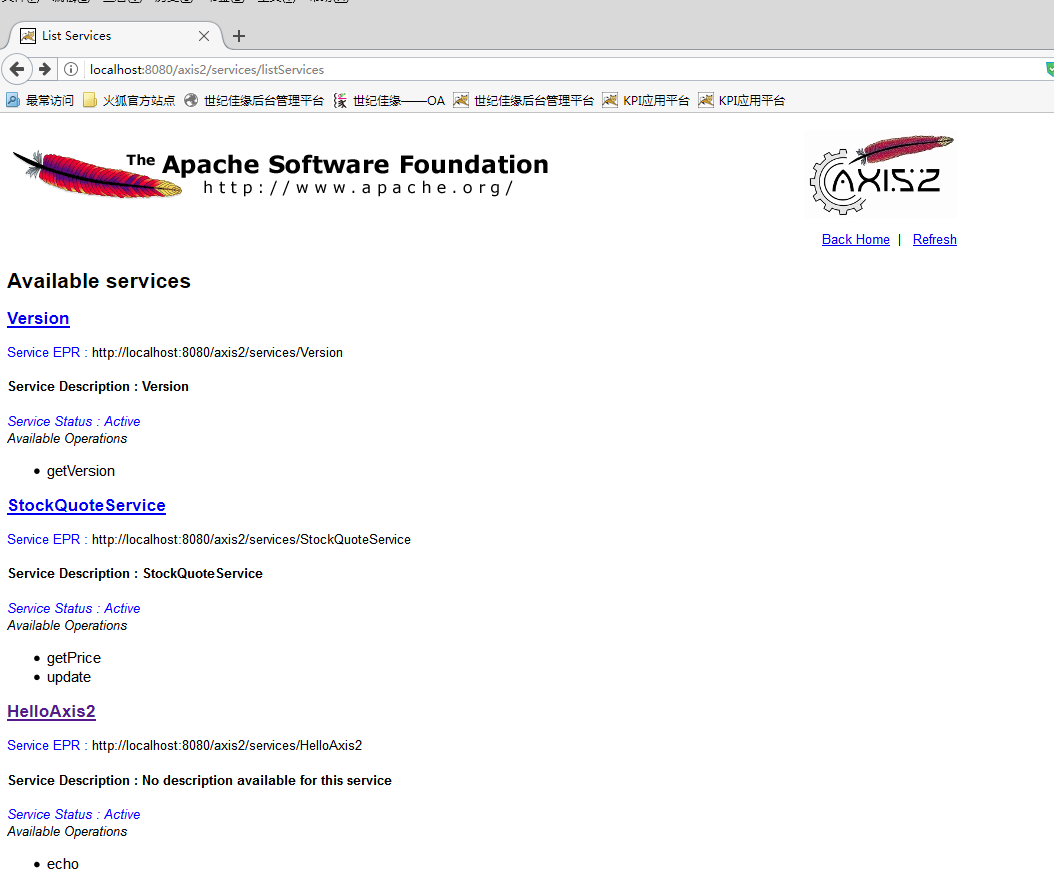
打开http://localhost:8080/axis2/services/listServices页面,可以看到所发布的服务:
点击StockQuoteService链接查看wsdl
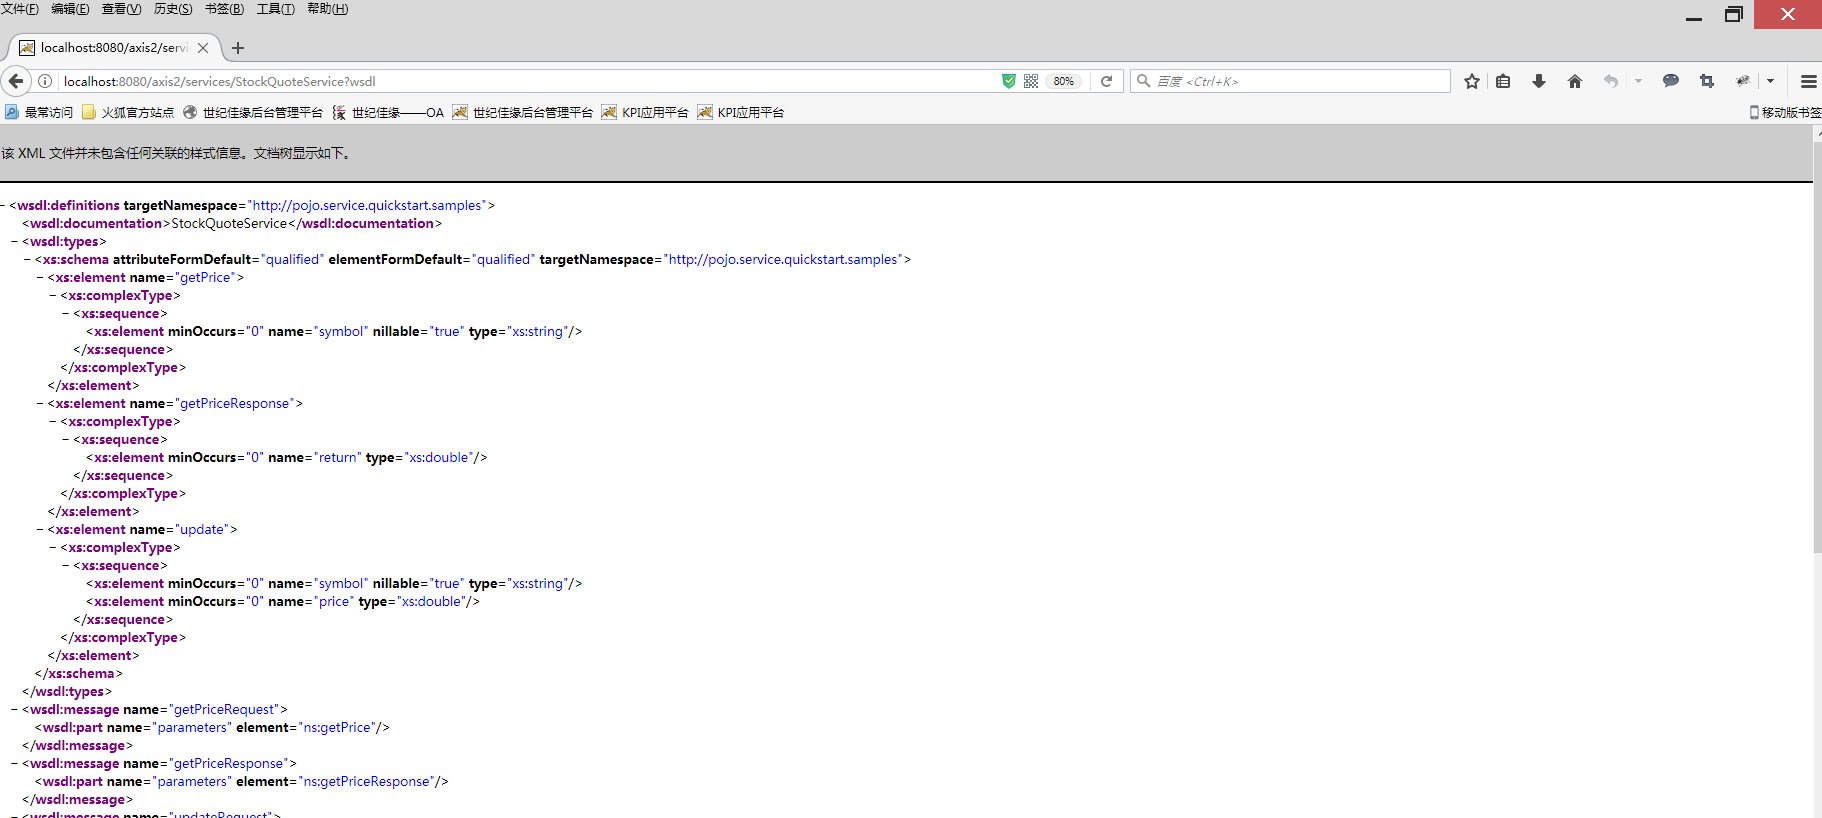
webservice发布成功。
三、Axis2客户端开发
1、File-new 选择Axis2 Code Generator 点击next
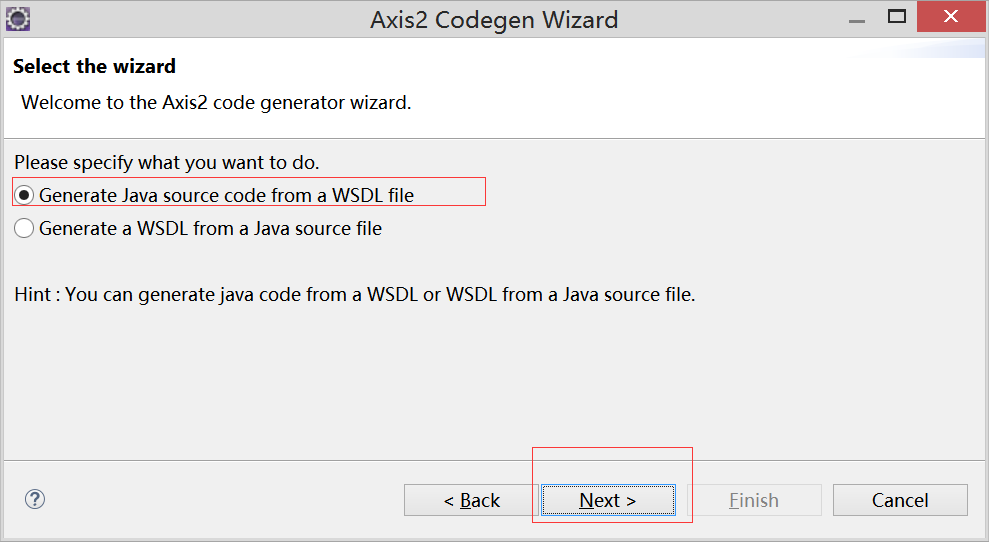
2、选择从wsdl生成java文件,点击next
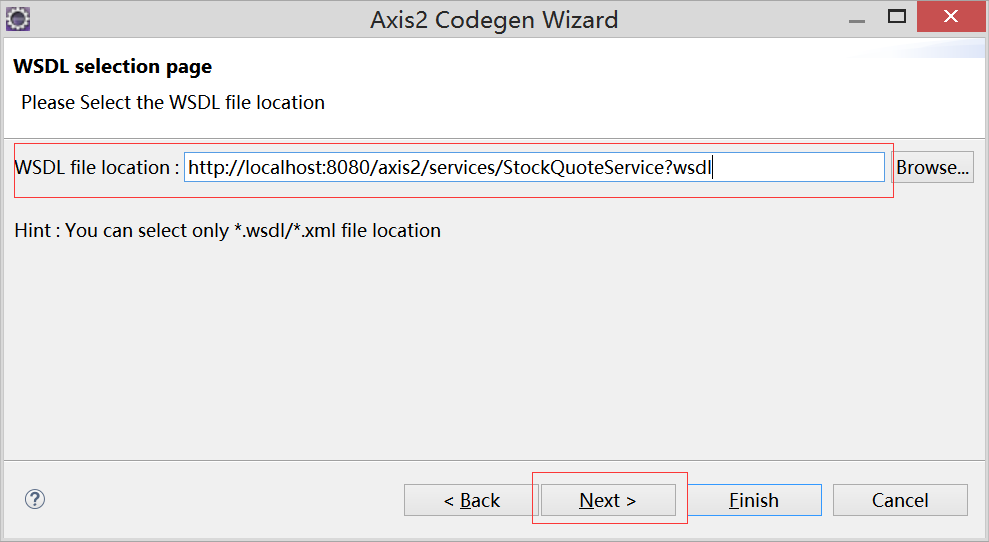
3、选择生成好的wsdl文件
4、Codegen option选择default,点击next
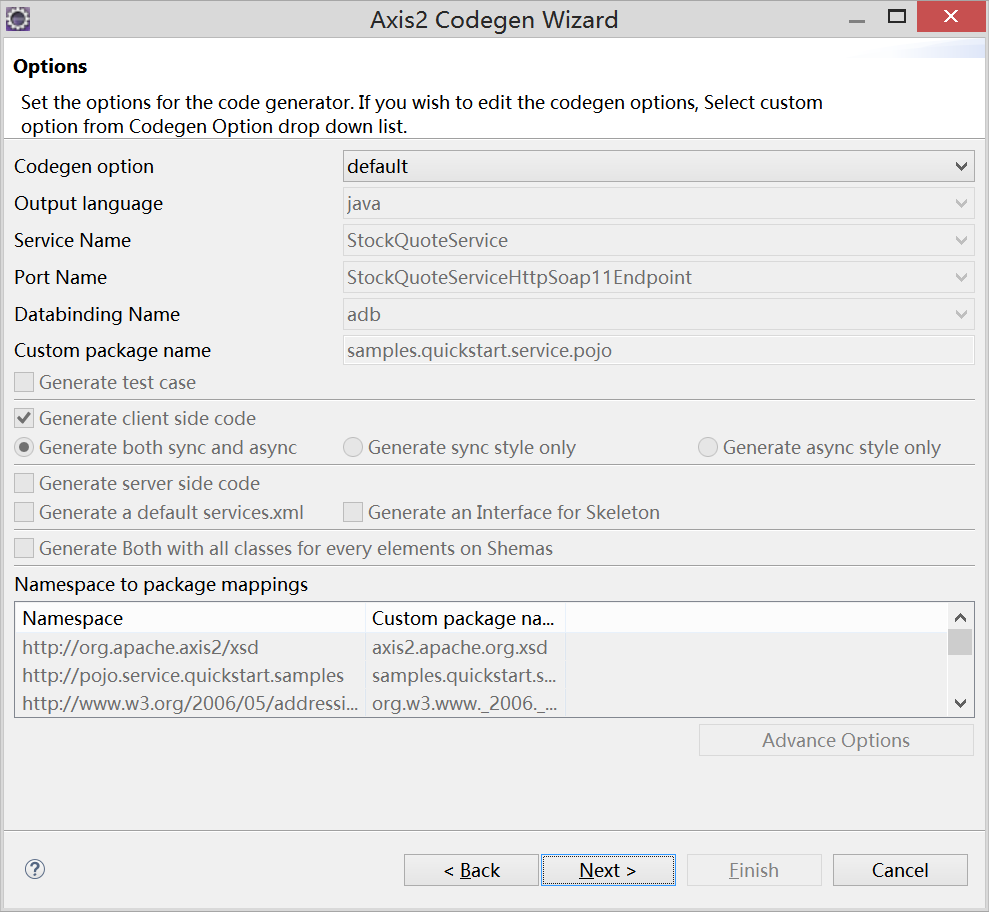
5、选择将生成的java代码保存到工作空间的特定工程里面

生成的客户端代码如下
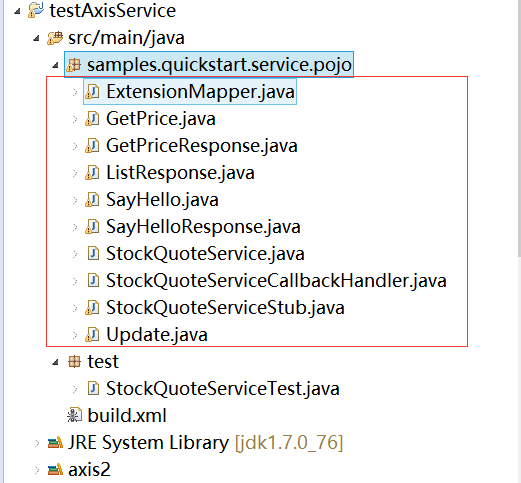
添加axis2需要的jar包到工程里面。不然会报错,具体需要的jar从axis2-1.7.6-bin.zip这个下载包里面的lib目录去取。
新建包test,然后new class StockQuoteServiceTest,代码如下:
package test;

import java.rmi.RemoteException;

import samples.quickstart.service.pojo.GetPrice;
import samples.quickstart.service.pojo.GetPriceResponse;
import samples.quickstart.service.pojo.ListResponse;
import samples.quickstart.service.pojo.SayHello;
import samples.quickstart.service.pojo.StockQuoteServiceStub;
import samples.quickstart.service.pojo.Update;

public class StockQuoteServiceTest {
    public static void main(java.lang.String args[]){
        try{
            StockQuoteServiceStub stub =
                new StockQuoteServiceStub
                ("http://localhost:8080/axis2/services/StockQuoteService?wsdl");

            getPrice(stub);
            update(stub);
            list(stub);
            getPrice(stub);
            sayHello(stub);
        } catch(Exception e){
            e.printStackTrace();
            System.err.println("\n\n\n");
        }
    }

    /* fire and forget */
    public static void update(StockQuoteServiceStub stub){
        try{
        	Update update = new Update();
        	update.setSymbol("ABC");
        	update.setPrice(43.35);
            stub.update(update);

        	update.setSymbol("CDE");
        	update.setPrice(12.00);
            stub.update(update);


            System.err.println("price updated");
        } catch(Exception e){
            e.printStackTrace();
            System.err.println("\n\n\n");
        }
    }

    /* two way call/receive */
    public static void getPrice(StockQuoteServiceStub stub){
        try{
        	GetPrice price = new GetPrice();
        	price.setSymbol("ABC");
        	GetPriceResponse response = stub.getPrice(price);
            System.err.println(response.get_return());
        } catch(Exception e){
            e.printStackTrace();
            System.err.println("\n\n\n");
        }
    }

    public static void list(StockQuoteServiceStub stub){
    	try {
			ListResponse listResponse = stub.list();
			System.out.println(listResponse.get_return());
		} catch (RemoteException e) {
			// TODO Auto-generated catch block
			e.printStackTrace();
		}
    }

    public static void sayHello(StockQuoteServiceStub stub){
    	SayHello sayHello = new SayHello();
    	sayHello.setName("weir");
    	try {
			System.out.println(stub.sayHello(sayHello).get_return());
		} catch (RemoteException e) {
			// TODO Auto-generated catch block
			e.printStackTrace();
		}
    }

}
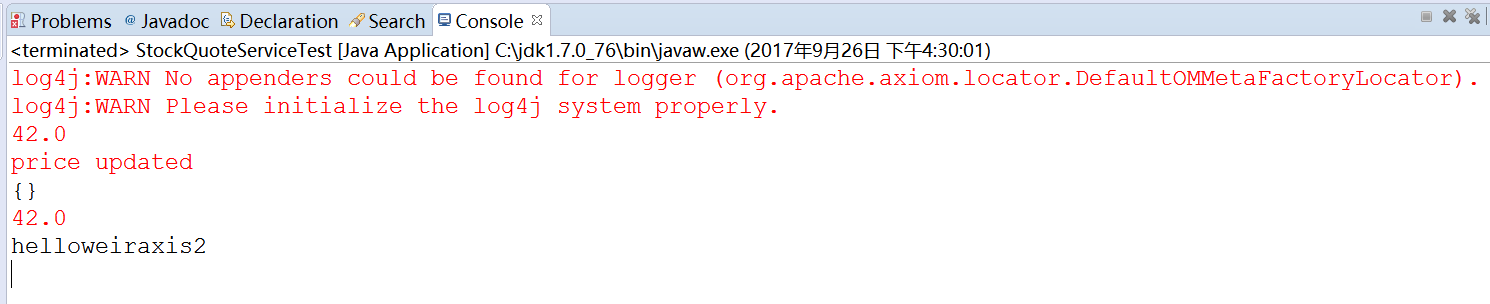
update 方法执行无效,价格没设置进去,这个问题还得查资料。
使用Axis2框架实现webservice就先写到这边了。


 320
320


 被折叠的 条评论
为什么被折叠?
被折叠的 条评论
为什么被折叠?
 到【灌水乐园】发言


