


系列目录
新建Spring Boot项目
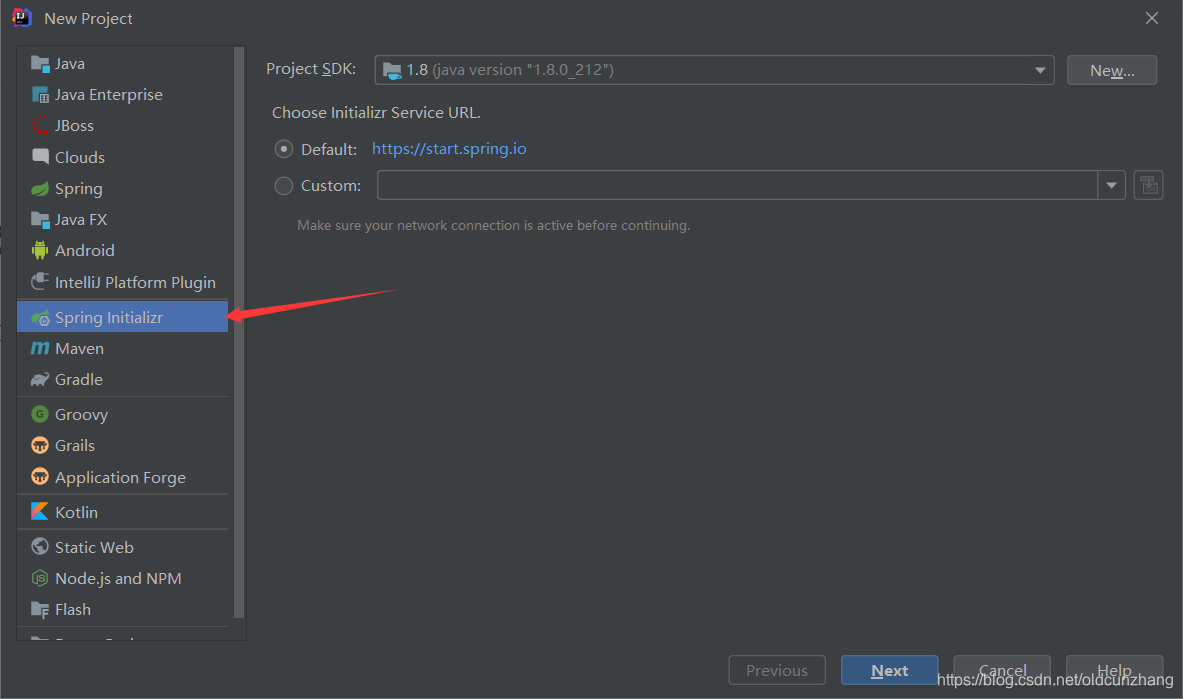
使用IDEA来创建、开发后端项目,打开IDEA,Create New Project,使用 Spring Initializer来快速创建Spring Boot项目,这玩意就有点像前边说的Vue CLi。
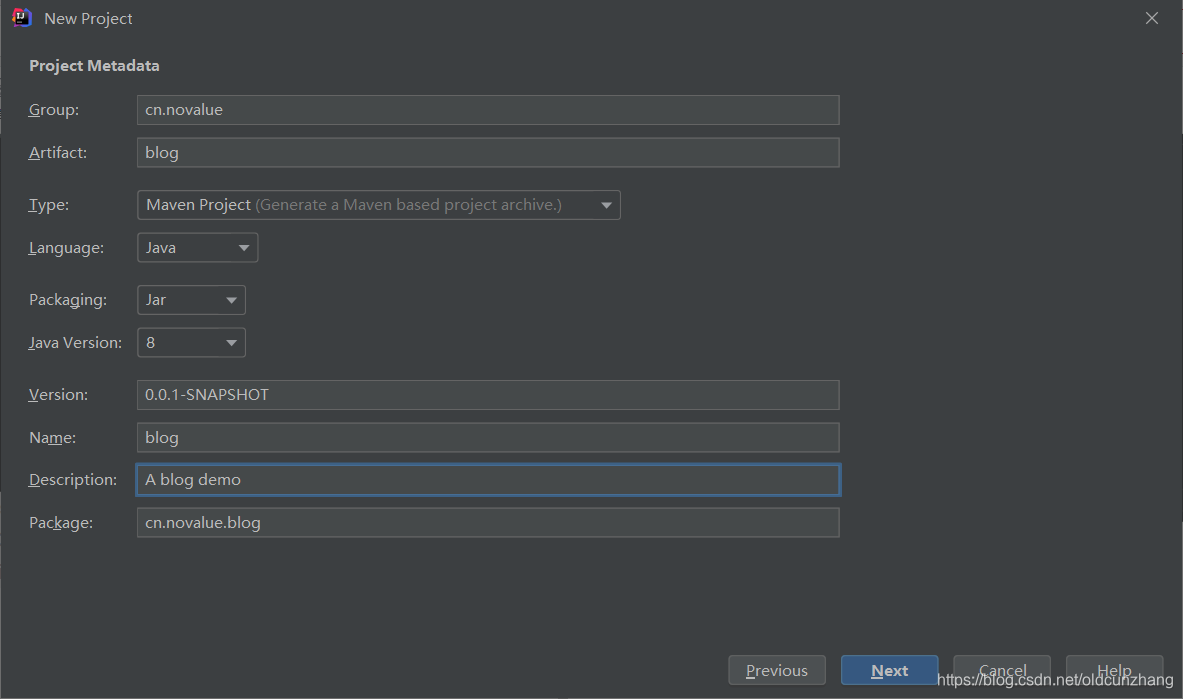
Group、Artifact 按自己需求创建,这里其实就是maven的三维坐标,如果以后别人要导入你的项目,就需要这两项来引入。
接下来选择所需要的配置,暂时先选几个基本的。当然这里数据库也可选择内置h2数据库,简单方便,操作方式也和MySQL差不多。
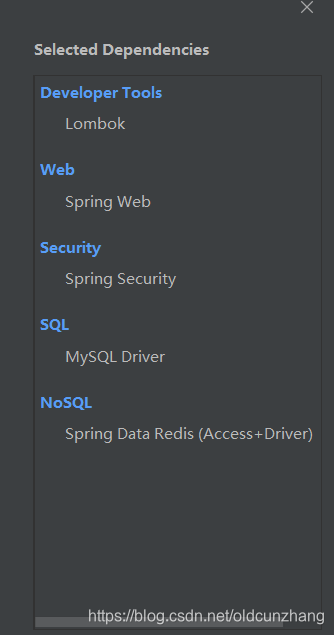
这里我会使用Lombok来简化开发,所以需要在IDEA中装入Lombok插件,否则会报错,插件安装很简单,自己摸索。
然后选择目录,finish。等待maven导入依赖。这里有一点,maven默认仓库可能访问有点慢,可以改为国内镜像,此外由于我个人是基于Java 8开发的,所以可以给maven里也配置好JDK版本,一劳永逸。
找到maven安装目录下的conf下的settings.xml,找到对应标签做如下配置:
  <mirrors>
    <!-- mirror
     | Specifies a repository mirror site to use instead of a given repository. The repository that
     | this mirror serves has an ID that matches the mirrorOf element of this mirror. IDs are used
     | for inheritance and direct lookup purposes, and must be unique across the set of mirrors.
     |
    <mirror>
      <id>mirrorId</id>
      <mirrorOf>repositoryId</mirrorOf>
      <name>Human Readable Name for this Mirror.</name>
      <url>http://my.repository.com/repo/path</url>
    </mirror>
     -->

    <mirror>
      <id>nexus-aliyun</id>
      <mirrorOf>central</mirrorOf>
      <name>Nexus aliyun</name>
      <url>http://maven.aliyun.com/nexus/content/groups/public</url>
    </mirror>

  </mirrors>


  <profiles>
      <profile>
      <id>jdk-1.8</id>
      <activation>
        <activeByDefault>true</activeByDefault>
        <jdk>1.8</jdk>
      </activation>
      <properties>
        <maven.compiler.source>1.8</maven.compiler.source>
        <maven.compiler.target>1.8</maven.compiler.target>
        <maven.compiler.compilerVersion>1.8</maven.compiler.compilerVersion>
      </properties>
    </profile>
  </profiles>
如果使用的是IDEA自带的maven,就在IDEA安装目录下找plugins/maven。
项目结构
新建的Spring Boot项目结构如下:
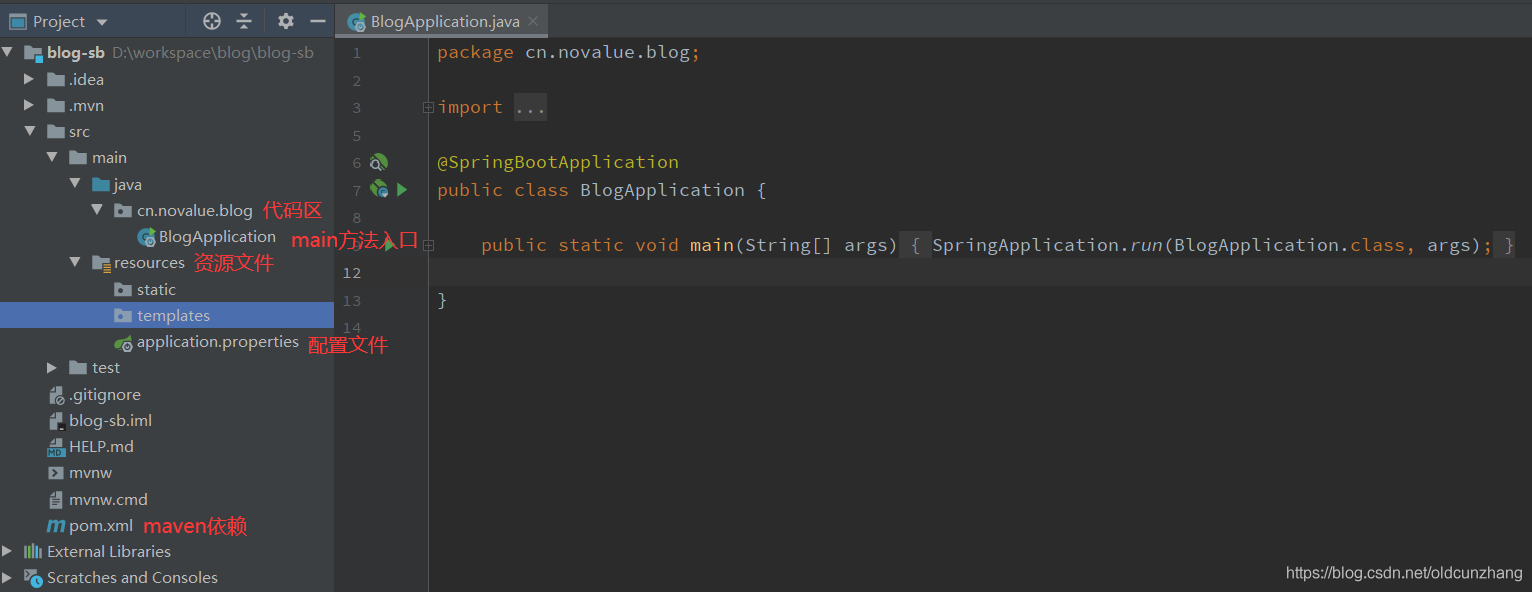
以后主要操作就是在代码区写代码,需要用到哪些依赖就在pom.xml中添加,在配置文件中做配置。个人觉得.properties配置文件写着比较繁琐,可以重命名改为application.yml。yml文件结构更清晰一点,Spring也能够自动识别。
引入MySQL数据库
前边在创建项目的时候,就已经导入了MySQL、Redis的依赖,MySQL作为主流的关系数据库,存储大部分数据,Redis作为内存数据库,可以做缓存使用,或者存储一些临时数据,减轻MySQL压力,提升用户体验。
按照现在池化思想,使用数据库连接池来访问MySQL,这里我使用Druid,百度搜索maven repository,去maven仓库搜索Druid的依赖,添加到pom.xml中。
 <!-- https://mvnrepository.com/artifact/com.alibaba/druid-spring-boot-starter -->
 <dependency>
     <groupId>com.alibaba</groupId>
     <artifactId>druid-spring-boot-starter</artifactId>
     <version>1.1.21</version>
 </dependency>
在本地数据库新建名为blog(当然这里随意,只要和配置中的url对应即可)的数据库。然后在application.yml中配置MySQL数据库信息
spring:
  datasource:
    platform: mysql
    username: root
    password: 123456
    driver-class-name: com.mysql.cj.jdbc.Driver
    url: jdbc:mysql://localhost:3306/blog?serverTimezone=GMT%2B8&characterEncoding=utf8&useUnicode=true&useSSL=true
    type: com.alibaba.druid.pool.DruidDataSource
    druid:
      # 连接池的配置信息,可按照官方的介绍,根据自己的需要配置,
      min-idle: 5
      initial-size: 1
      max-active: 10
      max-wait: 5000
      validation-query: select 1

      # 如下信息是Druid的web监控界面的配置,可选
      web-stat-filter:
        enabled: true
        url-pattern: "/*"
        exclusions: "*.js,*.gif,*.jpg,*.bmp,*.png,*.css,*.ico,/druid/*"
      stat-view-servlet:
        url-pattern: /druid/*
        enabled: true
        login-username: admin
        login-password: admin
      filters: stat,wall,slf4j
关于Druid的更详细配置可以查阅官网,这里就做一些最基本的。
有了数据库和连接池,还需要项目和数据库之间的访问桥梁,目前主要使用的应该就是MyBatis和JPA了,对于简单的单表增删改查,JPA要方便很多,不用写SQL语句,只要按照JPA规范在接口中定义方法即可。MyBatis也有好处,比如把SQL独立到xml文件中、自定义SQL能应对更复杂的查询等等。这里选择使用MyBatis Plus,它在保留了MyBatis功能的前提下,封装了基本的CRUD方法和一些其他常用的特性。
可以从MyBatis Plus官网或者maven仓库找到依赖添加到pom.xml中。
	<!-- https://mvnrepository.com/artifact/com.baomidou/mybatis-plus-boot-starter -->
	<dependency>
	    <groupId>com.baomidou</groupId>
	    <artifactId>mybatis-plus-boot-starter</artifactId>
	    <version>3.3.0</version>
	</dependency>
到此MySQL的配置算是告一段落了,启动测试下

正常启动说明数据库配置目前没有明显的问题,访问localhost:8080,会跳转到/login地址,这是因为使用了Spring Security做权限控制。使用Spring Security默认的账号:user,密码是控制台打印的一串,可以登陆成功,但是是404空页面,因为我们还没有开始写。。。
测试
可以新建个Controller测试下,在代码区新建controller包,包下创建TestController.java,代码如下
package cn.novalue.blog.controller;


import org.springframework.web.bind.annotation.GetMapping;
import org.springframework.web.bind.annotation.RestController;


@RestController
public class TestController {

    @GetMapping("/hello")
    public String hello() {
        return "hello world";
    }
}
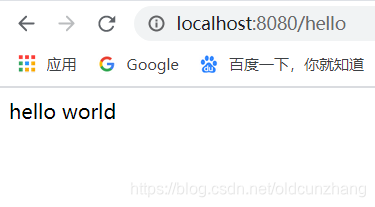
@RestController注解可以将该类作为一个Controller注册到Spring容器中,@GetMapping注解可以拦截对应的请求给该方法,比如hello()方法就会拦截/hello请求,并返回经典的”hello world“。
启动测试访问:localhost:8080/hello,输入Spring Security默认的账密,返回如下:
Redis数据库尚未配置,因为暂时也用不到,等用到了再说吧。。


 893
893


 被折叠的 条评论
为什么被折叠?
被折叠的 条评论
为什么被折叠?
 到【灌水乐园】发言


