


 本文详细介绍了在Ubuntu 16.04 LTS环境下,手动编译Linux内核及busybox的过程。从准备编译工具、下载内核源码、配置编译参数到最终编译、安装及清理步骤一应俱全。对于编译过程中遇到的问题提供了解决方案,并介绍了如何编译busybox以生成静态链接的可执行文件,确保其在单个Linux内核环境中正常工作。
实验环境:
Ubuntu 16.04.6 LTS \n \l
如何手动编译内核:
首先准备编译工具和编译环境
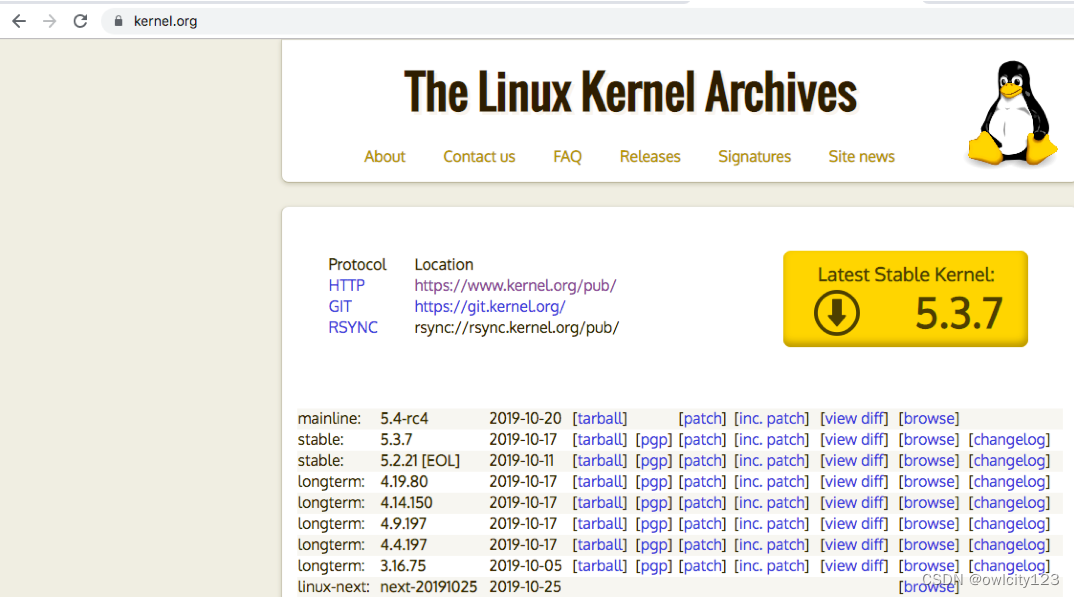
1、下载内核(下载地址:www.kernel.org)
yum -y install openssh-devel elfutils-libelf-devel bc yum install -y gcc gcc-c++ bc patch ncurese-devel #安装依赖包
tar xf linux-2.6.28.10.tar.gz -C /usr/src 解压内核源码,通常放在/usr/src目录下
ln -sv linux-2.6.28.10 linux
cd linux
ls
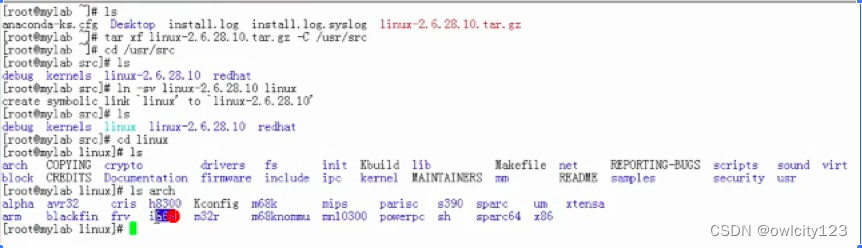

内核源码的顶层有许多子目录,分别组织存放各种内核子系统或者文件。
具体的目录说明如下表所示。
目录 内容
arch/ 体系结构相关的代码,如arch/i386、arch/arm、arch/ppc
crypto 常用加密和散列算法(如AES、SHA等),以及一些压缩和CRC校验算法
drivers/ 各种设备驱动程序,如drivers/char、drivers/block……
documentation/ 内核文档
fs/ 文件系统,如fs/ext3、fs/jffs2……
include/ 内核头文件:include/asm是体系结构相关的头文件,它是include/asm-arm、include/asm-i386等目录的链接;include/linux是Linux内核基本的头文件
init/ Linux初始化,如main.c
ipc/ 进程间通信的代码
kernel/ Linux内核核心代码(这部分比较小)
lib/ 各种库子程序,如zlib、crc32
mm/ 内存管理代码
net/ 网络支持代码,主要是网络协议
sound 声音驱动的支持
scripts/ 内部或者外部使用的脚本
usr/ 用户的代码
内核中的功能除了核心功能之外,在编译时,大多功能都有三种选择:
- 不使用此功能
- 编译成内核模块
- 编译进内核
2、编译命令
make menuconfig 编译完成后ls -a 查看会生成.config隐藏文件
在编译时,会存在很多问题,可复制已经编译好的文件,再执行make menuconfig,如下
cp /boot/config-2.6.32-431.el6.x86_64 /usr/src/linux/.config
make menuconfig
make -j4 # j4表示分成4个任务运行,以加快速度,建议使用机器的所有CPU核来进行编译以加快速度,为此可以使用指令“make -j `getconf _NPROCESSORS_ONLN`”。
make modules_install
make install
重启系统可以检查
二次编译时清理:
make clean #清理此前编译好的模块
make mrproper #会把.config也清理掉,如果需要,请备份配置文件.config
编译busybox
1、下载busybox源码包 busybox-1.31.0.tar.bz2
2、解压 tar jxvf busybox-1.31.0.tar.bz2
3、编译
cd busybox-1.31.0
make munuconfig #编译完成后会生成.config隐藏文件

报如上错误时,需要下载ncurses-devel安装包
apt-get install libncurses5-dev
重新编译直接进入busybox界面
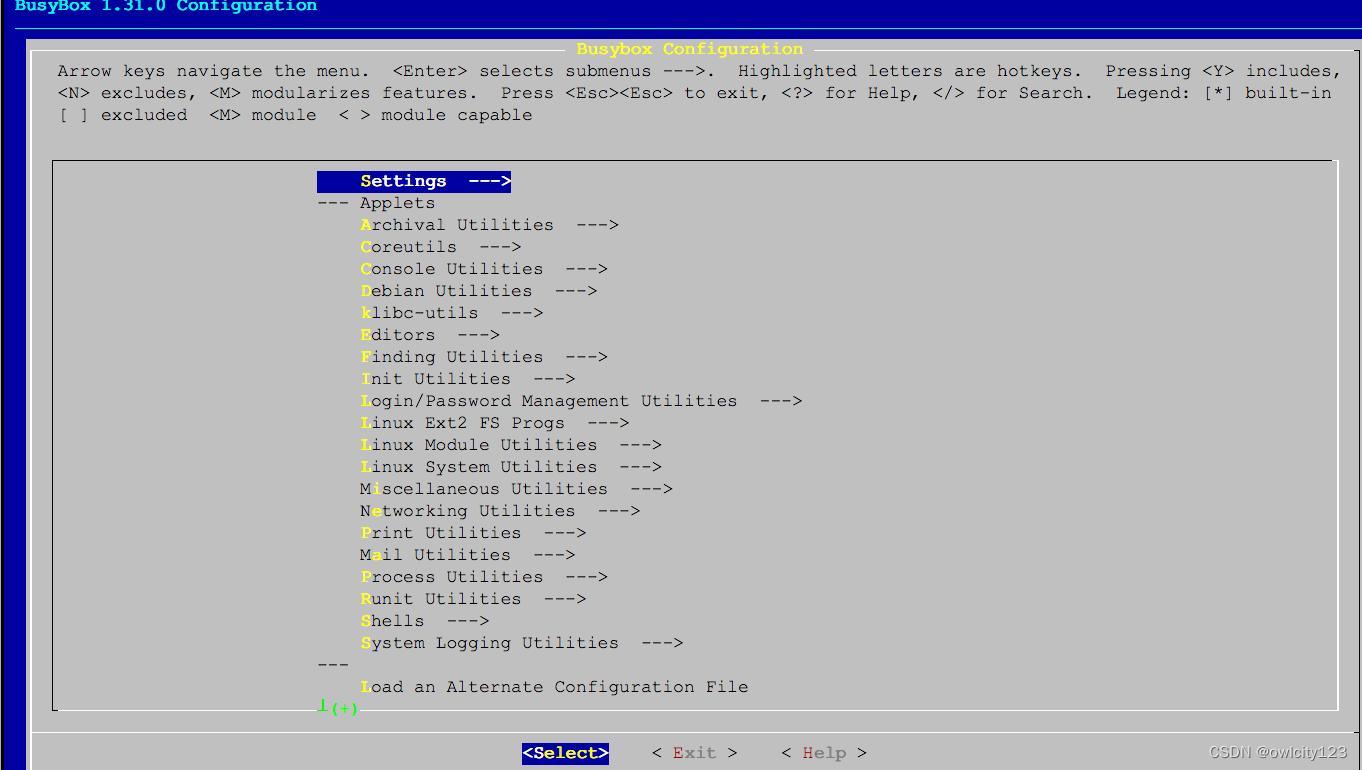
选择Busybox Settings--->Build Options--->,选择[*] Build Busybox as a static binary(no shared libs)
这个选项必须选择 ,这样才能把busybox编译成静态链接的可执行文件,运行时才独立于其他函数库.否则必需要其他库文件才能运行,在单一个linux内核不能使他正常工作.其他默认即可。
![]()
退出后make && make install
如果还是有报错,执行下列命令:
yum -y install gcc glibc-static ncurses-devel libgcrypt-devel zlib-devel
重新编译,出现下面的界面说明成功
[root@10-2-67-190 busybox-1.31.0]# make && make install
  LINK    busybox_unstripped
Static linking against glibc, can't use --gc-sections
Trying libraries: crypt m resolv
 Library crypt is not needed, excluding it
 Library m is needed, can't exclude it (yet)
 Library resolv is needed, can't exclude it (yet)
Final link with: m resolv
  DOC     busybox.pod
  DOC     BusyBox.txt
  DOC     busybox.1
  DOC     BusyBox.html
  ./_install//bin/[ -> busybox
  ./_install//bin/[[ -> busybox
  ./_install//bin/arch -> busybox
  ./_install//bin/ash -> busybox
  ./_install//bin/awk -> busybox
  ./_install//bin/base64 -> busybox
  ./_install//bin/basename -> busybox
  ./_install//bin/bc -> busybox
  ./_install//bin/beep -> busybox
  ./_install//bin/blkdiscard -> busybox
  ./_install//bin/bunzip2 -> busybox
  ./_install//bin/bzcat -> busybox
  ./_install//bin/bzip2 -> busybox
  ./_install//bin/cal -> busybox
  ./_install//bin/cat -> busybox
  ./_install//sbin/watchdog -> ../bin/busybox
  ./_install//sbin/zcip -> ../bin/busybox


--------------------------------------------------
You will probably need to make your busybox binary
setuid root to ensure all configured applets will
work properly.
--------------------------------------------------
[root@10-2-67-190 busybox-1.31.0]#
[root@10-2-67-190 busybox-1.31.0]# ls
applets                 Config.in      findutils    mailutils               NOFORK_NOEXEC.sh        sysklogd
applets_sh              configs        include      Makefile                printutils              testsuite
arch                    console-tools  init         Makefile.custom         procps                  TODO
archival                coreutils      _install     Makefile.flags          qemu_multiarch_testing  TODO_unicode
AUTHORS                 debianutils    INSTALL      Makefile.help           README                  util-linux
busybox                 docs           klibc-utils  make_single_applets.sh  runit
busybox.links           e2fsprogs      libbb        miscutils               scripts
busybox_unstripped      editors        libpwdgrp    modutils                selinux
busybox_unstripped.map  examples       LICENSE      networking              shell
busybox_unstripped.out  filter_log     loginutils   NOFORK_NOEXEC.lst       size_single_applets.sh
[root@10-2-67-190 busybox-1.31.0]# cd _install/
bin/     linuxrc  sbin/
[root@10-2-67-190 _install]# ls
bin  linuxrc  sbin
其中可执行文件busybox在bin目录下,其他的都是指向他的符号链接.
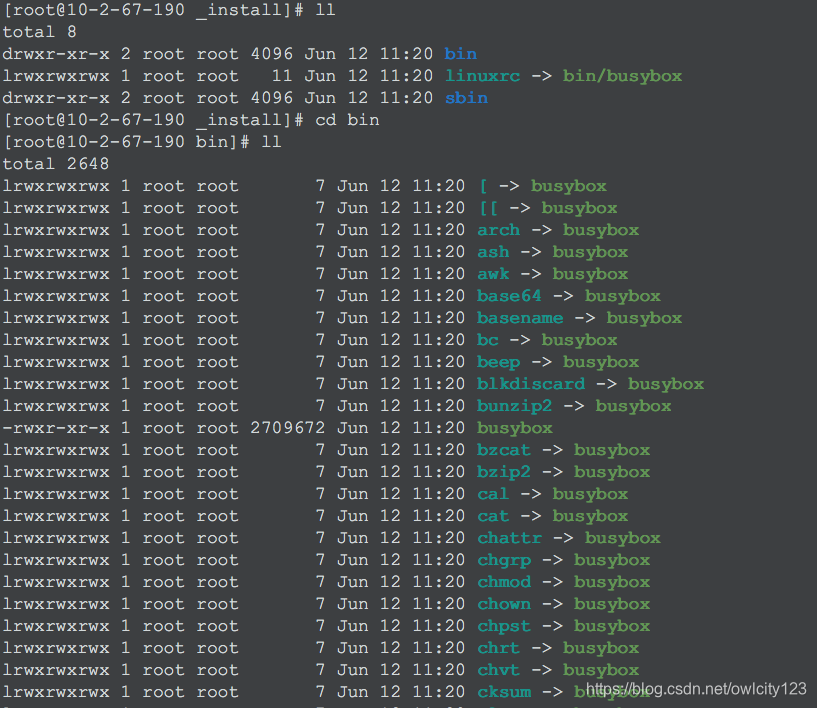
至此busybox编译成功

什么是initrd
大家只要做一个简单的实验就可以明白了:在开机的GRUB命令行上去掉initrd这一行,然后按CTRL+x启动,过会你会发现屏幕出现“kernel panic”的提示。
为什么会这样呢?这是因为为了减小kernle文件(vmlinuz)的大小和增强灵活性,现在的发行版如ubuntu默认将硬盘接口卡如IDE,STAT,SCSI的驱动程序以模块(modules)的形式放在initrd文件中,GRUB中去掉initrd这一行意味着initrd中的modules没有被加载kernel就不能识别该硬盘更别提挂载上面的根文件系统了。
initrd文件的功能主要有两个:
1、提供开机必需的但kernel文件(即vmlinuz)没有提供的驱动模块(modules),驱动程序位置
/lib/modules/内核版本,需要时再进行装载,这样可以减少内核的大小
2、负责加载硬盘上的根文件系统并执行其中的/sbin/init程序进而将开机过程持续下去
GRUB 将kernle加载到内存并执行,kernel在运行的后期会读取并执行initrd文件中的init脚本文件并按照其中命令逐行执行,所以要掌握 initrd的作用和硬盘上的根文件系统加载过程,全面解析init文件是很重要的


 被折叠的 条评论
为什么被折叠?
被折叠的 条评论
为什么被折叠?
 到【灌水乐园】发言


