


如果电脑是Window7系统,请不要下载安装最新的Anaconda或者Python版本。
请按下文安装Python
按如下步骤安装
1. 下载这个python3.8的官方版本
如果你是64位的操作系统,下载这个链接:
https://www.python.org/ftp/python/3.8.8/python-3.8.8-amd64.exe
如果你是32位的操作系统,下载这个链接:
https://www.python.org/ftp/python/3.8.8/python-3.8.8.exe
2. 右键,管理员身份运行

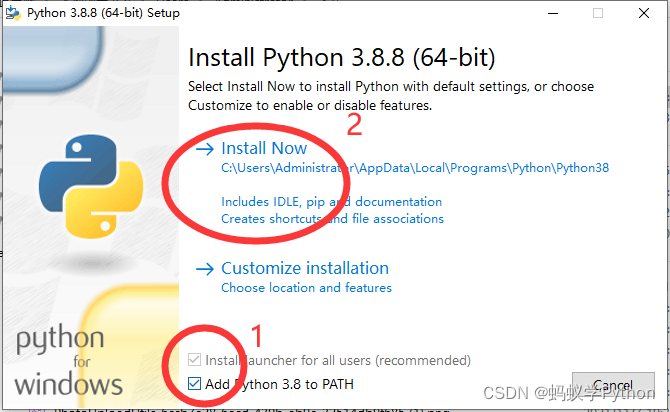
3、选择选项
注意:下图有两个选项!!!别忘了数字1的选项
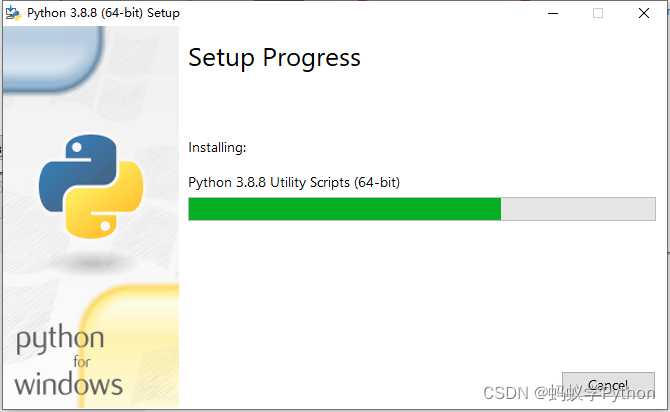
等待安装
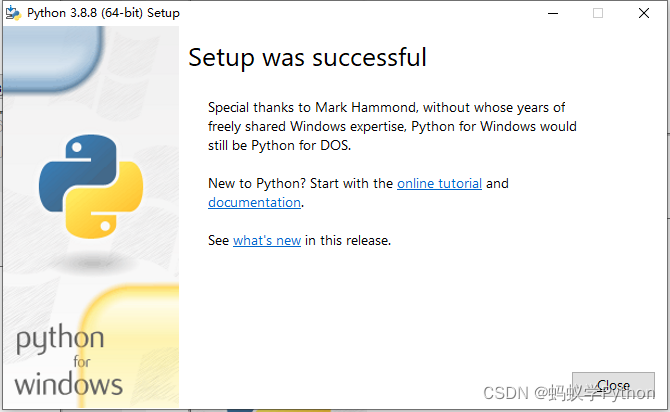
这是安装成功了
4、测试一下。
随便打开一个目录,清空地址栏,输入cmd,回车
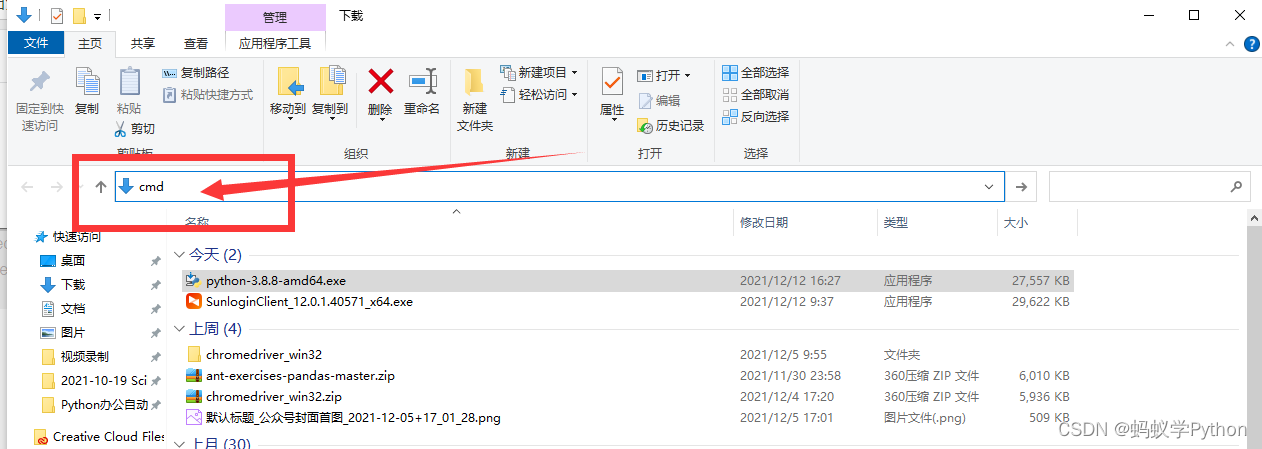
输入python,回车。
如果没报错,说明成功了

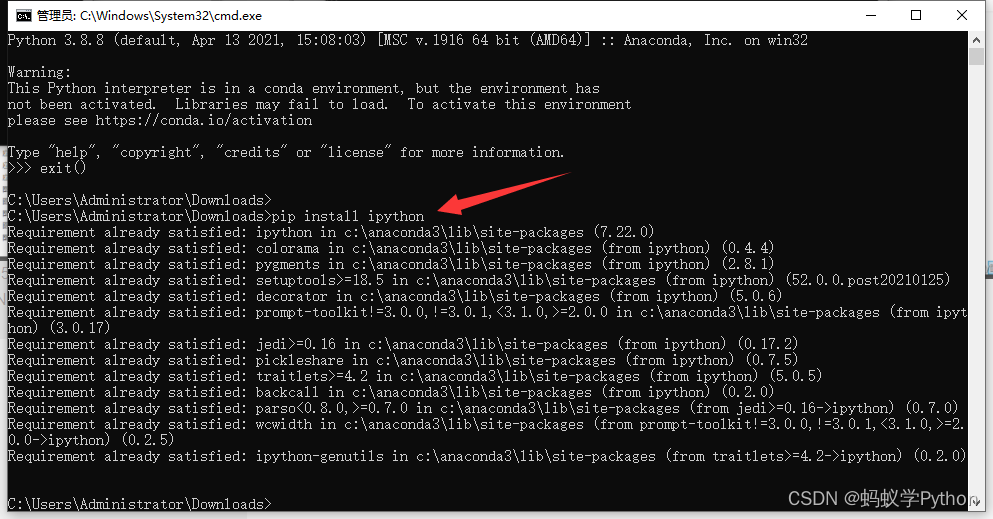
5、怎样安装ipython
anaconda自带ipython,但是官网的python是不带ipython的,可以用pip install ipython命令自己安装
(下面可以不看了)附录 - 如果是win7安装最新的anaconda会报错:
如果在windows7安装3.9高版本,可能遇到这个问题:

是因为windows7只能安装3.8以下的版本。
https://docs.python.org/zh-cn/3.9/using/windows.html

这时候,就别安装anaconda了。
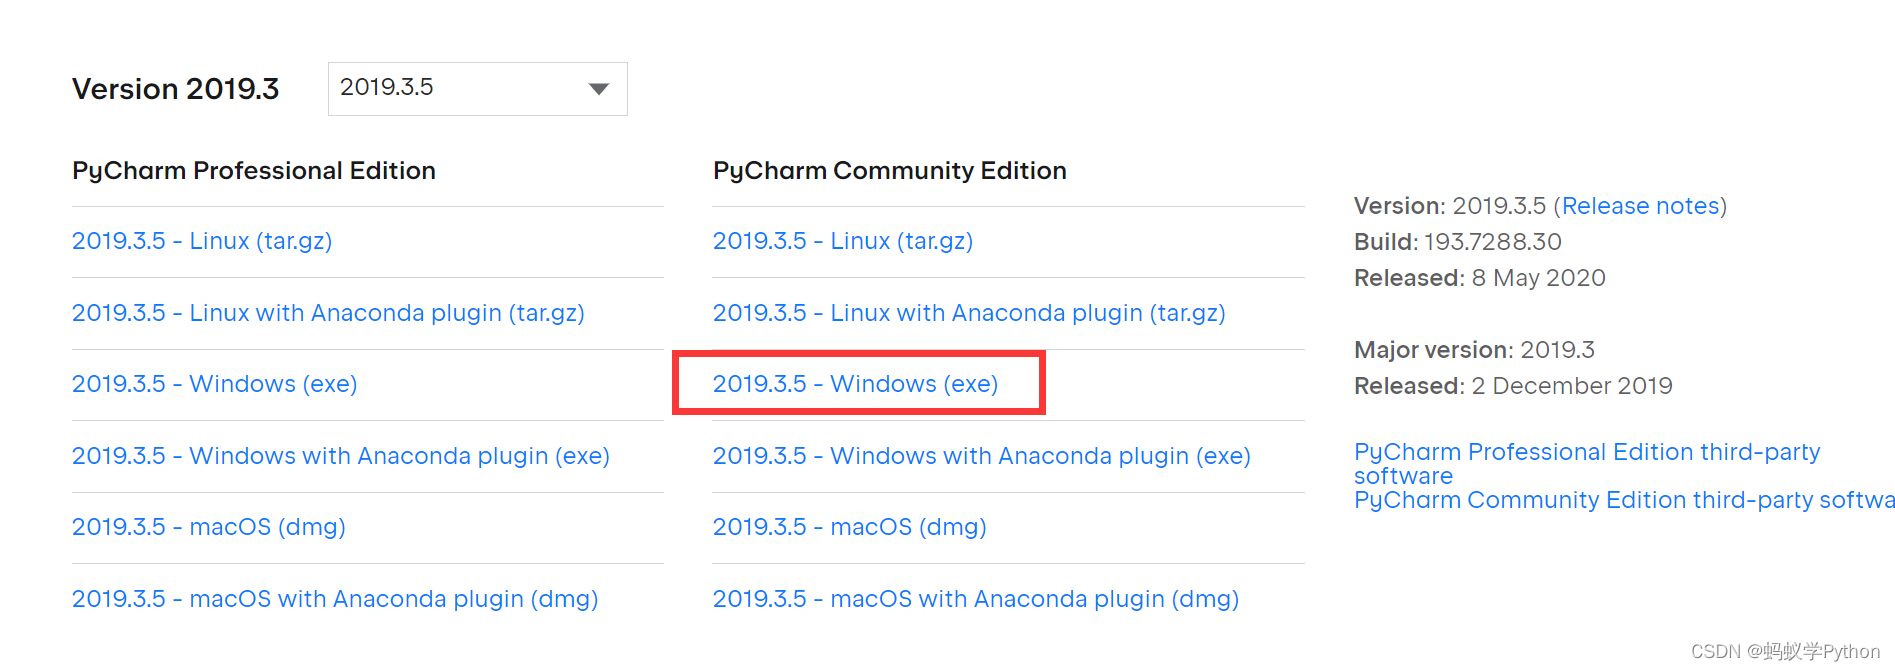
安装的Pycharm
What is the latest PyCharm version compatible with Windows 7?
Hi, that would be 2019.3.5 - https://www.jetbrains.com/help/pycharm/2019.3/installation-guide.html
You can download it from https://www.jetbrains.com/pycharm/download/other.html


 8060
8060

 被折叠的 条评论
为什么被折叠?
被折叠的 条评论
为什么被折叠?
 到【灌水乐园】发言


