


 超级会员免费看
 本文详细介绍了ESP-IDF在Windows平台上的安装过程,包括在线和离线安装方式,以及安装ESP-IDF必备工具,如Python、Git、交叉编译器、CMake和Ninja。安装完成后,通过ESP-IDF PowerShell和CMD启动环境,便于后续的开发工作。
本文主要看参考官网说明,如下:
Windows 平台工具链的标准设置 - ESP32 - — ESP-IDF 编程指南 latest 文档 (espressif.com)
一、概述
ESP-IDF需要安装一些必备工具,才能围绕ESP32构建固件,包括:
- Python
- Git
- 交叉编译器
- CMake
- Ninja编译工具
- 其它
本入门指南介绍了如何通过命令提示符进行有关操作。不过,安装ESP-IDF后,还可以使用 Eclipse Plugin 或其他支持CMake的图形化工具IDE。
二、ESP-IDF工具安装器
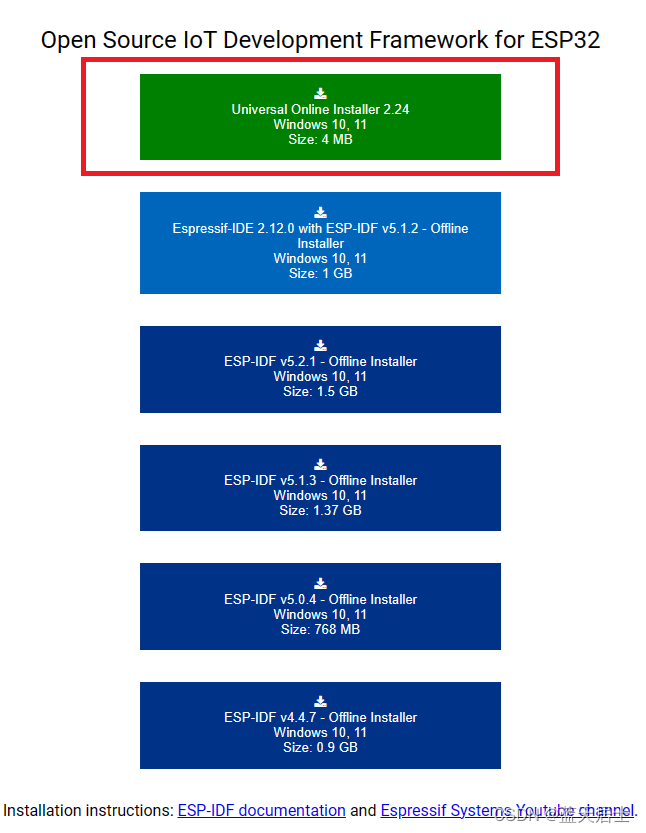
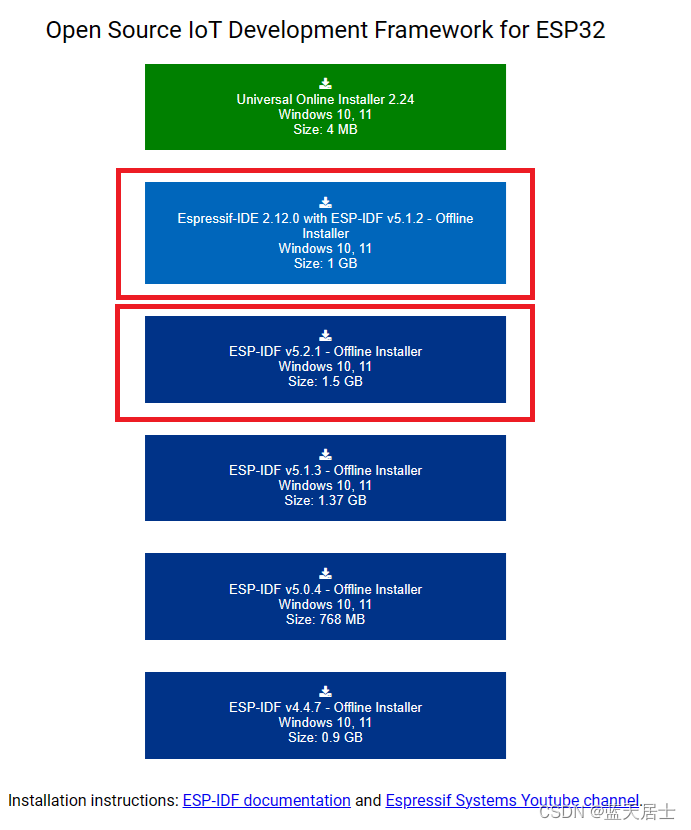
安装ESP-IDF必备工具最简易的方式是下载一个ESP-IDF工具安装器。链接如下:
点击连接之后,页面如下:
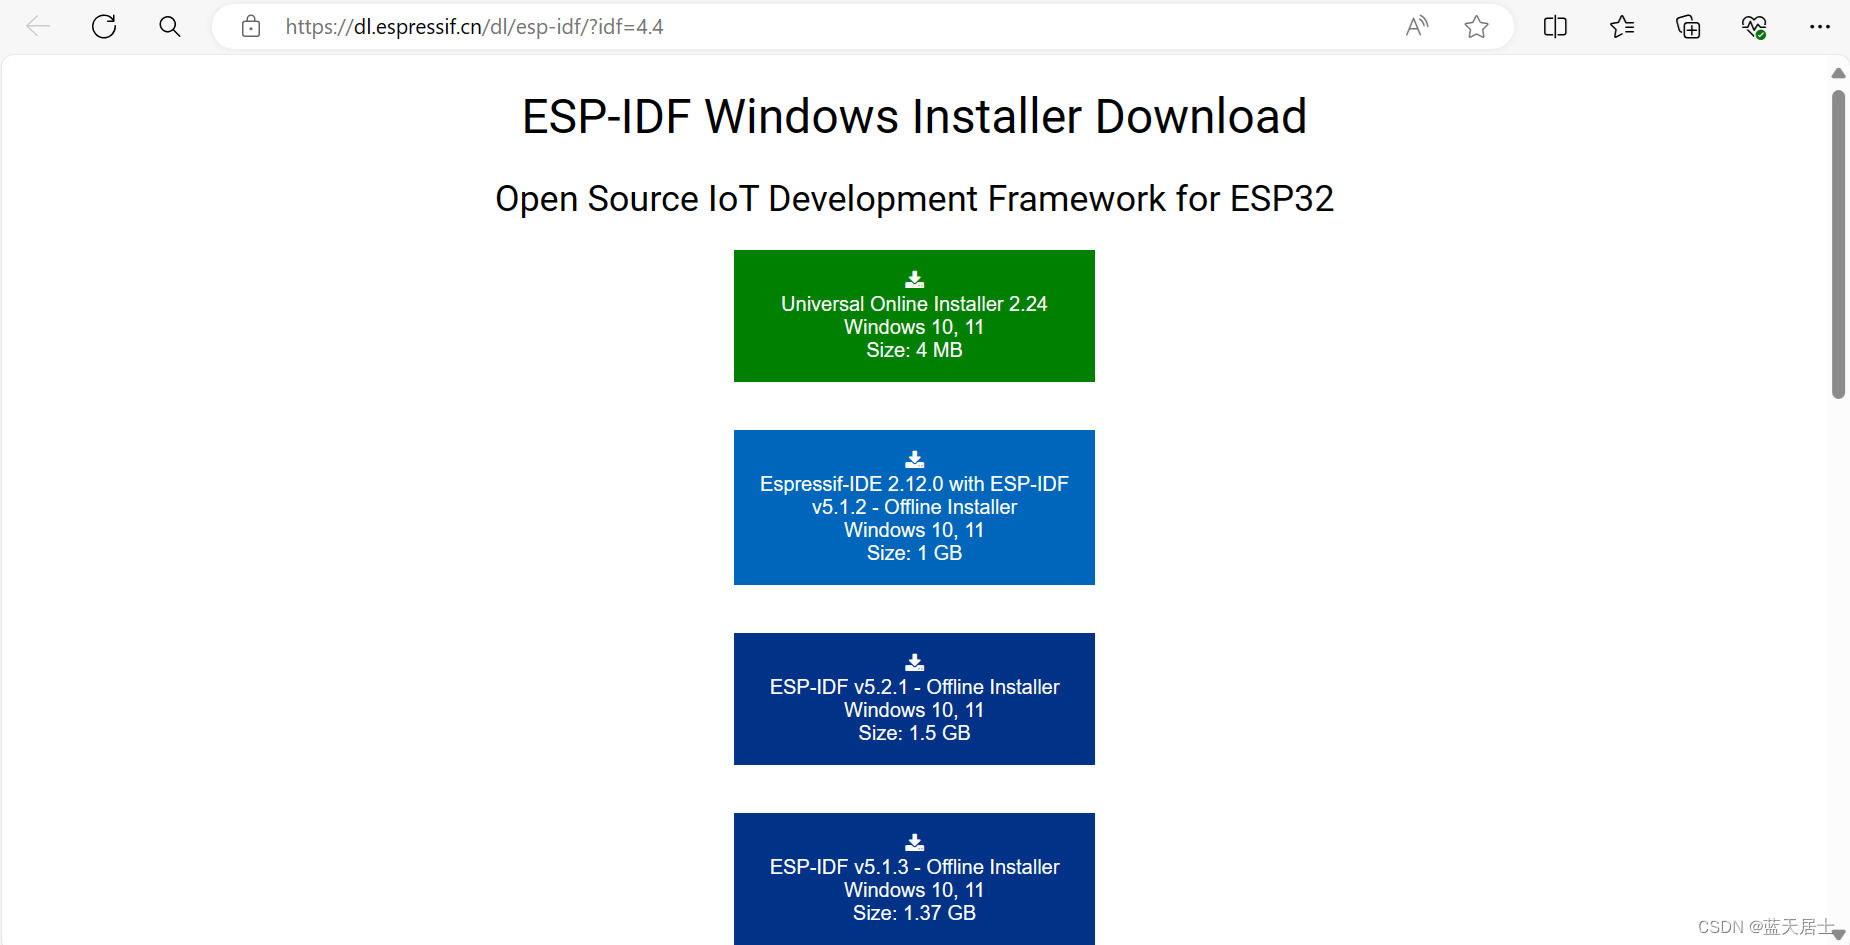
1. 在线安装和离线安装
在上图中,可以看到安装分为在线安装和离线安装两种方式:
- 在线安装方式
在线安装程序非常小,可以安装ESP-IDF的所有版本。在安装过程中,安装程序只下载必要的依赖文件,包括Git For Windows安装器。在线安装程序会将下载的文件存储在缓存目录%userprofile%/espressif中。
- 离线安装
离线安装程序不需要任何网络连接(当然,下载安装程序本身还是需要网络的)。安装程序中包含了所有需要的依赖文件,包括Git For Windows安装器。
2. 下载安装过程
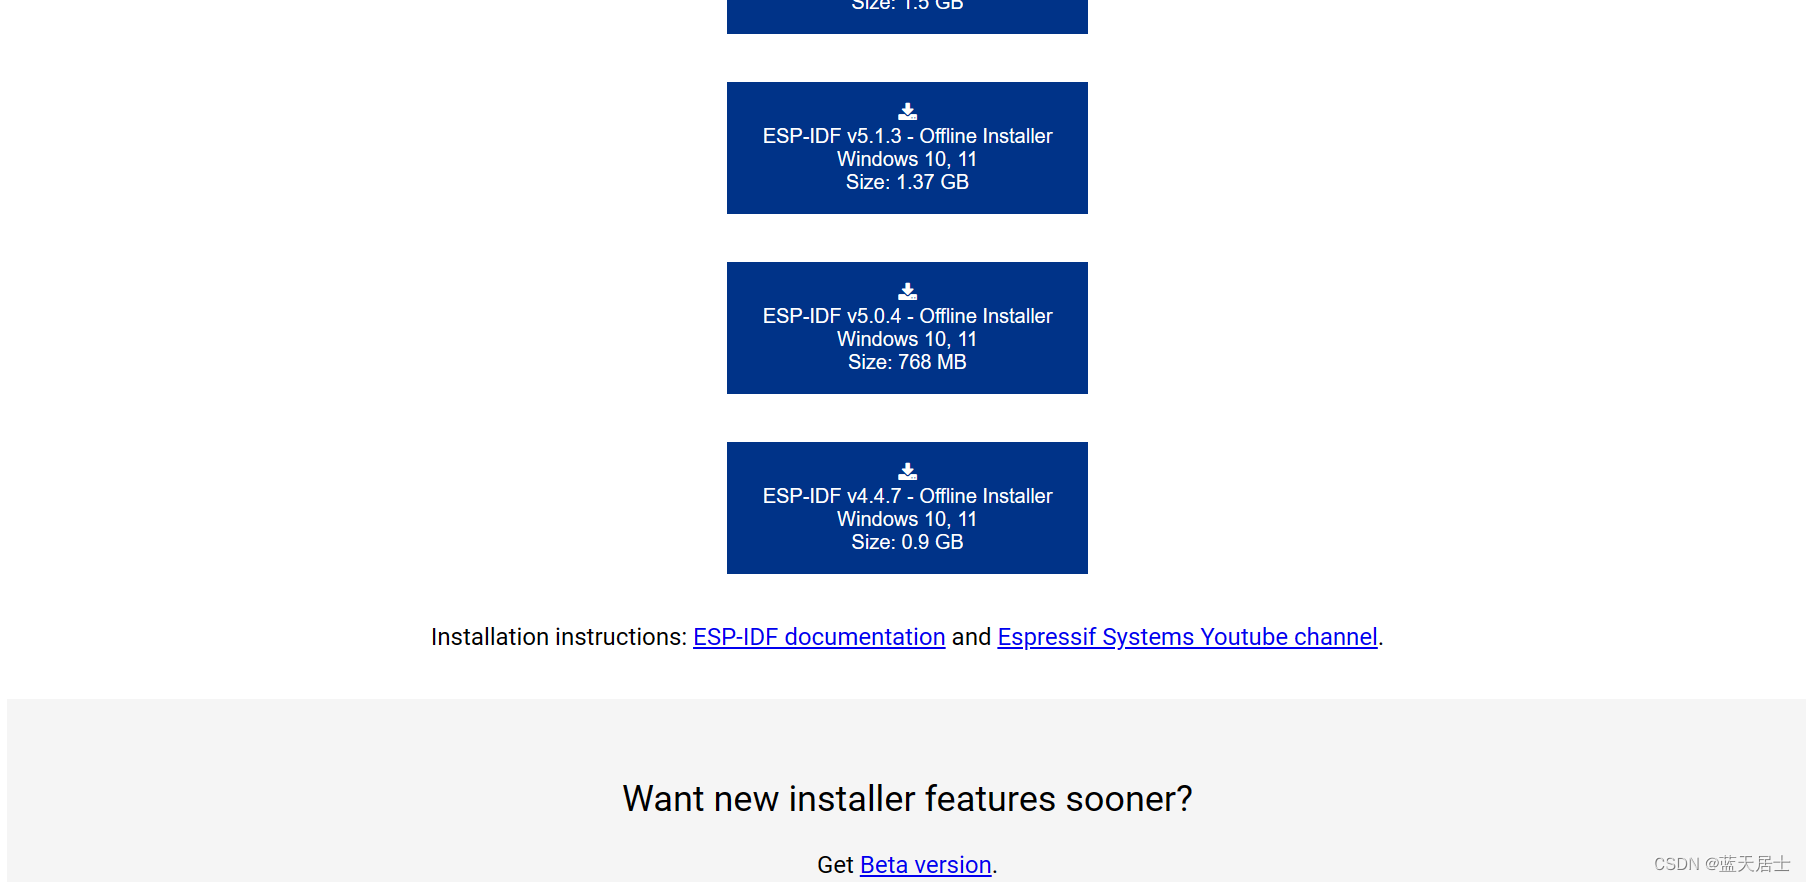
笔者选择离线安装方式。完整安装过程如下:
(1)点击上边页面中的第二个红色矩形框中的链接,开始下载。如下如所示(上图中有(1)是因为笔者之前下载过了,第一次下载是不带的):
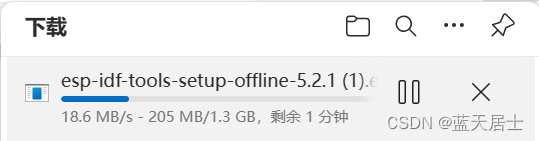
下载完成后的文件名称为:esp-idf-tools-setup-offline-5.2.1.exe。
(2)双击此安装文件,开始安装。出现以下界面:
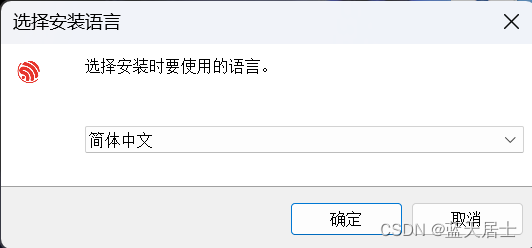
(3)点击“确定”按钮,出现以下界面:
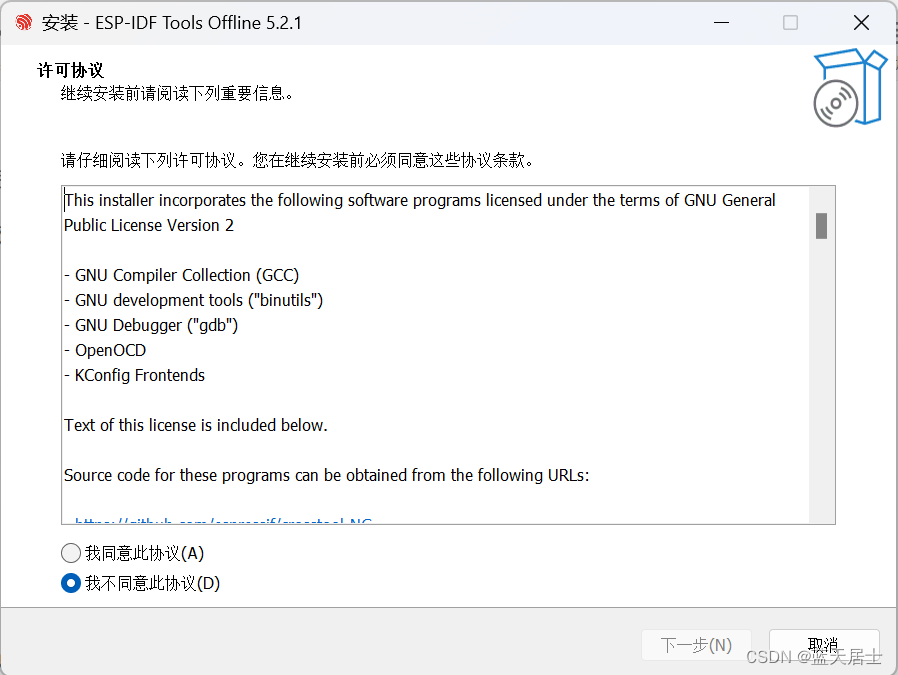
(4)选择“我同意此协议”项。

(5)点击“下一步”按钮,出现以下界面:
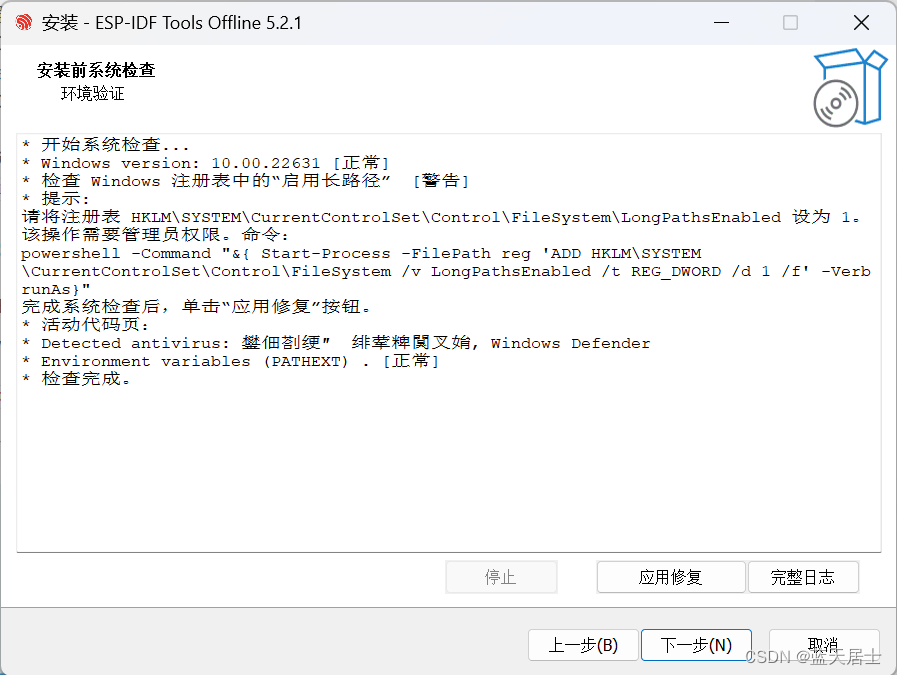
在“安装前系统检查”界面中,检查系统配置项。这里主要检查Windows的版本信息和已安装的杀毒软件信息。
注:此步骤万一出现系统配置项异常,则可以单击“完整日志”按钮,根据关键项检索相关的解决方案。
(6) 点击“下一步”按钮,出现以下界面:
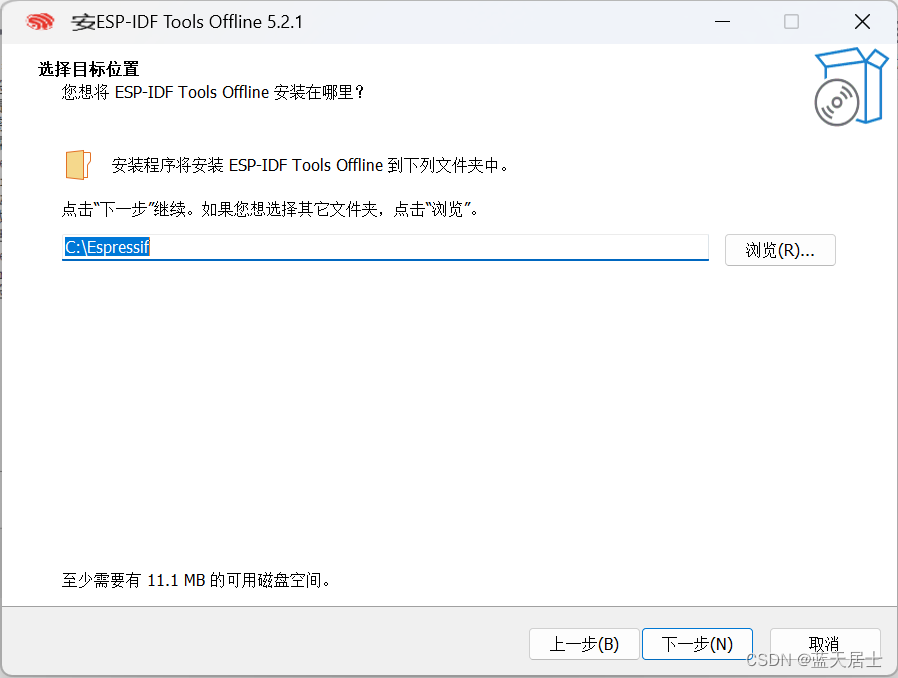
(7)点击“下一步”按钮,出现以下界面:
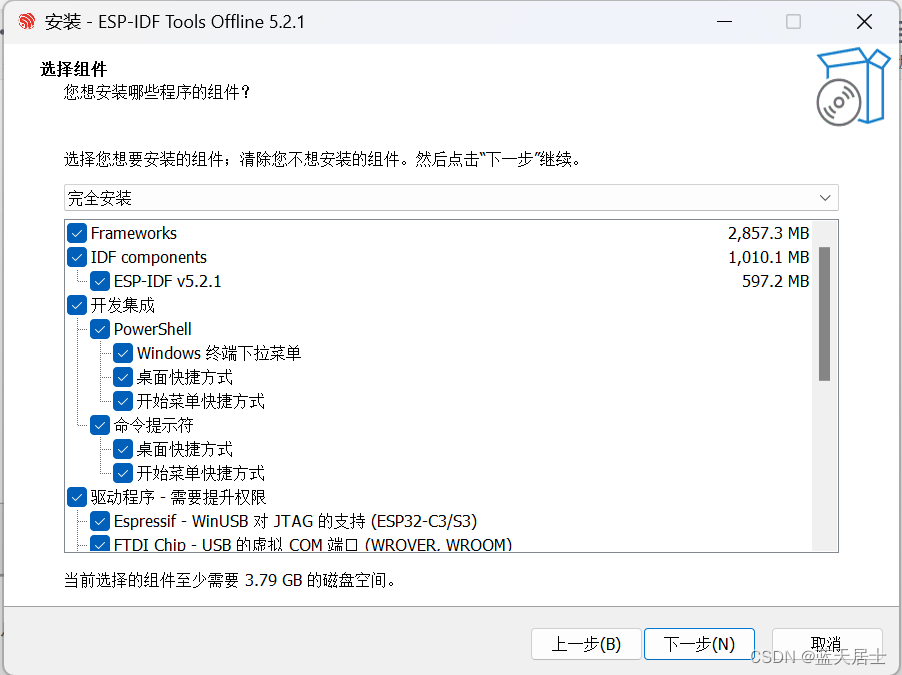
可以下拉右侧的滚动条,看一下都要安装哪些组件以及相关细节。
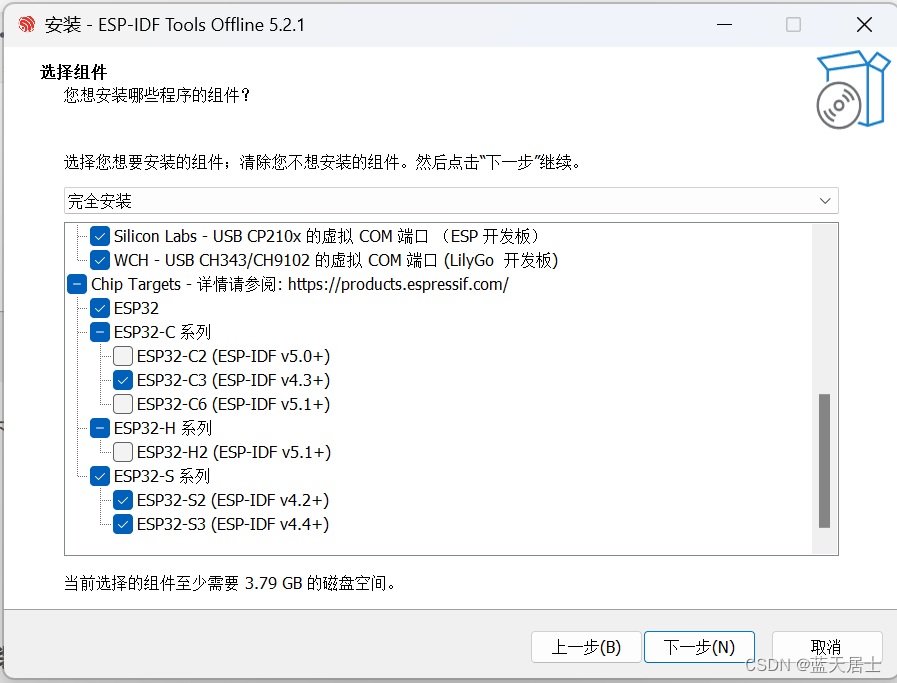
(8) 点击“下一步”按钮,出现以下界面:
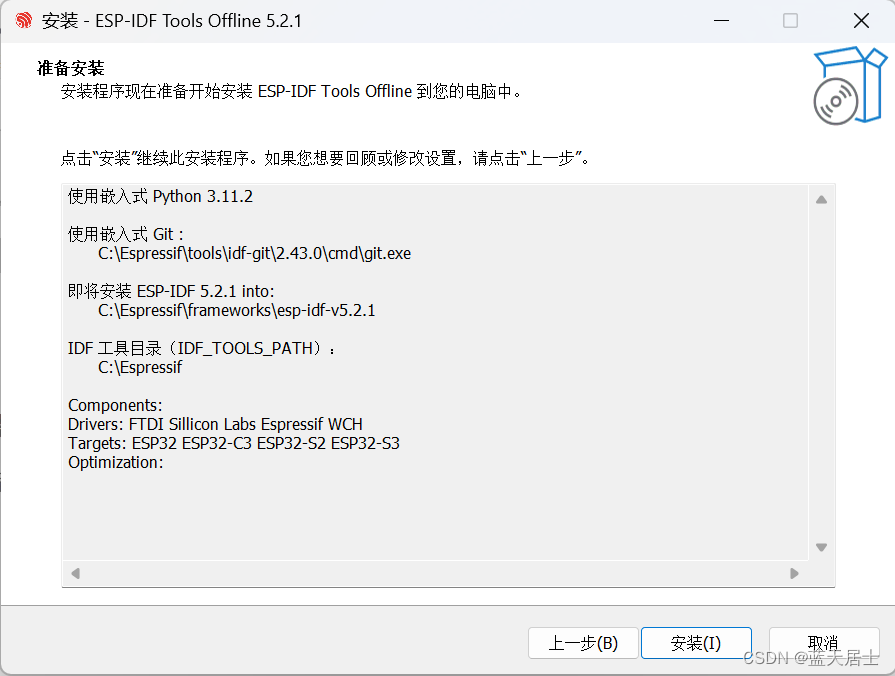
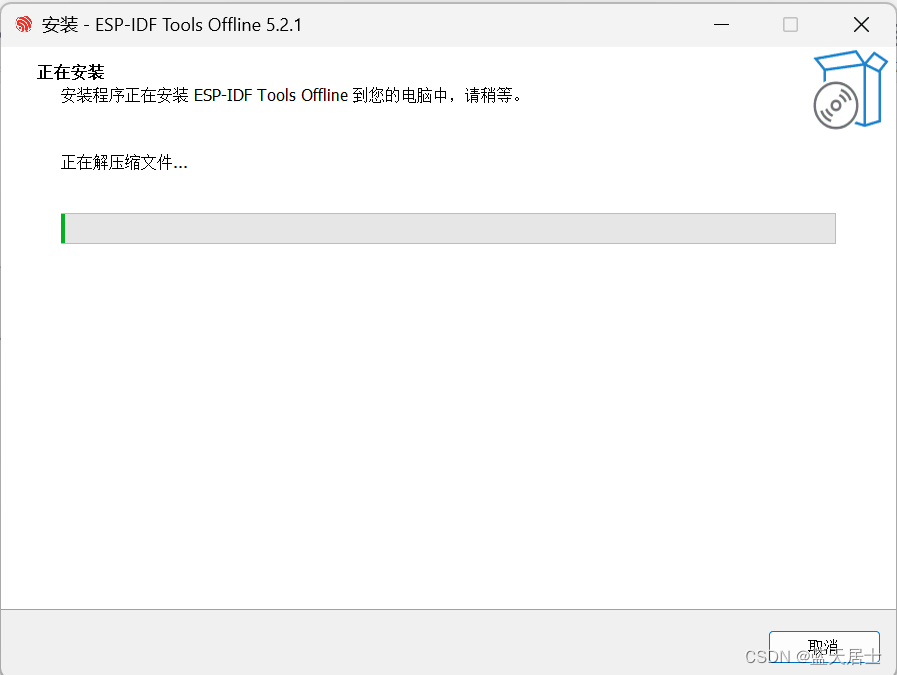
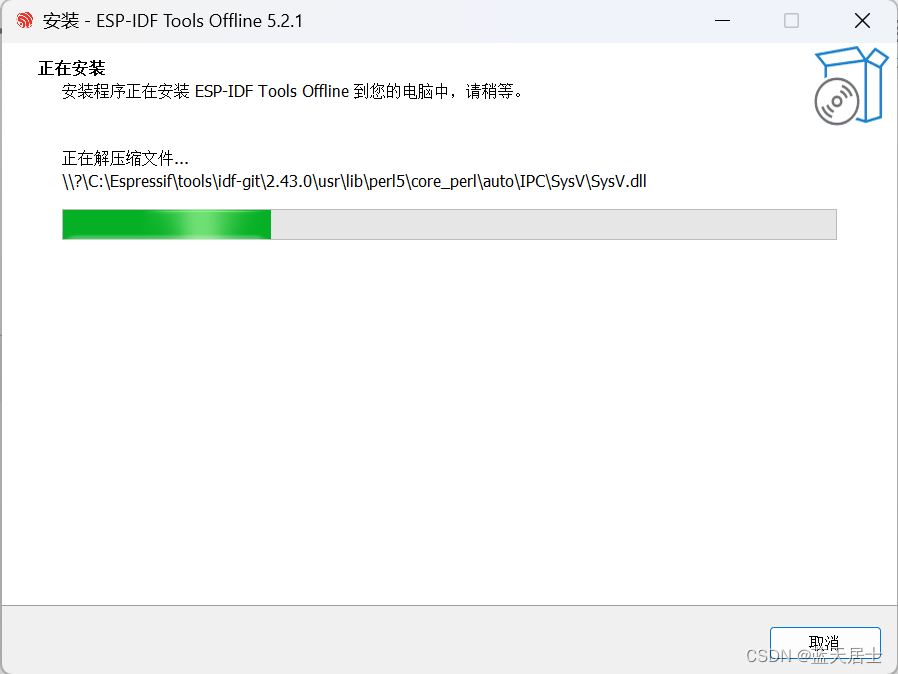
(9) 点击“安装”按钮,出现安装过程界面:
(10) 安装过程结束即安装完成后,界面如下:
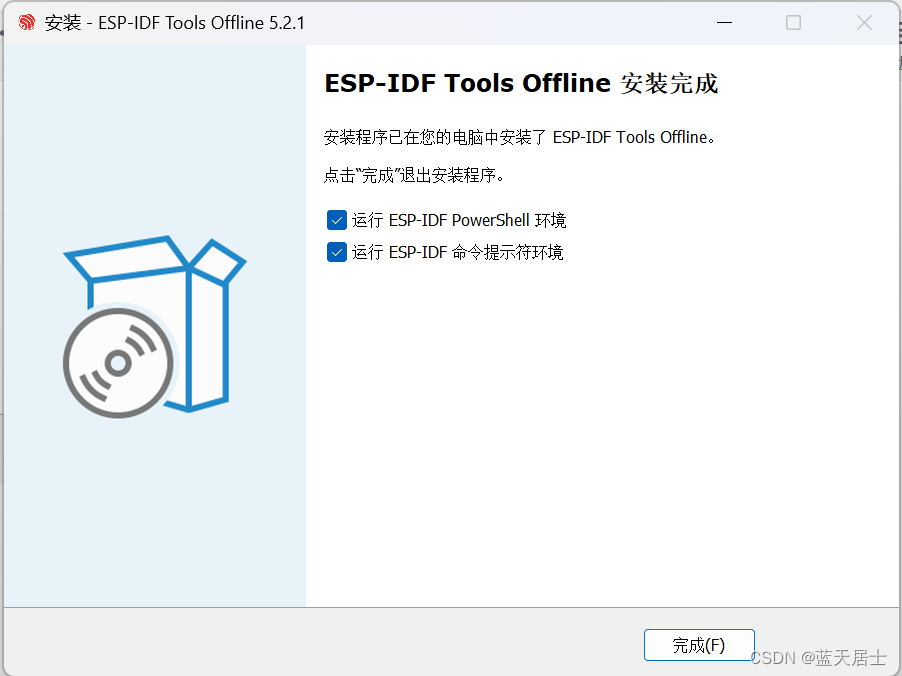
(11) 点击“完成”按钮,安装完成。之后出现以下命令行:
3. 启动ESP-IDF环境
在安装结束时,如果勾选了 Run ESP-IDF PowerShell Environment 或 Run ESP-IDF Command Prompt (cmd.exe),安装程序会在选定的提示符窗口启动 ESP-IDF。
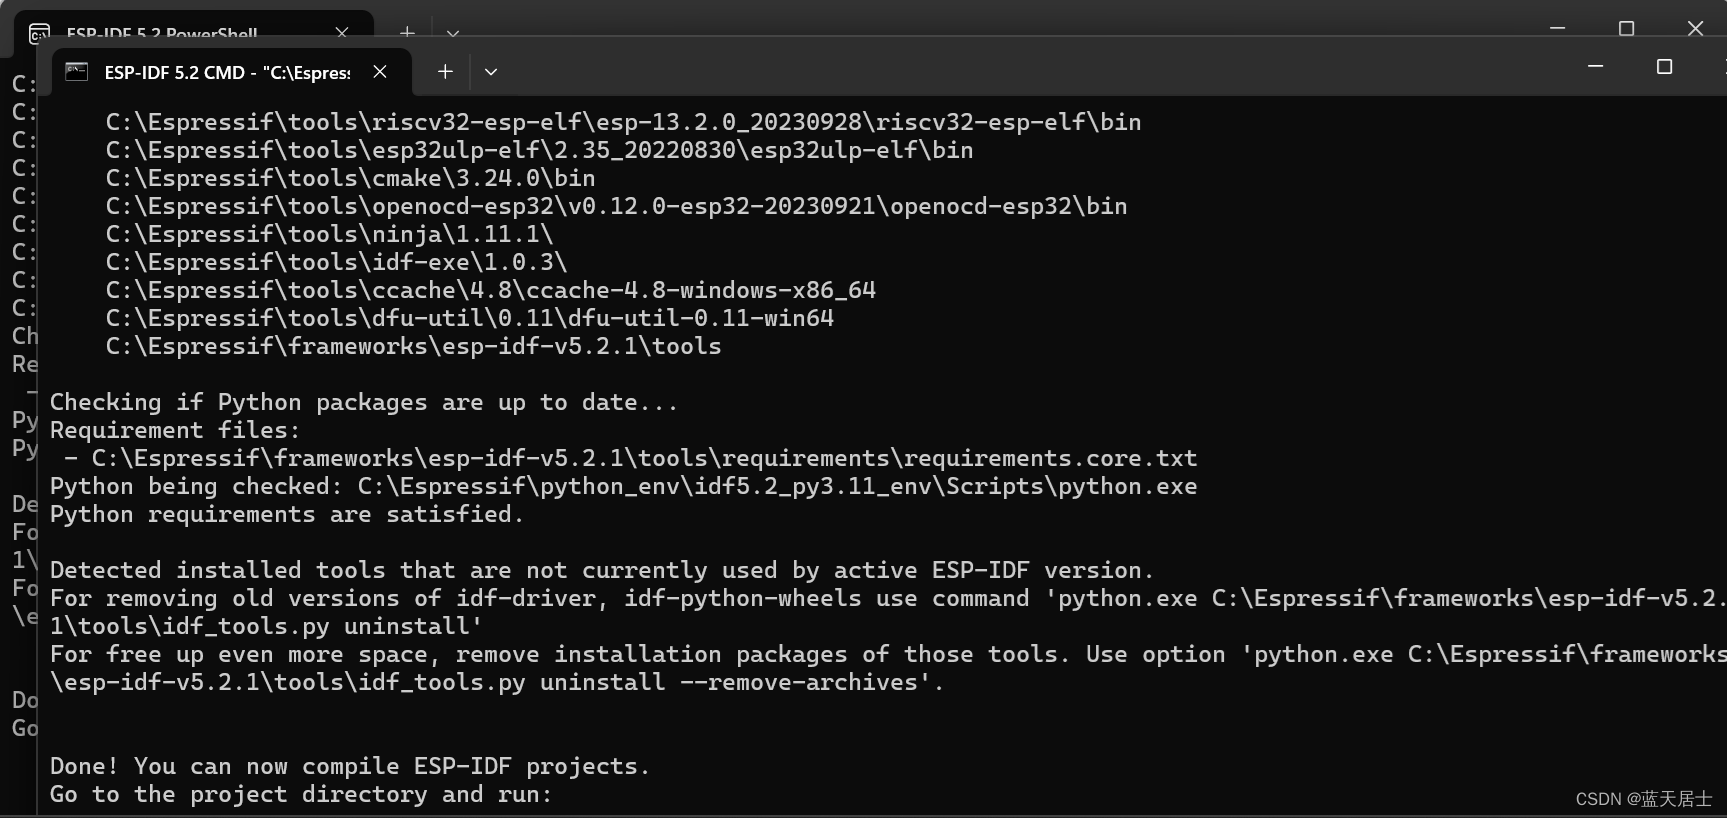
由于是笔者上边两个都勾选了:
因此,“ESP-IDF PowerShell”和“ESP-IDF CMD”两个环境都打开了:
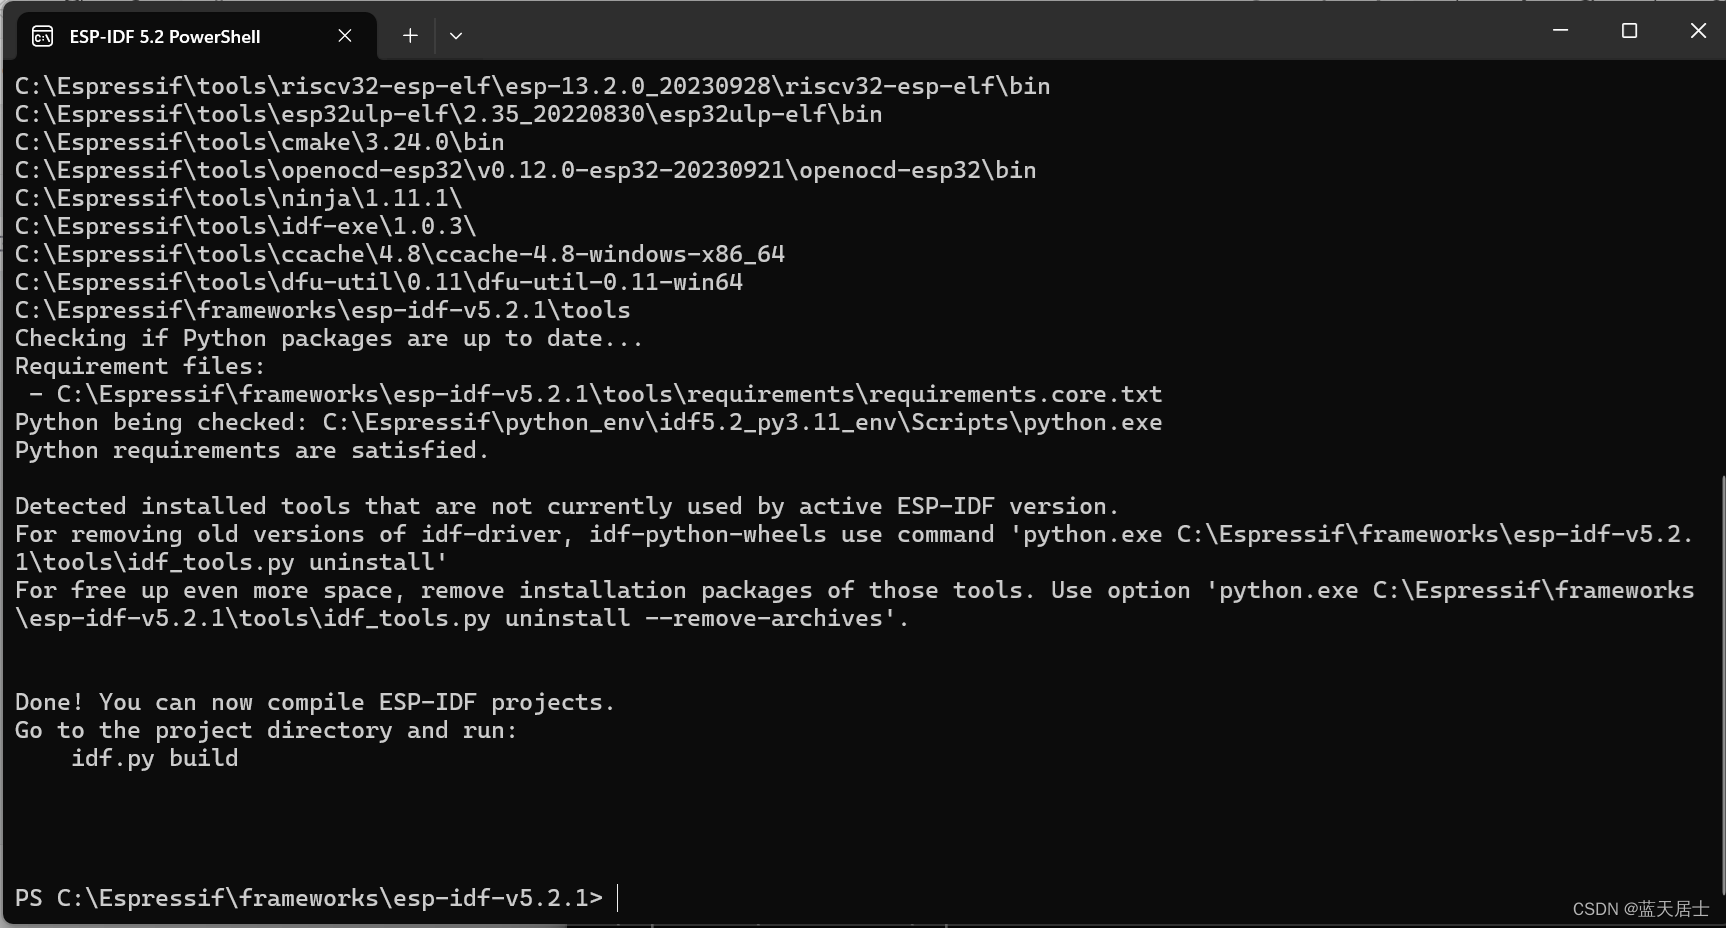
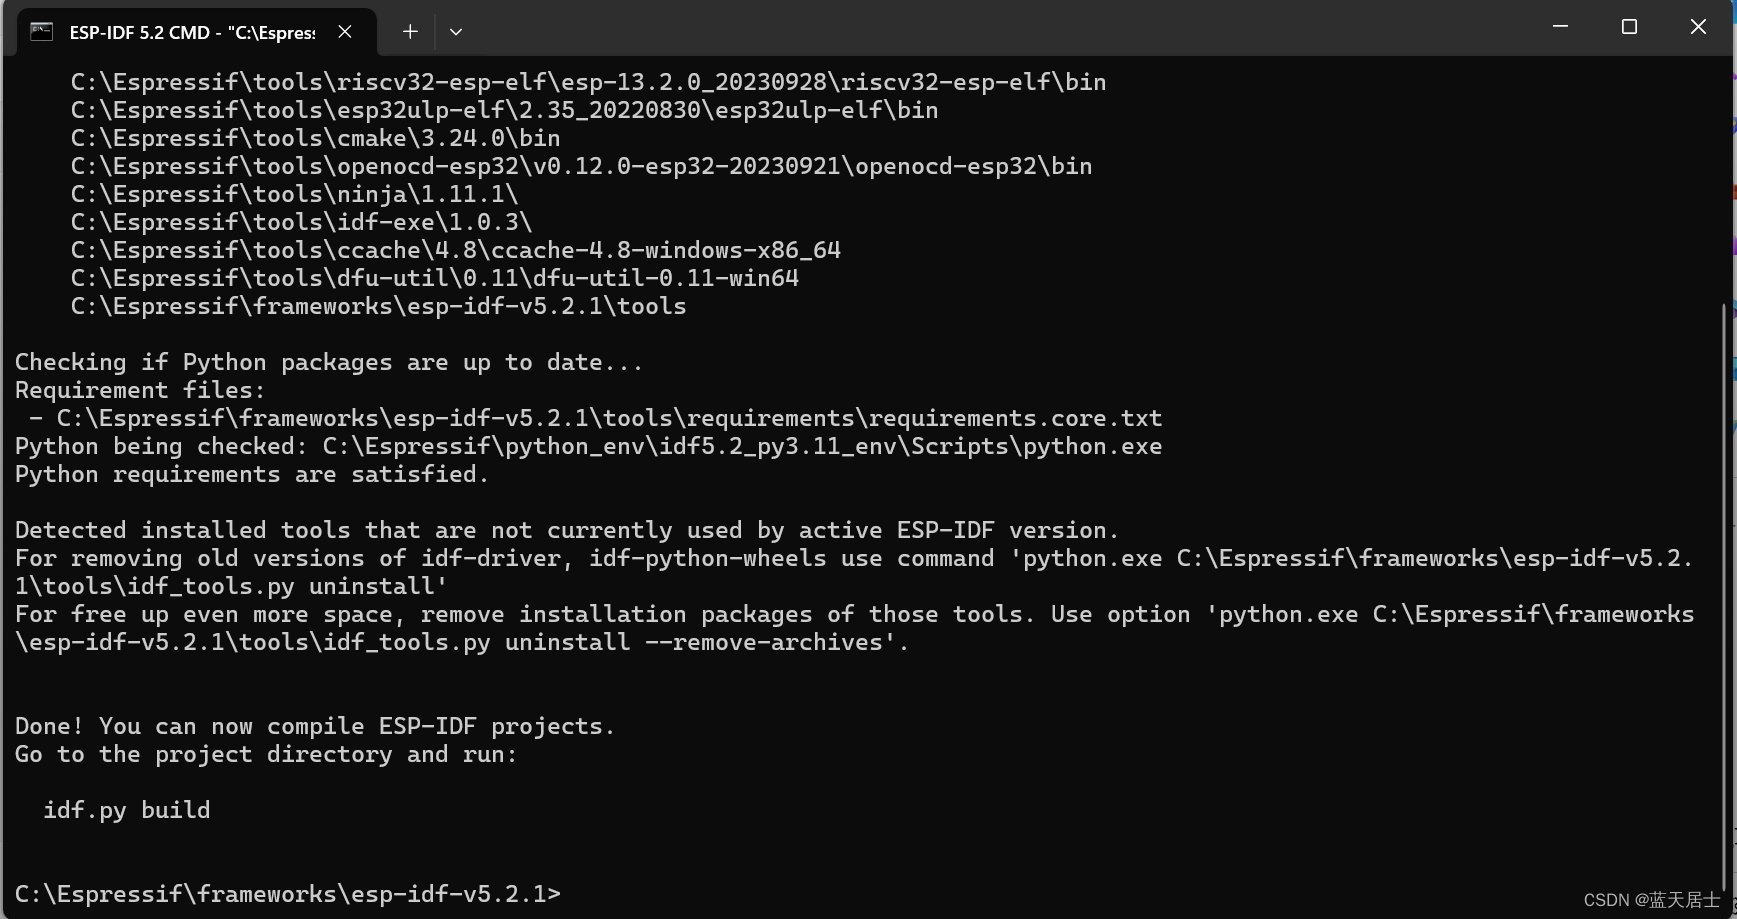
在后续步骤中,将以“ESP-IDF 命令提示符环境”为例,讲解如何使用 Windows 的命令提示符进行操作。
4. 安装内容
这里来看一下安装程序都安装了那些内容。安装程序会安装以下组件:
- 内置的Python
- 交叉编译器
- OpenOCD
- CMake和Ninja编译工具
- ESP-IDF
欲知后事如何,且看下回分解。


 4573
4573

 被折叠的 条评论
为什么被折叠?
被折叠的 条评论
为什么被折叠?
 到【灌水乐园】发言


