


跨场景访问节点
我们来看一下之前做的菜单场景
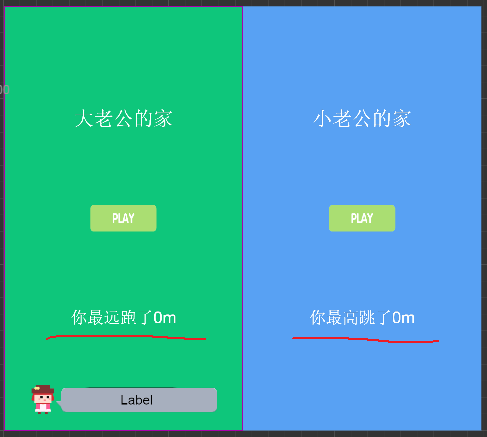
中间有一个记录的label我们一直没理她,
今天我们就来翻她的牌子
我们每次游戏结束时都会有一个分数,这个分数变量在相应的游戏场景里,我们想要的效果时:当返回菜单时,我们要把这个分数变量带回来,但当场景销毁时,其中的所有节点都会随之消失
这里就要引出另一个重要的知识点,同学们拿笔记一下
没带笔的前后桌借一下
不会跟随场景销毁的节点——常驻节点
我们回到第一个Load场景,添加一个根节点(必须是根节点哦)Record
Record.js
cc.Class({
    extends: cc.Component,

    properties: {
        bestRunScore: 0,
        bestJumpScore: 0,
    },

    onLoad: function () {
        cc.game.addPersistRootNode(this.node);
        var bestRunScore = cc.sys.localStorage.getItem("bestRunScore");
        if(bestRunScore){
            this.bestRunScore = bestRunScore;
        }
        var bestJumpScore = cc.sys.localStorage.getItem("bestJumpScore");
        if(bestRunScore){
            this.bestJumpScore = bestJumpScore;
        }
    },

    updateRunScore: function(score){
        if(score > this.bestRunScore){
            this.bestRunScore = score;
        }
    },

    updateJumpScore: function(score){
        if(score > this.bestJumpScore){
            this.bestJumpScore = score;
        }
    },

    save(){
        cc.sys.localStorage.setItem('bestRunScore', this.bestRunScore);
        cc.sys.localStorage.setItem('bestJumpScore', this.bestJumpScore);
    },
});
我们在onLoad方法里将Record节点变成游戏的常驻节点
cc.game.addPersistRootNode(this.node);
销毁的方法是
cc.game.removePersistRootNode(node);
游戏中的常驻节点,在切换场景时不会销毁,所以我们可以把一些需要跨场景访问的方法和变量添加到常驻节点的脚本里
我们切换到Menu场景
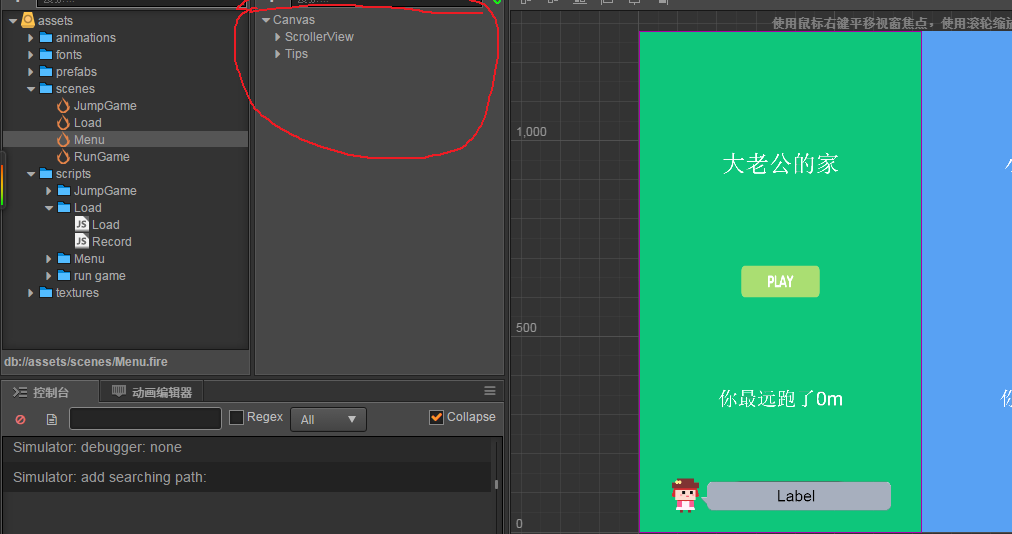
宝强同学惊奇的发现,那个常驻节点Record并没有出现!
宝强同学就是太实在
有些事情光靠眼睛是发现不了的
常驻节点只是逻辑上的,并不会在其他场景层级管理器里出现
“层级管理器里都没有,那怎么用啊”
这就要用另一个找节点的方法了
cc.find();
我们修改两个Game的stopGame方法
Game.js
stopGame: function(){
    cc.director.getCollisionManager().enabled = false;
    this.gameOverMenu.active = true;
    this.overScore.string = this.score+"m";
    //存储数据
    cc.find("Record").getComponent("Record").updateRunScore(this.score);
},
Game2.js
stopGame: function(){
    cc.director.getCollisionManager().enabled = false;
    this.gameOverMenu.getChildByName('OverScore').getComponent(cc.Label).string = this.score;
    this.gameOverMenu.active = true;
    //存储数据
    cc.find("Record").getComponent("Record").updateJumpScore(this.score);
},
存储与读取数据
存储数据
cc.sys.localStorage.setItem('bestRunScore', this.bestRunScore);
cc.sys.localStorage.setItem('bestJumpScore', this.bestJumpScore);
读取数据
cc.sys.localStorage.getItem("bestRunScore");
cc.sys.localStorage.getItem("bestJumpScore");
就是两个封装的方法,存储的方式是键值对
Menu脚本也需要修改一下
Menu.js
...
onLoad: function () {
    this.record = cc.find("Record").getComponent("Record");
    this.runScore.string = "你最远跑了" + this.record.bestRunScore+ "m";
    this.jumpScore.string = "你最高跳了" + this.record.bestJumpScore+ "m";
    ...
},
...
播放声音
播放声音有两种方式
1.组件AudioSource
play ( )
播放音频剪辑。

stop ( )
停止当前音频剪辑。

pause ( )
暂停当前音频剪辑。

resume ( )
恢复播放。

rewind ( )
从头开始播放。
2.声音系统
cc.audioEngine.playMusic(source);
cc.audioEngine.stopMusic(source);
cc.audioEngine.playEffect(source);
cc.audioEngine.stopEffect(source);
上面的第一种方法原生平台有很多Bug,所以我们的游戏都用的第二种方法播放声音
打包发布(修改图标)
我们打包一个Android的Apk
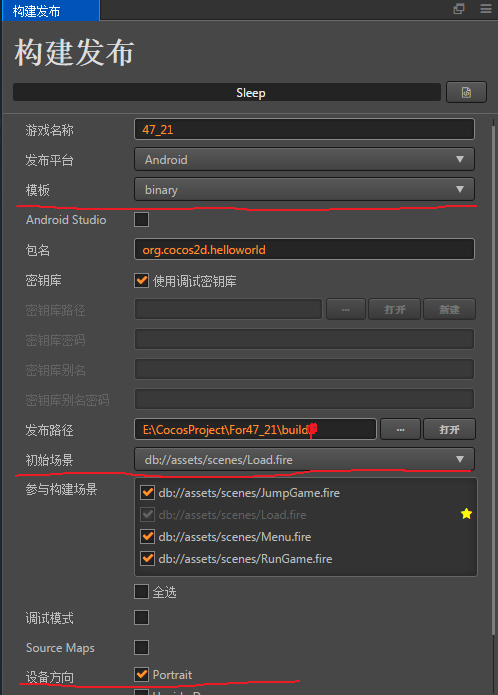
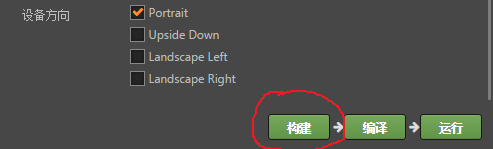
模板选择binary可以快速打包,Portrait竖屏,Upside Down倒屏,Landscape Left左右横屏,Landscape Right右左横屏
我们先点击构建
构建完成后我们找到构建的目录(就是上面的build文件夹)
build/jsb-binary/frameworks/runtime-src/proj.android/res/
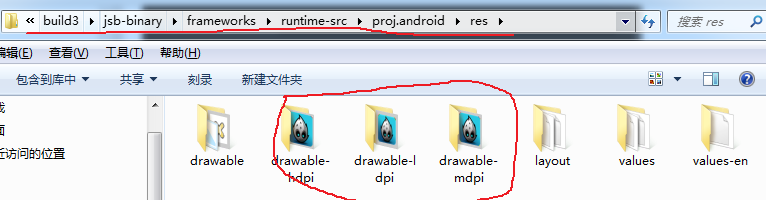
将里面的图标换成我们的女主角
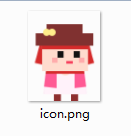
替换完成后再点击编译
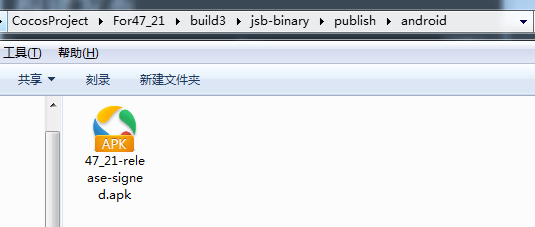
进入下面的目录就可以看见我们的Apk文件了


 被折叠的 条评论
为什么被折叠?
被折叠的 条评论
为什么被折叠?
 到【灌水乐园】发言


