


问题概述
随着 iOS 版本的提高, 导航栏视图层级和结构变得愈加复杂, 刘海屏的适配, 按钮的位置调整, 需要关注的问题越来越多.
导航栏视图层级的演进
iOS 9 时代
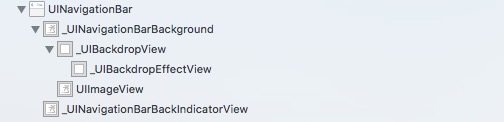
iOS 10 时代
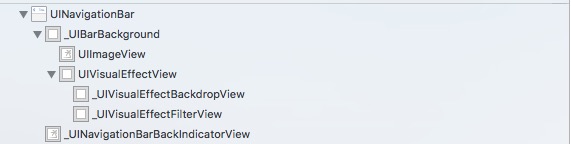
iOS 11 时代的导航栏(最新)


- 导航栏上的标题和操作按钮全部成为
_UINavigationBarContentView的子视图, 类似于UITabViewCell的contentView属性; UIVisualEffectView及其子视图负责半透明效果;- 一个导航栈中的所有控制器共同拥有一个
UINavigationBar; - iOS11 开始, 导航栏采用了自动布局(AutoLayout);
疑点
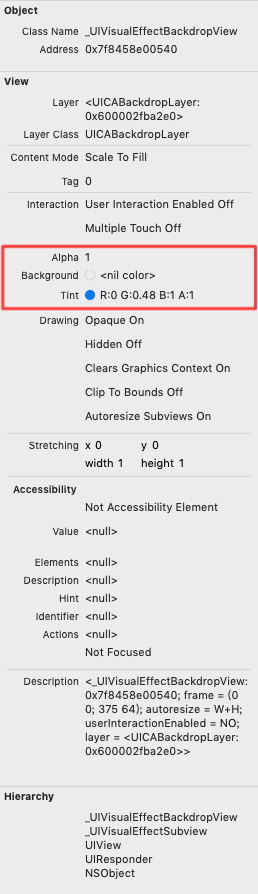
_UIVisualEffectBackdropView和控制器根视图的颜色为什么是一样的(这里都是白色, 如果设置成其它颜色, 它们两个的颜色会保持一致), 但是从右侧详情中看到的颜色却为nil.


 1621
1621


 被折叠的 条评论
为什么被折叠?
被折叠的 条评论
为什么被折叠?
 到【灌水乐园】发言


