


前言:
随着人工智能技术的飞速进步,机器学习已然成为推动科技进步和产业变革的关键力量。大型预训练模型如ChatGlm3-6B的崛起,为智能对话系统、文本生成等应用提供了强大的技术支撑。本文旨在详细介绍ChatGlm3-6B大模型的部署及微调流程,以期为相关研究人员和开发者提供参考和指导。
ChatGLM3-6B大模型部署
git地址:https://github.com/THUDM/ChatGLM3
魔塔社区地址:https://modelscope.cn/models/ZhipuAI/chatglm3-6b/summary
软件要求:
pytorch 2.1.2
TensorFlow2.14.0
python3.10
硬件要求:
内存32G以上
GPU 1*NVIDIA V100
显存16G以上
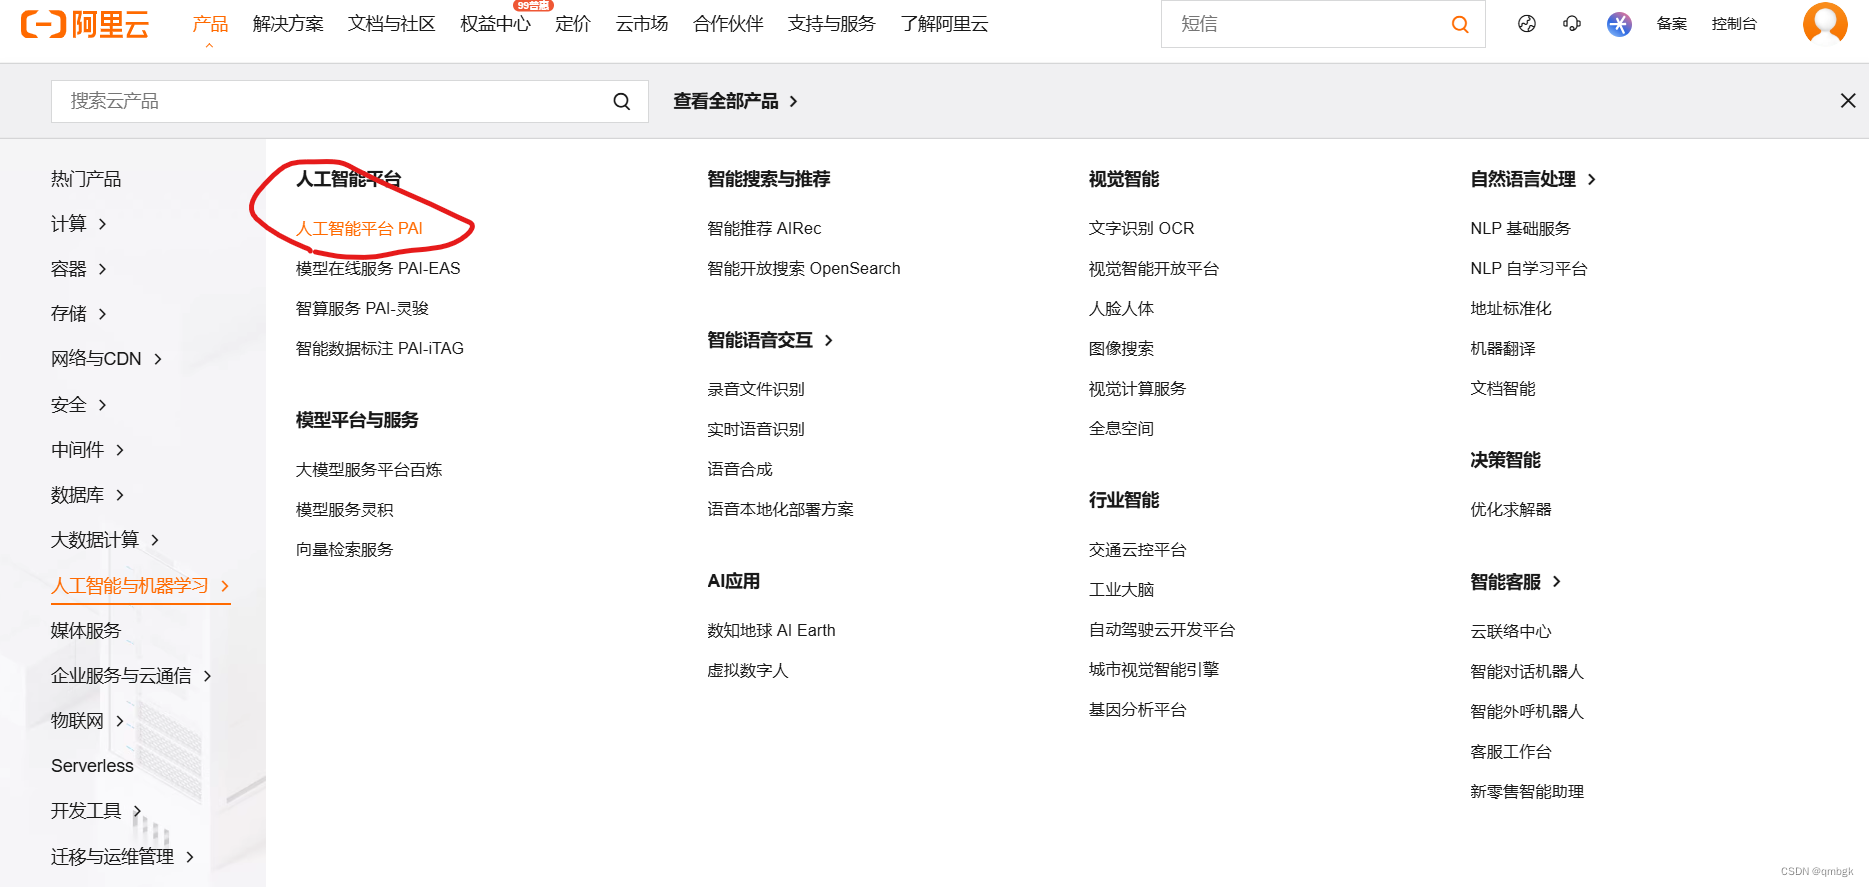
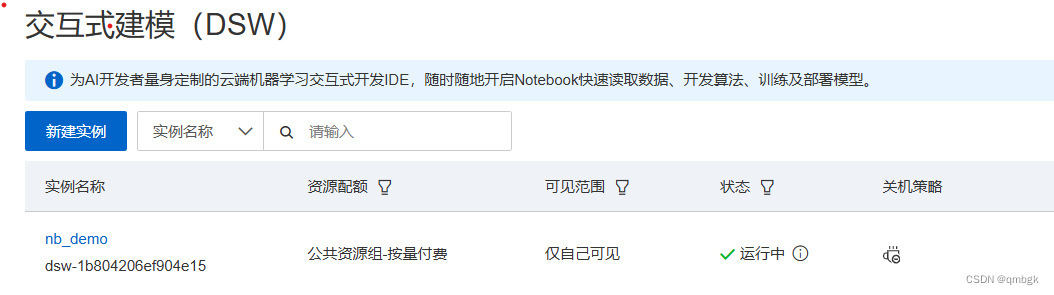
阿里云安装部署
首先在阿里云平台上创建并运行一个实例
下载大模型
mkdir models
cd models

apt update
apt install git-lfs

# 克隆chatGLM3-6b大模型
git clone https://www.modelscope.cn/ZhipuAI/chatglm3-6b.git
下载项目
mkdir webcodes
cd webcodes

# 下载chatglm3-6b web_demo项目
git clone https://github.com/THUDM/ChatGLM3.git

# 安装依赖
pip install -r requirements.txt
安装依赖:

修改模型路径
在模型启动之前需要修改下载的大模型路径,以小黑窗启动为例,在/mnt/workspace/webcodes/ChatGLM3/basic_demo目录下的cli_demo.py文件中修改刚才下载的模型路径

启动
# 小黑窗启动命令
python cli_demo.py

# 网页端启动
streamlit run web_demo_streamlit.py
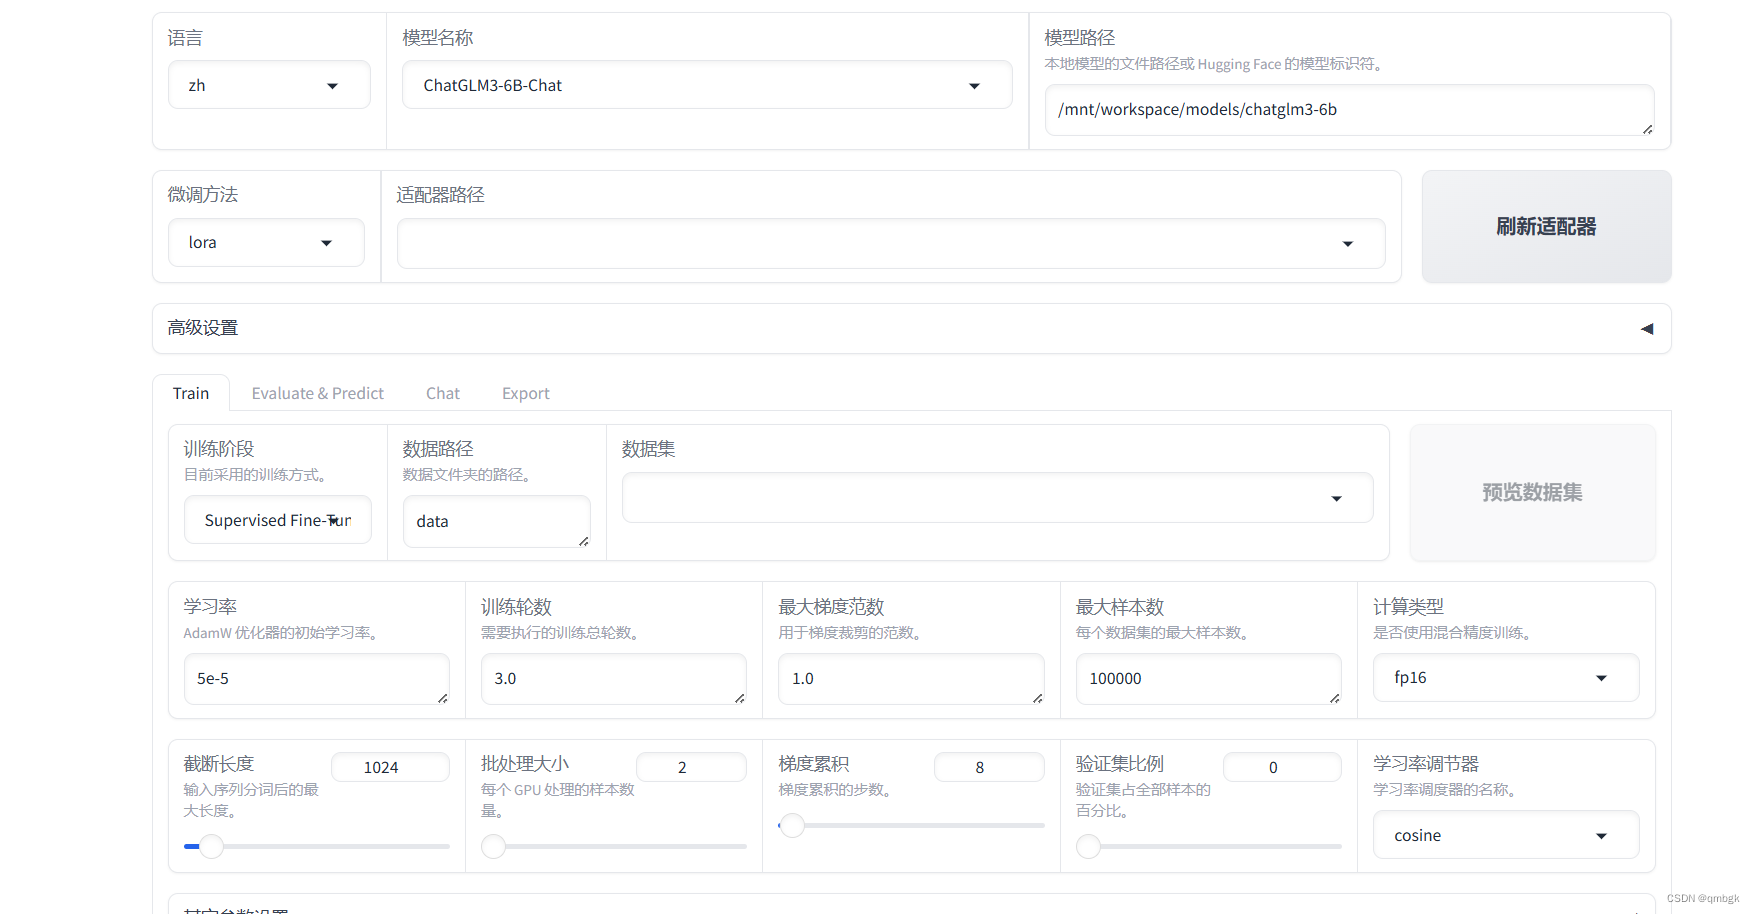
安装微调模型LLaMA-Factory
# 克隆项目
git clone https://github.com/hiyouga/LLaMA-Factory.git

# 安装项目依赖
cd LLaMA-Factory
pip install -r requirements.txt
pip install transformers_stream_generator bitsandbytes tiktoken auto-gptq optimum autoawq
pip install --upgrade tensorflow
pip uninstall flash-attn -y

# 运行
CUDA_VISIBLE_DEVICES=0 USE_MODELSCOPE_HUB=1 python src/train_web.py
完成之后就可以开始微调了!


 699
699

 被折叠的 条评论
为什么被折叠?
被折叠的 条评论
为什么被折叠?
 到【灌水乐园】发言


